KappaAnalysis Example
A simple C++ executable based on the Artus/KappaAnalysis has been added by the commit a8ea4a0d. It uses the KappaTypes, namely the KappaEvent, KappaProduct and KappaSettings classes. Therefore it can use everything that is provided by this package. In this simple example, no easy extension is possible.
A simple JSON configuration is added by the commit aca57239. It runs on a file containing events of a DY MC sample, reads in the muon collections, selects well-identified muons and writes out a cutflow and muon-related quantities.
KappaAnalysisExample $CMSSW_BASE/src/Artus/KappaAnalysisExample/data/SimpleKappaExample.jsonYou can have a look at the outputs by using the next two commands, for example.
harry.py -i output.root -f tight/ntuple loose/ntuple -x leadingMuonPt [--x-bins 30,0,150 --labels tight loose -m . --line-styles - --step true --x-errors false --y-errors true]
harry.py -i output.root -f tight/muons loose/muons -x "object[0].p4.Pt()" [--x-bins 30,0,150 --labels tight loose -m . --line-styles - --step true --x-errors false --y-errors true]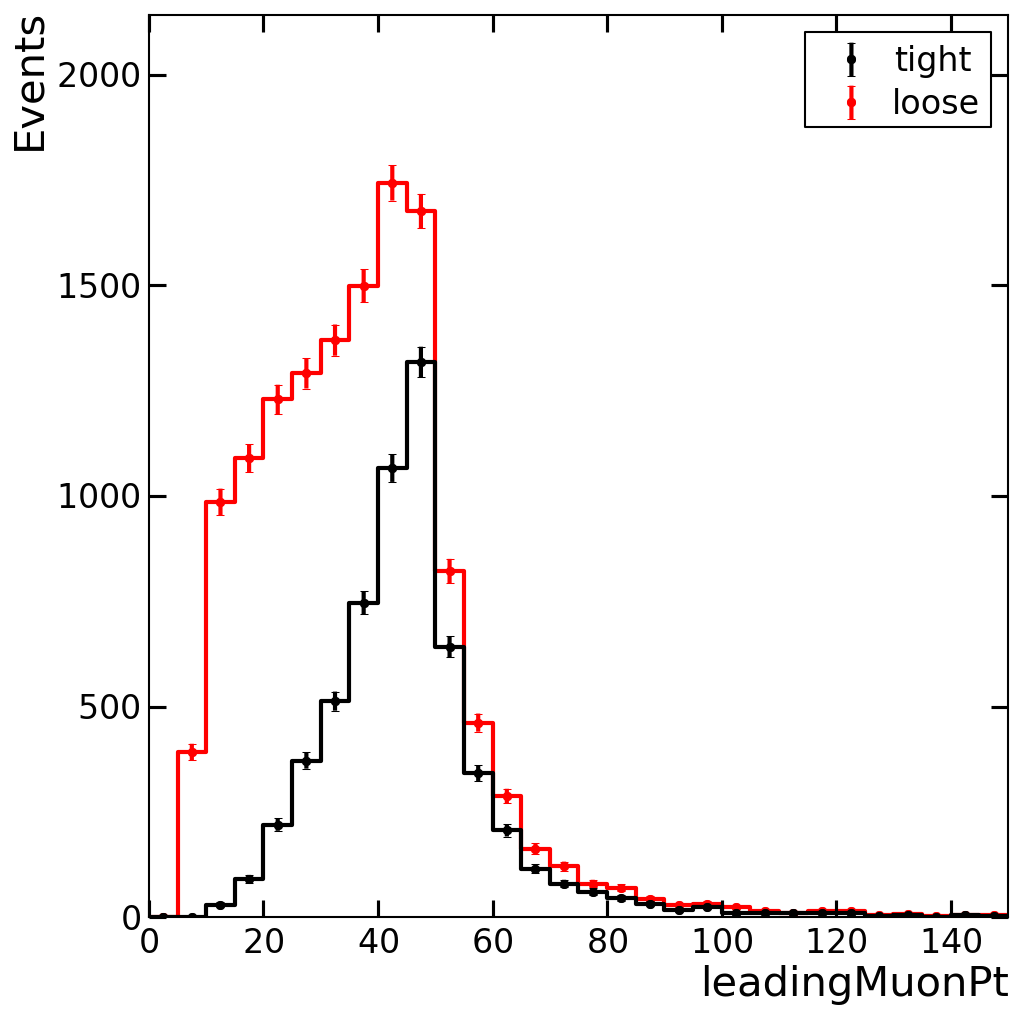
In order to be able to write custom processors on top of what the Artus core and Artus/KappaAnalysis provide, custom classes have to be drived from EventBase/KappaEvent, ProductBase/KappaProduct and SettingsBase/KappaSettings. The new classes provided in commit d5a5845b are then collected in a class named KappaExampleTypes, which is then the template type for all custom processors and some other classes in the analysis-specific code. Furthermore, possible new processors are maintained by a newly created Factory, the KappaExampleFactory.
The executable is changed so that it now uses the new classes that are derived from the KappaAnalysis versions. This means, that the analysis at this stage can be executed with the same configuration as before.
New processors are added by the commit 948ca8cd. A DiMuonSystemProducer is added which fills the member of the product product.m_diMuonSystem. Two filters are added: DiMuonMassFilter, which reads the tag DiMuonMassLowerCut from the configuration and selects events above this di-muon mass cut, and ChargeFilter, which selects either opposite- or same-sign charged muons depending on the setting OSMuons. A DiMuonMassConsumer is added, which fills a histogram of di-muon mass values. Similarly, the producer adds the possibility to write the di-muon system quantities to the ntuple written by the KappaLambdaNtupleConsumer. Then all new processors are registered in the factory.
A new configuration based on the simple example from step 2 is provided by the commit 2a4987f1. It enables all new processors and sets meaningful values to the settings.
diff $CMSSW_BASE/src/Artus/KappaAnalysisExample/data/SimpleKappaExample.json $CMSSW_BASE/src/Artus/KappaAnalysisExample/data/KappaExampleWithCustomProcessors.jsonTo execute the new configuration, use the following command.
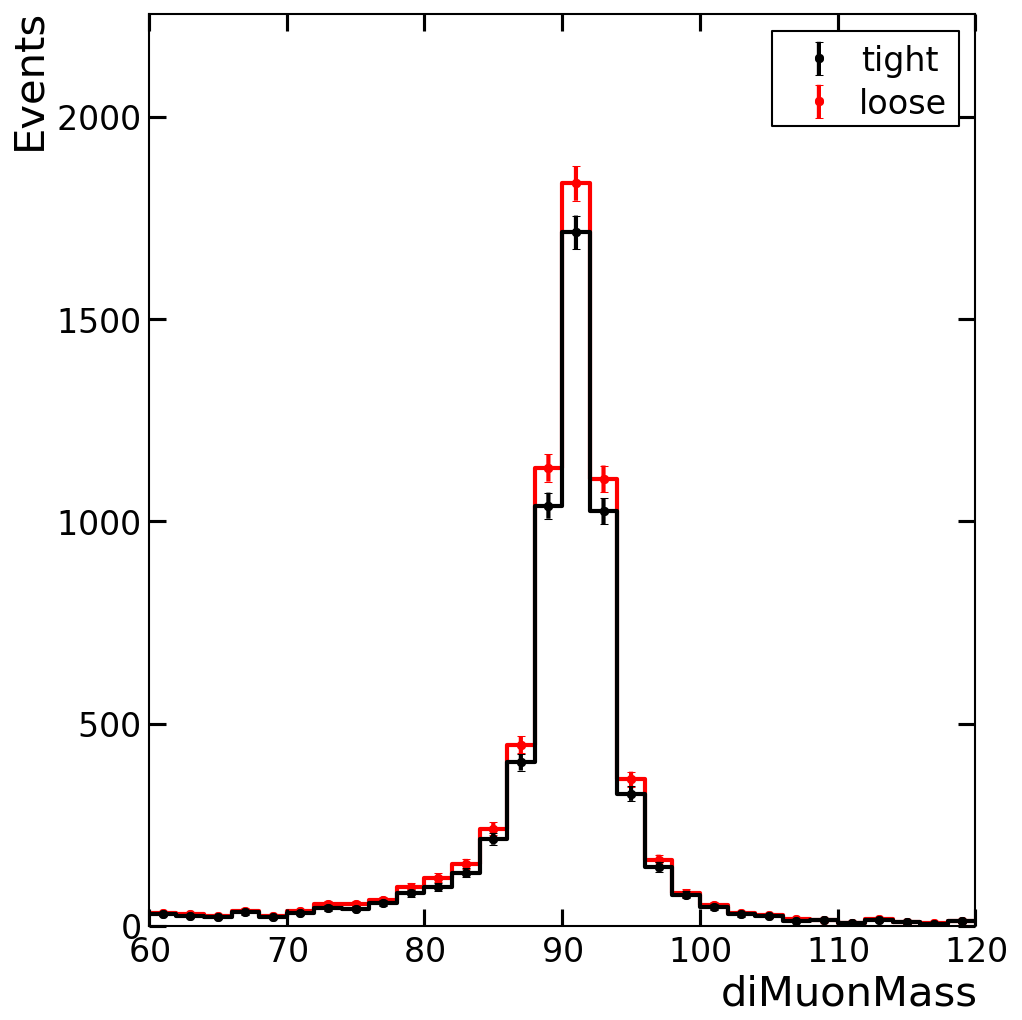
KappaAnalysisExample $CMSSW_BASE/src/Artus/KappaAnalysisExample/data/KappaExampleWithCustomProcessors.jsonYou can have a look at the outputs, especially the newly computed di-muon mass, by using the next two commands, for example.
harry.py -i output.root -f tight loose -x diMuonMass [--x-bins 30,60,120 --labels tight loose -m . --line-styles - --step true --x-errors false --y-errors true]
harry.py -i output.root -f tight/ntuple loose/ntuple -x diMuonMass [--x-bins 30,60,120 --labels tight loose -m . --line-styles - --step true --x-errors false --y-errors true]