Site Administration
One major feature built into Django is an admin site, which is automatically generated from model definitions to allow website maintainers to easily oversee the application. Malasakit extends the default admin site to provide a number of enhancements.
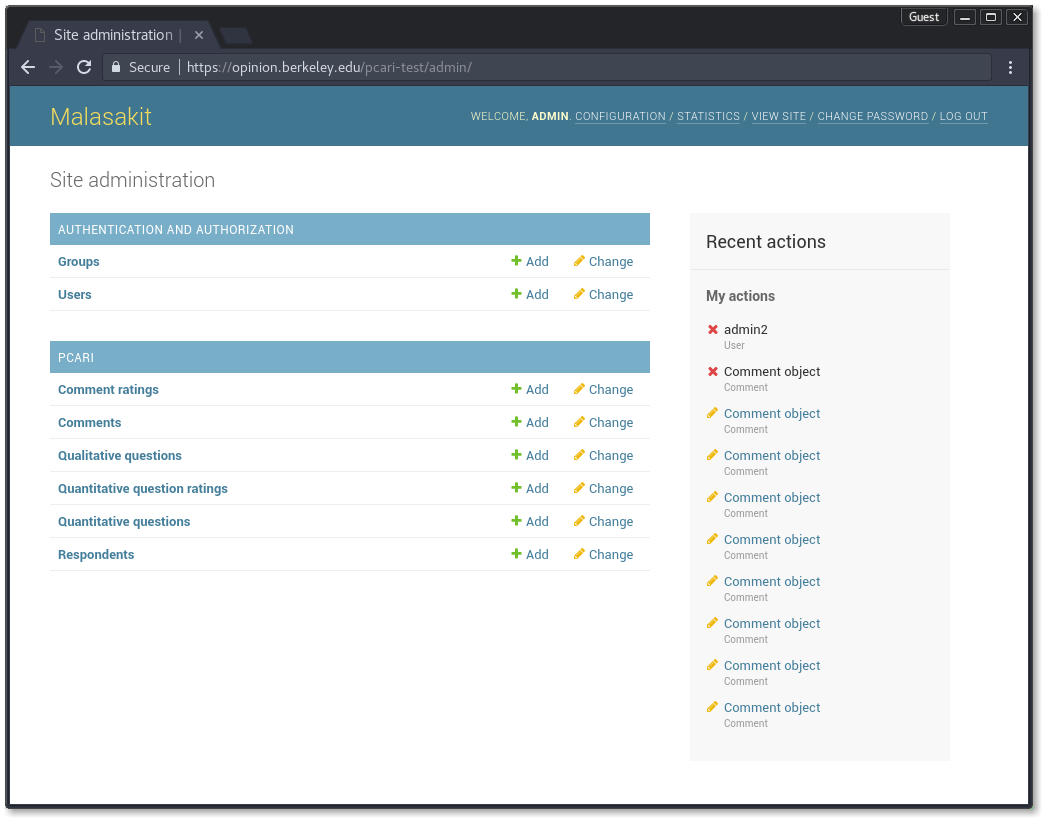
The home page of the admin site is shown below.
Some useful auxillary pages are linked on the right side of the blue navigation bar at the top. Clicking on the "Comments" link on the home page takes you to the following page.

Generally, model administration pages feature a paginated table of data, like the table shown above for the Comment model.
Each column in the table is either a field or a dynamically calculated property (for instance, "mean score").
Every row is an instance that has a hyperlink to a page for editing that instance.
The rows can be sorted on certain columns (for instance, by "timestamp") or filtered using either the search bar or the menu on the right-hand side of the page.
Note that not all fields may be shown in a table due to space constraints.
On the left end of the table are checkboxes for selecting instances. This enables one to execute bulk operations on selected instances using actions. This pairs nicely with the filtering capabilities of the admin panel. For instance, here, one can filter for flagged comments, select all rows that pass the filter, and delete the selected instances to remove unconstructive comments. An action that was successfully executed typically displays a message, as shown by the green bar above.
Currently, Malasakit supports exporting a model's table as either CSV (comma-separated values) or Excel spreadsheet through admin actions, as explained above. For portability, only concrete fields are exported. That is, reference fields such as foreign keys or one-to-one relationships are replaced with the related instance's primary key.
The icon displayed when respondents can review the ideas of others is configurable from the "Configuration" page, which is reachable through the navigation bar links.
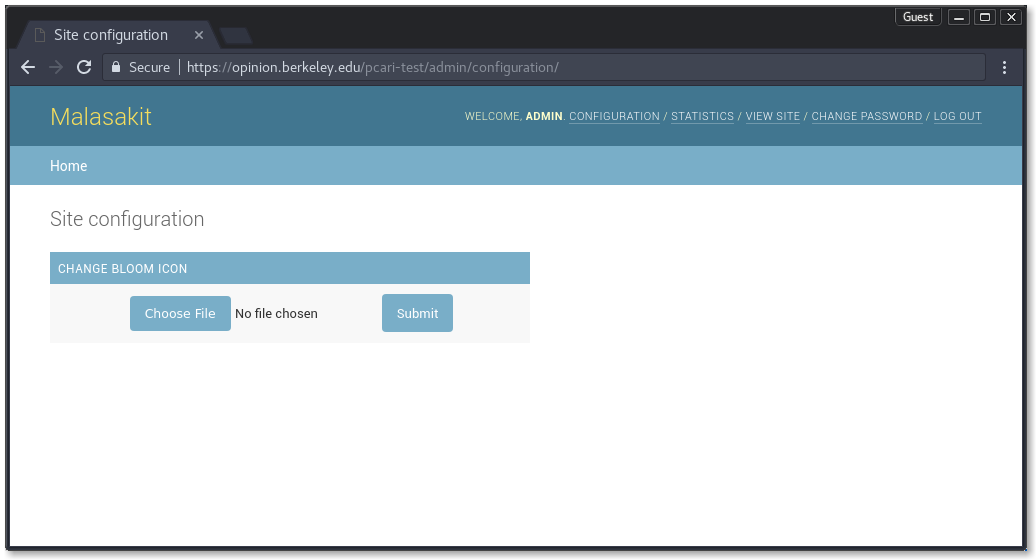
Any image file with a maximum size of 24 by 24 pixels may be chosen.
When the bloom icon is changed, a bloom-icon.json static file is created or updated (for instance, /pcari/static/data/bloom-icon.json).
This means that the static root needs to be writeable by the process running Malasakit.
By default, the bloom icon is a speech bubble depicted by the comment icon of Font Awesome.
Similarly, there is also an option to update the image shown on the landing page.
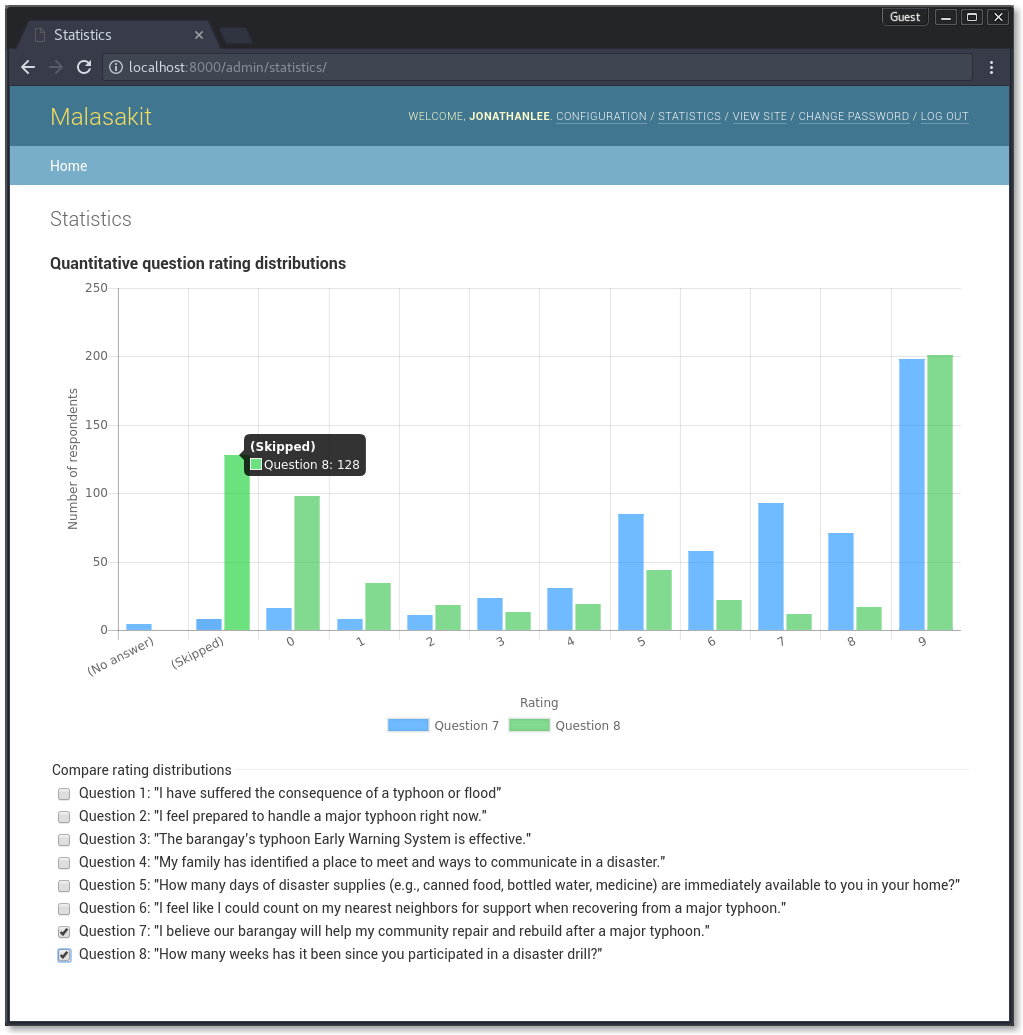
On the "Statistics" page, which is reachable through the navigation bar links, you can compare the distribution of responses for multiple quantitative questions.
The histogram is drawn with Chart.js.
To add a user:
- From the home page, click the "Add" button for the "Users" group under "Authentication and Authorization".
- Fill out the username and password fields.
- Navigate to the "Users" table, then click on the username created in (2).
- Enable the staff status checkbox, but disable the superuser checkbox. Staff can log into the admin site, but have more restrictions than superusers.
- Select the user permissions the desired staff member should have. A particularly useful permission is the "view" permission, which will let the staff member view, but not edit, any instance of the model the permission is applied to.
- Save to apply any changes.
The edit page for a user also has a "Delete" button, which can be used to remove users.