-
Notifications
You must be signed in to change notification settings - Fork 0
Smart Parking AI on RZBoard V2l
Developing AI solutions on the edge can be challenging with all the cross-disciplinary requirements, not to mention the data acquisition process! In this blog, I'll show how I built a smart parking application with RZBoard V2L by compartmentalizing the development process. This all started by seeing Renesas' smart parking solution. At first, I just wanted to test it on my RZBoard; soon after, I wanted to extend and improve a more custom solution.
For brevity, my writing will focus on the high level details and crux of each compartmentalized problem. I'll break the engineering process into 4 parts: building the dataset, training & deploying the model, integrating AI with C++, and adding telemetry. Lastly, I'll conclude with my advice for AI development on RZBoard V2L.
If you would like to know or see more, leave a comment! If there is enough interest, I could provide more details in a follow-up blog.
Interested in building a smart parking application, I had two options: real-world implementation, or toy implementation. Thankfully, real-world solutions to occupancy detection is a well-researched area with several open source datasets (and varying licensing). Yet, I wanted a solution I could personally interact with.
Desiring an interactive solution, I thought "What could be better than toy cars?!"
Yet, now I would have to decide what a parking lot was. Was it a piece of paper?
No, a matchbox parking lot is obviously a 1:64 scale EV charging parking lot (the same scale as traditional matchbox cars). Some designing and reading parking lot specs later...

With a toy car focus, I'll prefer to train on my own dataset (experimentally, I found model results more accurate). Here's how I built out my dataset:
- Generate a mock parking configuration (varying lighting, camera, camera angle, parking lot style, parking styles, cars)
- For each mock configuration, run a script to gather (roughly uniform) occupied and unoccupied parking data.
- Repeat 1), 2) until model training yields acceptable results.
Anyway, I had to build a few scripts to help automate this manual process; OpenCV's selectROIs function is great for this. I generated hashes for filenames to prevent overlap and kept count of each class. It turned out ~2,000 images was sufficient for my model. A colleague of mine trialed a solution with a YOLO style classifier, while I stuck to a bounding box solution (so each image is a pre-cut region of interest).

Needing my model in PyTorch or ONNX format for final model deployment, I trained with PyTorch. This process was pretty standard. The requirements were essentially: be real time and be >90% accurate. I took a look at various Renesas models to get a feeling for performance expectations and sizing. The first thing I did was train a model with similar dimensions to their smart parking solution.
I trained a significant amount of models, even some models that were 99%+ accurate on my hold out set, but I decided to continue with a small, custom CNN. I arrived here after building out a small prototype application for testing performance on my desktop cpu and gpu; the small CNN was just so conveniently fast and accurate. I knew I could easily support real-time processing with 90%+ accuracy and still have room for other application logic.
Now was also a good time to check model performance with various cameras and lighting conditions. Once I was satisfied, I continued.
Normally, I'd try finetuning a more foundational model like a Resnet or similar in this stage, but I found it unnecessary.
With the model exported into ONNX format, I used DRP-AI TVM's ONNX compile script. This script converts an ONNX format model into an Apache TVM based format compatible with the DRP-AI accelerator on RZBoard V2L.
A sample compile command I used is (inside of the AI SDK docker container:
python3 compile_onnx_model.py \
    /home/models/spark.onnx \
    -o spark \
    -s 1,3,28,28 \
    -i input
This command outputs a directory and useful logs about model shape, output files, memory offsets, etc... Take note of the directory location and pay attention to the output, much of this will be necessary for later integration.
Anyway, this is how I trained a small CNN for some very effective results!
I won't go too in depth for this section, as Renesas has a great many examples of AI TVM integration. It's in your interest to extend upon their DRP runtime wrappers & sample code to avoid starting from scratch.
The core ideas are: get your region of interest (ROI) frames from OpenCV, do resizing/transformations to match your torch design, and hand off the data to the DRP runtime for inference. In my experience, the hardest part of AI integration at this stage is ensuring your model input is packed correctly and model output is unpacked correctly. Make sure to read up on your input shape and pixel orientation as well as the output shape and datatype! TVM related function calls are often void *, so care needs to be taken!
Seriously, if you deploy at this stage, and model accuracy plummets, inspect your model input and output closely! Make sure you're not accidentally truncating, packing in the wrong pixel format, or missing a transformation operation.
I decided to extend the sample Renesas application by changing the ML model, ROI initialization, persisting ROIs to disk, performing optimizations, adding bugfixes around memory leaks / void *, and changing input transformations. Existing applications are mostly demonstrative, focused on providing quick examples. Be ready to make changes for more production oriented solutions.
I wanted a real time dashboard with IoTConnect, but I wasn't sure the easiest way to get it. IoTConnect has many available SDKs/integrations after all. Looking at the options, the Python SDK seemed mature and easy to use; for me, this is where Yocto came in. I started hacking away at integrating the iotc-yocto-python-sdk with my custom Yocto image. I'll spare the details because there is now official Dunfell and RZBoard support for the this repository; adding the layer is a simple Yocto workflow.
Building out a telemetry test didn't take long- the next real task here was to integrate my C++ application with Python. I contemplated pipe and socket solutions, but eventually I decided a DGRAM socket implementation would require minimal handshaking and error handling. After all, I wanted the telemetry enablement to launch on boot (as a service) and be completely hands off.
I added C++ application logic to track parking slot ids, occupancy status, and occupancy time. I setup the Python application to wait for incoming parking data, acquire it, and only forward to IoTConnect if parking occupancy changes from the last telemetry. You could do this in the c++ app, but my use of UDP and rate limiting caused me to prefer putting the logic in Python. The integration was simple and had low processing overhead.
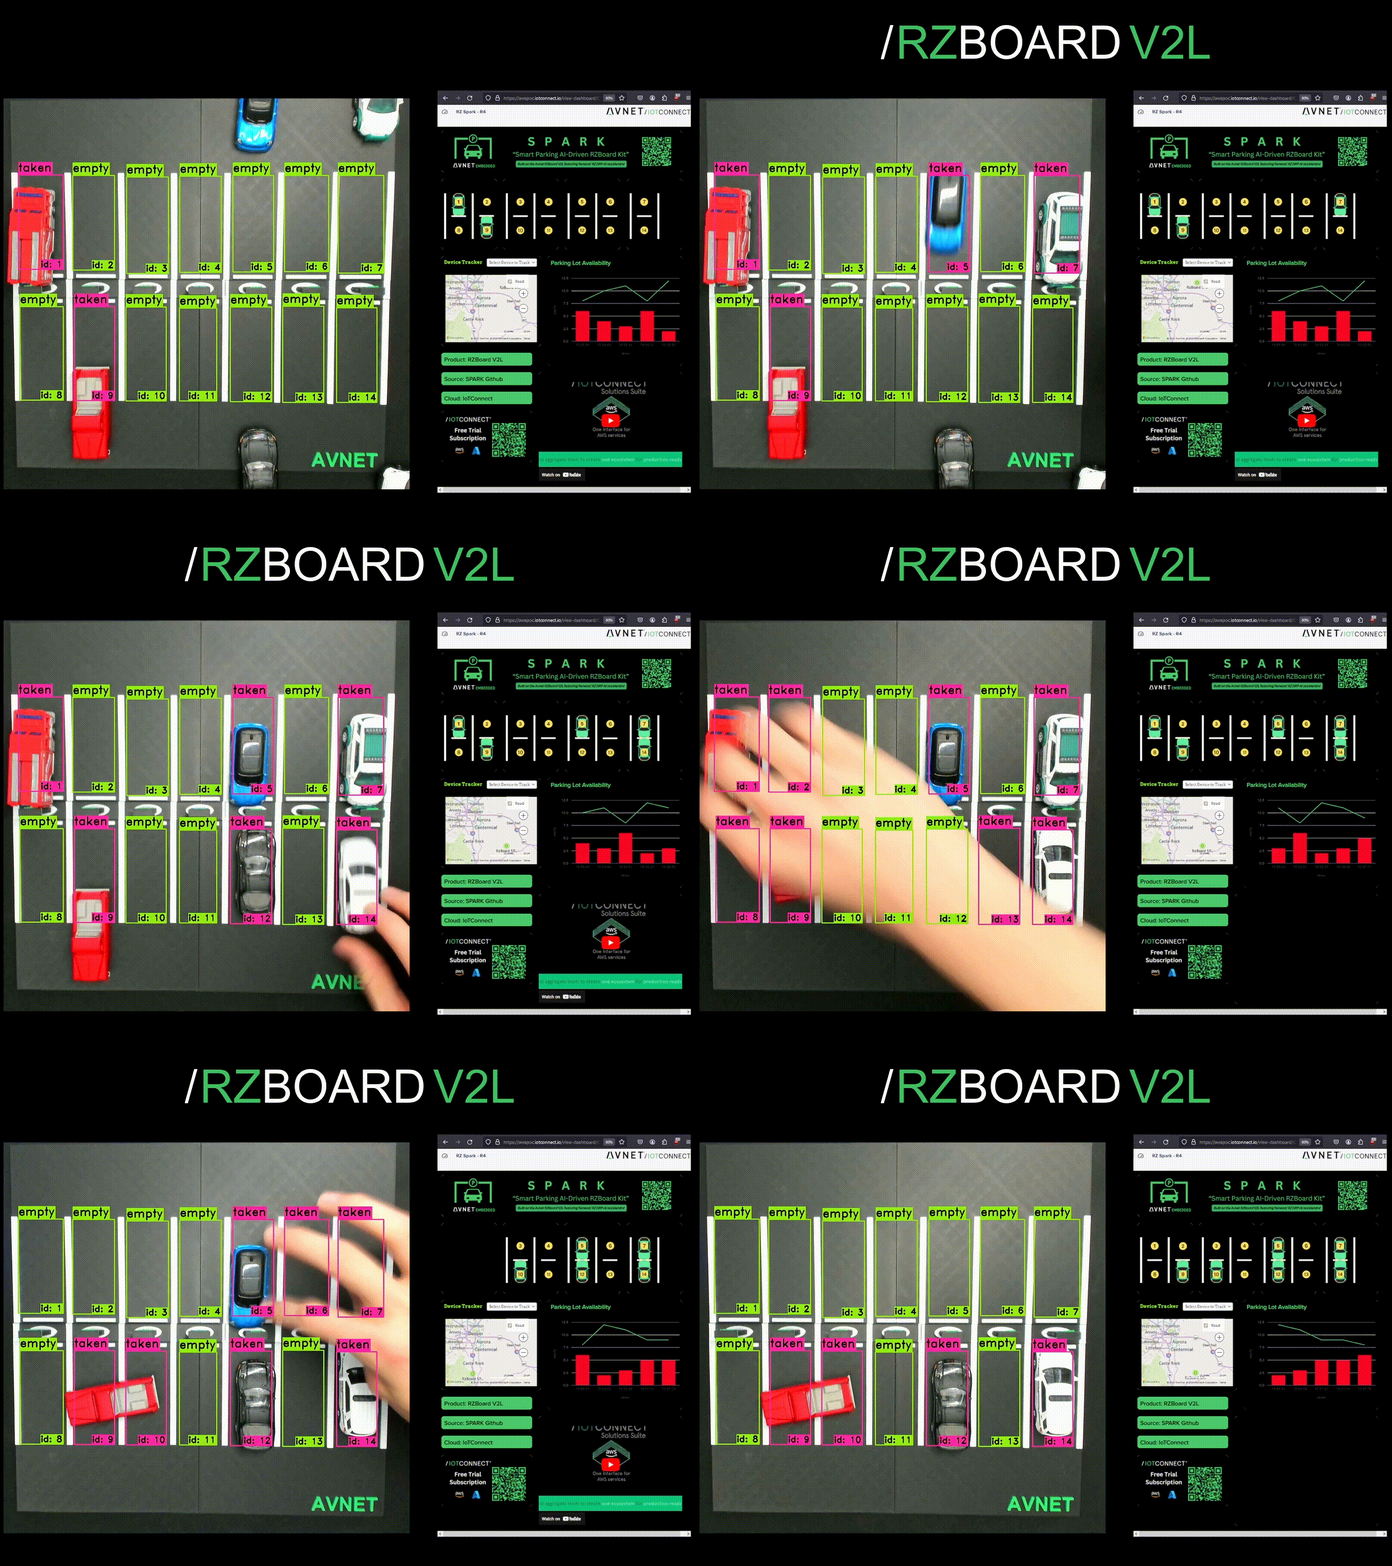
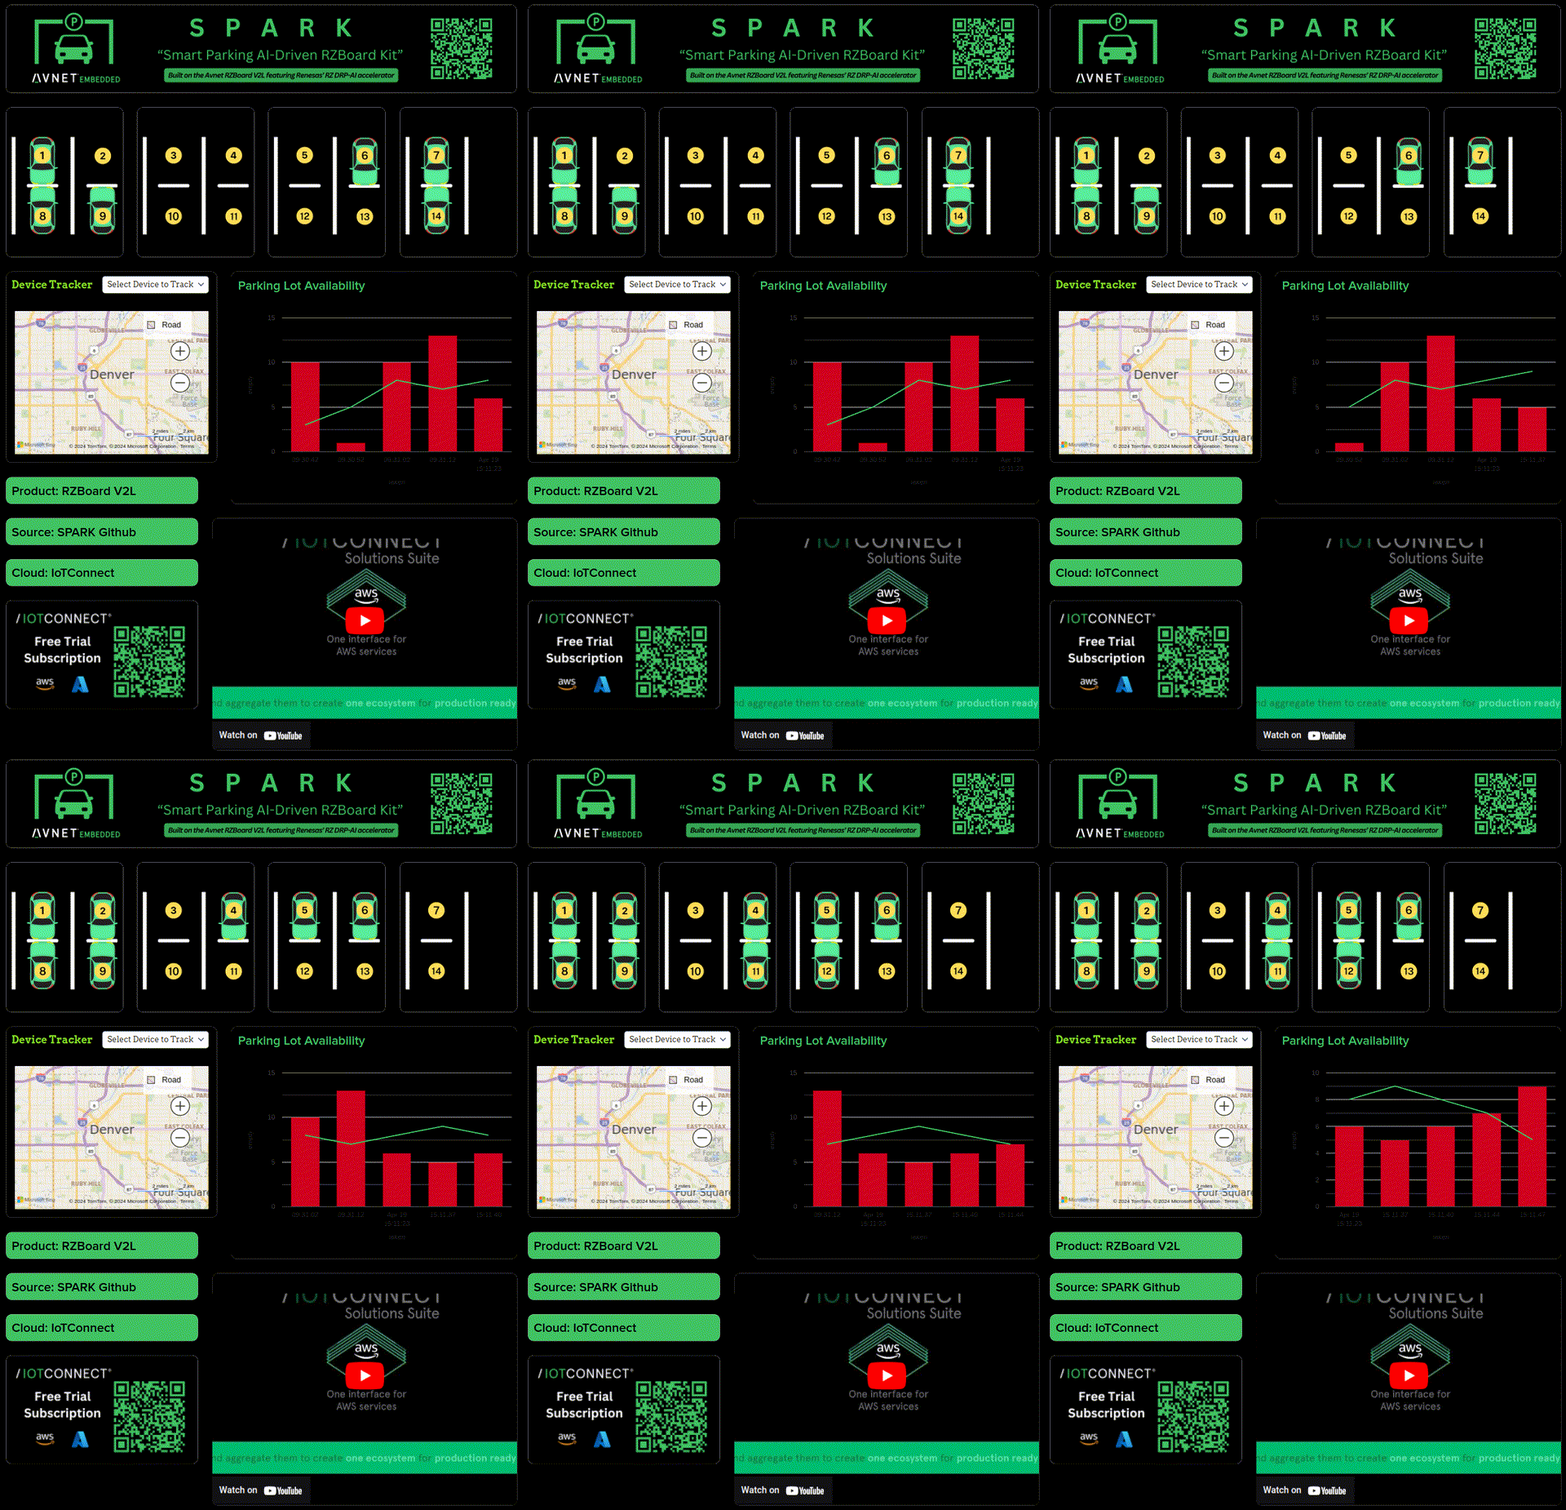
Lastly, a dashboard was built out! IoTConnect catches parking state as JSON and updates the dashboard in real time.
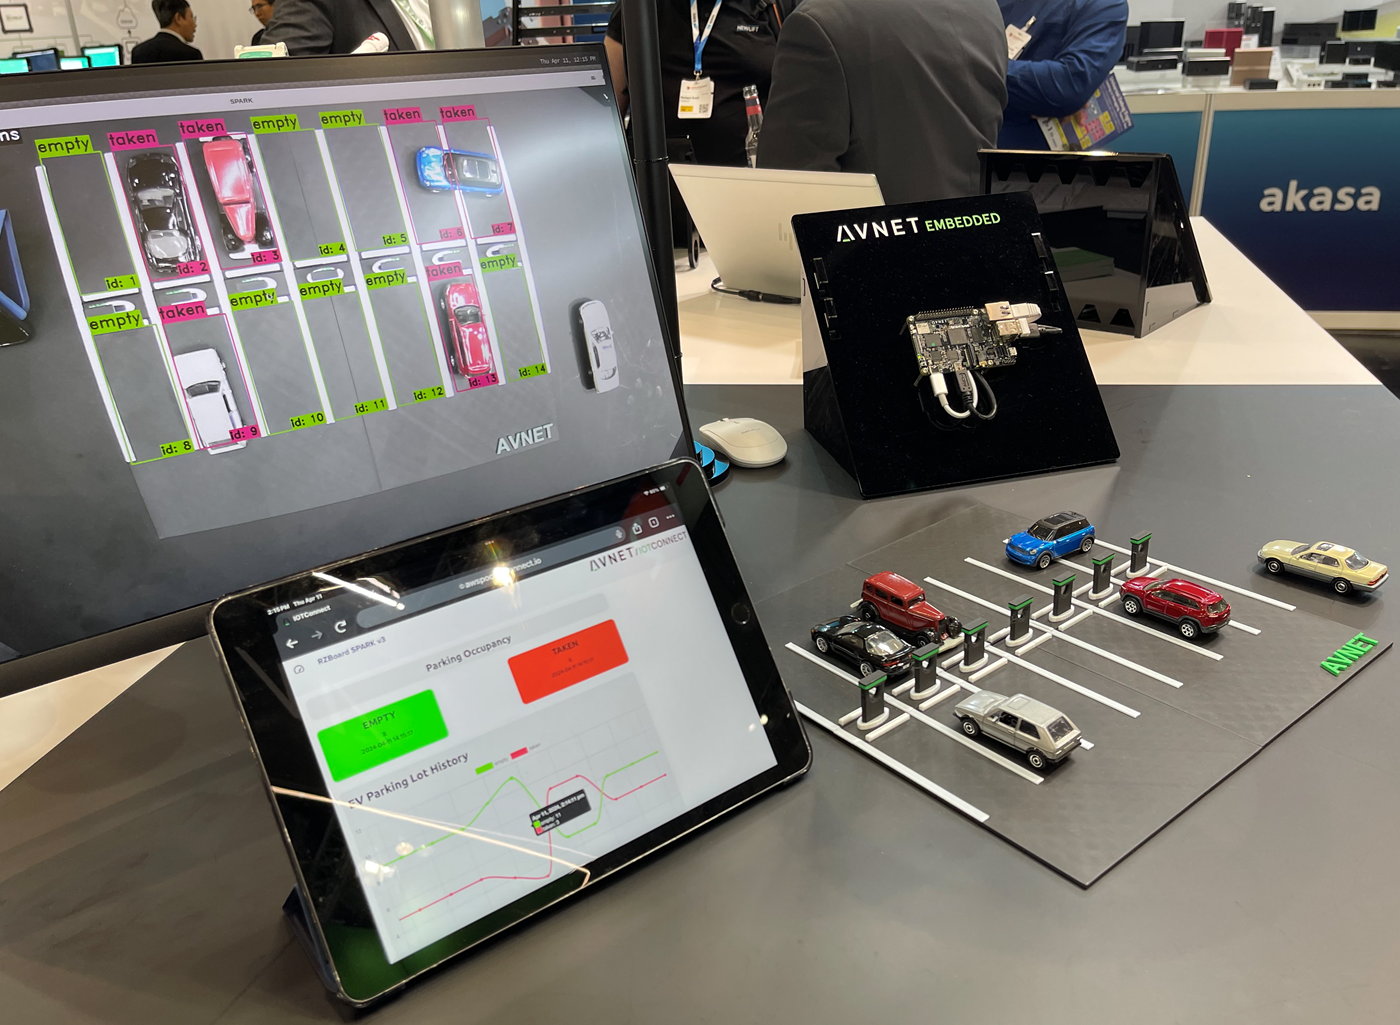
Finally, my project was built out- and it's been a success! Here are some pictures of it at Embedded World in Nürnberg and Embedded Vision Summit in Santa Clara. The solution took time to develop, but compartmentalizing the core tasks and proving them along the way really brought down complexity.
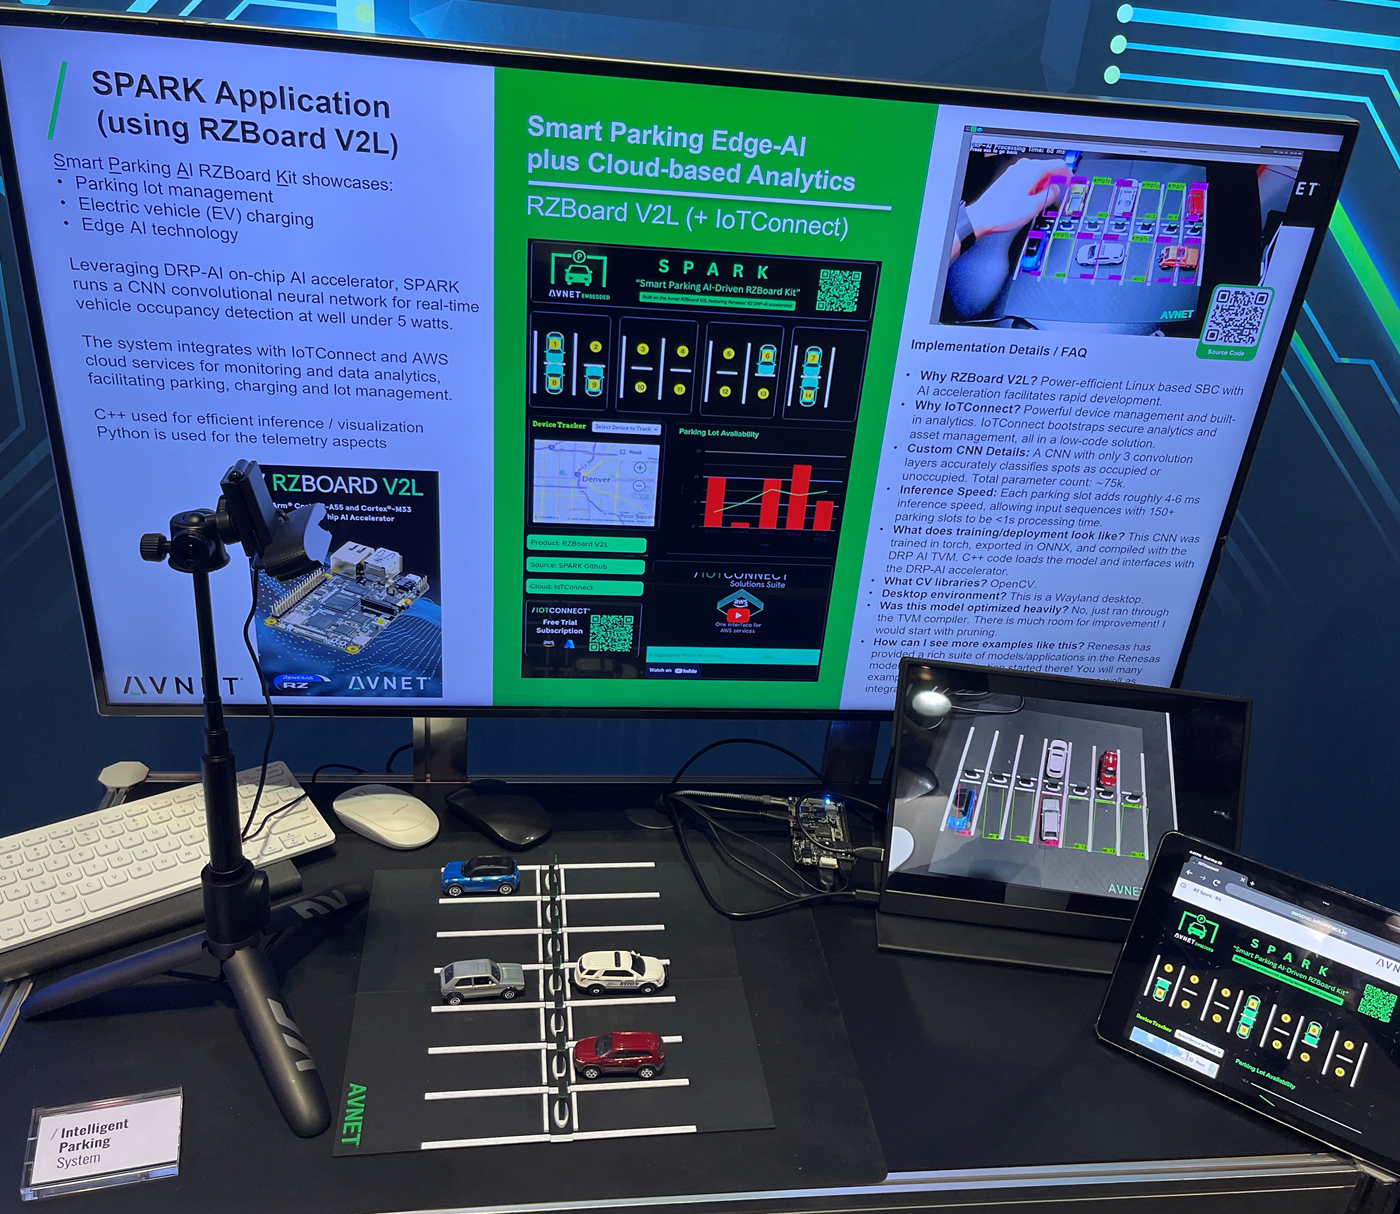
Here, I'll leave some guidance for AI on RZBoard V2L.
The biggest advice I have regarding AI with RZBoard V2L is to get started by building out common examples, and read lots of documentation! There are mountains of examples with the common models: YOLO, Resnet, Mobilenet, etc... Once you understand those, developing custom solutions is simplified.
In terms of problem spaces, this board is great for AI surveillance and analytics solutions, especially low power ones.
Lastly, if you need more performance, you may need to compress your models and/or run them on the DRP AI translator instead of the TVM. The TVM weaves operations between NPU and CPU, but the AI Translator focuses on putting all ML operations on NPU for increased performance. The 'cost' of using the AI Translator is there is a more restricted operation set for your ML.
That concludes the smart parking showcase, let me know if you're looking for more content like this!
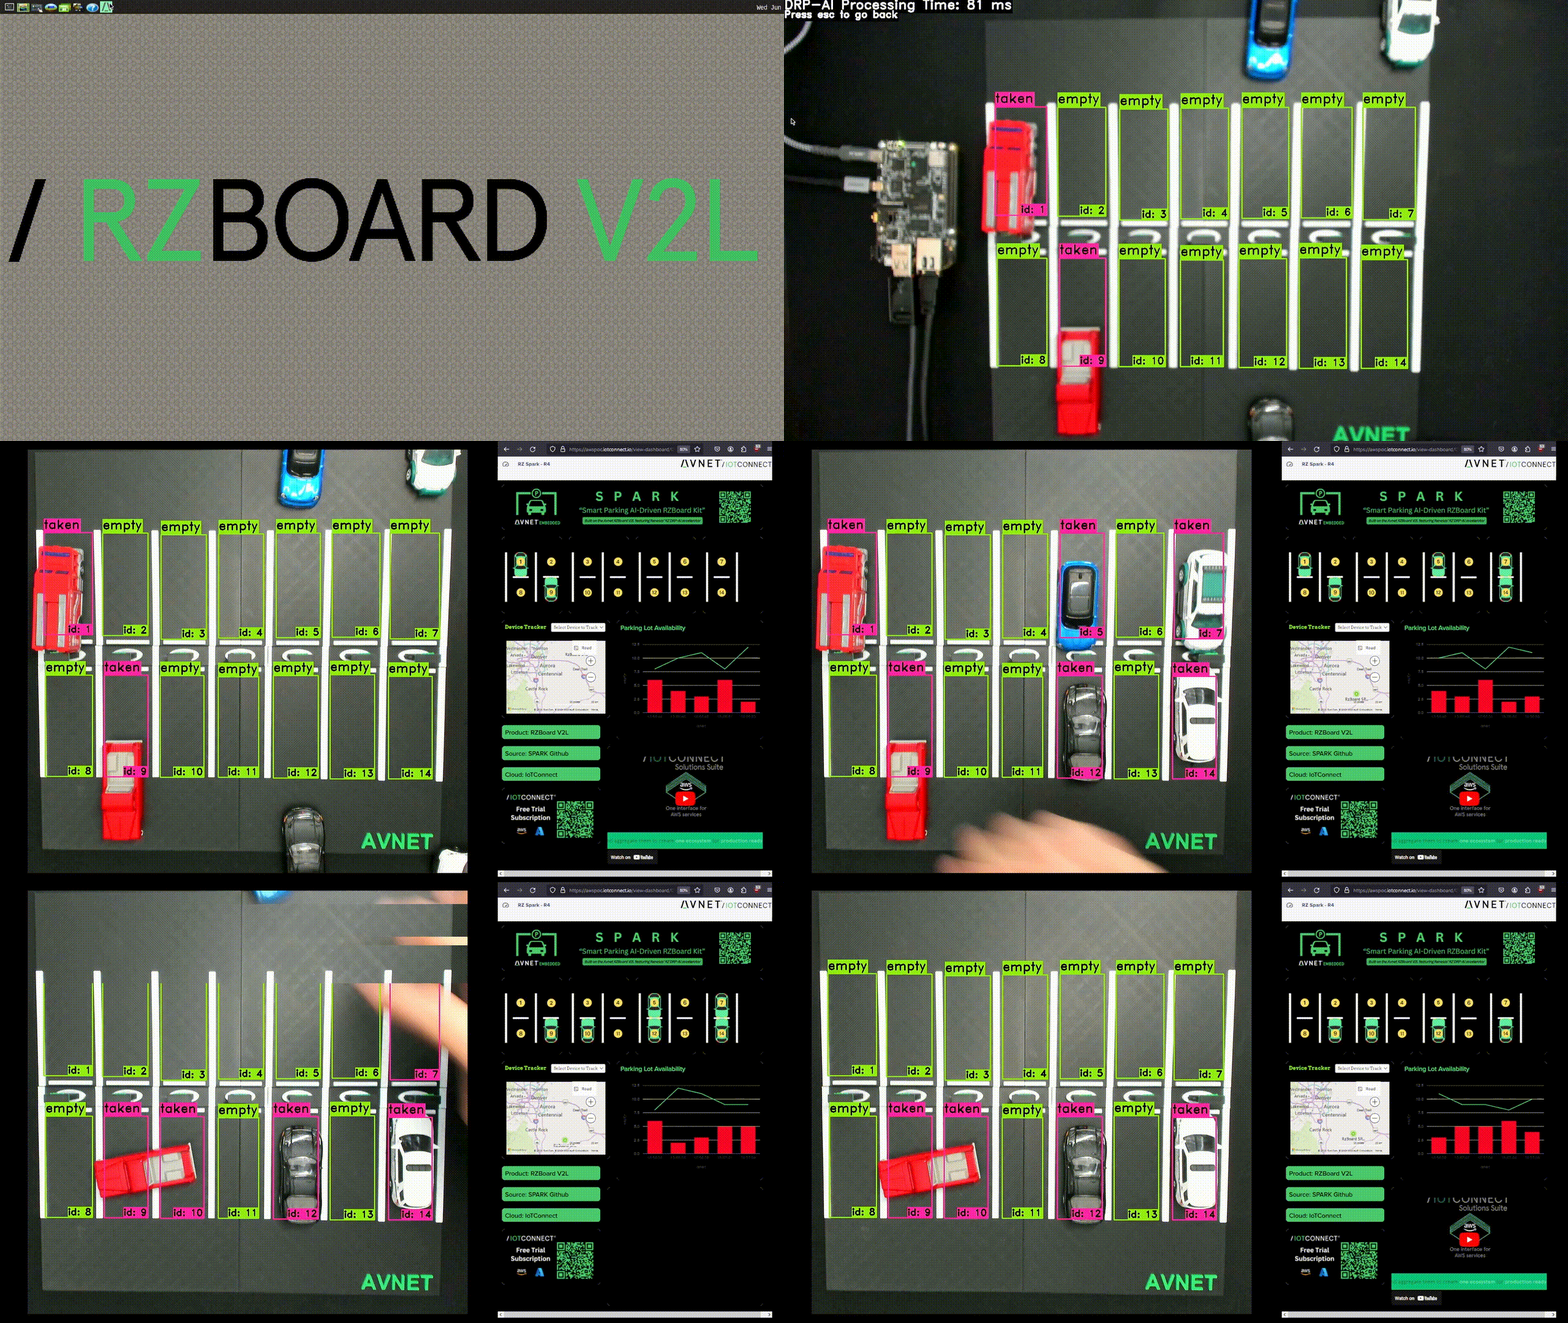
-- Part 1
Preferred SDK setup : https://github.com/renesas-rz/rzv_drp-ai_tvm/tree/main/setup#installing-drp-ai-tvm1-with-docker-rzv2l-rzv2m-rzv2ma
ONNX Example
python3 compile_onnx_model.py \
    ./resnet18-v1-7.onnx \
    -o resnet18_onnx \
    -s 1,3,224,224 \
    -i data
ONNX Example
python3 compile_onnx_model.py \
    /home/models/spark.onnx \
    -o spark \
    -s 1,3,28,28 \
    -i input
-- Important compile output
 python3 compile_onnx_model.py /home/models/spark.onnx -o spark -s 1,3,28,28 -i input

 Input AI model :  /home/models/spark.onnx
 SDK path               :  /opt/poky/3.1.21
 DRP-AI Translator path :  /opt/drp-ai_translator_release
 Output dir             :  spark
 Input shape            :  (1, 3, 28, 28)
 -------------------------------------------------
 Run TVM frotend compiler
 -------------------------------------------------

 .....
 .....
 .....

Model size: 78499 GraphSize: 78499 out: 0:
Compare input/output shape definition in ONNX and pre/post YAML file.
Reading ONNX Parameters.
done
Parsing ONNX Nodes.
done
Convert ONNX model into IR format.
done.

Conv(ker=3, st=1, pad=0, bias=True)
 (1, 3, 28, 28)
 (1, 32, 26, 26)
conv2d_2

Relu()
(1, 32, 26, 26)
(1, 32, 26, 26)
relu_3

MaxPool(ker=2, st=2, pad=0)
(1, 32, 26, 26)
(1, 32, 13, 13)
maxpool2d_4

Conv(ker=3, st=1, pad=0, bias=True)
(1, 32, 13, 13)
(1, 64, 11, 11)
conv2d_7

Relu()
(1, 64, 11, 11)
(1, 64, 11, 11)
relu_8

MaxPool(ker=2, st=2, pad=0)
(1, 64, 11, 11)
(1, 64, 5, 5)
maxpool2d_9

 .....
 .....
 .....

[Generate address map file] Start

  > aimac_desc.bin size :      0xd0 (208 Byte)

  > drp_desc.bin size   :     0x150 (336 Byte)

  > drp_param.bin size  :      0xf0 (240 Byte)


  [Address & data alignment check] PASS

  [Info] ['work'] area size is zero.

  [Check address map overlap (memory leak)] PASS

  Address map file: ./output/pp/pp_addrmap_intm.yaml is generated.

[Generate address map file] Finish

[Make Input/Output node information]

  Input node list : ./output/pp/pp_data_in_list.txt is generated.

  Output node list : ./output/pp/pp_data_out_list.txt is generated.

---------------------------------------------

[Converter for DRP] Finish

DRP-AI Pre-processing Runtime saved at:

./spark/preprocess
Python compile patch
try:

        # 3. Run DRP-AI TVM[*1] compiler

        # 3.1 Run TVM Frontend

        print("-------------------------------------------------")

        print("   Run TVM frotend compiler ")

        mod, params = relay.frontend.from_onnx(onnx_model, shape_dict)

    except Exception as e:

        print(f"An error occured: {e}")

        if not opts["input_name"]: print("Try again with ' -i : Input node name of AI model'")


        if not opts["input_shape"]: print("Try again with ' -s : Input shape of AI model'")

        elif opts["input_shape"] == [1, 3, 224, 224]: print("Did you pass an input shape with -s?")

        sys.exit(1)
Note: seeing "AssertionError: User specified the shape for inputs that weren't found in the graph: {None: (1, 3, 28, 28)}" ? Make sure to specify input
-- Part 2
