Setting Things Up
NOTICE: Some education mailboxes may not be able to open the API. This is because the administrator does not have open permissions. You can use your own account to create the API.
-
Enable Google Drive API for Your Account:
-
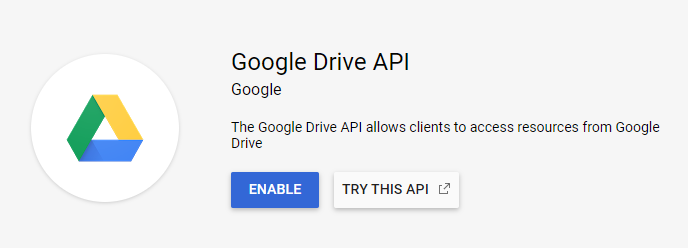
Here is the Link to Enable Drive API - Click Here
-
If You Have not Created any Project in Google Developer Console or if This is Your First Time Setup, It will Ask You to Create a New Project.
-
After Creating a New Project Enable the Drive Api.
-
-
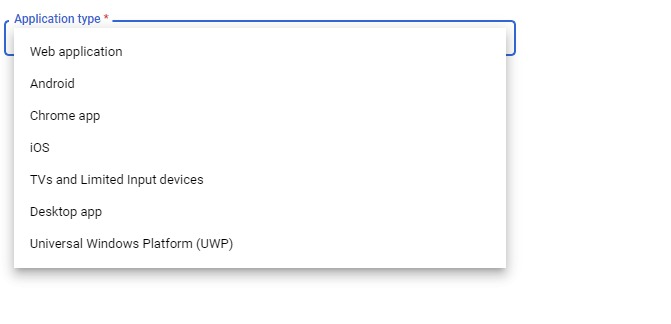
Create an OAuth client ID:
- The first creation will allow you to configure the consent screen, fill in the application name and save it directly.
-
Select Desktop app (It may change when you visit here, please hit and try!)
-
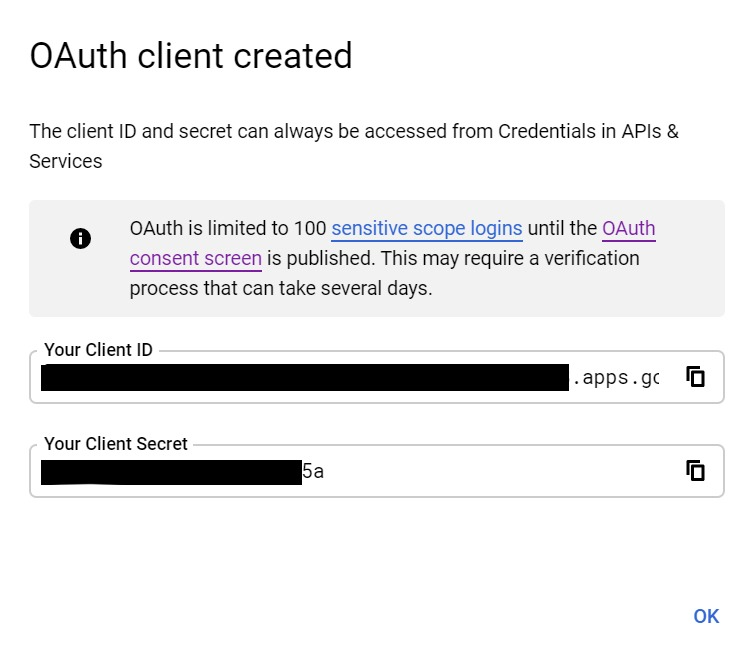
Then you can see the client ID (client_id) and client secret (client_secret), copy and save it.
-
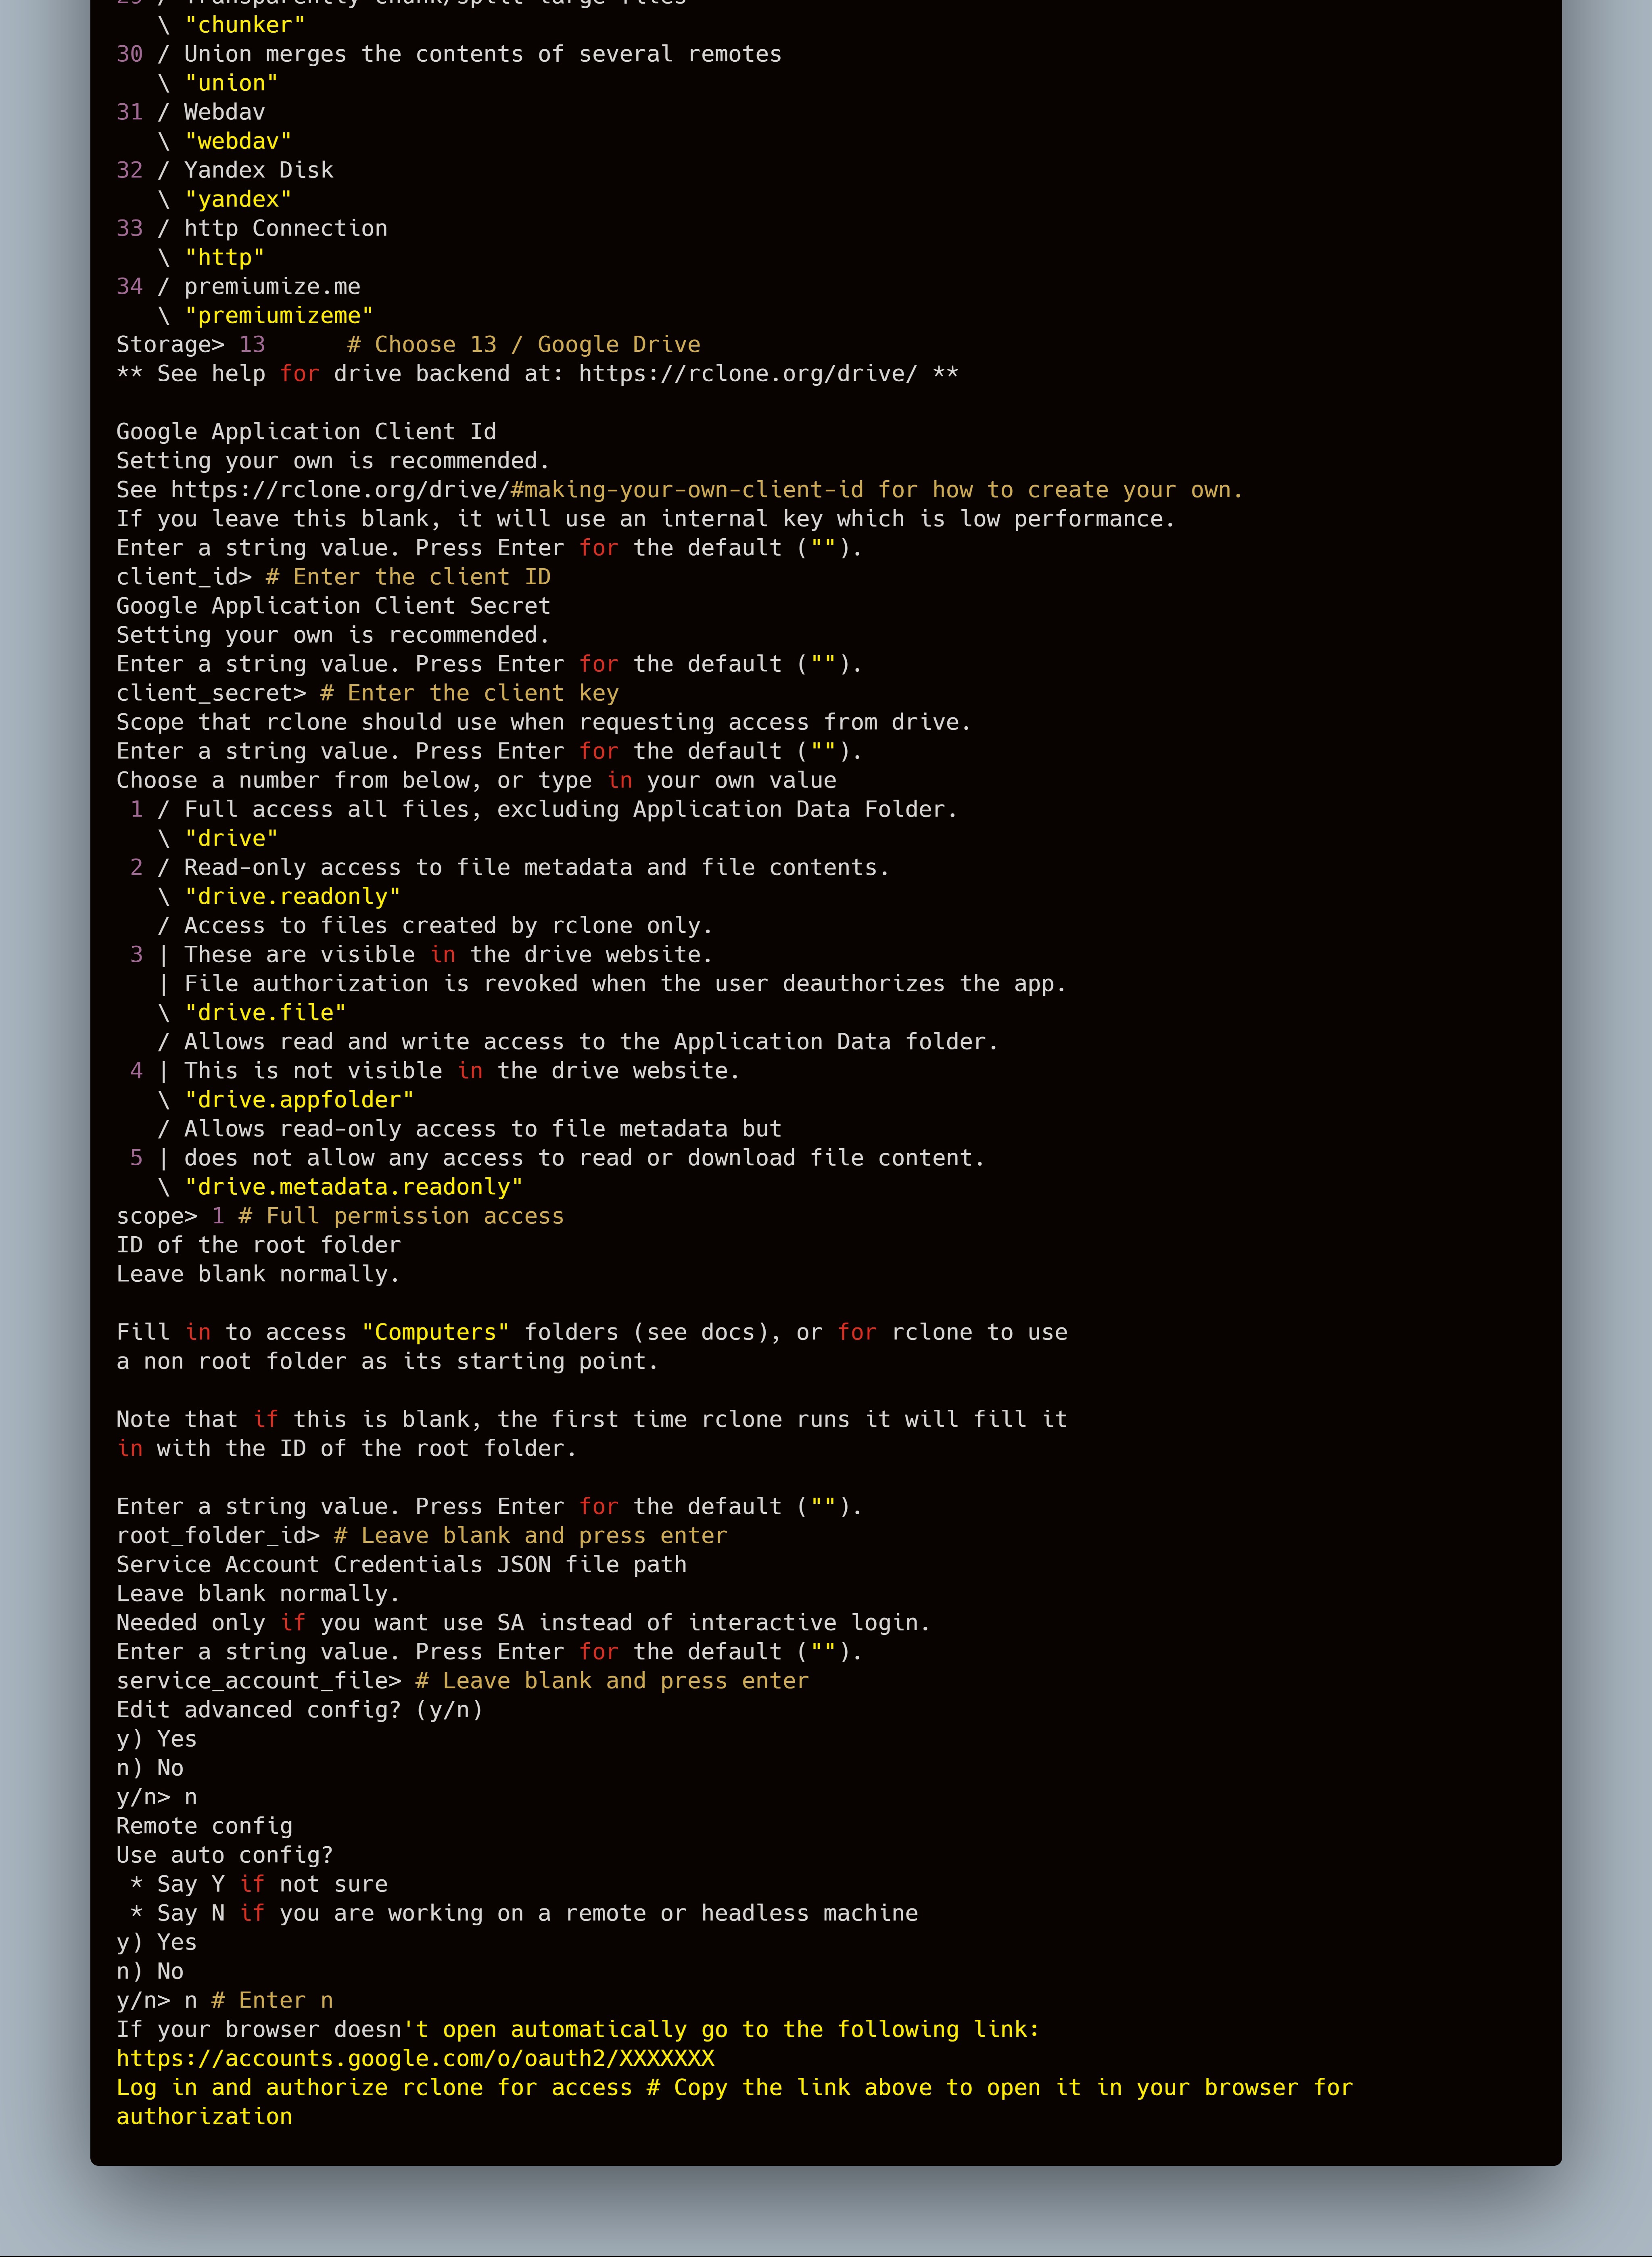
Get refresh_token
-
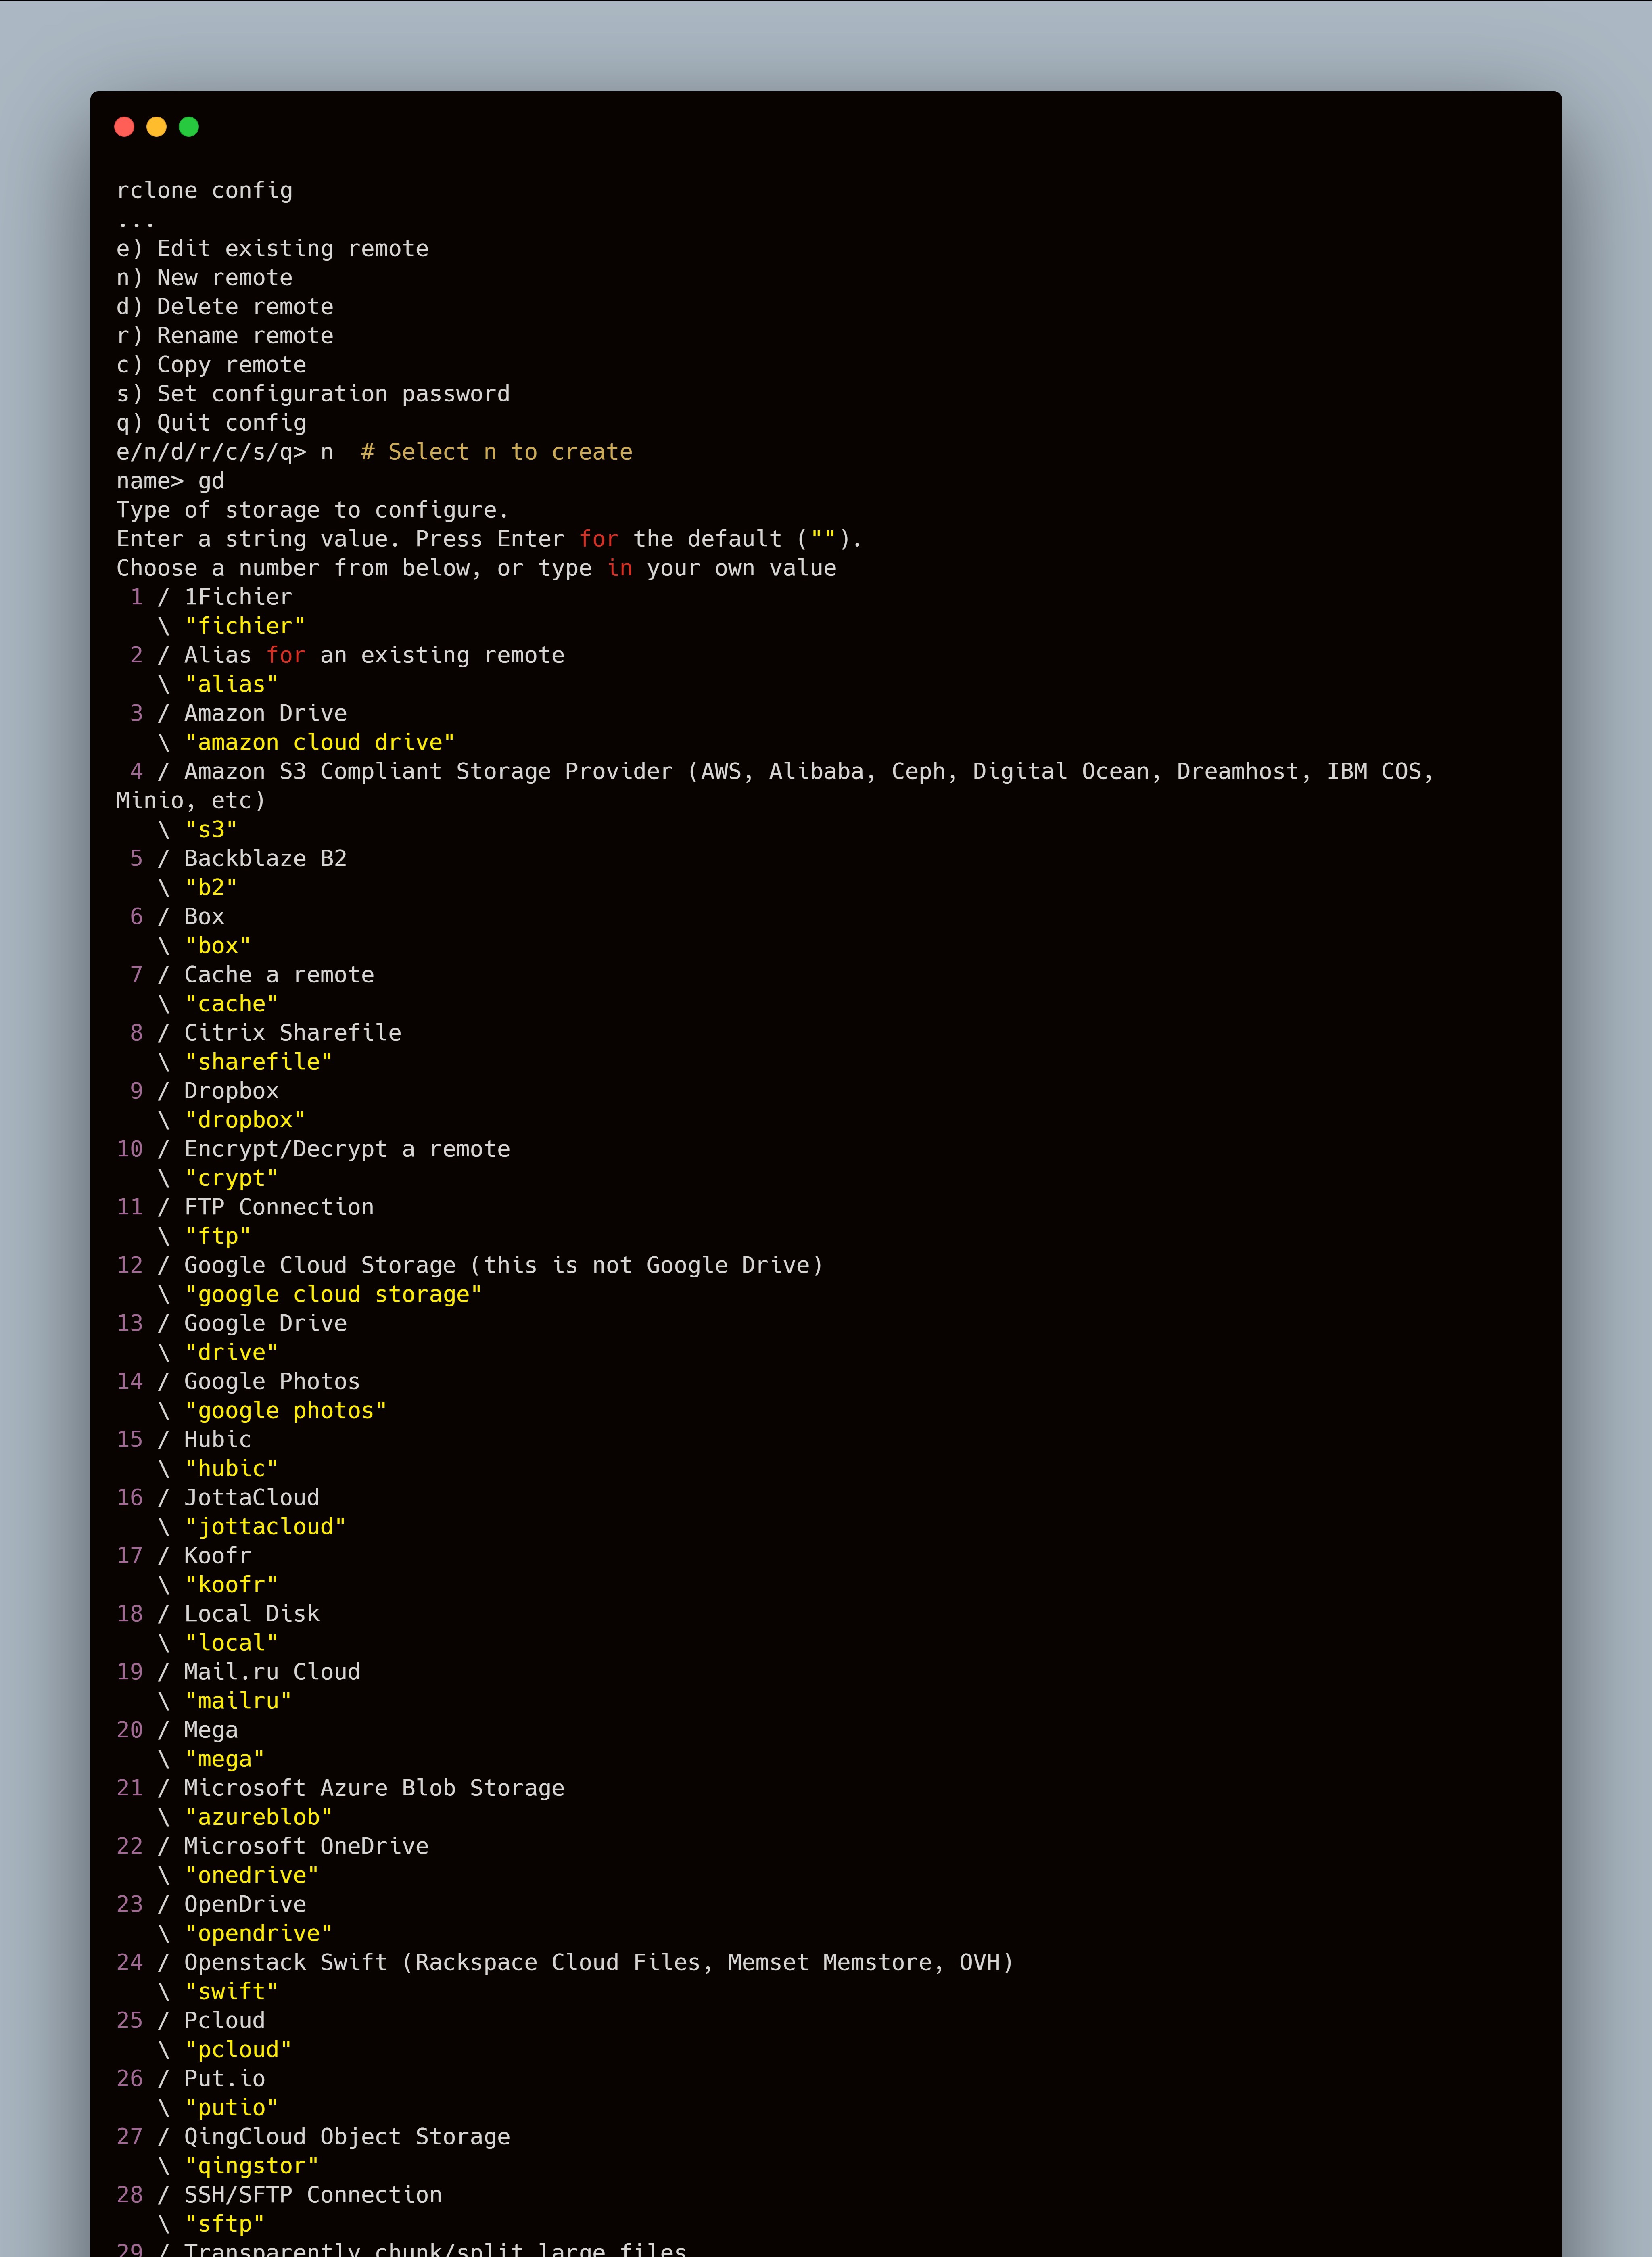
Enter the
rclone configcommand, the following message will appear, please follow as shown.
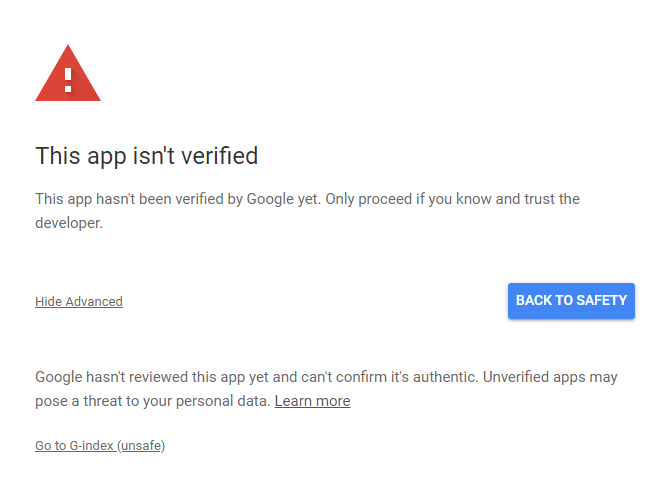
- In the browser, you may encounter the prompt in the figure below, this is because the API was created by us and has not been verified by Google.
-
Get root directory ID (root)
- The root directory here refers to the root directory displayed by G-Index, which can be any directory in your network disk. Open the network disk to locate a directory or shared directory, the code at the end of the URL in the address bar is the directory ID. If the personal network disk parameter is left blank, it is the root directory of the network disk.
Example: https://drive.google.com/drive/u/1/folders/###########XYZ
Click Here to Create a Cloudflare Account
Click Here to create a Heroku Account
-
Create a Account in any of the Above Mail Providers.
-
We need its SMTP Configuration, for that google search by
MAIL-PROVIDER-NAME smtp configfor getting its SMTP Configuration. We need the Following Configs:- SMTP Address
- Port Number
- Your username / emailid
- Your email Password
- Click here for Creating a MongoDB Account, with which we will be Hosting the Database for Our website for Storing User Information and Security Stuffs.
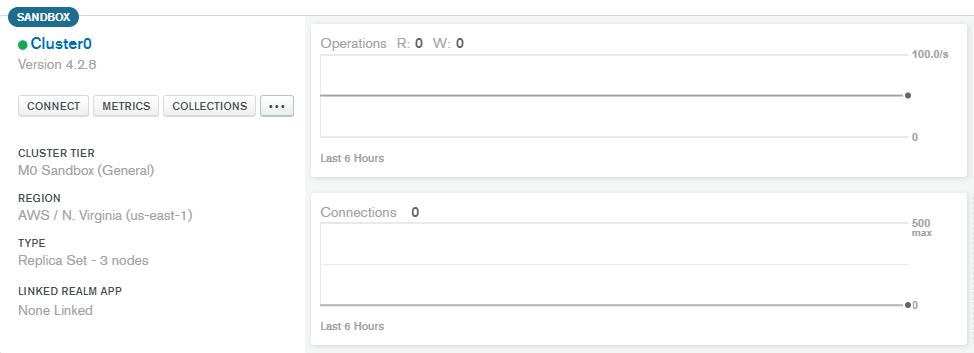
- After Creating a Mongodb Account, create a new cluster in Atlas with default settings.
-
Click on connect.
-
Put 0.0.0.0 in IP and create a admin user and remember the password it will be used in next step.
-
On next step, choose Connect your application and then following screen will come:
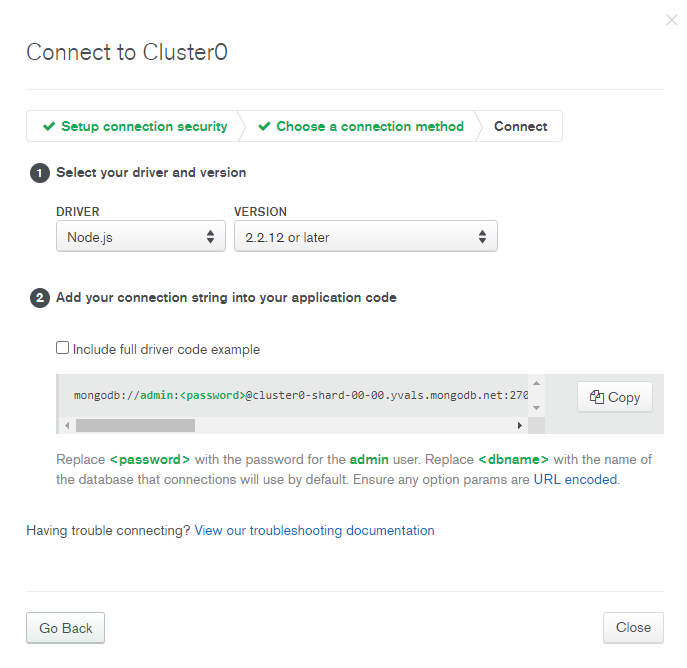
-
Here node.js version can be any and hence in my case I selected 2.2.12 or later as it was working smooth on local setup.
-
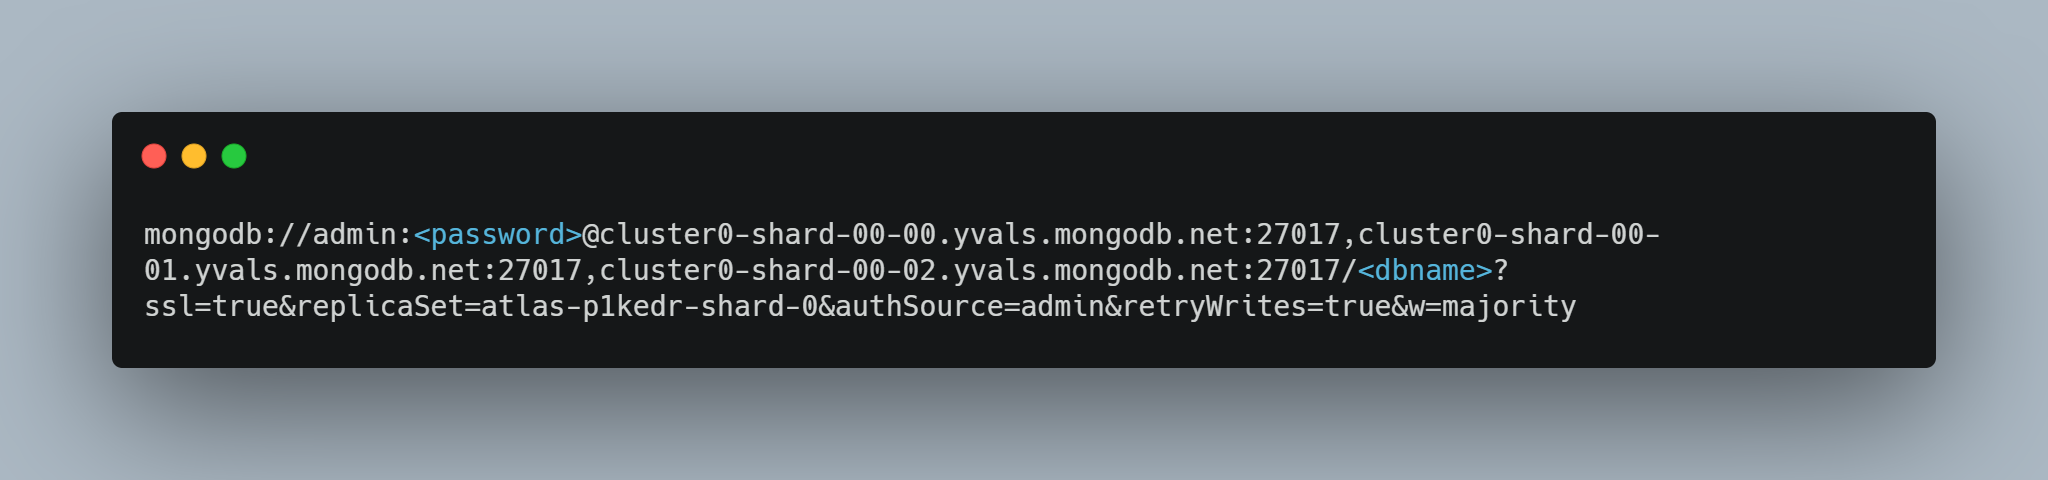
Copy the connection string
-
Change 2 parameters here, with the password you entered in previous step and with any name you like for example myusers
-
Do not use special characters in dbname!
-
remove <> and replace all the stuff with your input.

- Take note of the Connection String after making the Above Changes, this will be used to setup Backend Environment Variables.
It Looks like You have Completed all the Setting Ups Required for Deploying this G-Index. Now You Have Two Ways for Deploying the Backend which is as Follows. Select Whichever that is Easy for You.
- Method 1 - Using My Cli Deployer Tool - Click Here
- Method 2 - Using Git and Heroku CLI - Click Here
Important: This project is only for personal use to share content with family and friends, do not use for commercial purpose. You are Absolutely Free to Use it for Personal and for Educational Purposes, I don't Restrict that but If I Find anyone Using for Commercial Purposes, then Strict Action can be Taken.
Is that documentation missing something? Isn't it clear enough? Help me improve it by filing a Github issue.
Wiki Documented and Structured by - Shan.tk
Support/Sponsor this Project:
