based on this marijnz unity-toolbar-extender. Also avaliable on Asset Store. Please, review it to make it more popular
This custom tool helps you to test and develop your game easily
This package is available on OpenUPM.
You can install it via openupm-cli.
openupm add com.smkplus.customtoolbar
- MenuItem - Window - Package Manager
- Add package from git url
- paste
https://github.com/smkplus/CustomToolbar.git#master
Find the manifest.json file in the Packages folder of your project and add a line to dependencies field.
"com.smkplus.customtoolbar": "https://github.com/smkplus/CustomToolbar.git#master"
Or, use UpmGitExtension to install and update the package.
- Download a source code zip this page
- Extract it
- Import it into the following directory in your Unity project
Packages(It works as an embedded package. For Unity 2018.1 or later)Assets(Legacy way. For Unity 2017.1 or later)
- https://assetstore.unity.com/packages/tools/utilities/custom-toolbar-189047
- Add it to project as usual
You can import sample scenes from package manager.
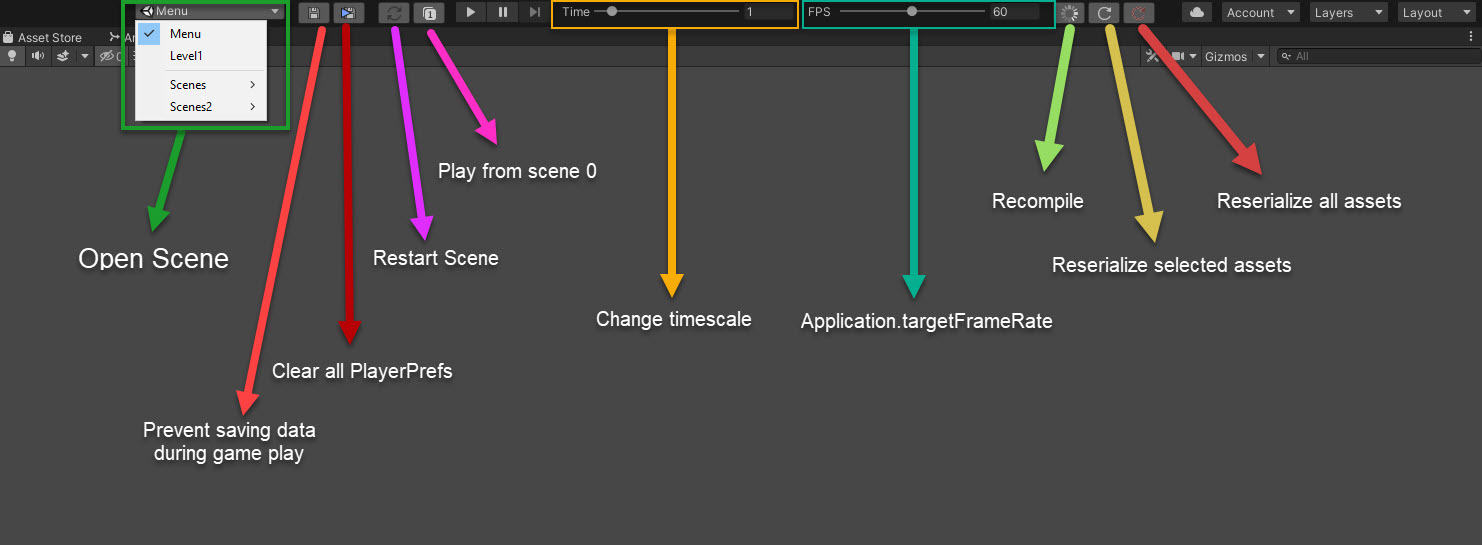
Scene selection dropdown to open scene in editor. Scenes in build have unity icon while selected and appear above splitter in list
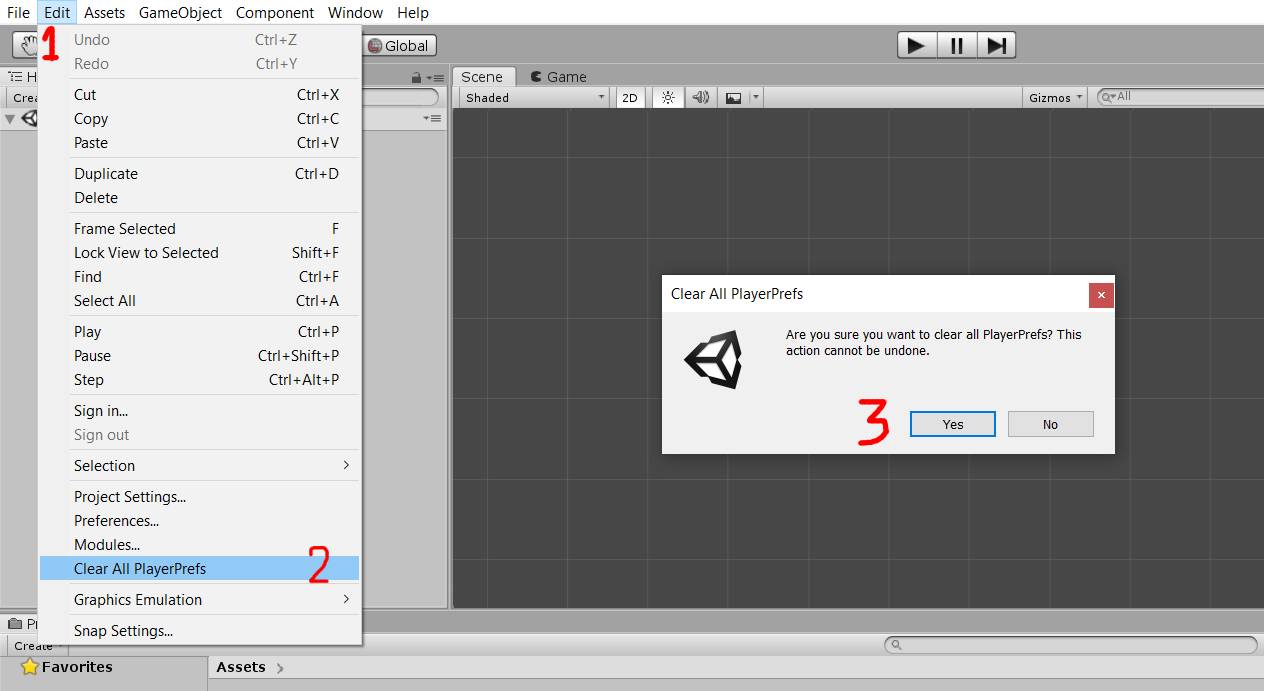
when you want to clear all playerprefs you have to follow 3 step:
but you can easily Clear them by clicking on this button:
another button relevant to saving is this button that prevents saving during the gameplay. because sometimes you have to Clear All playerprefs after each test so you can enable this toggle:
Enable Playerprefs:
Disable Playerprefs:
you can restart the active scene by this button:
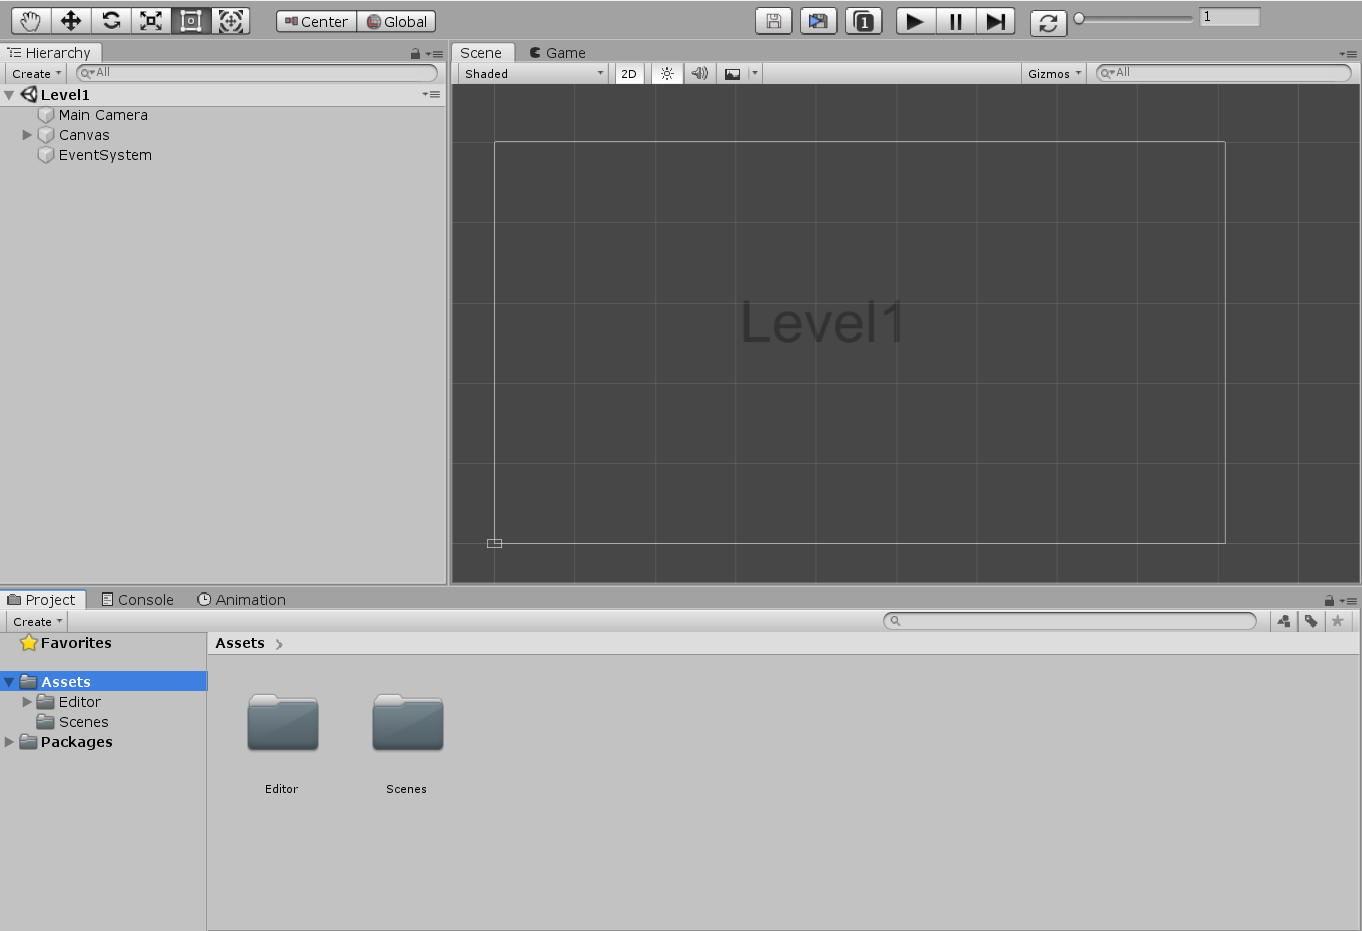
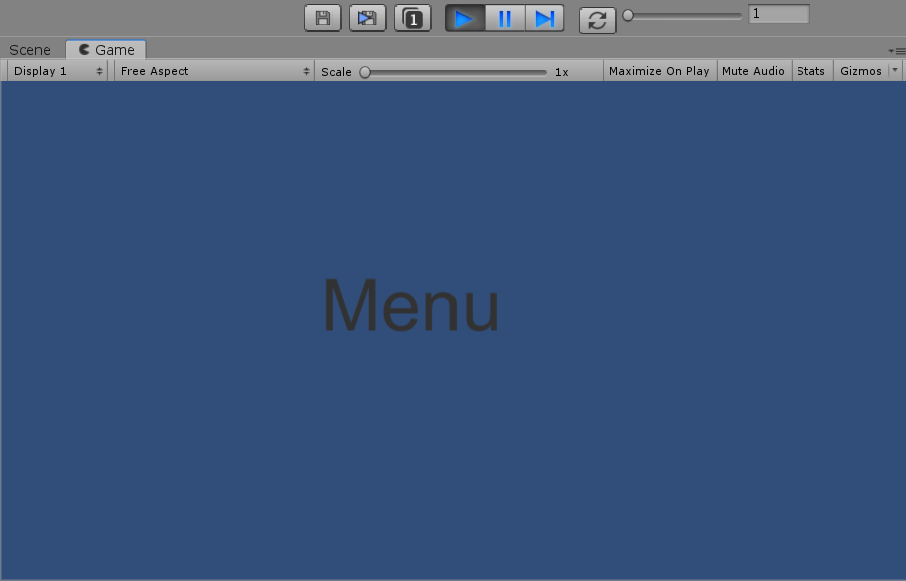
suppose you want to test your game so you should start game from scene 1(Menu):
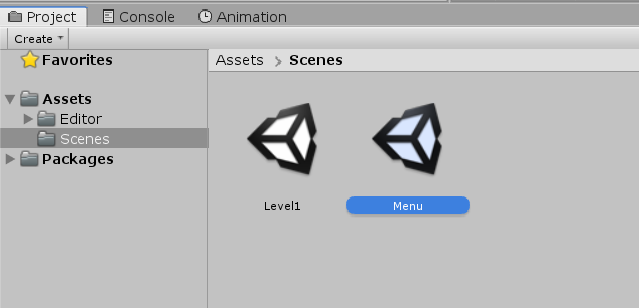
you have to find scene 1 (Menu):
then you should start the game:
this button is shortcut to start the game from scene 1:
I usually test my games by changing timescale.
Also it usefull to test your game with different framerates, to be sure that it is framerate-independent.
Button to recompile scripts. Usefull when you working on splitting code into .asmdef
Force reserialize selected(in project window) assets. What it does - https://docs.unity3d.com/ScriptReference/AssetDatabase.ForceReserializeAssets.html
Force reserialize all assets. Same as previous, but for all assets and takes some time. Use this after adding new asset or updating unity version in order to not spam git history with unwanted changes.
You can customize the toolbar on Project Setting
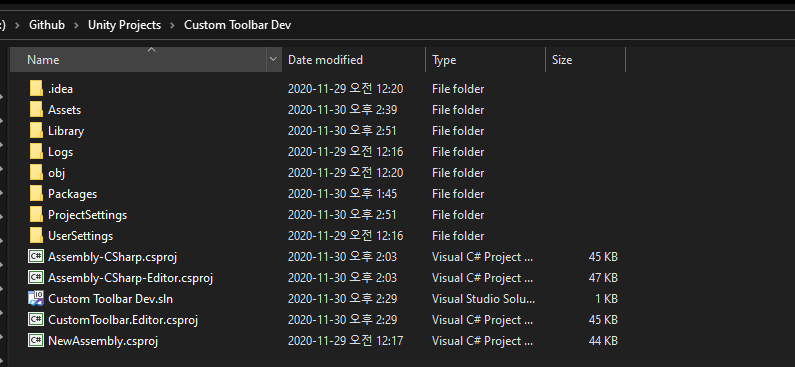
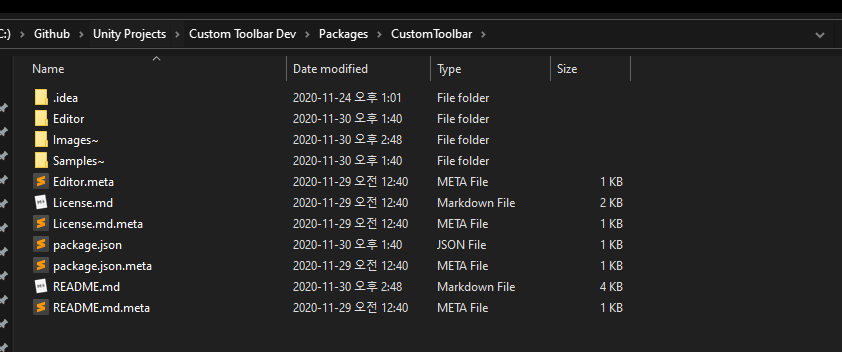
Development directory:
- Create a project through Unity Hub.
- clone repository at
Packagefolder at root of project. - edit codes with your IDE.


