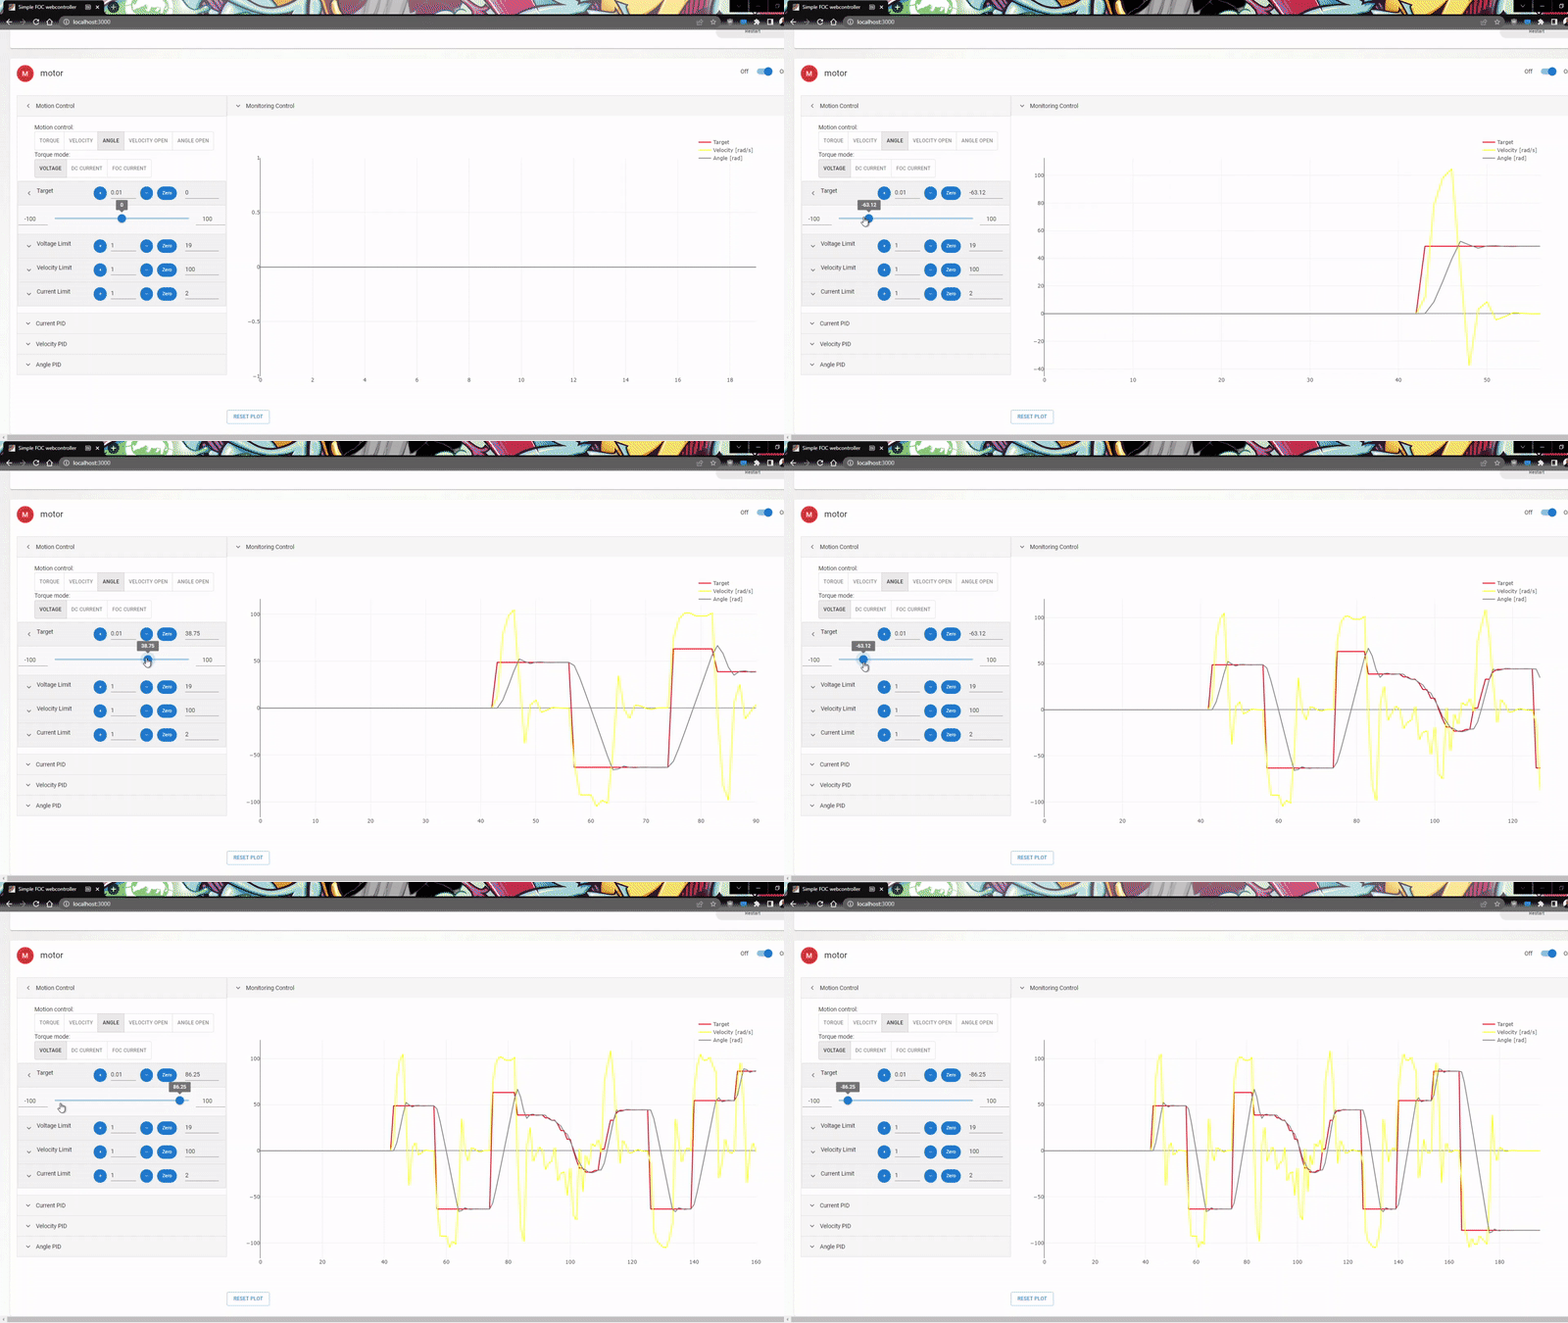
This is an fork of the https://github.com/geekuillaume/simplefoc-webcontroller modified for the needs of the SimpleFOC library
This is a controller interface for the Simple FOC library. It uses WebSerial to communicate with a suitable micro-controller on which Simple FOC is used.
- Control multiple motors
- Motors auto-detection
- Motor monitoring with realtime graph
- No install needed
- Configure and flash Simple FOC on the board of your choice following the official documentation
- Configure each of your motor to use monitoring
- If you which to control your motors through the web controller (and not only monitor them), configure commander for the motor
- Go to webcontroller.simplefoc.com with a Chromium browser (or any browser with WebSerial)
- Click on "Connect" and select your micro-controller
Basically there are three things you need to do:
- Use the commander interface and add the motor to the commander
- Use the monitoring and add the
motor.monitor()in the loop - Make sure to set the
motor.monitor_start_charandmotor.monitor_end_charto the same character as the motor id added to the commander
Here is a mockup of the code:
#include <SimpleFOC.h>

....

// include commander interface
Commander command = Commander(Serial);
void doMotor(char* cmd) { command.motor(&motor, cmd); }

void setup(){
  ....
  // add the motor to the commander interface
  // The letter id (here 'M') of the motor
  char motor_id = 'M';
  command.add(motor_id,doMotor, "motor");
  // tell the motor to use the monitoring
  motor.useMonitoring(Serial);
  // configuring the monitoring to be well parsed by the webcontroller
  motor.monitor_start_char = motor_id; // the same latter as the motor id in the commander
  motor.monitor_end_char = motor_id; // the same latter as the motor id in the commander

  command.verbose = VerboseMode::machine_readable; // can be set using the webcontroller - optional
  ...

}
void loop(){
  ....

  ....
  // real-time monitoring calls
  motor.monitor();
  // real-time commander calls
  command.run();
}- conda environemnt for node
conda env create -f env.yaml - then activate
conda activate node - to run
npm run devthe output should be:
  vite v2.9.9 dev server running at:

  > Local: http://localhost:3000/
  > Network: use `--host` to expose

  ready in 858ms.
- then just go to your
http://localhost:3000/and you should be ready to go
