Python daemon transmitting local sensor updates using MQTT.
This project works. I plan to add more sensor options.
My motivation came from wanting to easily integrate sensors attached to a raspberry pi to my Home Assistant. The real need came when I started using muplitple APC UPS devices to keep my network running through power outages. I wanted to montior and get notifications of power outages and how much battery reserve was left. Sadly, the APC UPS intergration only supported a single APCUPS. So I deced to create this daemon to generate MQTT updates so I can integrate an arbirary number of UPS devices into Home Assistant.
The plan is to make an extensible platform for adding new sensors. Anything the raspberry pi can support. With a fallback command line parsing option.
poll_interval is the interval in seconds between reading the
sensor
update_interval is the max time between sending data. This
will silence MQTT messages if the sensor data has not changed since
the last sent message. This controls what the maximum time is between
MQTT messages about this sensor. Setting to 0 disables.
Reads temperature and humidity from dht11 and dht22 sensors from a RaspberryPi's GPIO port.
Configuration examples for both:
{
    "type": "dht22",
    "name": "Environmental",
    "topic": "sensor/environment/office",
    "gpio": 4
},
{
    "type": "dht11",
    "name": "Environmental",
    "topic": "sensor/environment/garage",
    "gpio": 18
}This sensor runs the apcaccess command to get the UPS status and
sends a JSON message via MQTT.
Configuration example:
{
    "type": "apcups",
    "name": "UPS1",
    "topic": "sensor/ups1",
    "poll_interval": 5,
    "update_interval": 900,
    "host": "localhost",
    "port": 3551
},
Here is an example MQTT response:
{
 "TIMELEFT_MINUTES": "1440.0",
 "HOSTNAME": "pihost",
 "BCHARGE_PERCENT": "100.0",
 "STATUS": "ONLINE",
 "UPSNAME": "UPS3"
}
Requires installation and configuration of apcupsd. See
Debian apcupsd for instructions on
how to install apcupsd and to configure multiple UPSs connected to
the same computer.
Coming Soon
Coming Soon
Coming Eventually
Coming Eventually
The daemon is started on boot by systemd service.
pip3 install -r requirements.txt
mkdir /home/pi/mqttsensord/
cp mqttsensord.py mqttsensord.json /home/pi/mqttsensord/
sudo cp mqttsensord.service /lib/systemd/system/
sudo chmod 644 /lib/systemd/system/mqttsensord.service
sudo systemctl daemon-reload
sudo systemctl enable mqttsensord.service
sudo systemctl start mqttsensord.service
tail -f /home/pi/mqttsensord/mqttsensor.log
NOTE: You will need to edit /home/pi/mqttsensord/mqttsensord.json
with your MQTT server credentials and configure your local sensors.
- More sophisticated scheduling. Allow sensors to be polled at different rates.
- Add MQTT LWT support
- MQTT subscribe to channels to publish to local services
First, make sure you have the MQTT server, username, and password
correct in the mqttsensord.json config file. Second, make sure the
server you're talking to is listing on the correct port, 1883 by
default. If you're using port 4883, make sure SSL is configured
correctly on both ends. Third, make sure that the MQTT server you're
connecting to is recieving the messages. One possible problem is if
the reciever is not listening for the given topic. Adding the MQTT
wildcard # as a listening topic is one way to get around
this. Test connectivity with the mqtt command line tools to send a few
test messages.
I use Home Assistant for tracking MQTT data and creating automations.
Example Home Assistant sensor configuration for a UPS sensors:
sensor:
  - platform: mqtt
    name: "ups3"
    state_topic: "sensor/ups3"
    value_template: "{{ value_json.STATUS }}"
    icon: mdi:car-battery
  - platform: mqtt
    name: "ups3_time_remaining"
    state_topic: "sensor/ups3"
    unit_of_measurement: minutes
    value_template: "{{ value_json.TIMELEFT_MINUTES | int }}"
    icon: mdi:timer
  - platform: mqtt
    name: "ups3_battery_charge"
    state_topic: "sensor/ups3"
    unit_of_measurement: percent
    value_template: "{{ value_json.BCHARGE_PERCENT | int }}"
    icon: mdi:battery
  - platform: mqtt
    name: "ups3_input_voltage"
    state_topic: "sensor/ups3"
    unit_of_measurement: V
    value_template: "{{ value_json.LINEV_VOLTS | int }}"
    icon: mdi:power-socket-us
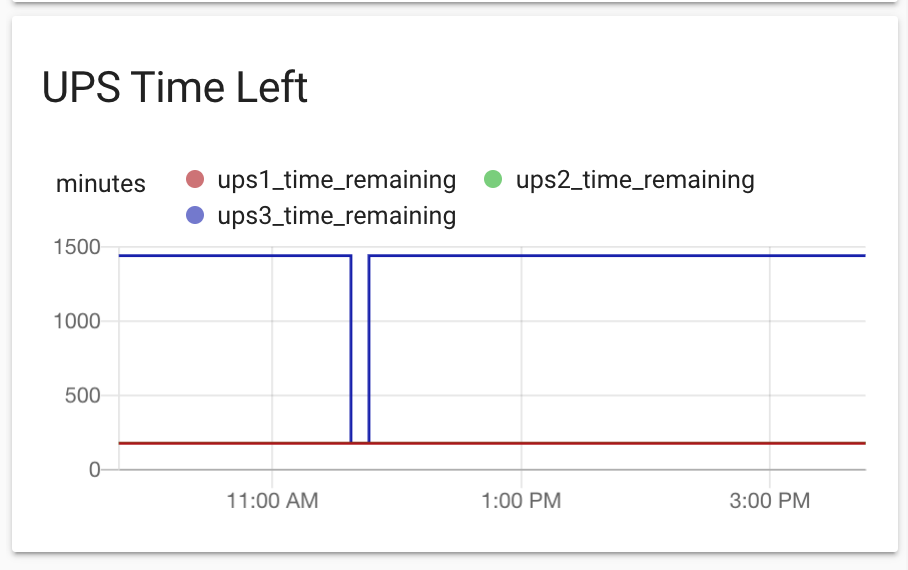
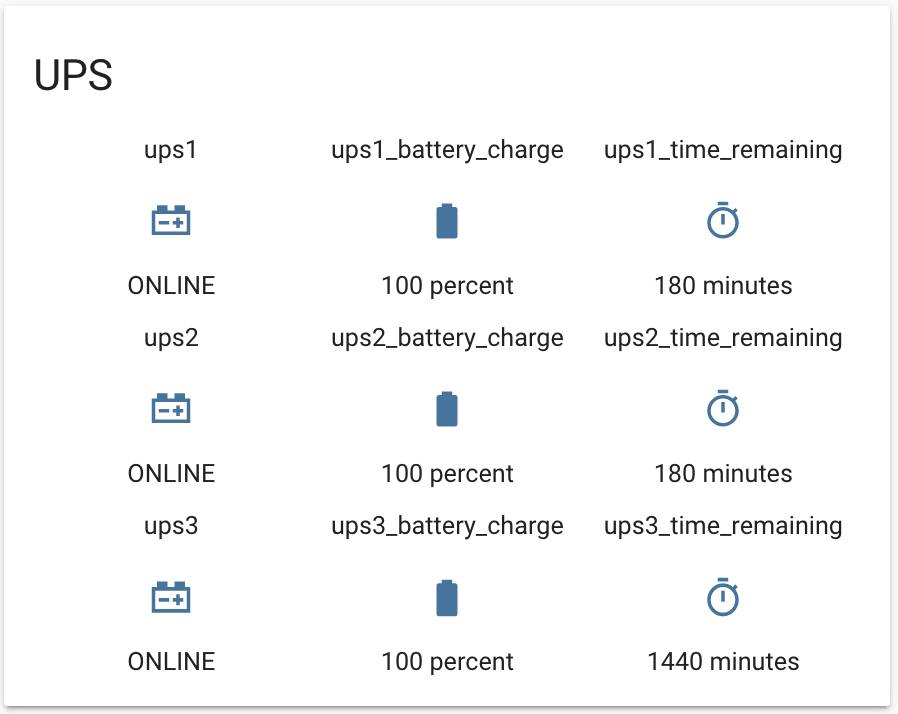
Here is what it looks like in my Home Assistant dashboard:

