Image of successful notebook cell execution notification
Image of failed notebook cell execution notification (Available only in >= v0.3.0)
Image of last selected notebook cell execution notification (Available only in >= v0.3.0)
To test out this extension without any local set-up, please check out the binder link. This will set-up the environment, install the extension, and take you to several demo notebooks for you to play around with to get familiar with the notifications extension.
In the tutorial directory, there are several example notebooks you can use to test out the notifications extension.
- Notebooks with
py3_demo_prefix - Minimal Python3 Notebooks to test out the extension. julia_demo.ipynb- Minimal Julia Notebook to test out the extension.⚠️ Note: Thetutorial/julia_demo.ipynbwill not work in the binder environment and will require additional set-up to test the Julia Notebook Kernel locally.
- Web Browser that supports the Notification Web API (See Browser Compatibility Chart)
- JupyterLab >= 3.0
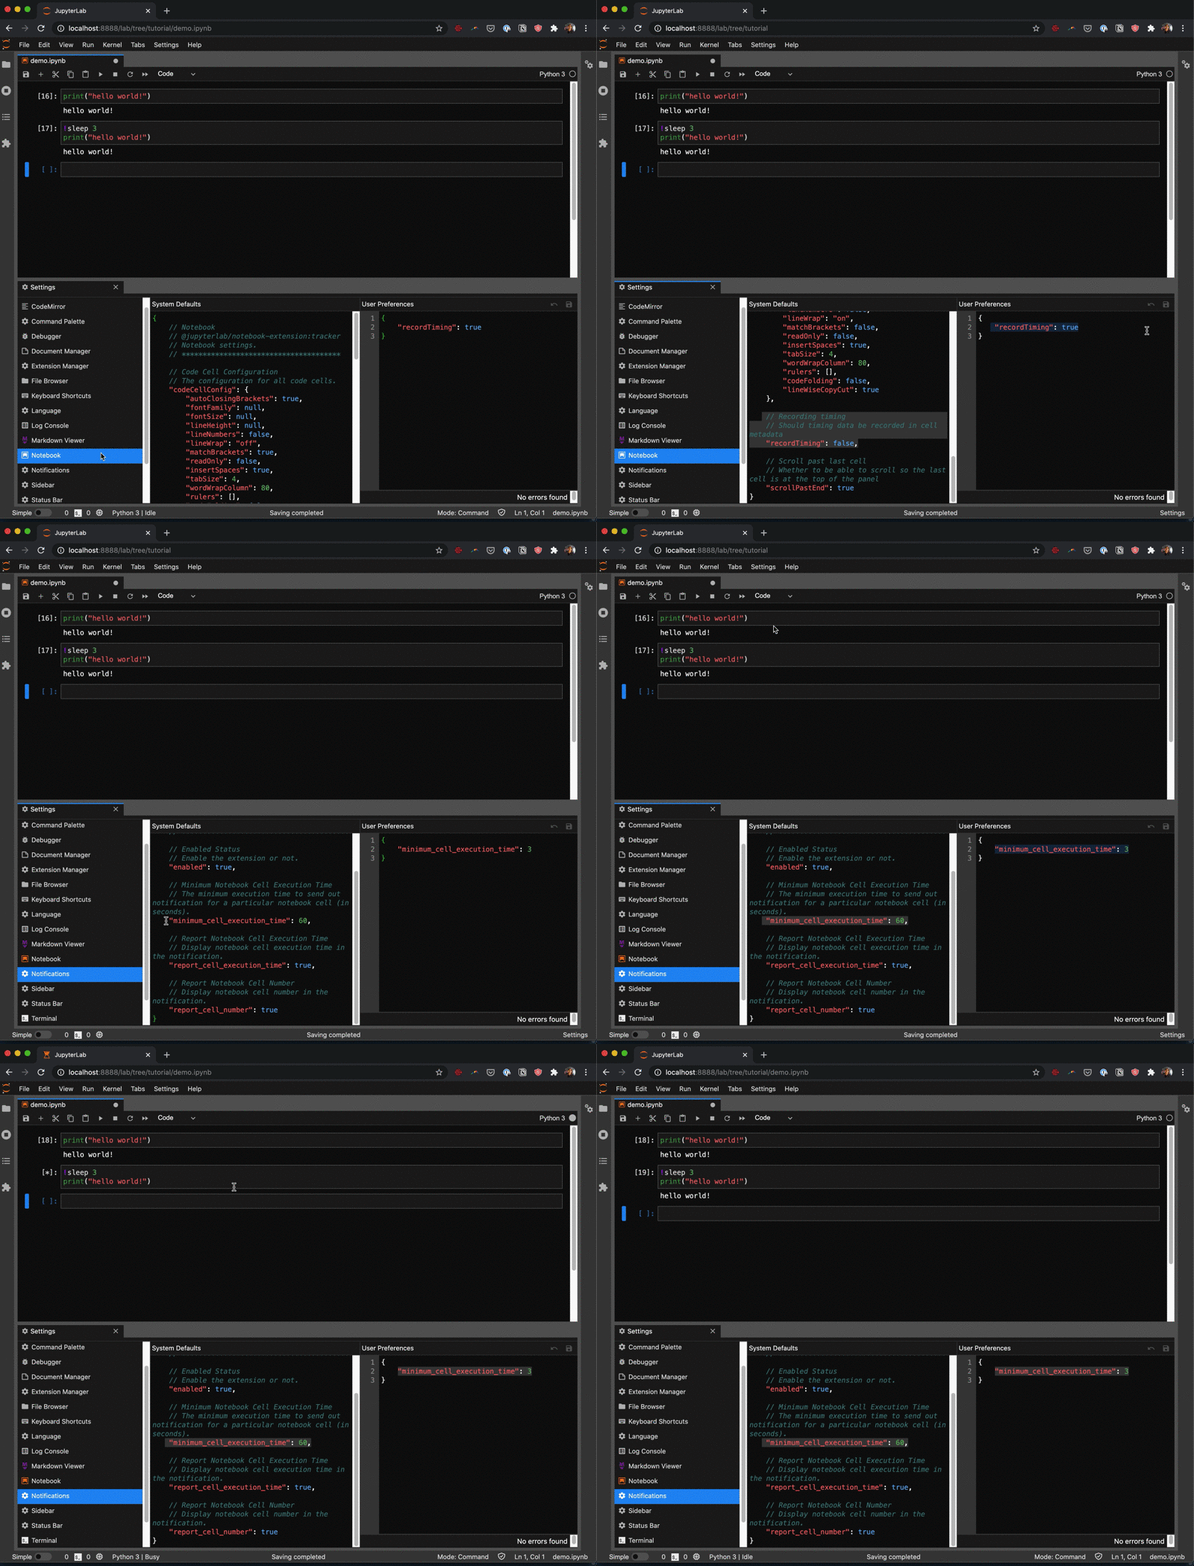
⚠️ For versions <0.3.0, Notebook Cell Timing needs to be enabled for Jupyterlab Notifications to work. Please go to Settings -> Advanced Settings Editor -> Notebook and update setting to:
{
  // Recording timing
  // Should timing data be recorded in cell metadata
  "recordTiming": true
}- The cell timing doesn't need to be enabled for Jupyterlab >= 3.1 and Jupyterlab notification version >= v0.3.0.
For JupyterLab 3.x, the extension can be installed with pip:
pip install jupyterlab-notificationsUse the following settings to update cell execution time for a notification and information to display in the notification. (in Settings > Advanced Settings Editor):
{
    // Notifications
    // jupyterlab-notifications:plugin
    // Settings for the Notifications extension
    // ****************************************

    // Cell Number Type
    // Type of cell number to display when the report_cell_number is true. Select from 'cell_index' or ‘cell_execution_count'.
    "cell_number_type": "cell_index",

    // Enabled Status
    // Enable the extension or not.
    "enabled": true,

    // Trigger only for the last selected notebook cell execution.
    // Trigger a notification only for the last selected executed notebook cell.
    // NOTE: Only Available in version >= v0.3.0
    "last_cell_only": false,

    // Minimum Notebook Cell Execution Time
    // The minimum execution time to send out notification for a particular notebook cell (in seconds).
    "minimum_cell_execution_time": 60,

    // Report Notebook Cell Execution Time
    // Display notebook cell execution time in the notification.
    // If last_cell_only is set to true, the total duration of the selected cells will be displayed.
    "report_cell_execution_time": true,

    // Report Notebook Cell Number
    // Display notebook cell number in the notification.
    "report_cell_number": true
}Note: You will need NodeJS to build the extension package.
The jlpm command is JupyterLab's pinned version of
yarn that is installed with JupyterLab. You may use
yarn or npm in lieu of jlpm below.
# Clone the repo to your local environment
# Change directory to the jupyterlab-notifications directory
# Install package in development mode
pip install -e .
# Link your development version of the extension with JupyterLab
jlpm run install:extension
# Rebuild extension Typescript source after making changes
jlpm run build
You can watch the source directory and run JupyterLab at the same time in different terminals to watch for changes in the extension's source and automatically rebuild the extension.
# Watch the source directory in one terminal, automatically rebuilding when needed
jlpm run watch
# Run JupyterLab in another terminal
jupyter lab
With the watch command running, every saved change will immediately be built locally and available in your running JupyterLab. Refresh JupyterLab to load the change in your browser (you may need to wait several seconds for the extension to be rebuilt).
pip uninstall jupyterlab-notifications


