-
Notifications
You must be signed in to change notification settings - Fork 45
Switches
Now that the board works, we can add switches.
The switches fit snuggly so soldering is easy. You can put all the switches for one half into place. Be mindful that the metal legs go into the holes as you insert them. Sometimes legs come a little bent to the side; straighten them as needed before inserting.
If you are adding a rotary encoder, you need to trim off one of the wide suport legs as there was not space for holes for both of support legs.
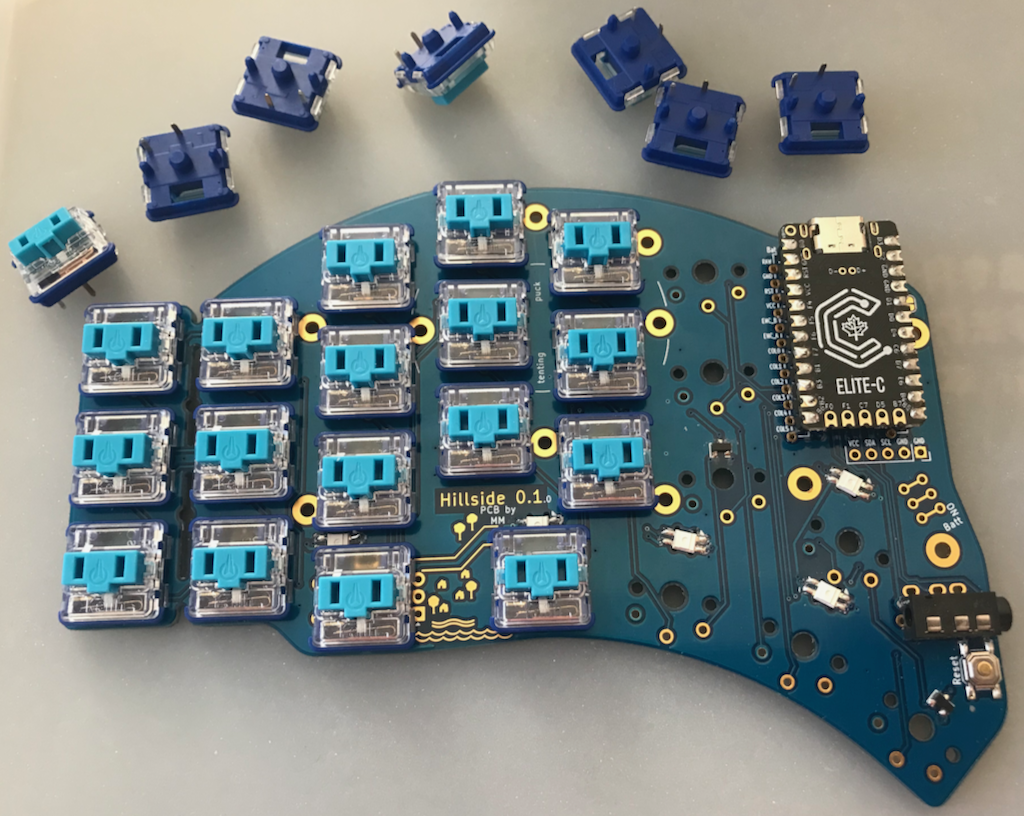
Once seated from the front, check that the switches are all the way in. The two on the right are, the two on the left are not.
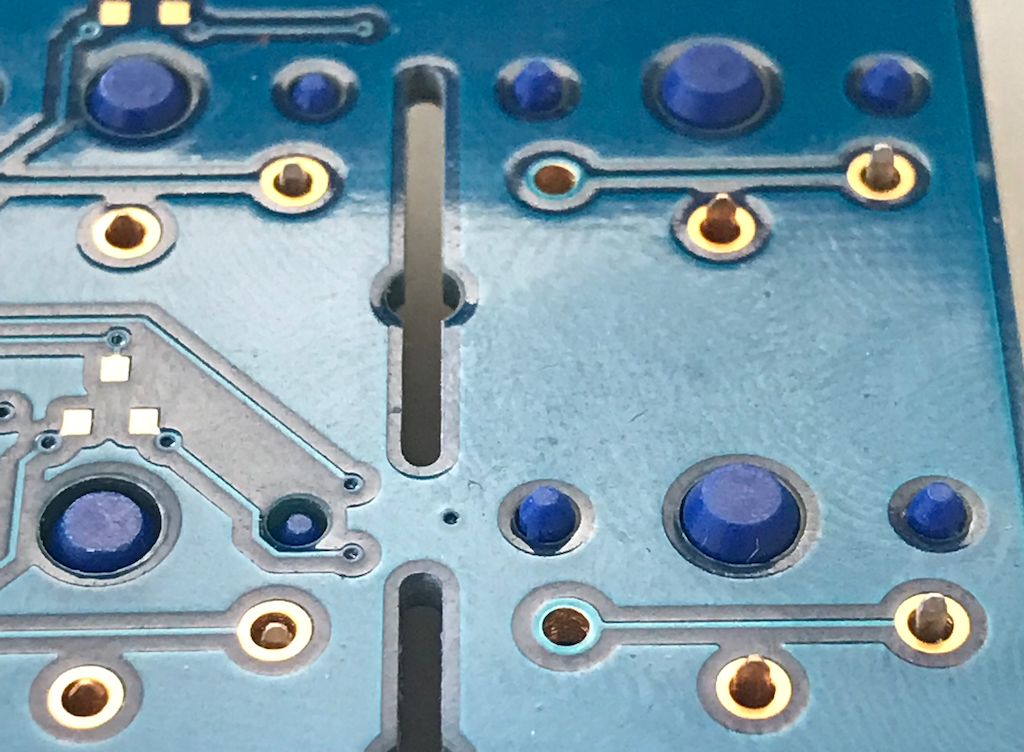
Now solder from the back.
- The pads and pins had flux added to them before soldering.
- The iron is tinned (silver looking).
- The iron heats the pin and pad before the solder wire is added.
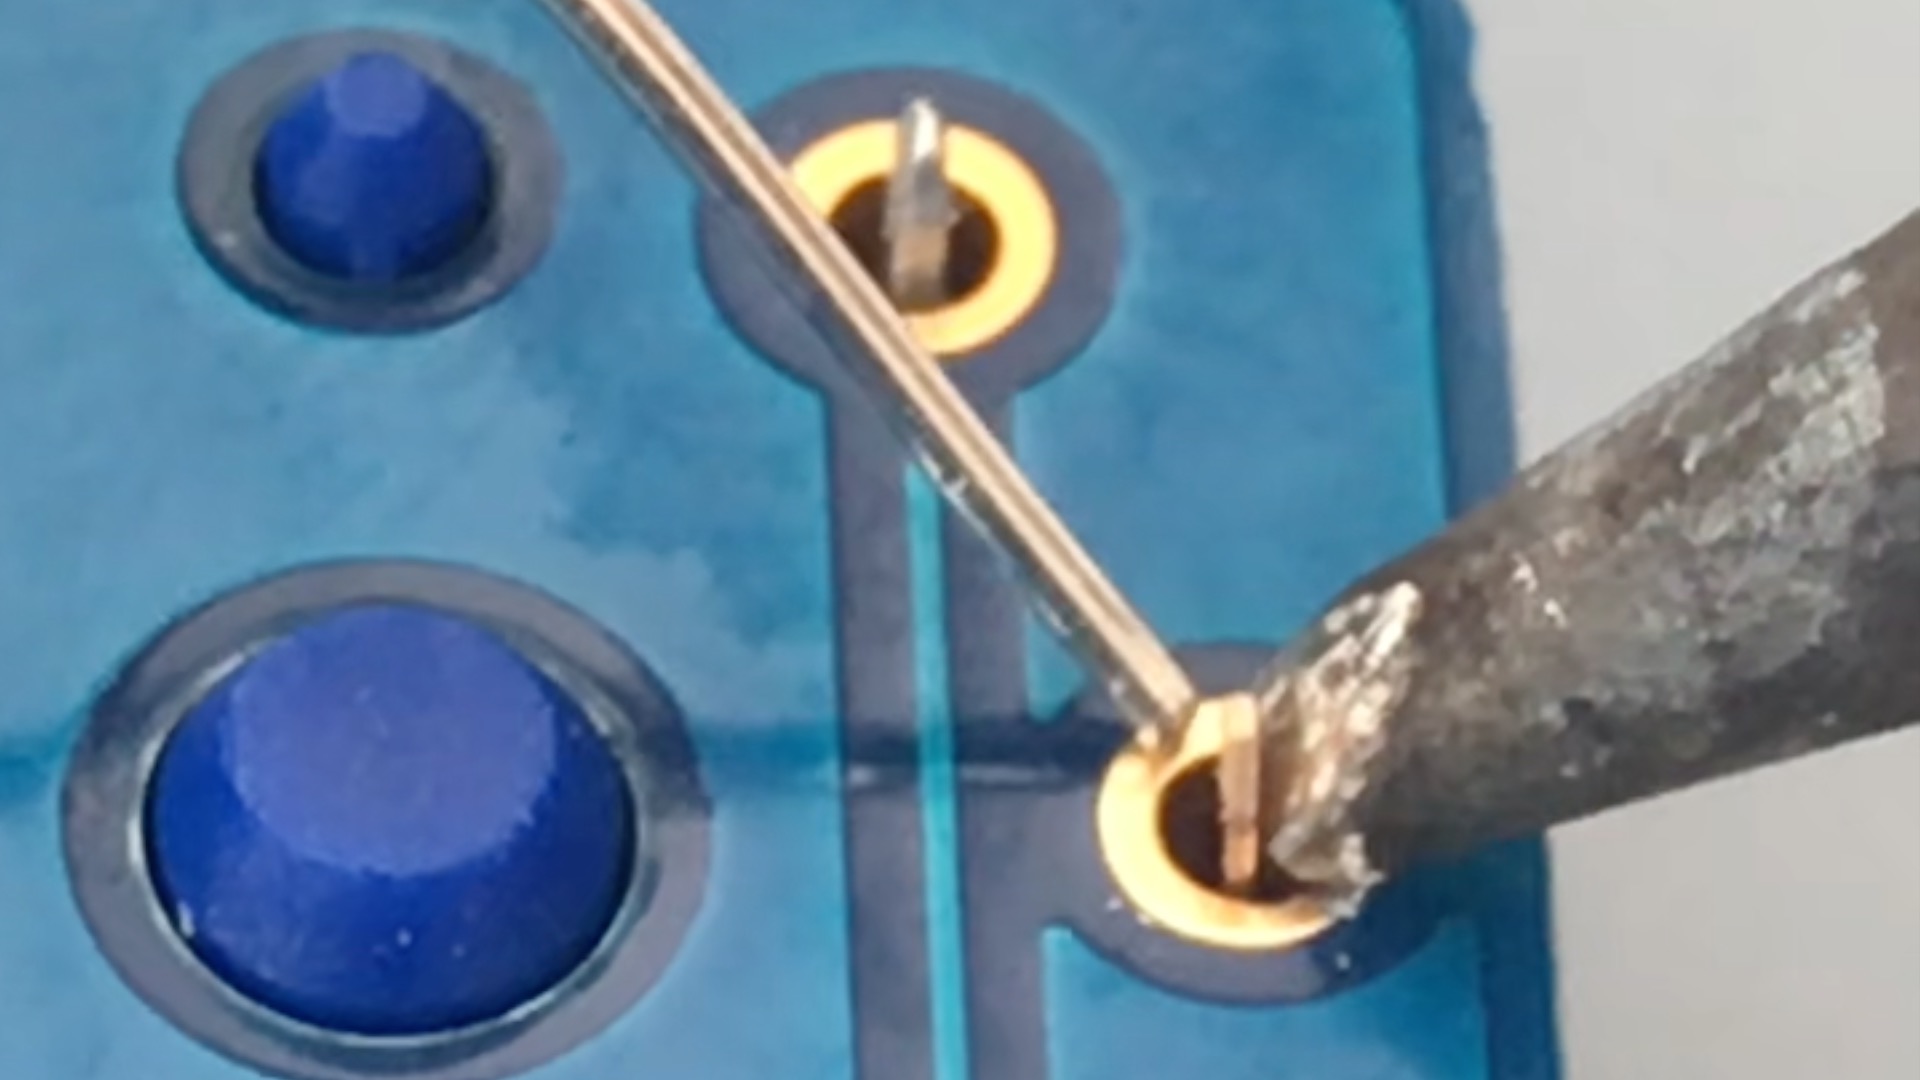
- The solder is added by melting it on the hot pad and pin, not primarily on the iron.
- Sometimes touching the solder to the iron initially helps to get started.
- The solder flux fumes are being removed away from us by a small fan.
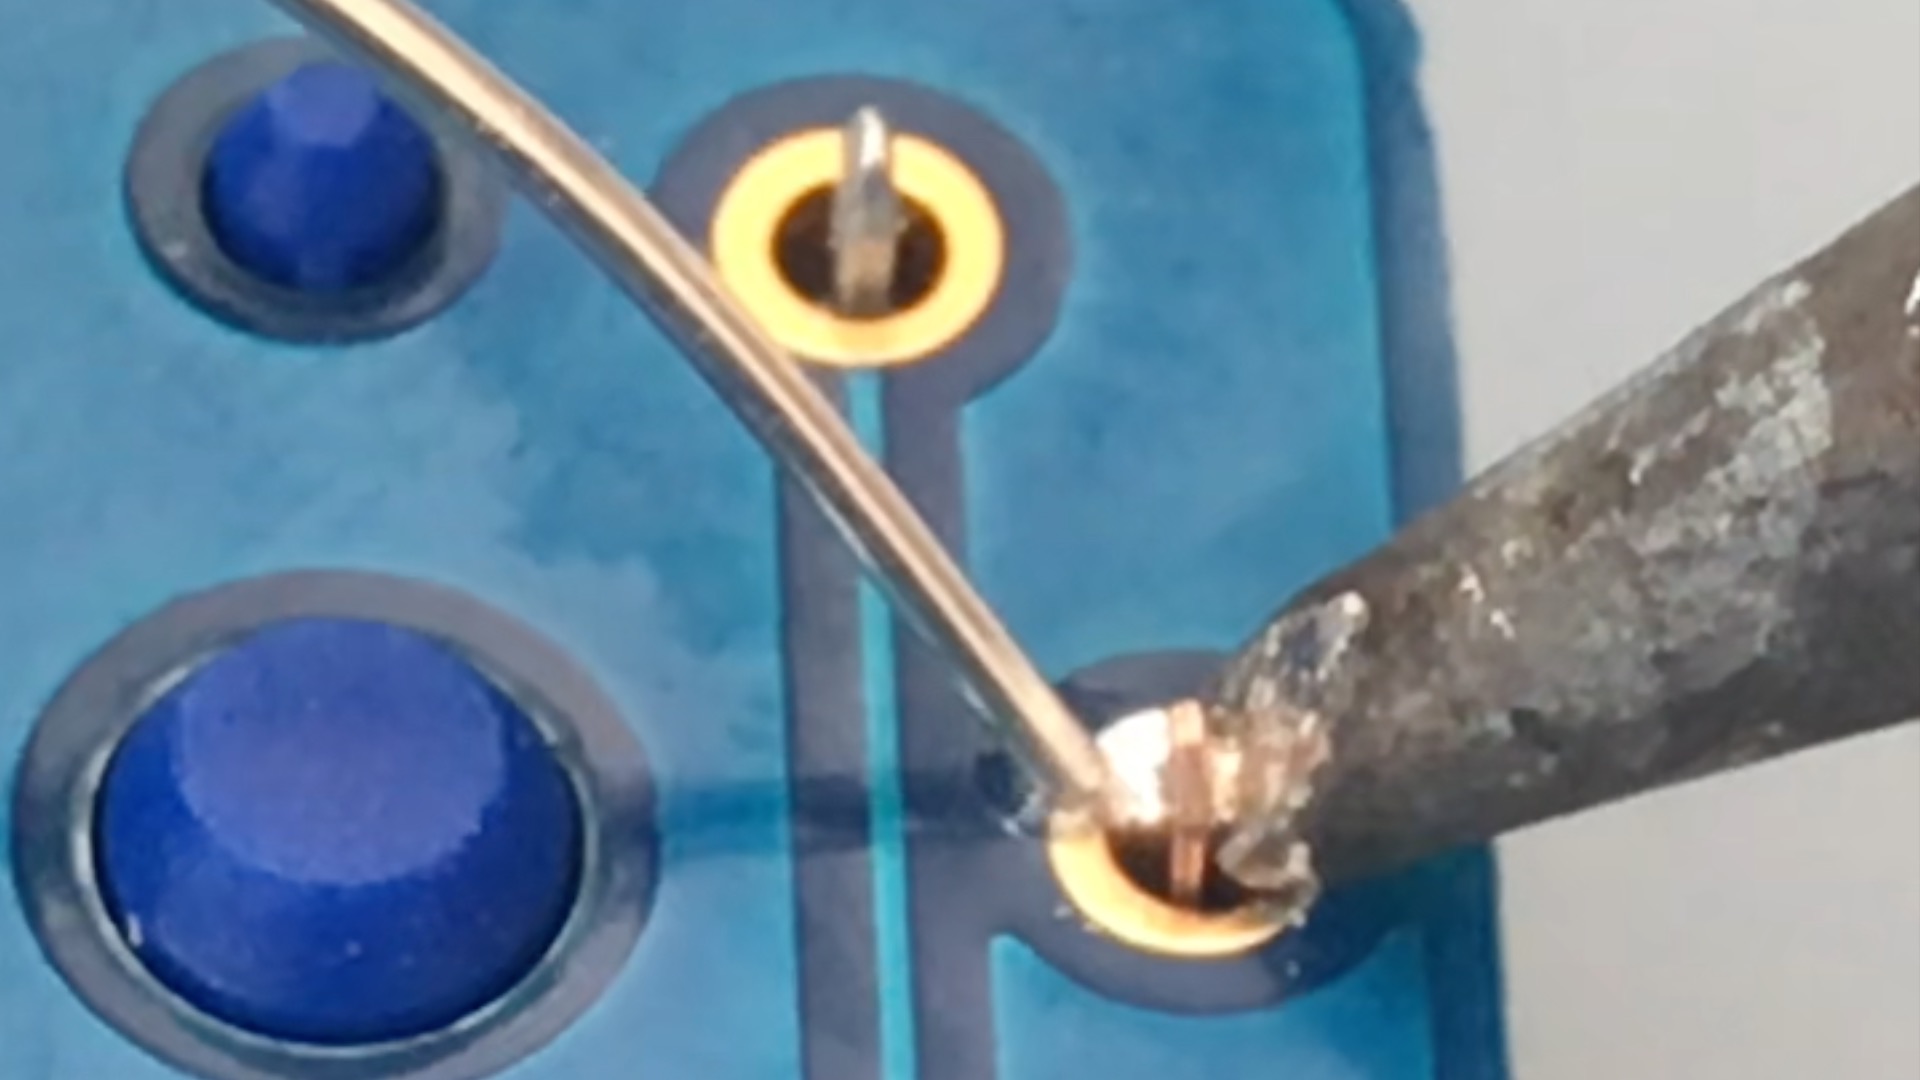
- The solder wire is removed before too much solder is added.
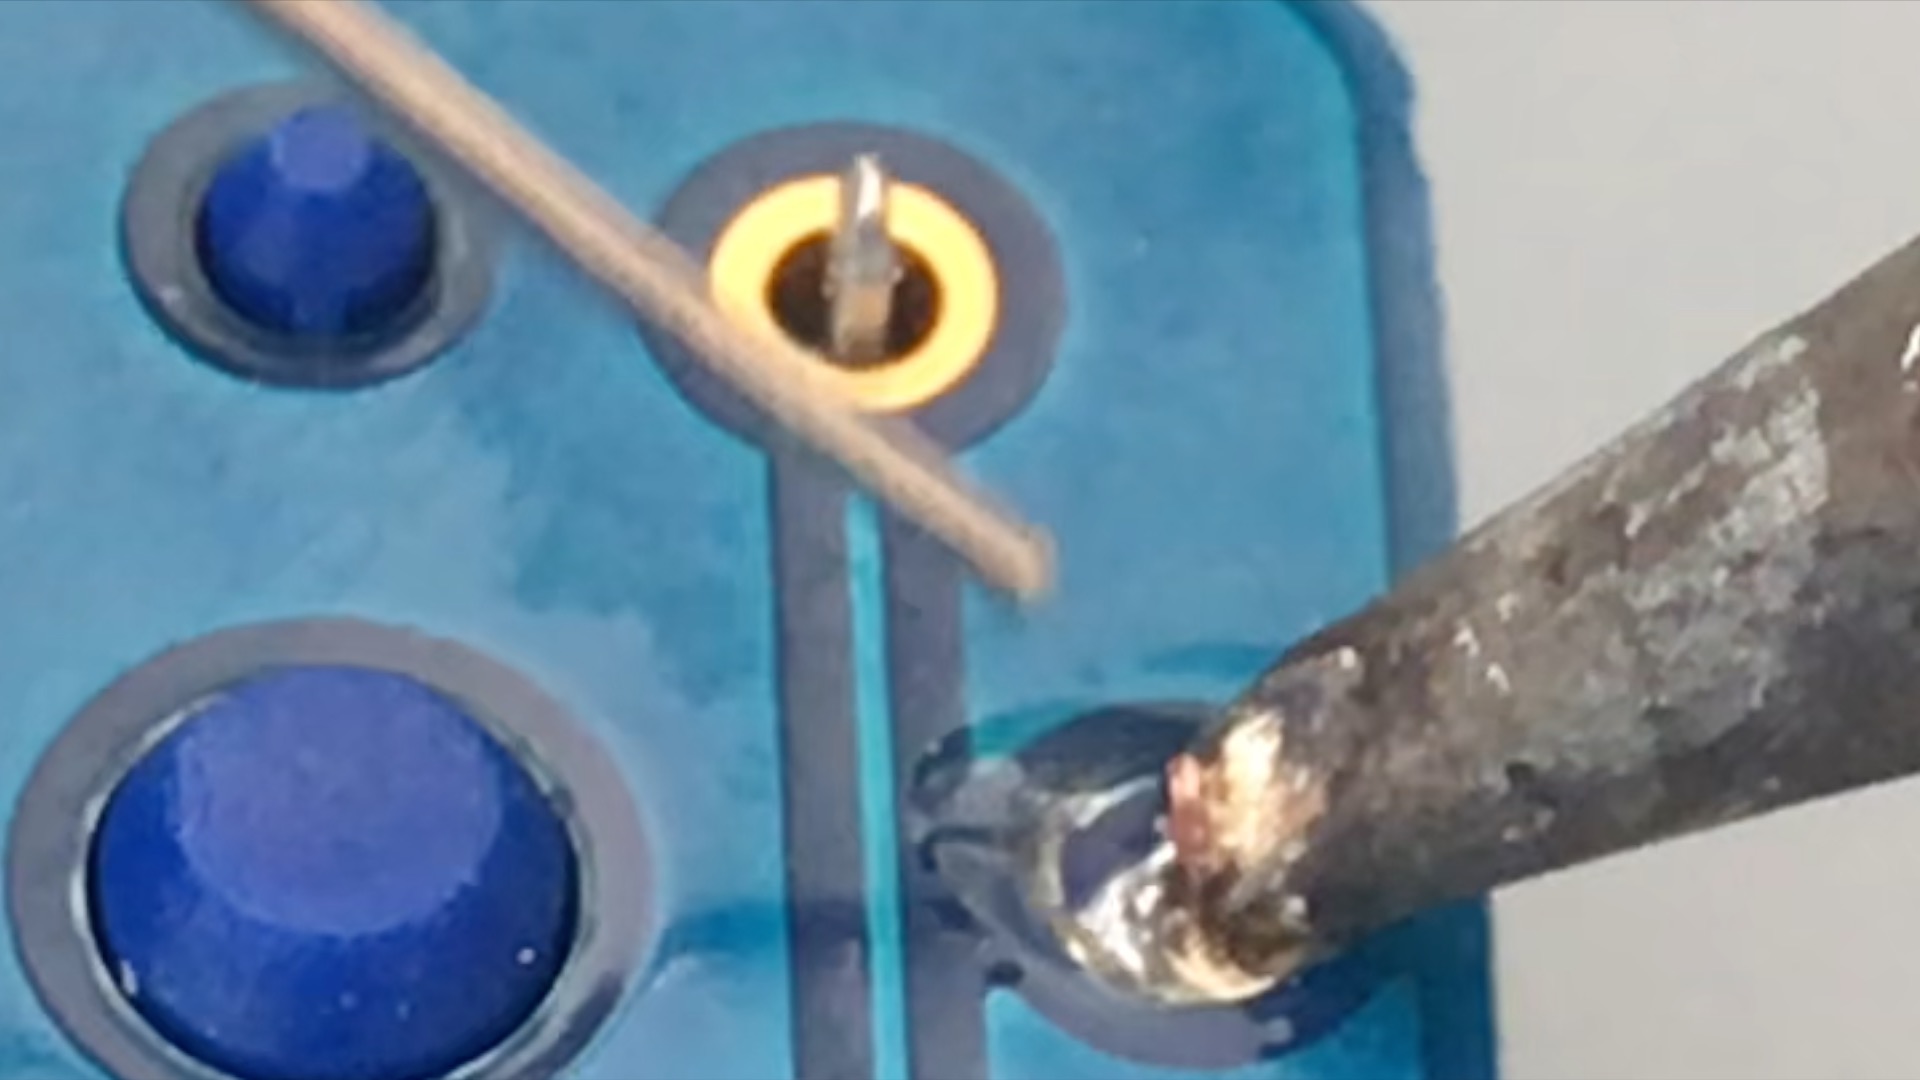
- The iron is removed last.
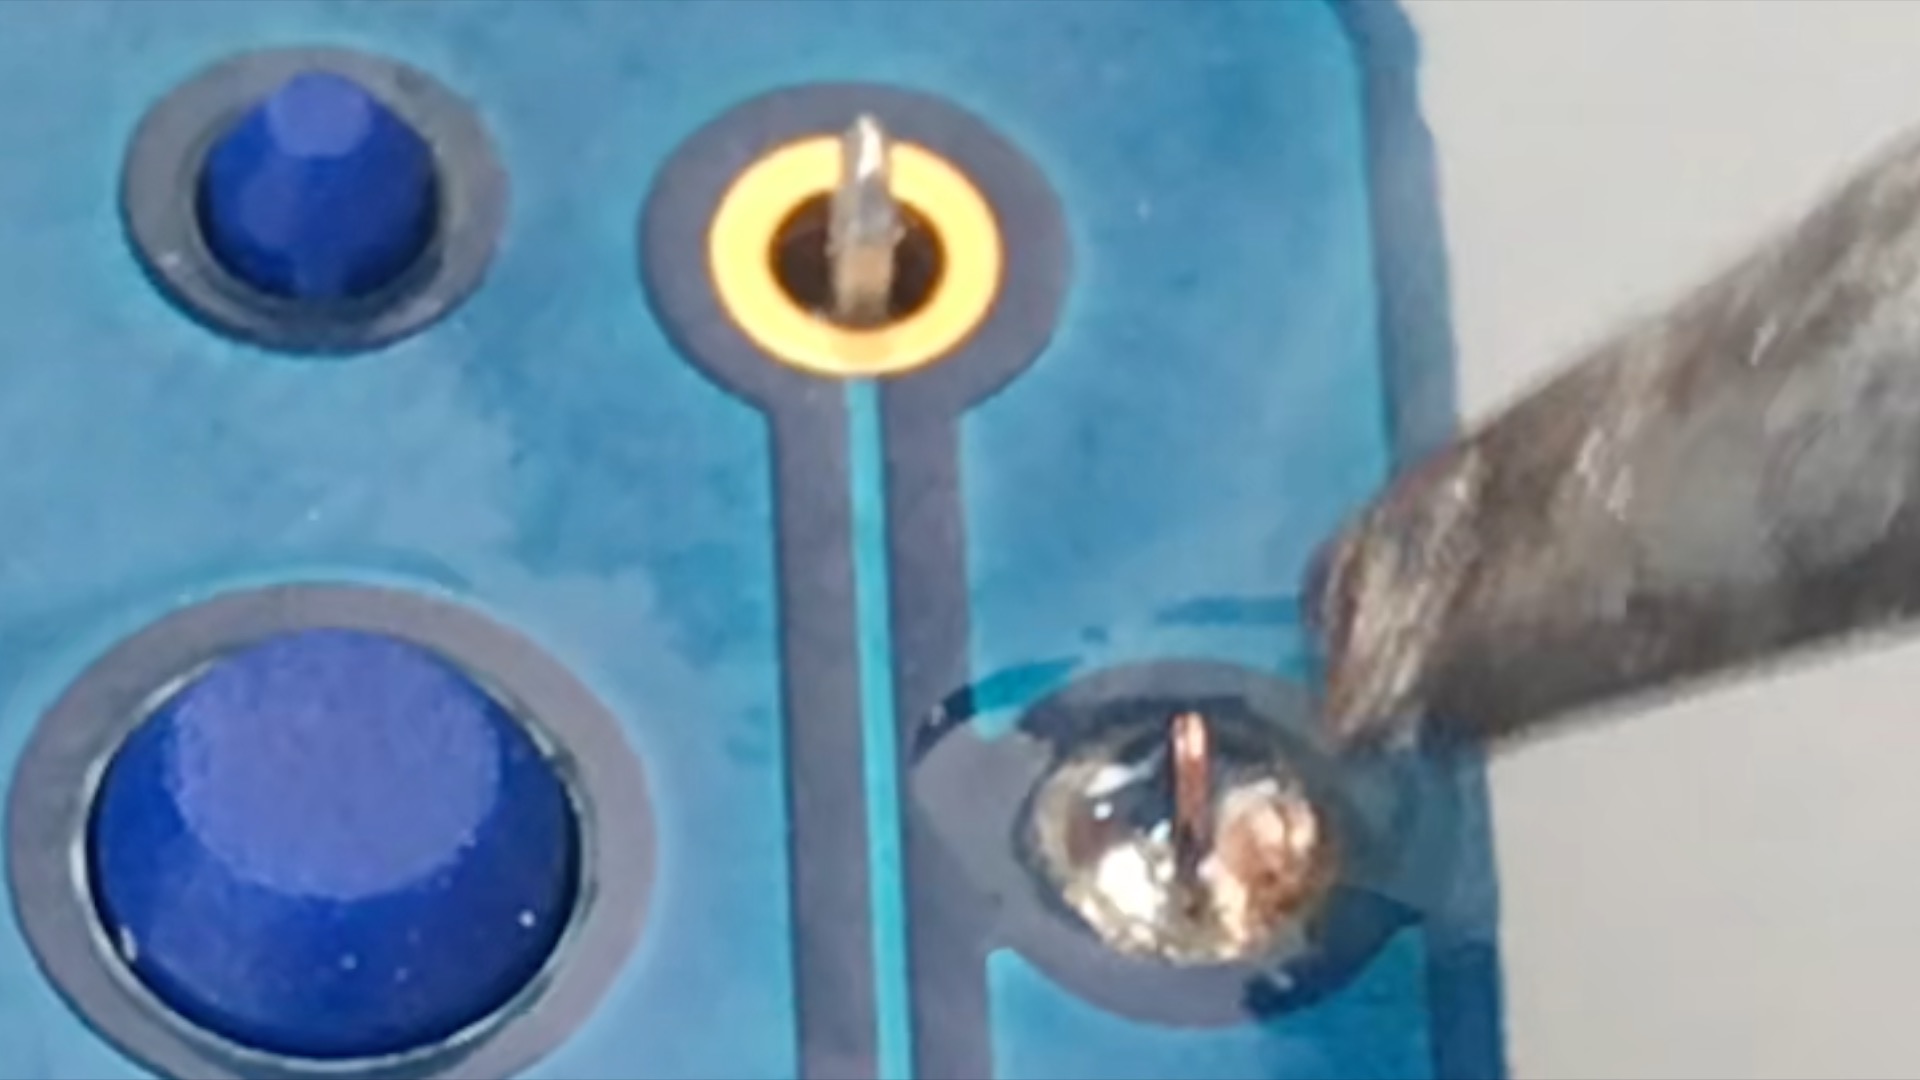
- We are left with solder coating the full pad and connecting up the pin. The full pin height need not be covered in solder.
- We do not have a big ball of solder with the pin buried somewhere on the inside.
What you do not want to do is to create a molten ball of solder on the iron and then dump that ball onto a cold pad and pin. That will create a cold joint and not a reliable connection.
Next: Keycaps