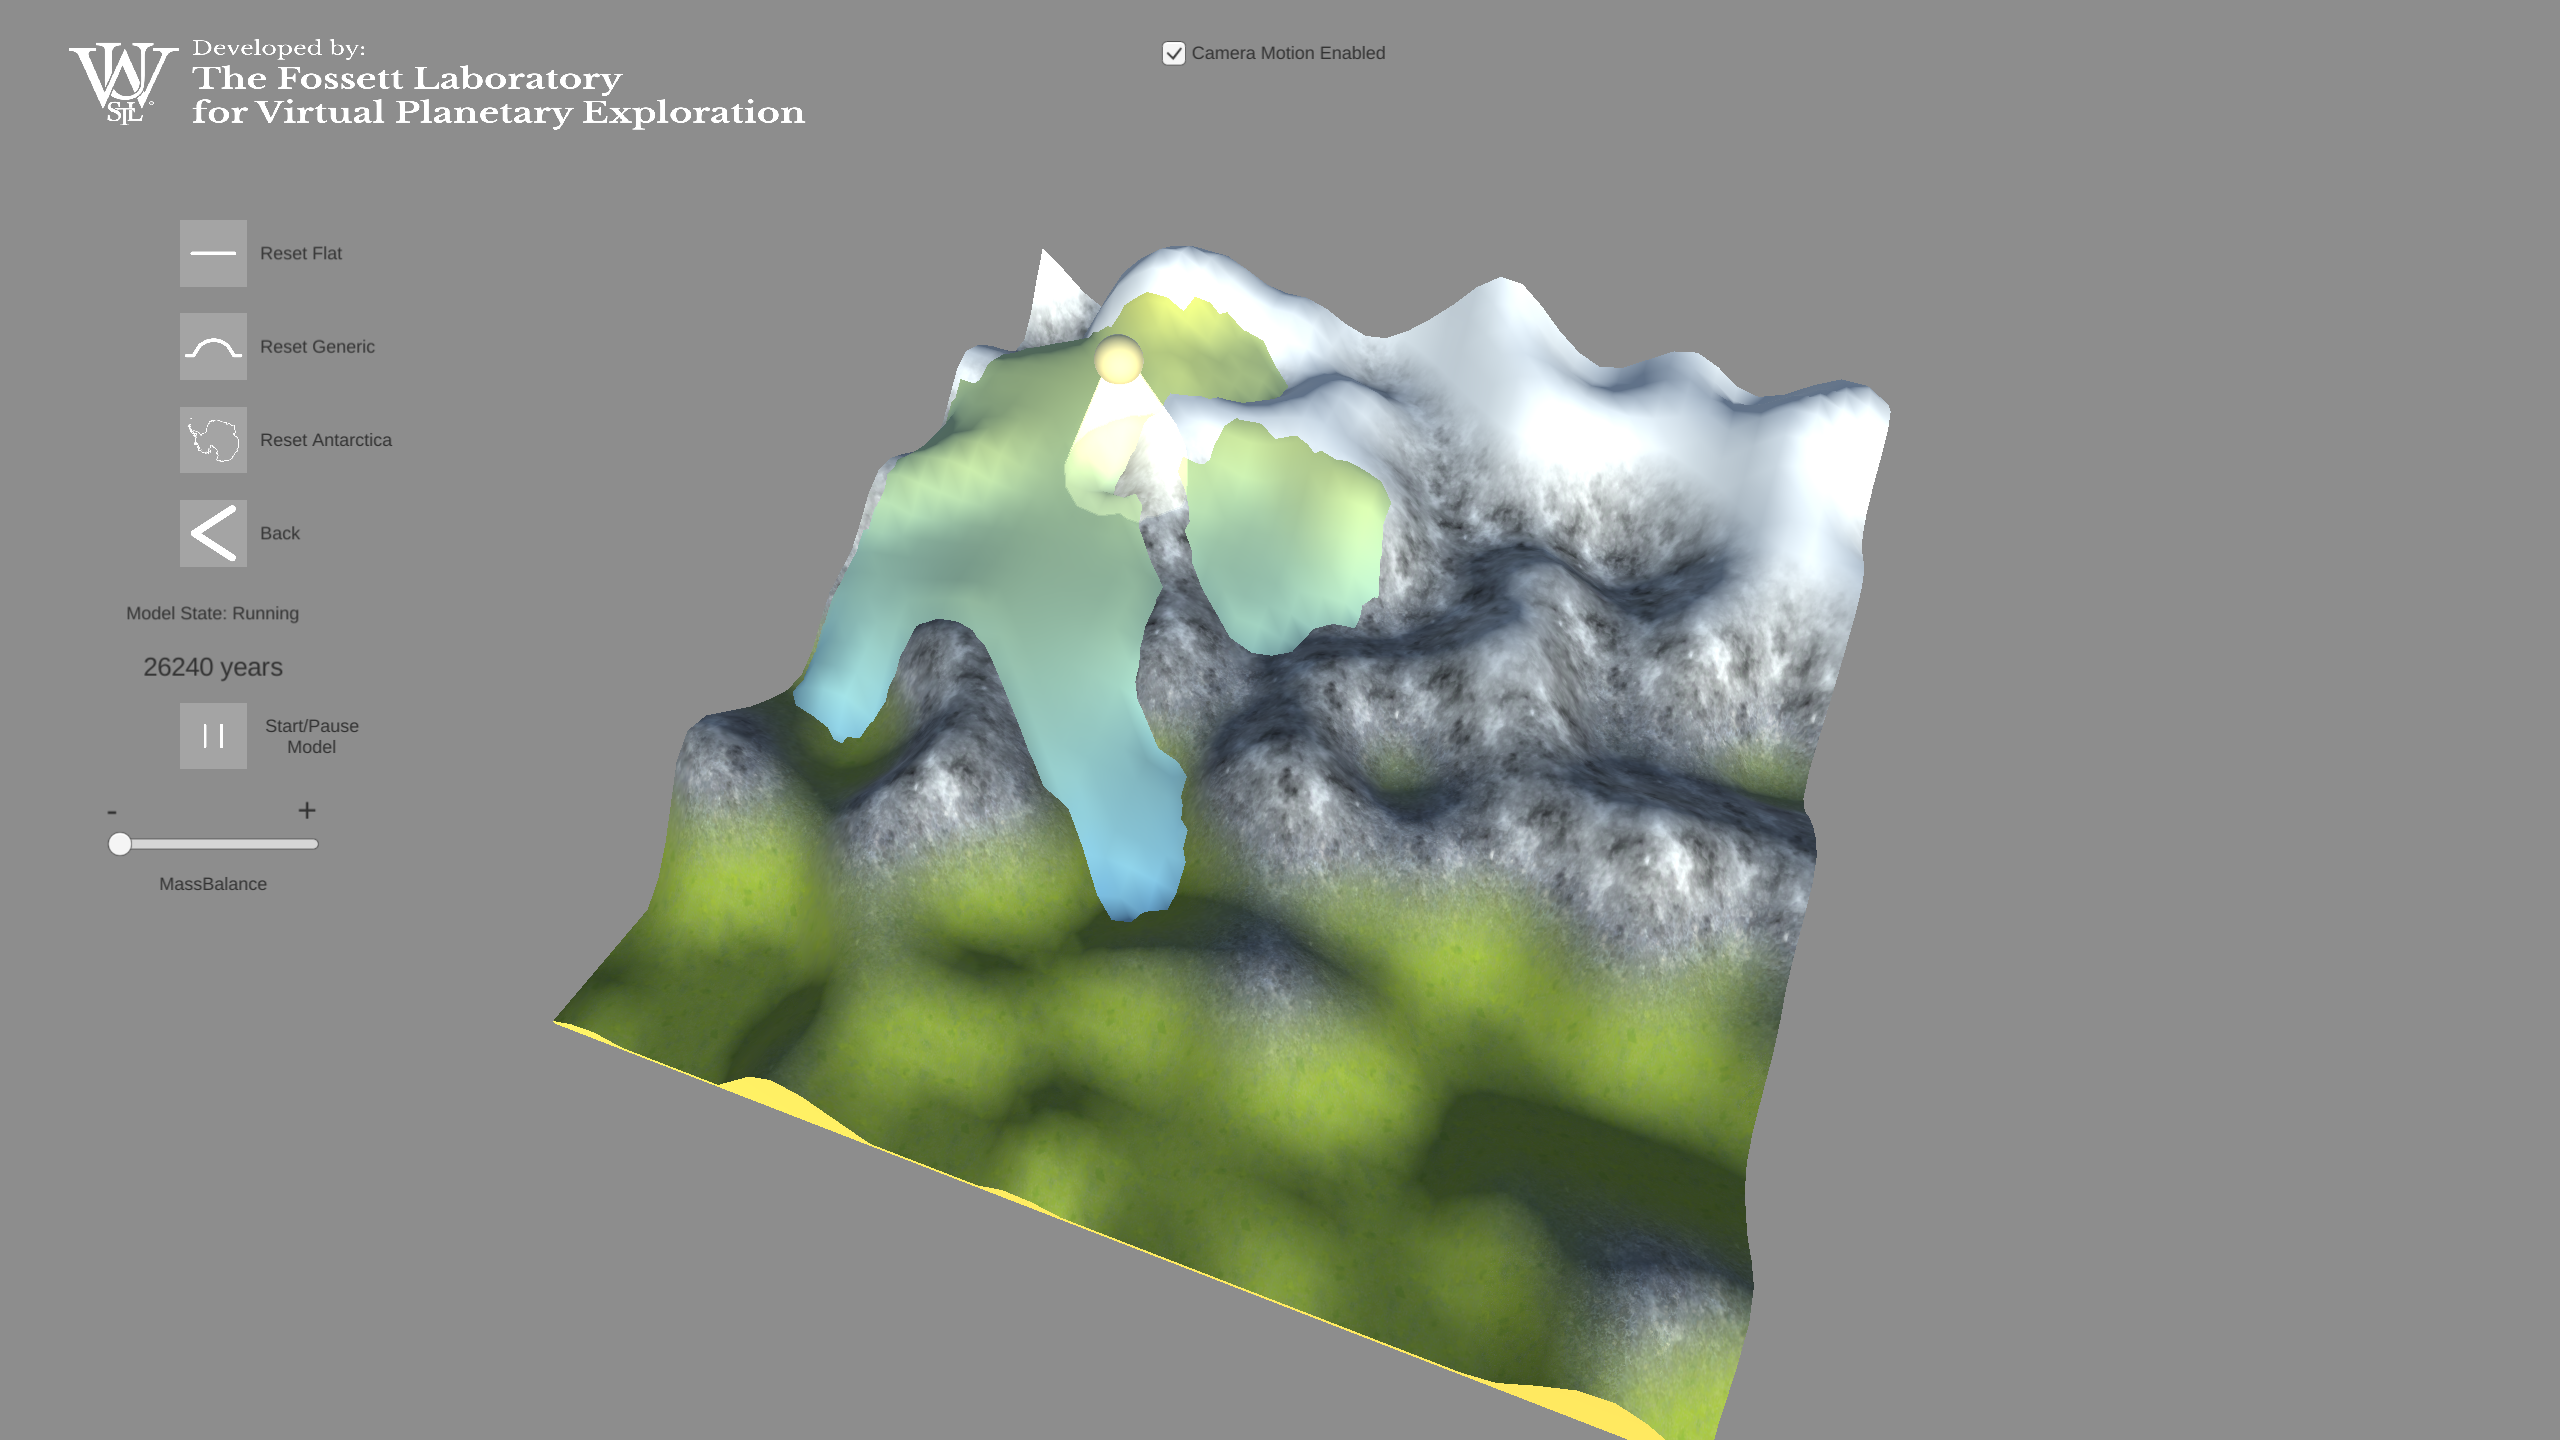
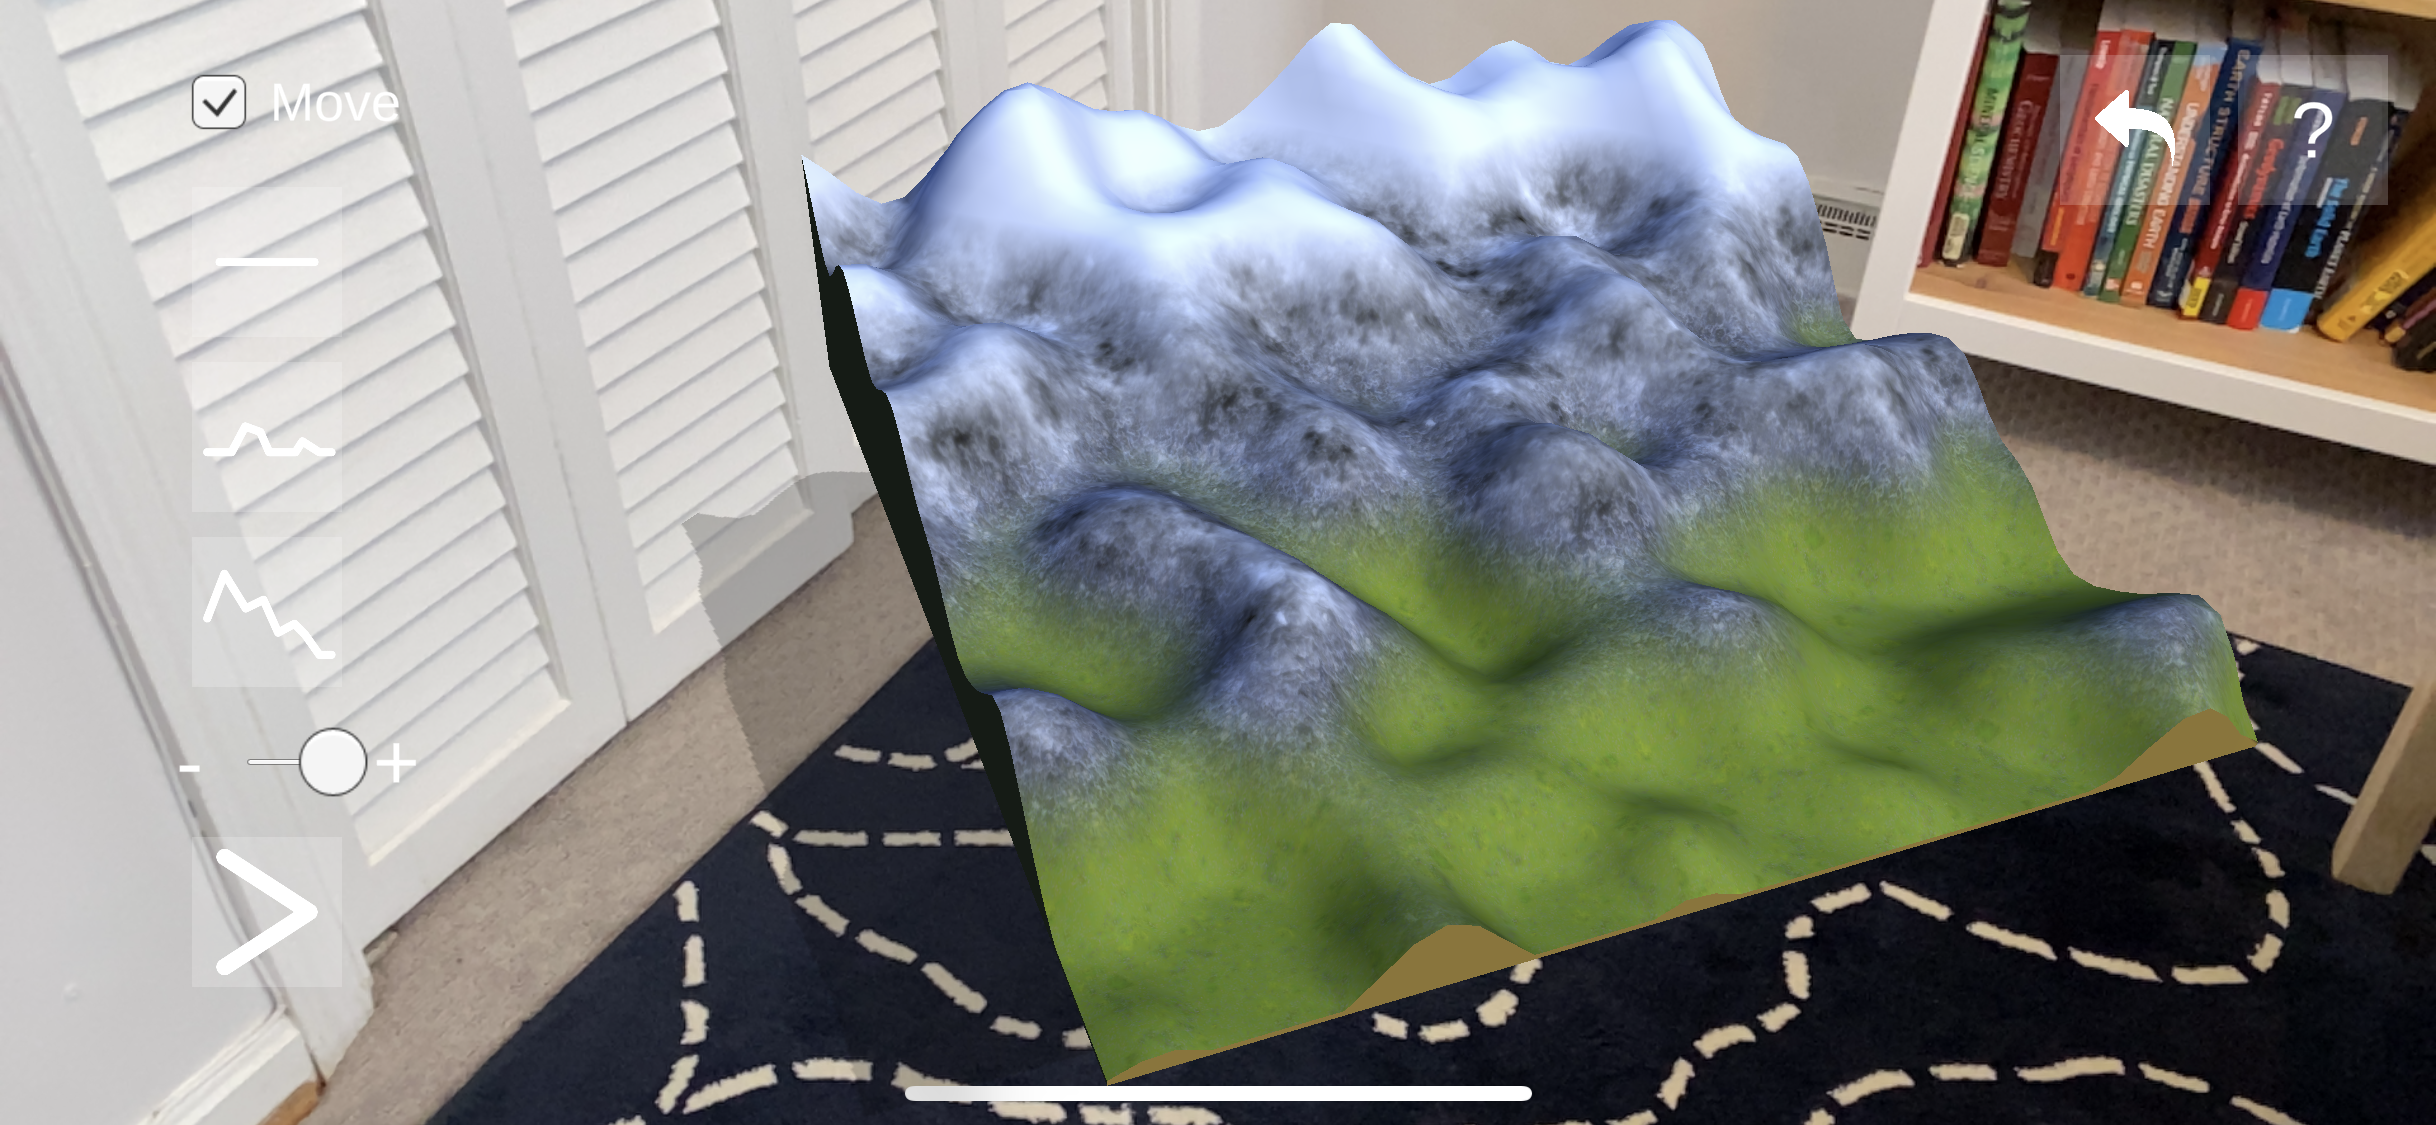
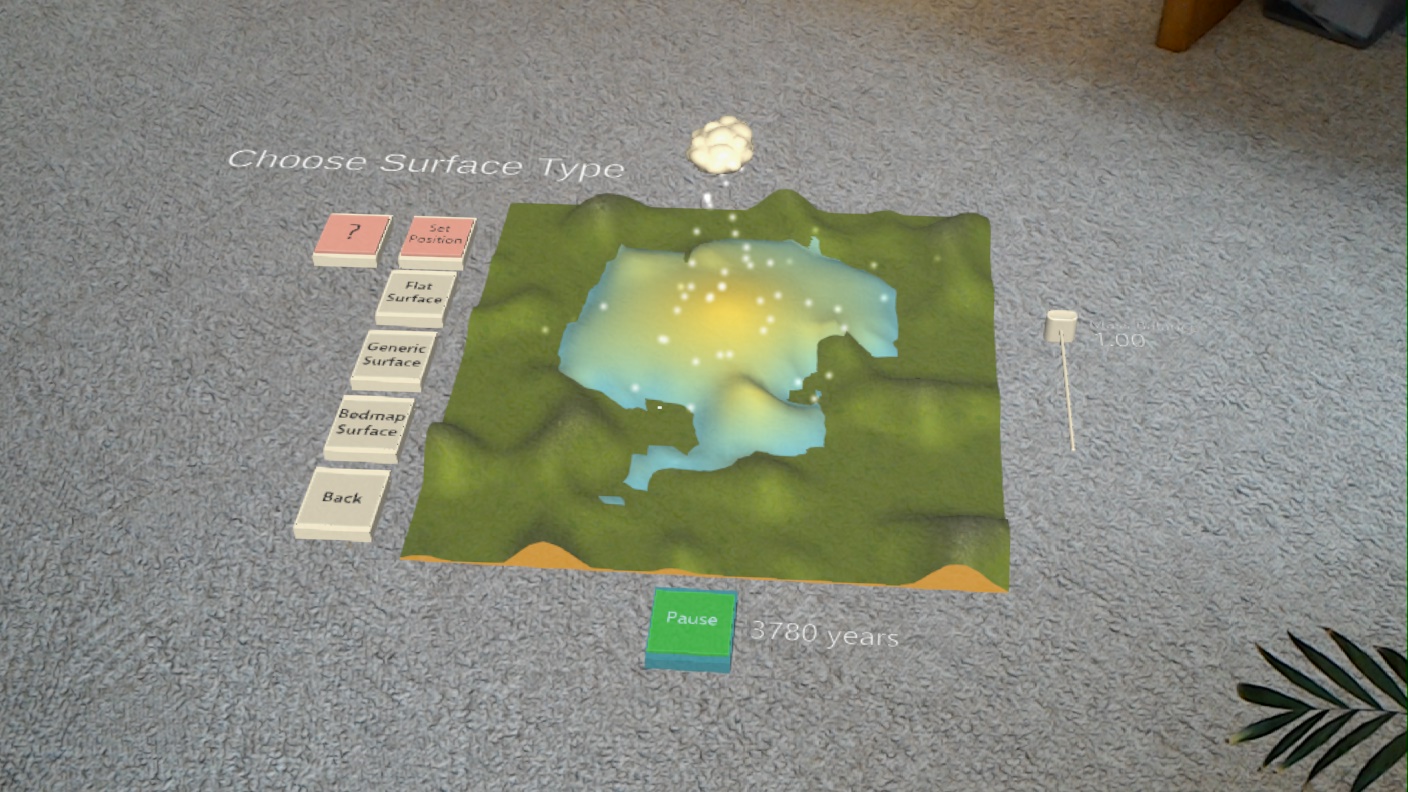
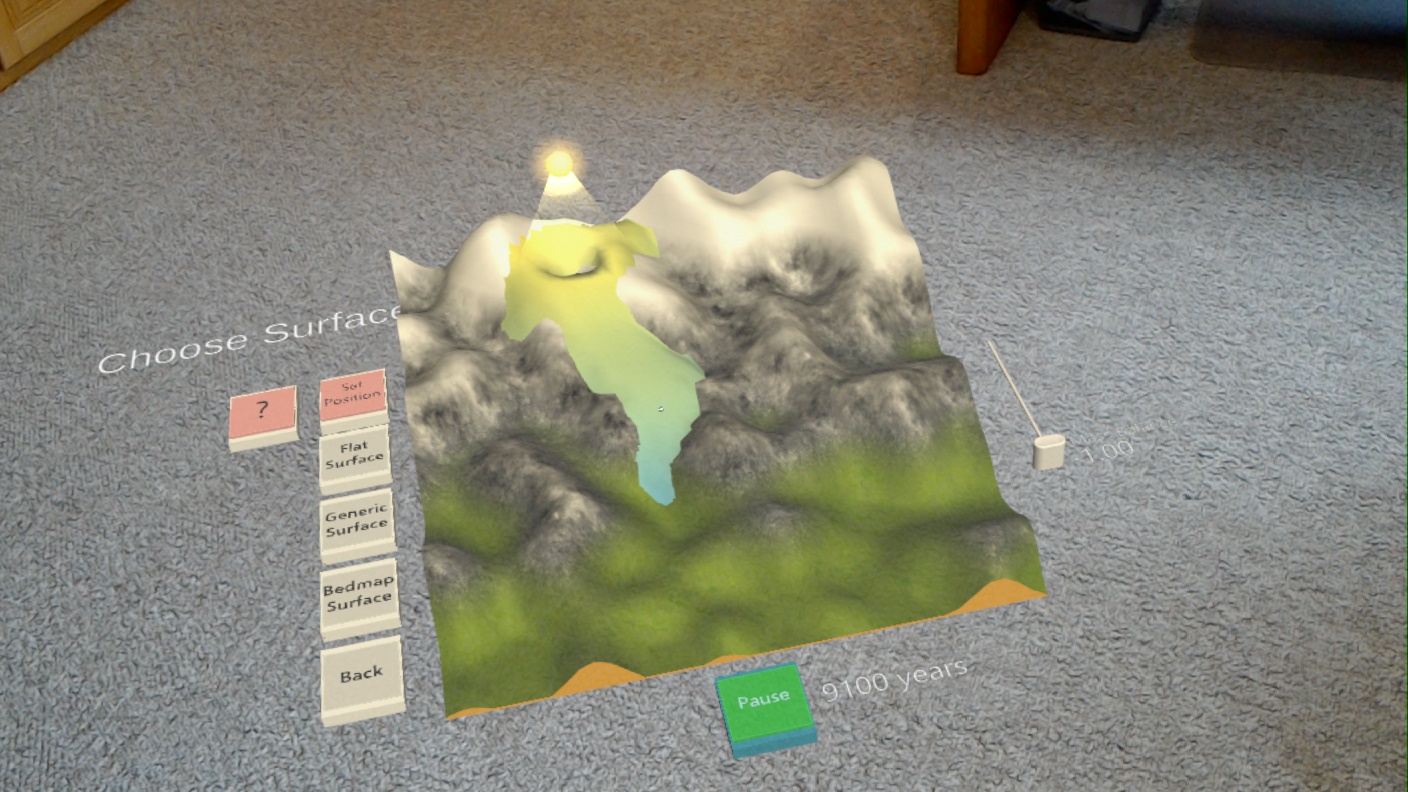
This is the source code for the development of an AR Ice Sheet; a Unity project that simulates the 3D deformation of an ice sheet based on the Shallow Ice Approximation (SIA). The codebase was developed from this paper from Ed Bueler: Numerical Modelling of Ice Sheets, Streams, and Shelves
There are 3 branches to this repo:
- Master: contains the WebGL version of the application that can be run from inside a browser window.
- MobileAR: contains a version that can be built and deployed via Unity onto a mobile AR device using Apple's ARKit or Android's ARCore.
- HoloLens: contains the HoloLens version that can be built and deployed via Unity.
Scroll below for platform specific details.
Both MobileAR and HoloLens versions make use of Microsoft's Mixed Reality Toolkit. This allows for multi-platform development from a single code base. Although the current HoloLens build is developed for the HoloLens 1, the code can also be used without too much modification to be used on the HoloLens 2 if necessary.
The objective of this application is to be able to show a simple example of how mass balance can affect an ice sheet or glacier, as well as understand the time scales involved. For the HoloLens app (and potentially the new iPad Pro LiDAR capability), we are able to use real world objects to change the bed "topography" and affect ice sheet flow.
The SIA is computationally efficient, so lends itself well to real time animation. Some extra information about the SIA and other ice sheet modeling techniques can be found here
The WebGL version allows for the model to be run in a browser window, making it the most accessible option.
The model is interactive, the user can change the mass balance over part of the ice sheet to add or remove ice - thus raising or lowering the height of the ice sheet surface. This is controlled using the cursor position and the Mass Balance slider bar.
Setting the bed:
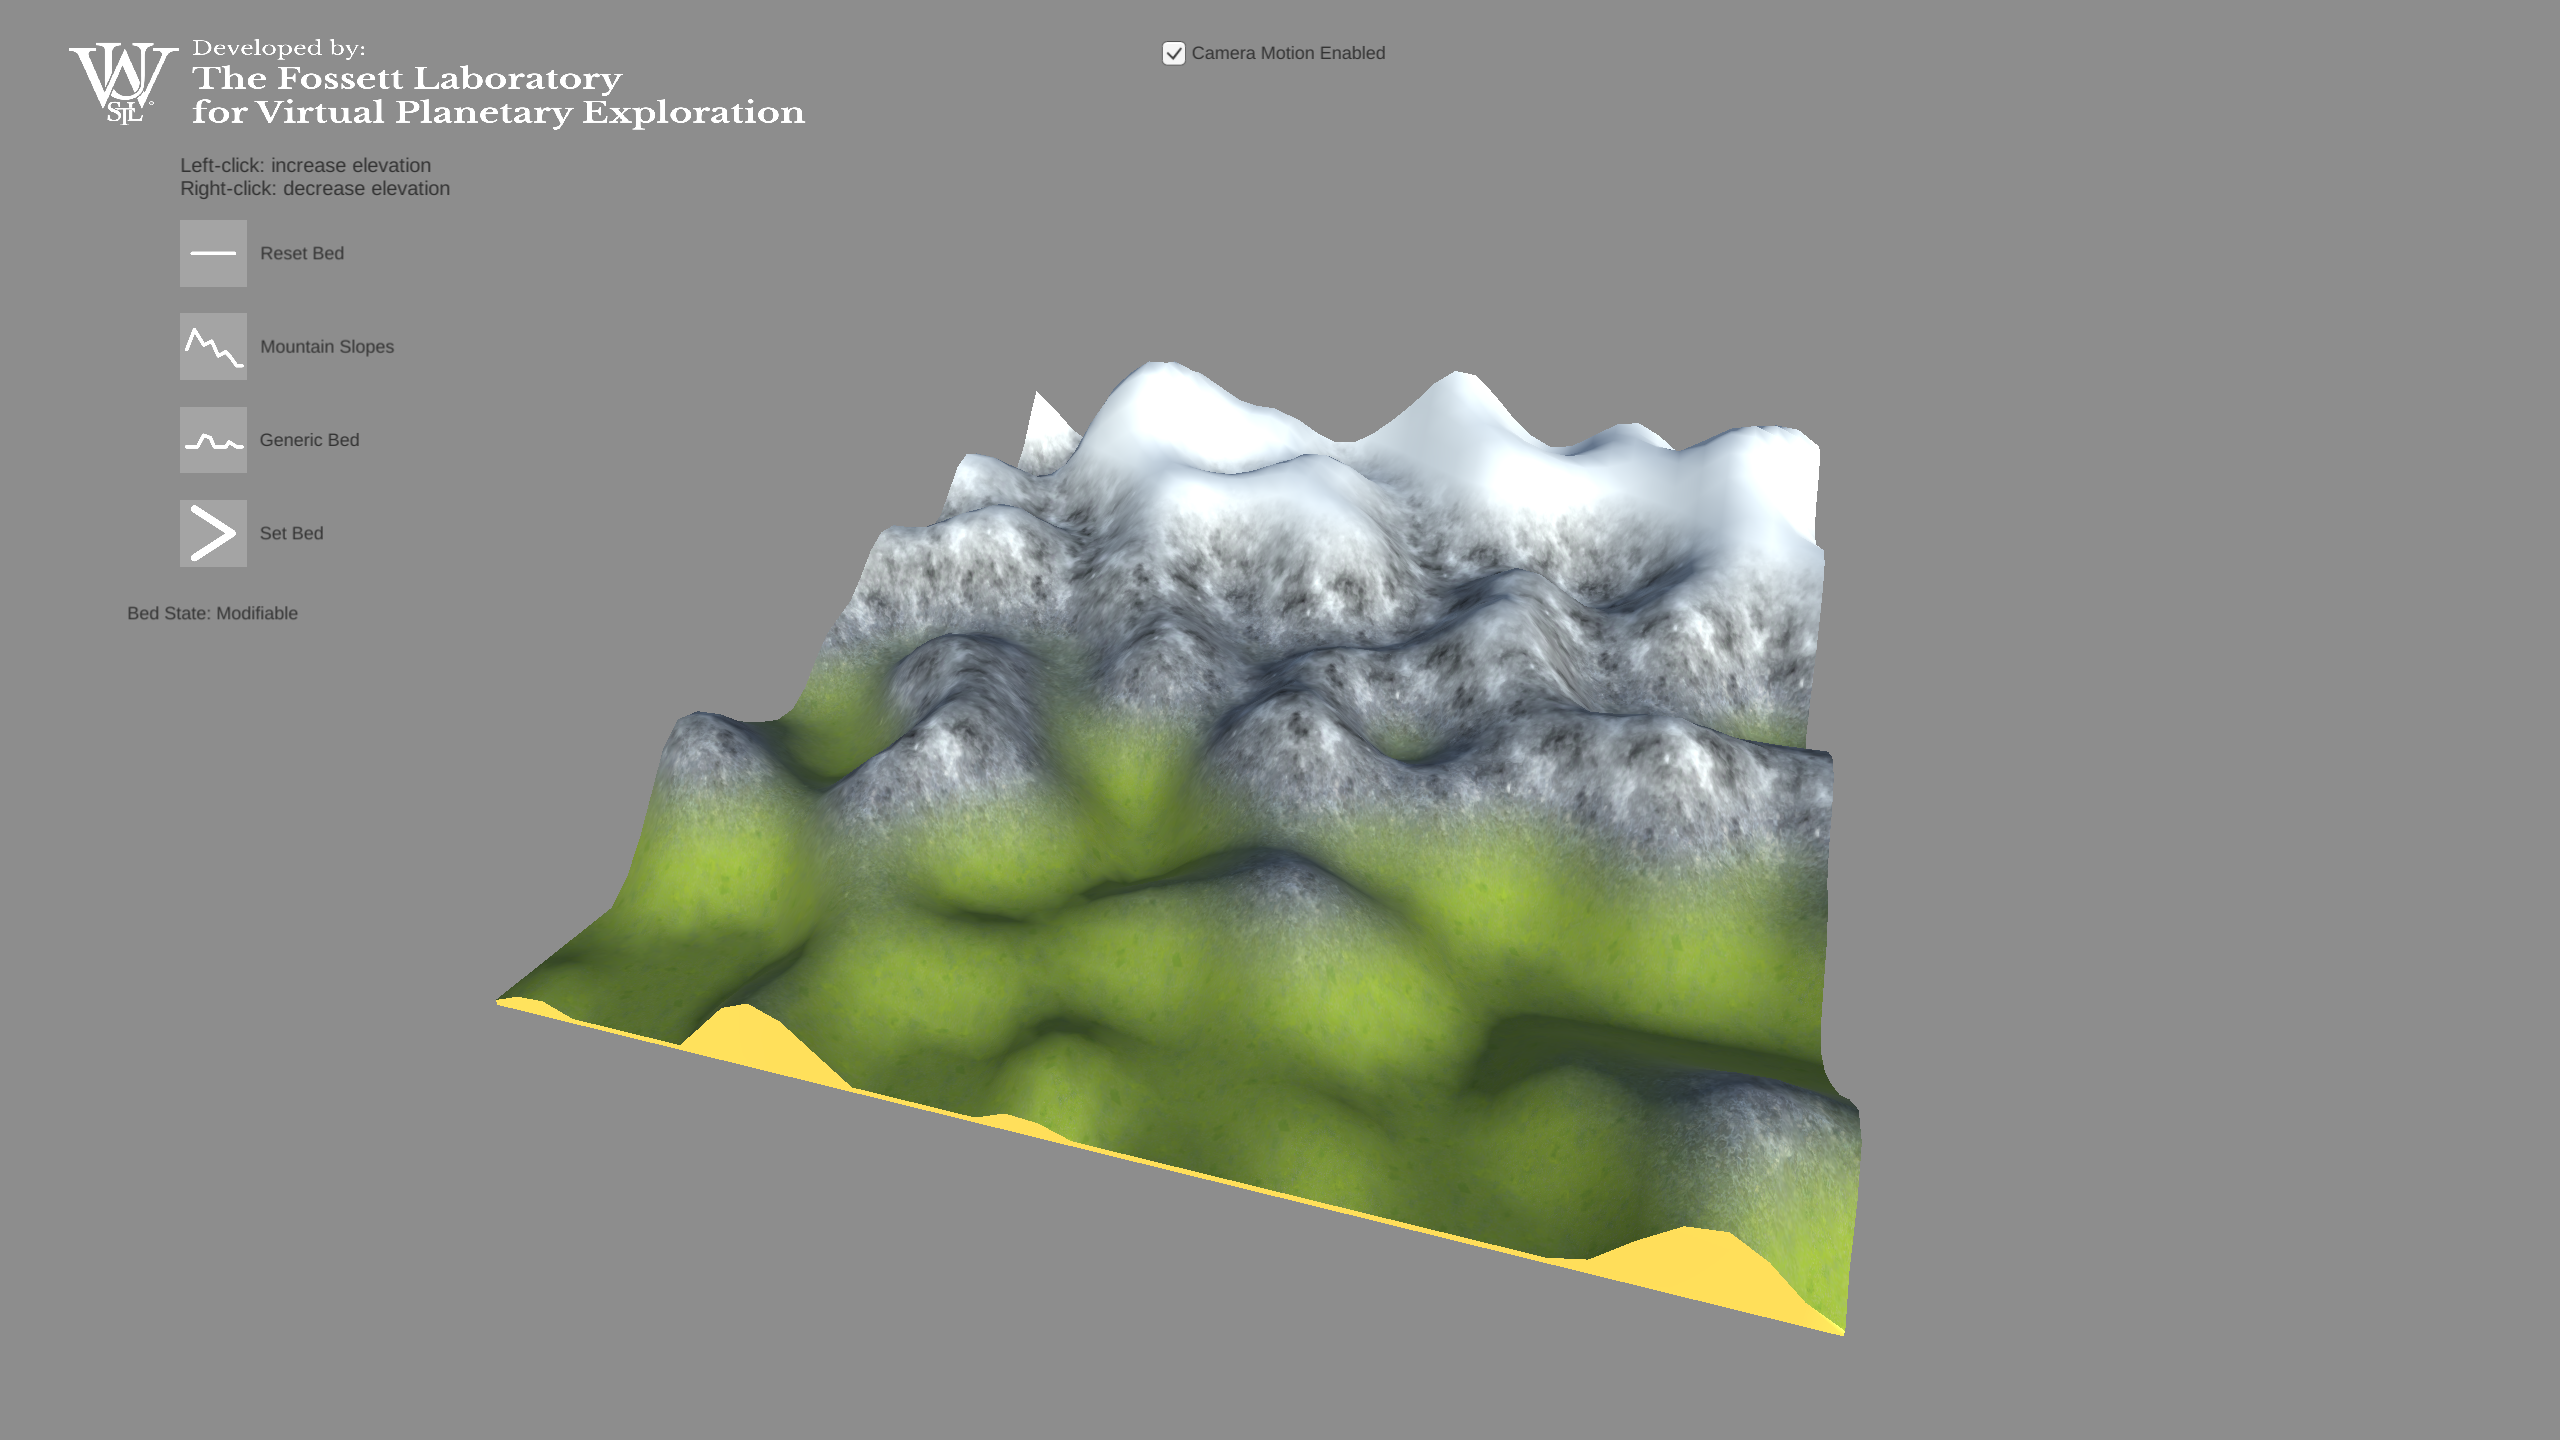
On starting the app, you will be able to navigate around the model using mouse controls, and also be able to deform the bed using the left-mouse button to increase elevation, and the right-mouse button to decrease elevation. There are also a couple of presets:
- a 'generic' undulating bed, similar to bed elevation variations beneath an ice sheet.
- a 'mountain' bed, which provides a good setup for building glaciers.
Once you're happy with the bed, click 'Set Bed'.
Setting the ice surface:
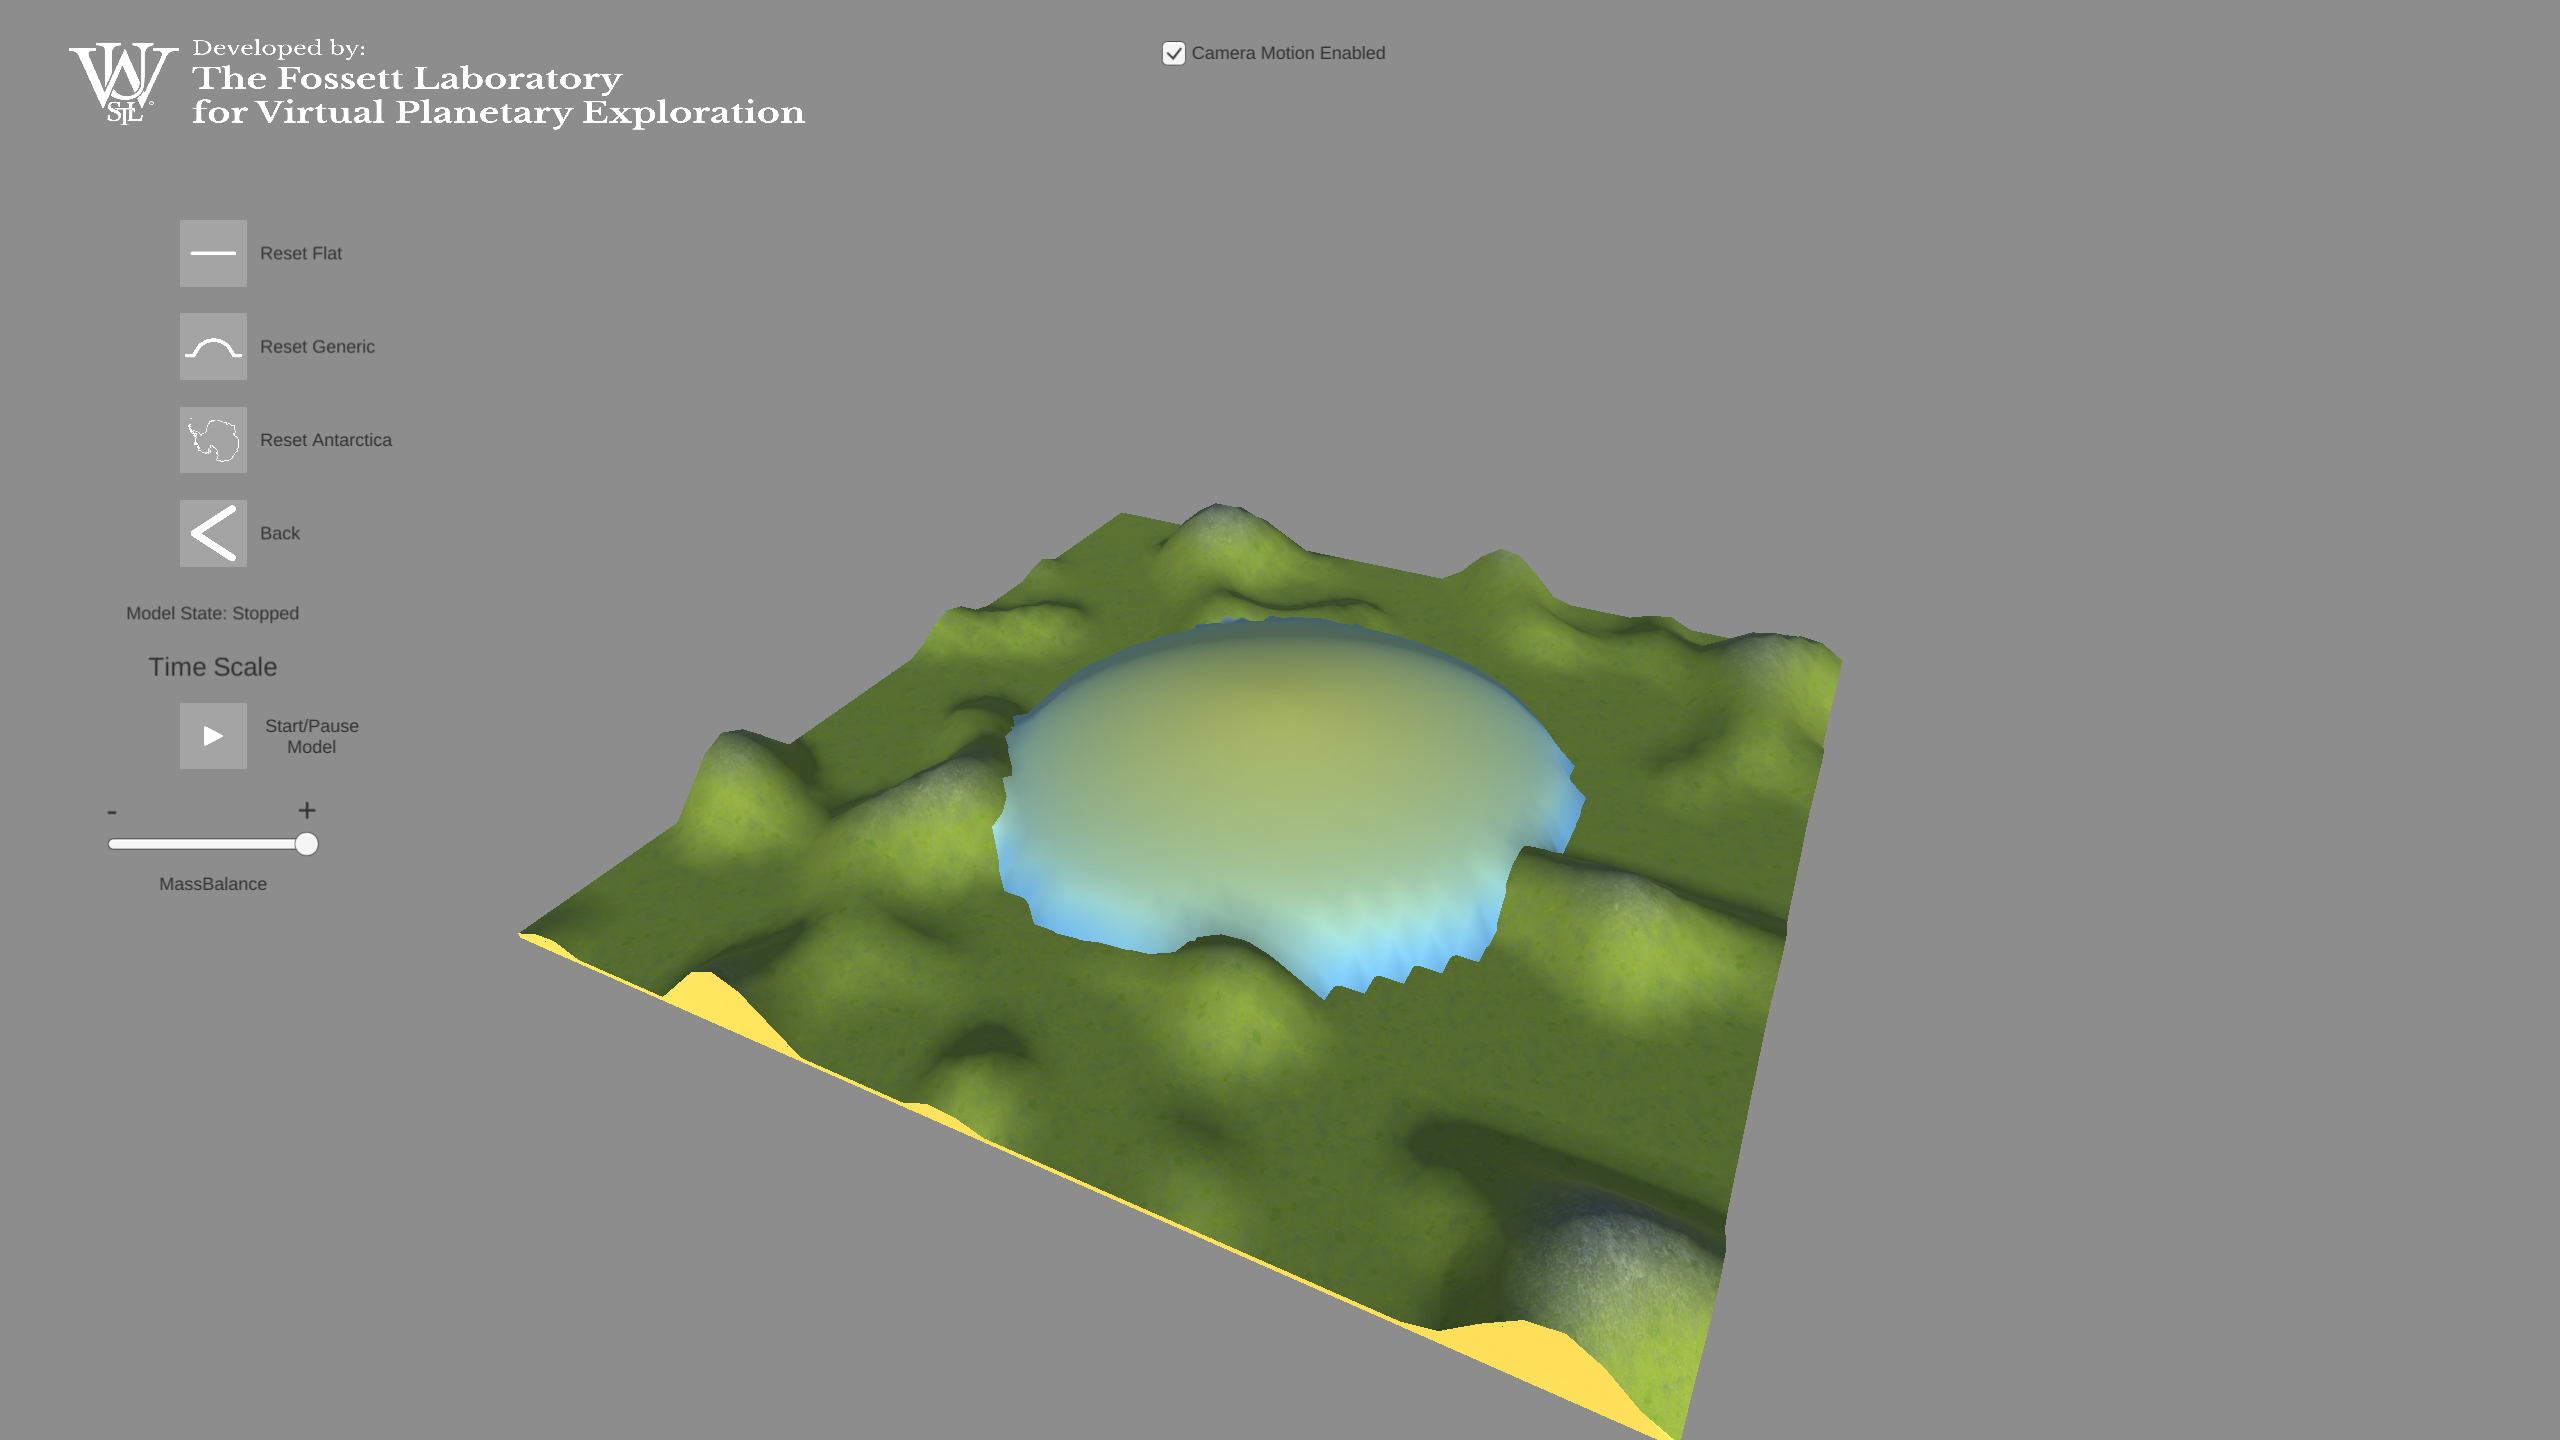
We need to set the initial condition for the ice surface. This can be one of three options:
- a 'generic' ice sheet surface which is essentially a snapshot of an ice sheet if it formed on perfectly flat terrain.
- an Antarctic ice surface, which is in the shape of the Southern Continent and based on real data.
- a 'flat' surface, which is essentially no initial ice sheet, and you will start building a surface once the model begins to run. Use this with the mountain bed surface to ensure the model is accurate on play.
Now we're ready to start the model.
Running the model:
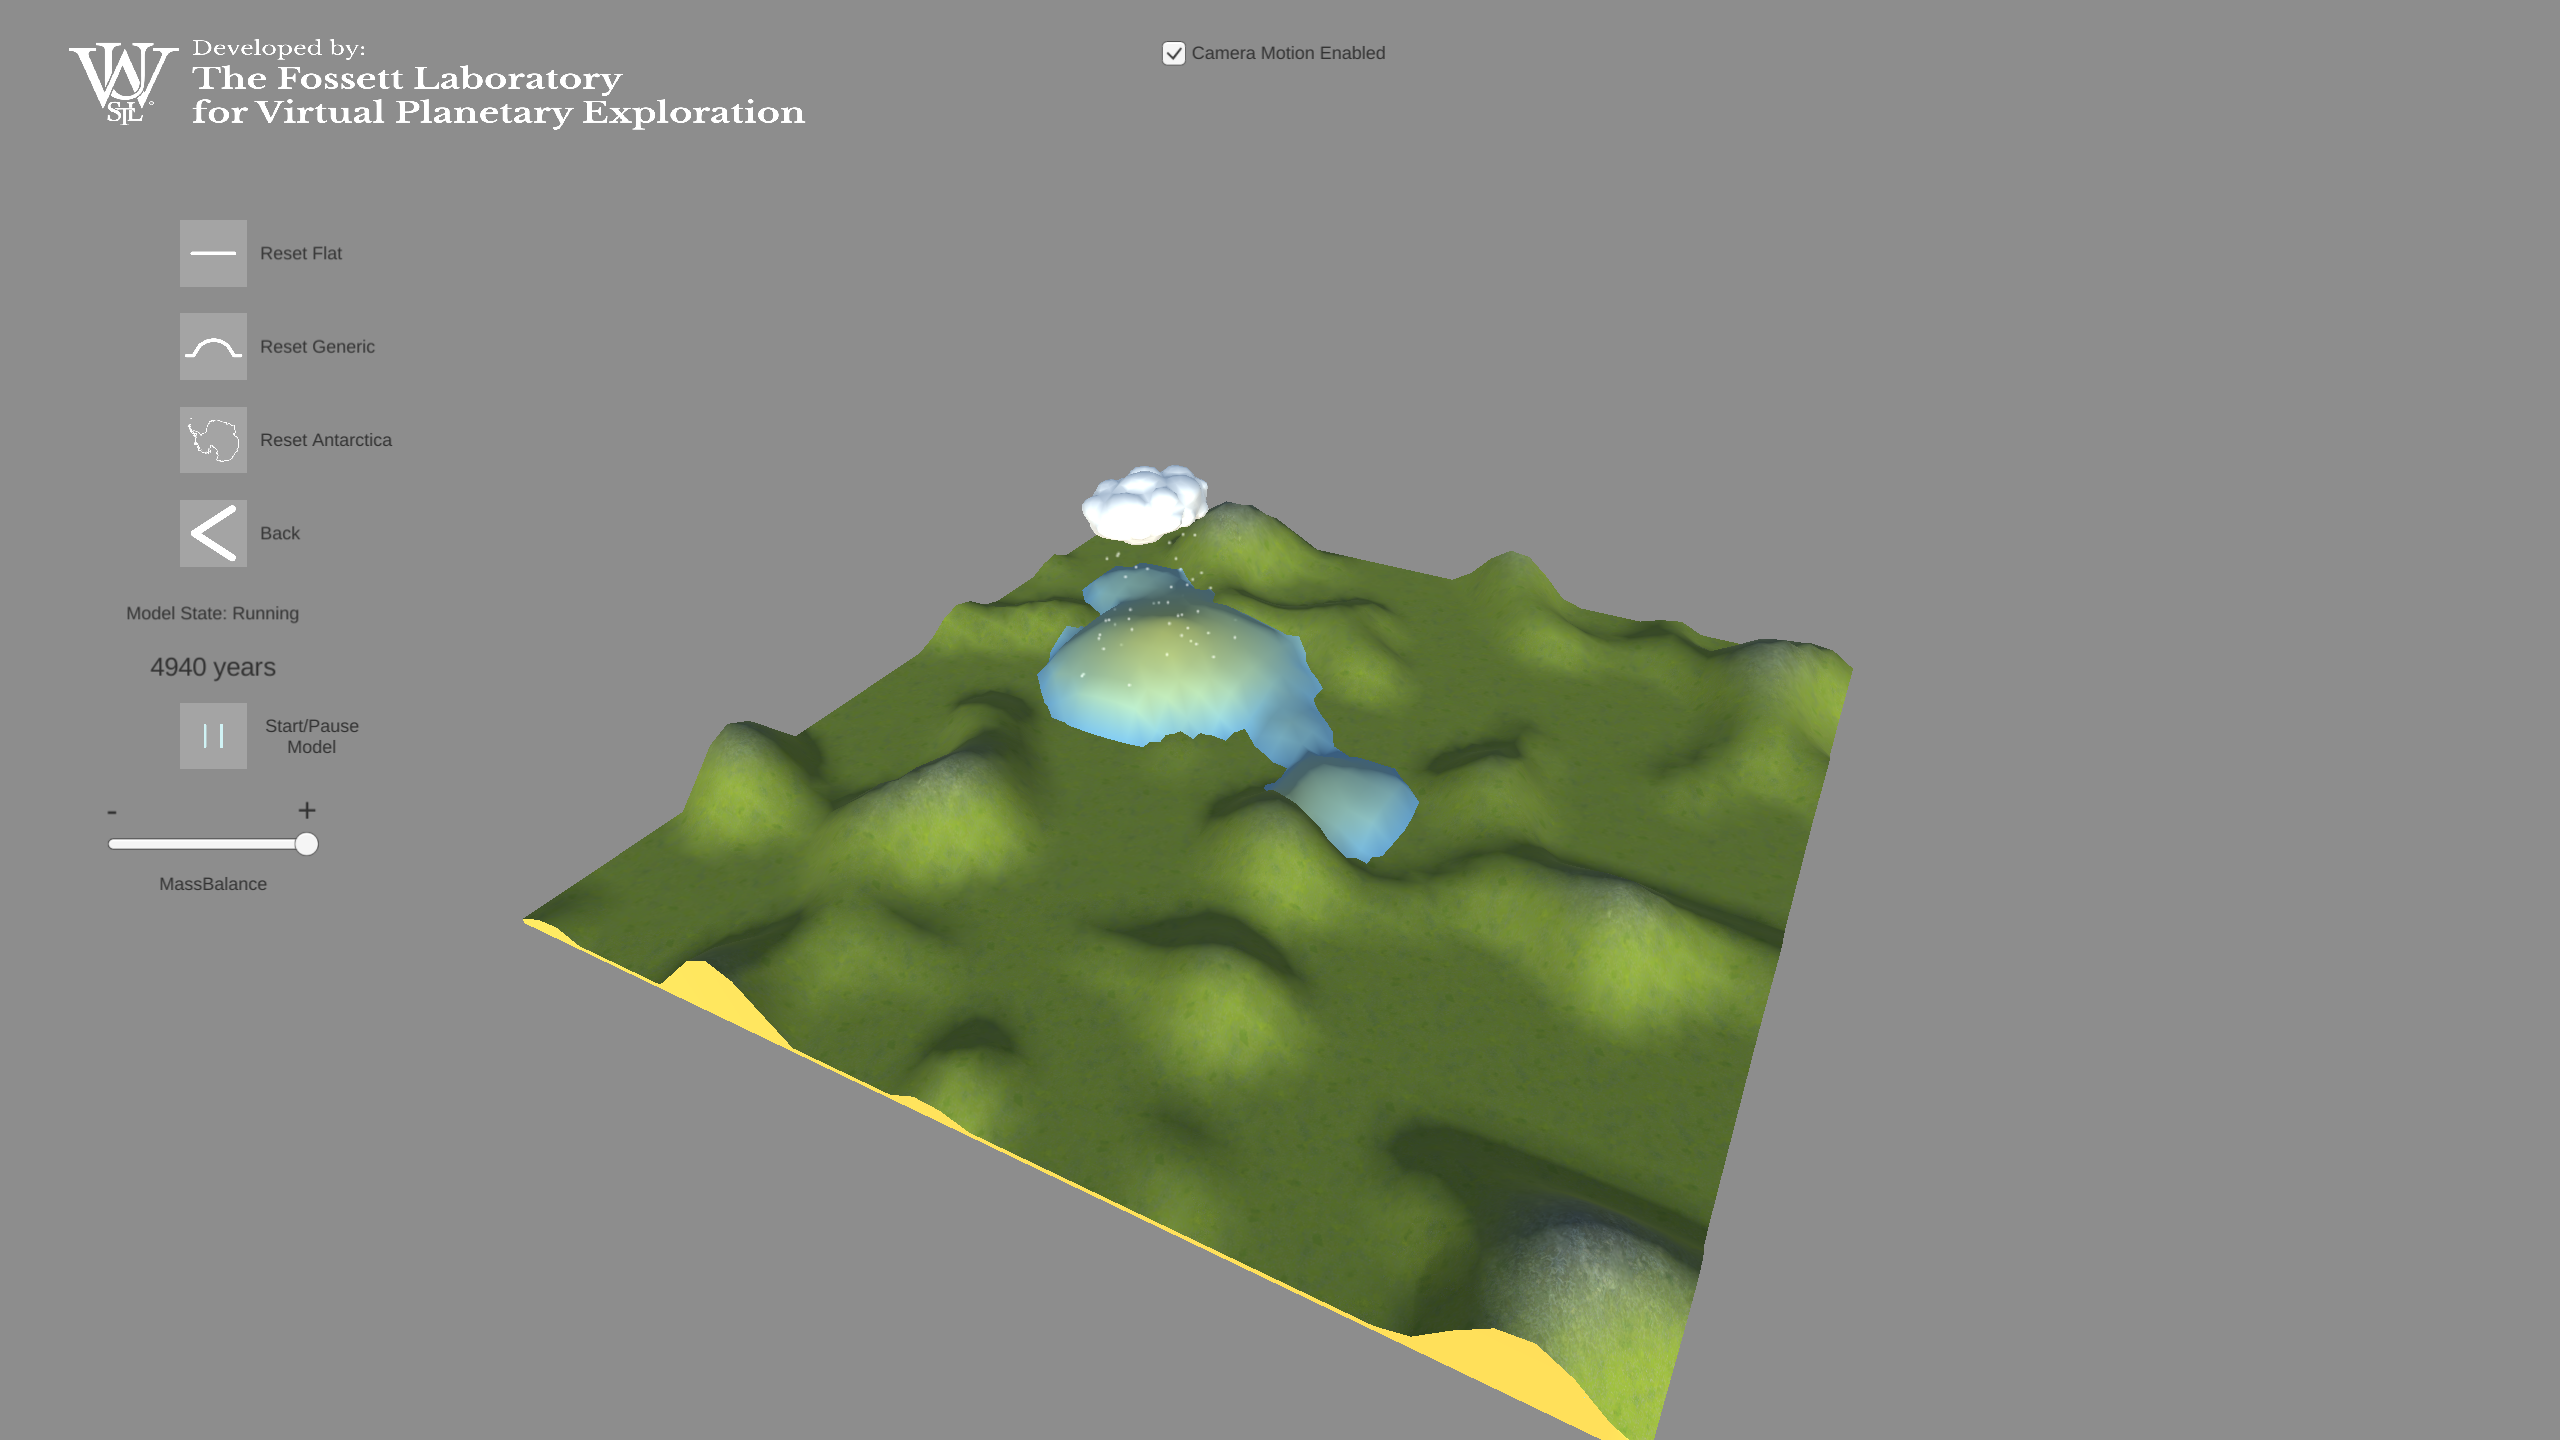
Hit the 'Play' button to begin. The model will begin with mass balance set so that ice will accumulate wherever the mouse pointer is located on the model surface.
You can also set the mass balance to be negative and 'melt' the ice sheet you've created.
To try it out, visit the WebGL version of the application here
Augmented reality is now possible on most new mobile devices, see here for iOS compatibility and here for Android compatibility. The makes the ability to visualize this 3D model possible using a video feed from a single camera. Computer vision techniques allow for the placement of a virtual 3D object in the real world - creating an augmented reality experience. The application makes use of Unity's AR Foundation code base which allows for simultaneous deployment to both Apple's ARKit and Google's ARCore APIs.
Currently the app is still in beta and not released on the app stores at this time. As such any person wanting to install the app on their own mobile device will need to download the MobileAR branch, build a new version in Unity targeting iOS or Android, and then deploy it to their development device using XCode or building to Android from Unity.
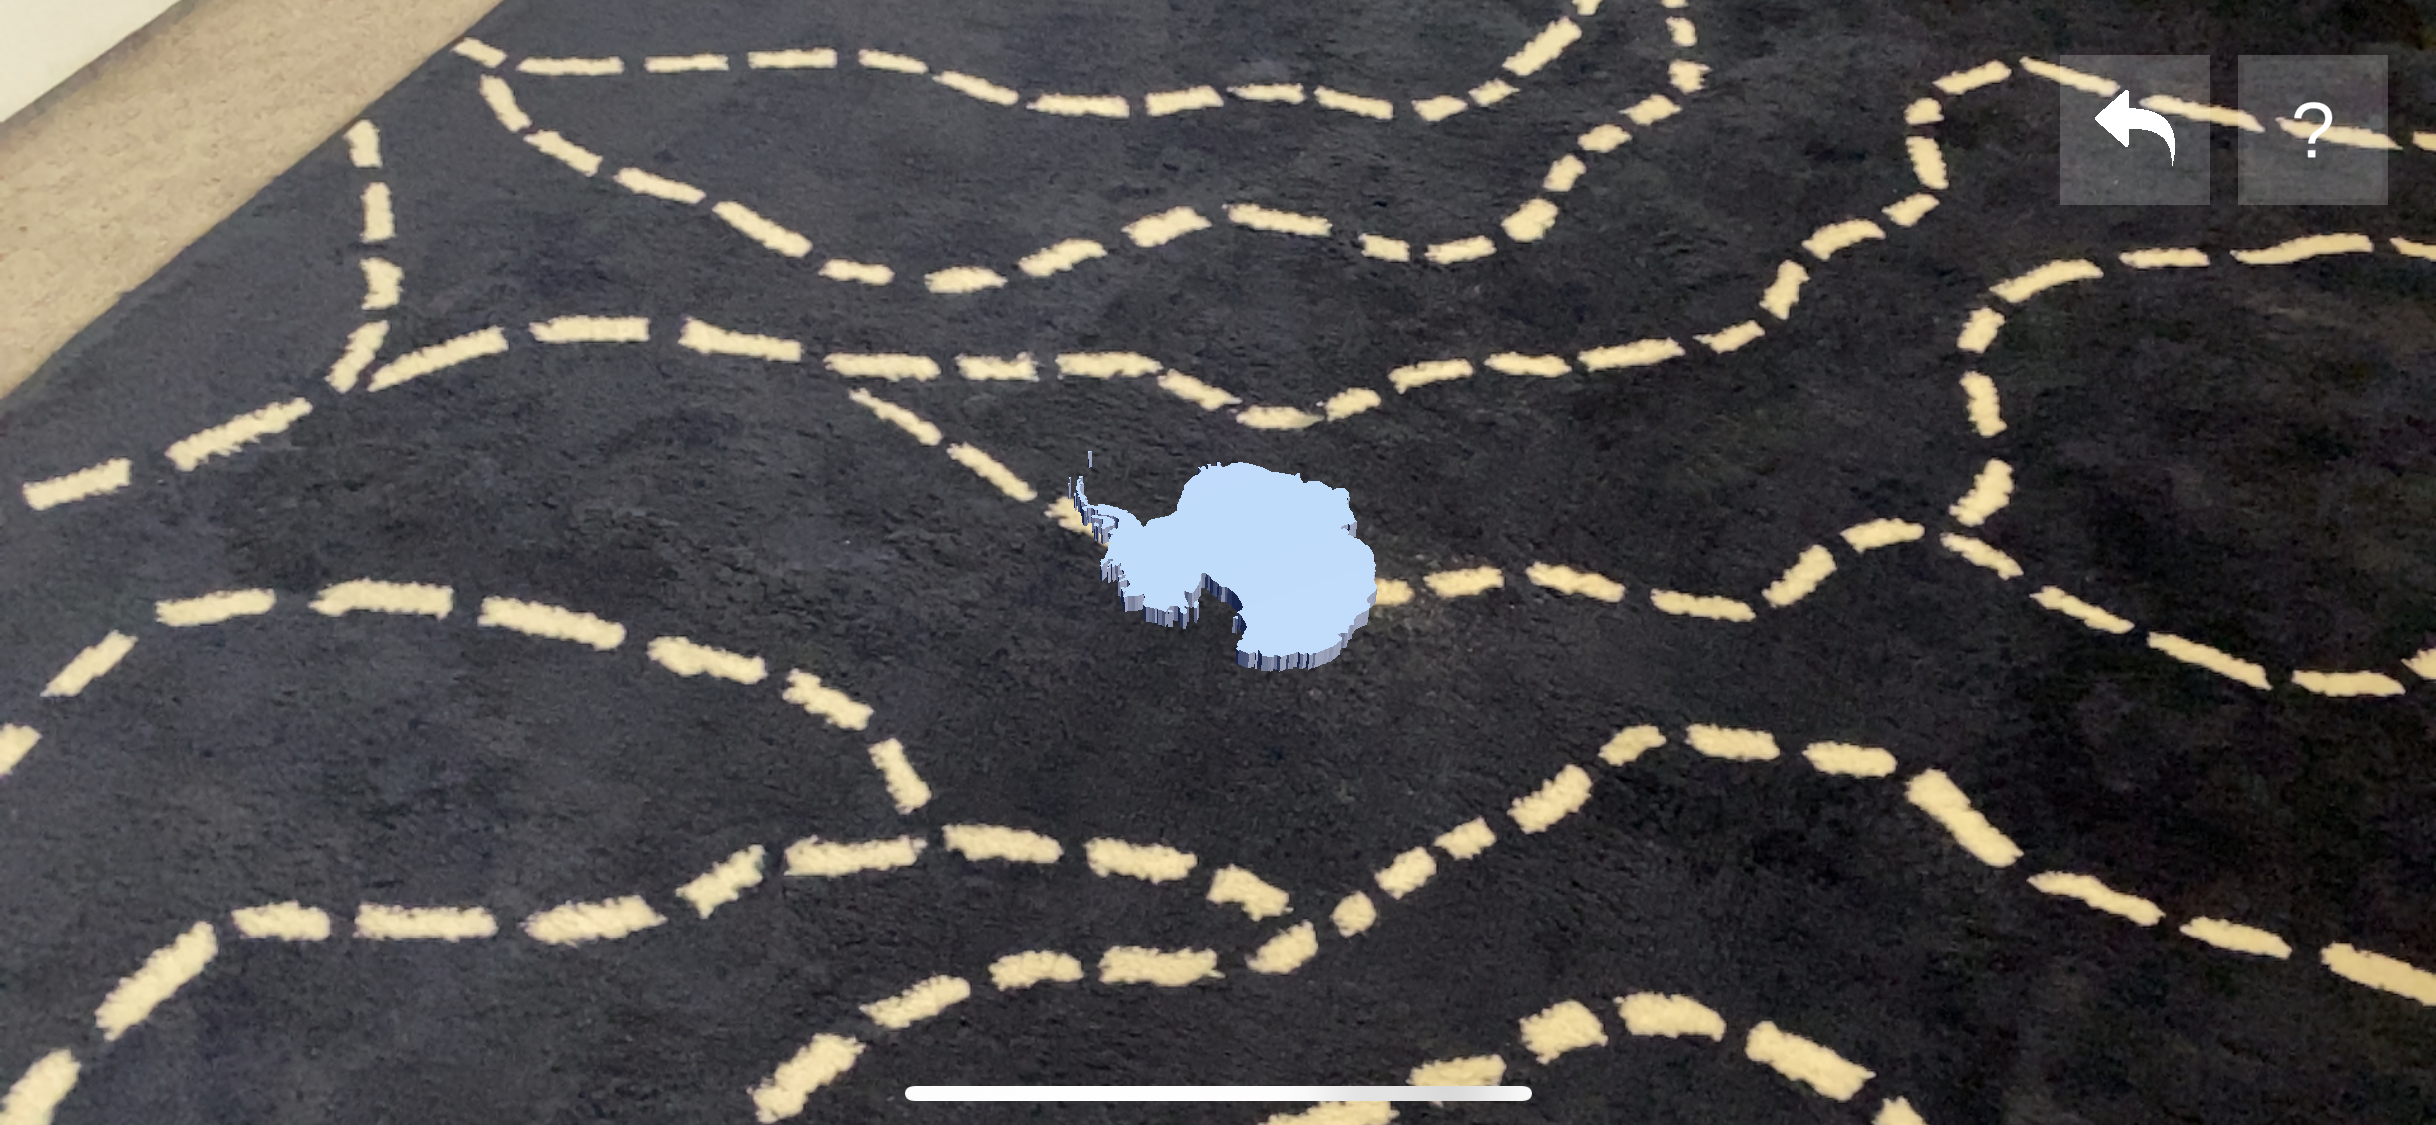
The mobile application has a loading UI scene that will allow for further dataset visualization to be added. Currently only the Ice Sheet Model is available. Tap 'Go' and the AR scene will be loaded. A placement indicator will show up on any identified horizontal surface:
Setting the bed:
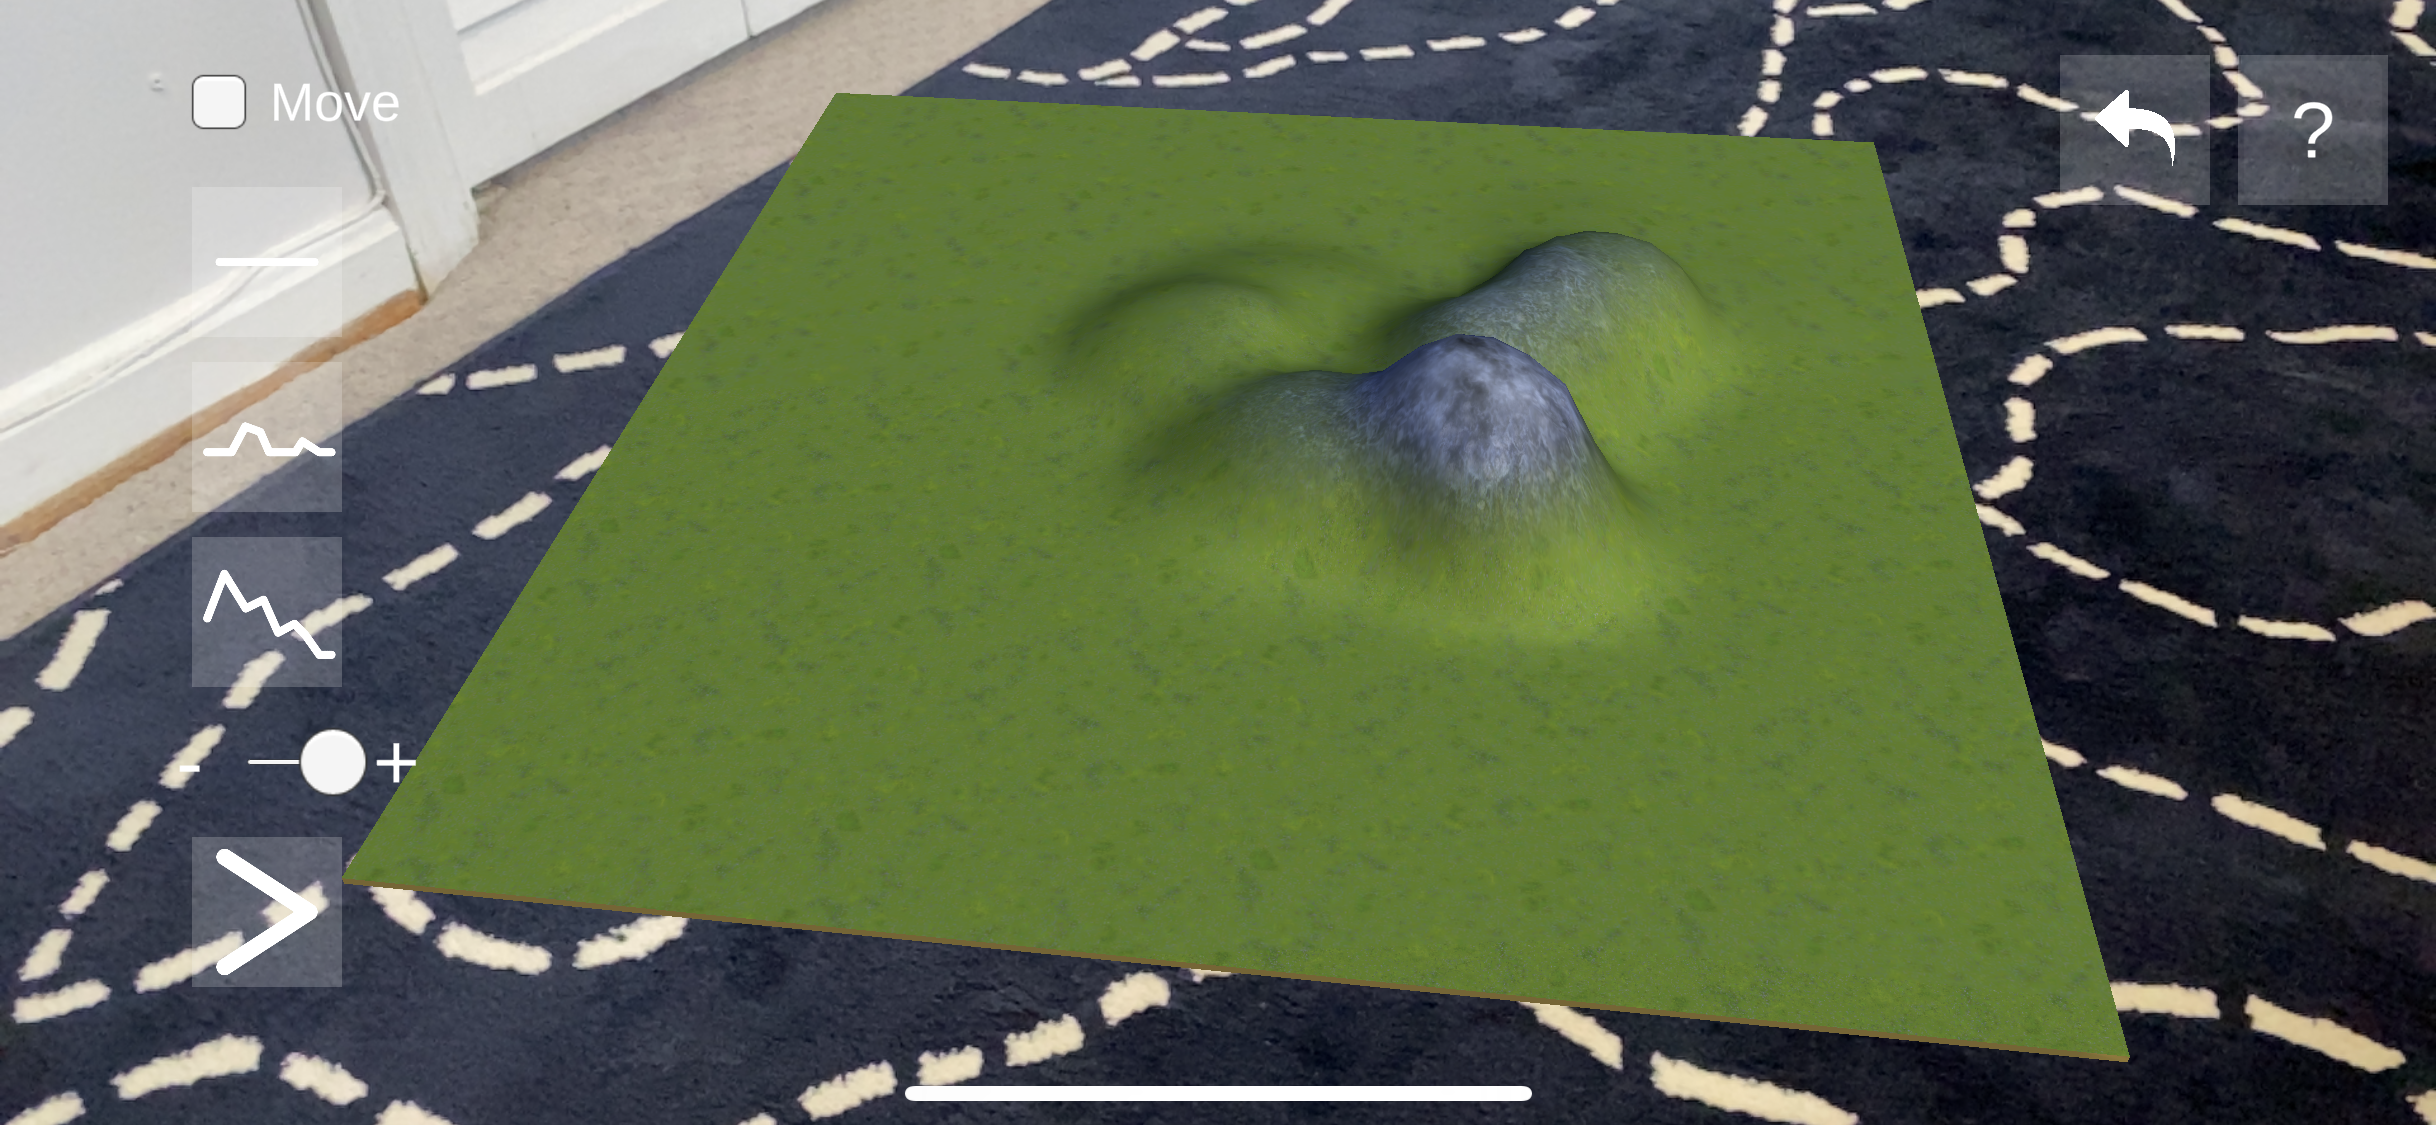
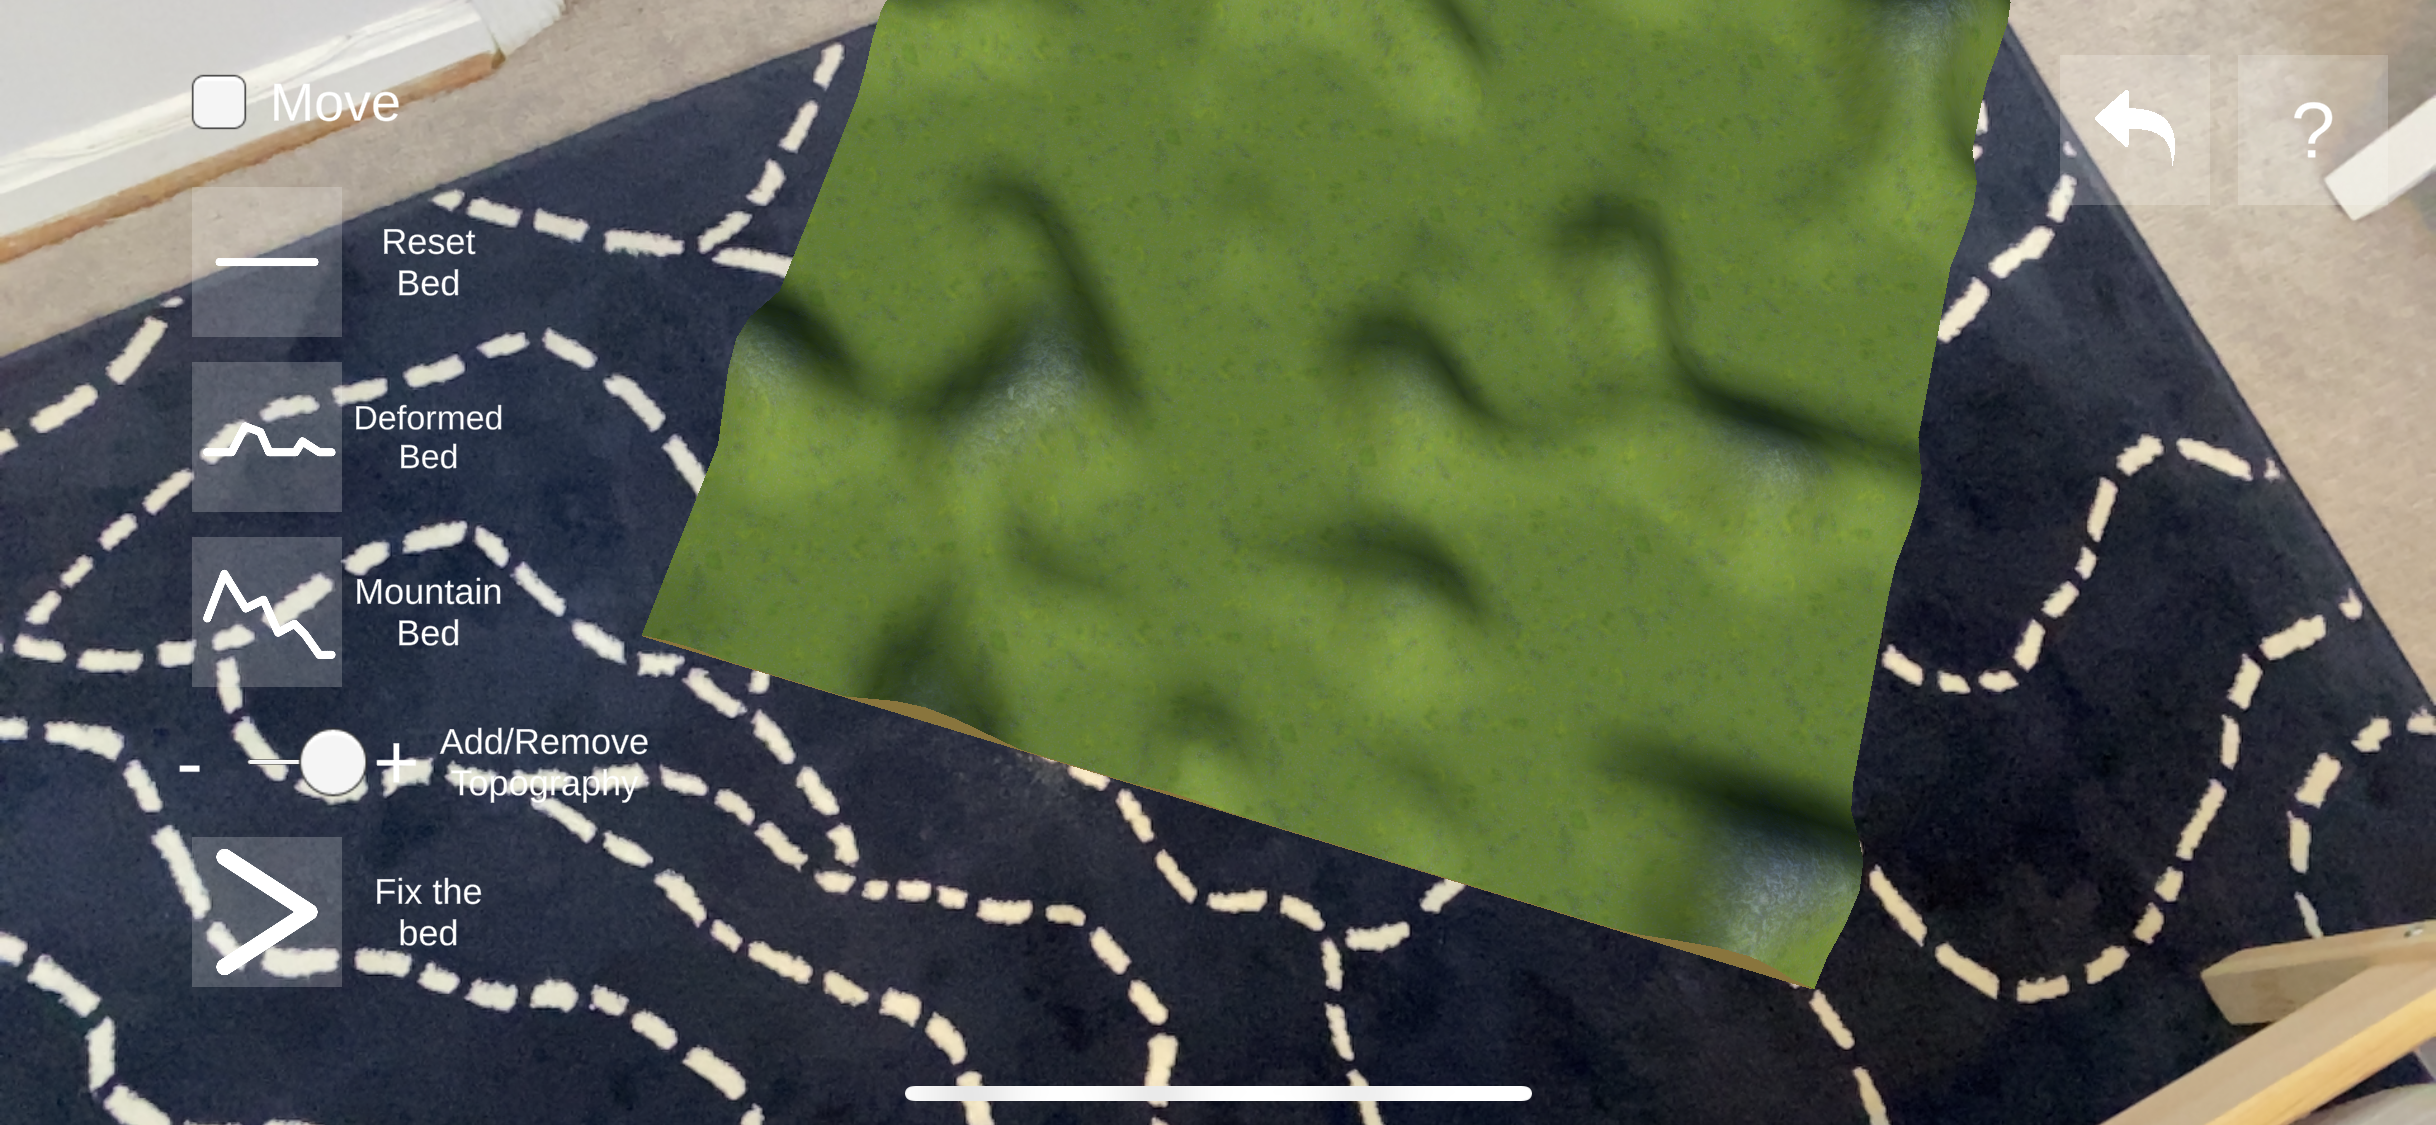
By default you will be able to raise and lower areas of the bed by tapping and holding on the bed surface. You can switch between raising and lowering using the toggle slider on the left-hand side.
You can also move the bed to a more convenient location by selecting the 'Move' toggle at the top left - dragging, rotating and scaling using 1- and 2-finger touch gestures. when the move toggle is active, you won't be able to deform the bed by tapping on the surface.
There are also preset bed topography options:
- a 'generic' undulating bed, similar to bed elevation variations beneath an ice sheet.
- a 'mountain' bed, which provides a good setup for building glaciers.
You can see what each icon does by pressing the '?' help button at the top right:
Once you're happy with the bed, click 'Set Bed'.
Setting the ice surface:
We need to set the initial condition for the ice surface. This can be one of three options:
- a 'generic' ice sheet surface which is essentially a snapshot of an ice sheet if it formed on perfectly flat terrain.
- an Antarctic ice surface, which is in the shape of the Southern Continent and based on real data from BEDMAP2.
- a 'flat' surface, which is essentially no initial ice sheet, and you will start building a surface once the model begins to run. This should be selected when using the AR Surface or Mountain beds to ensure the model is accurate on play.
Now we're ready to start the model.
Running the model:
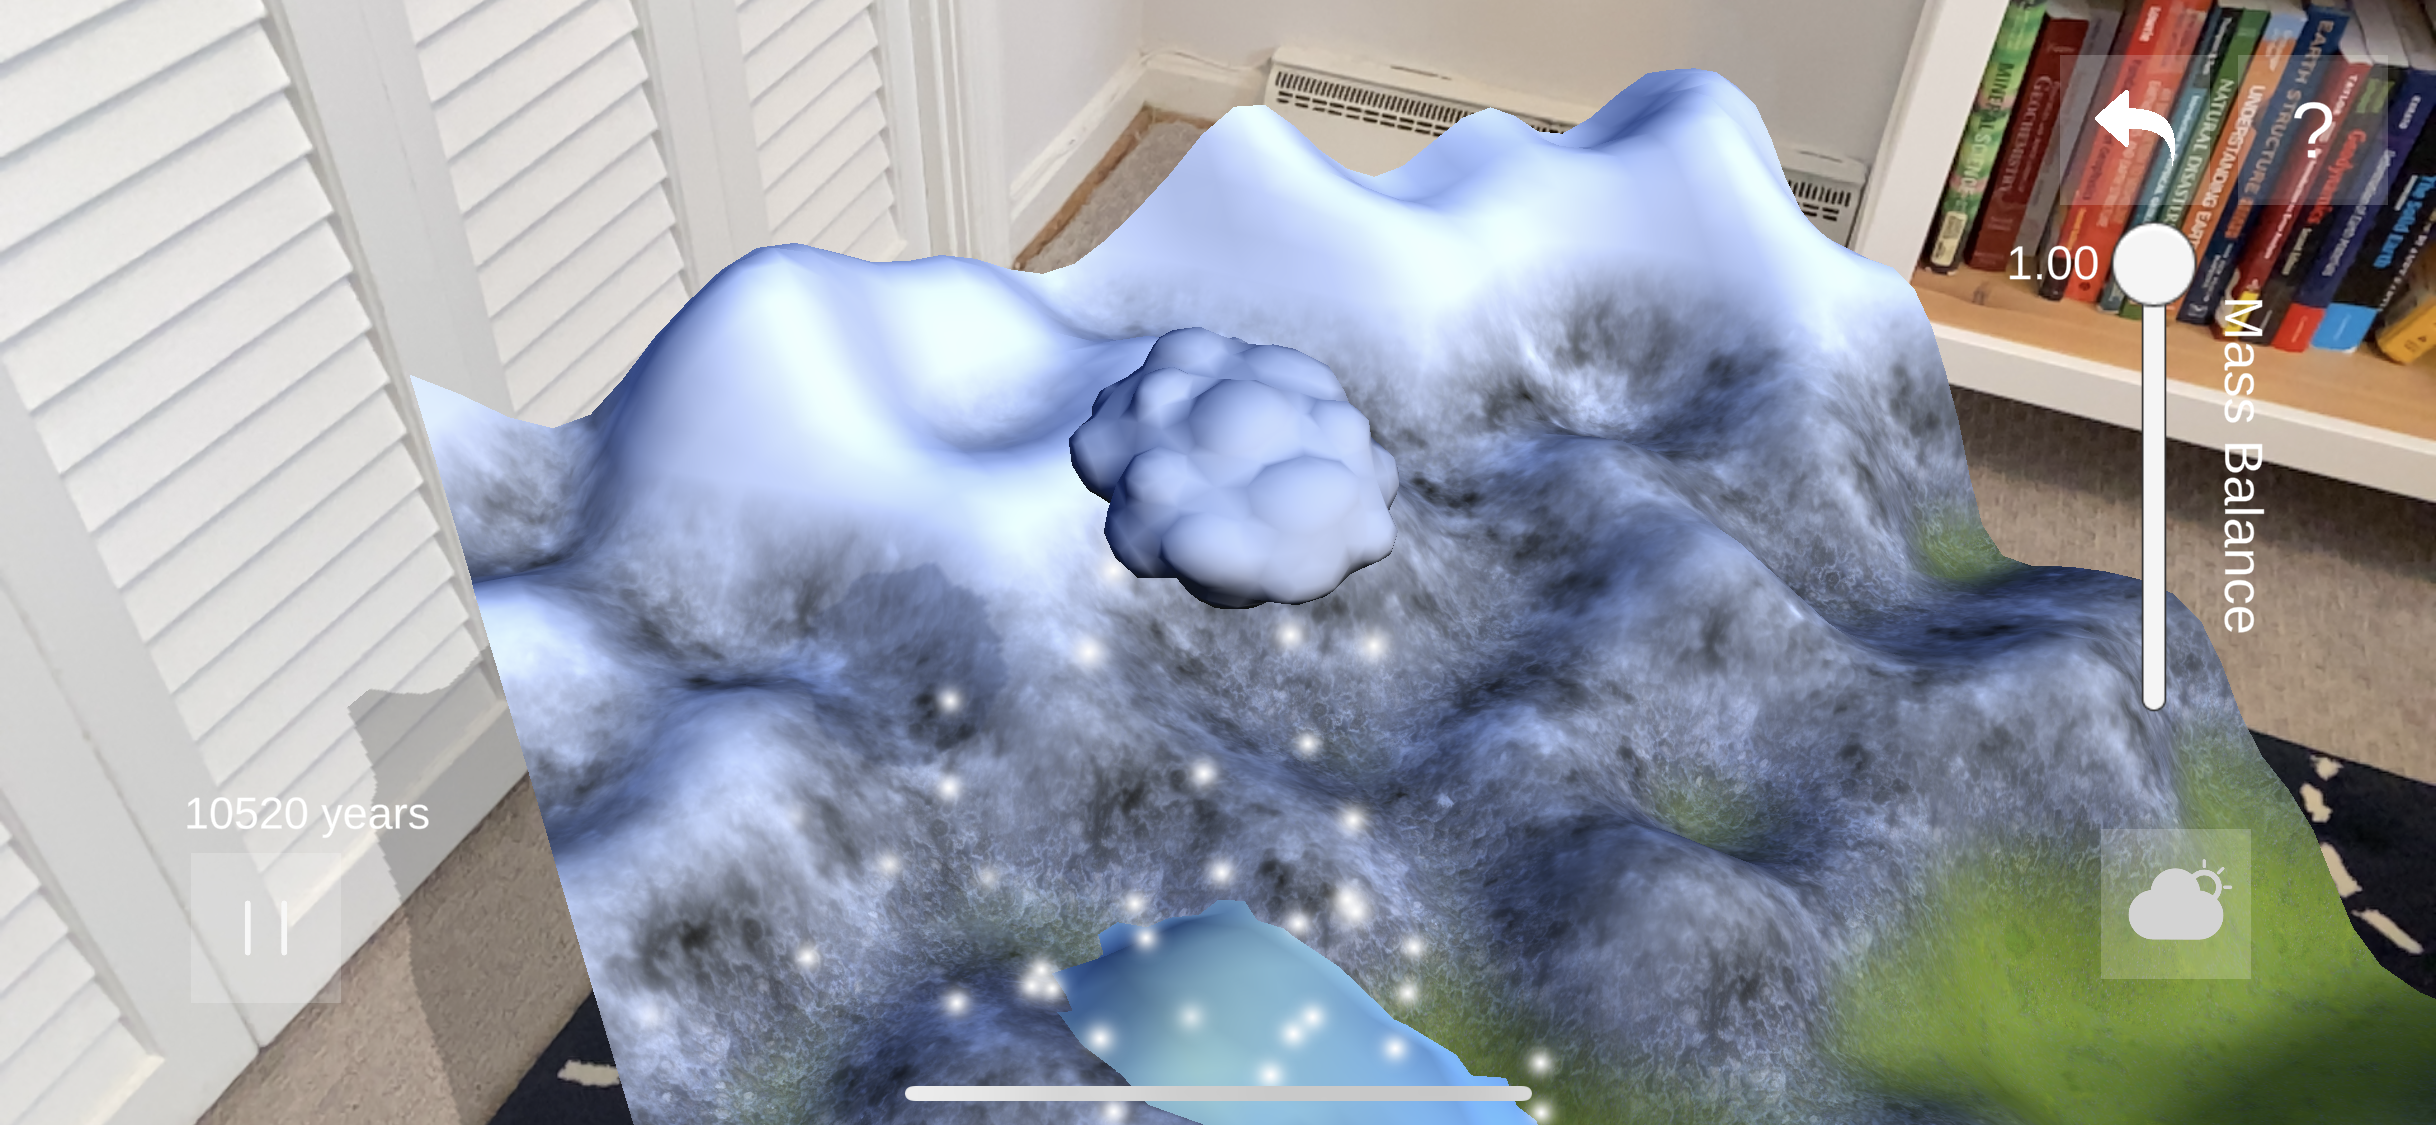
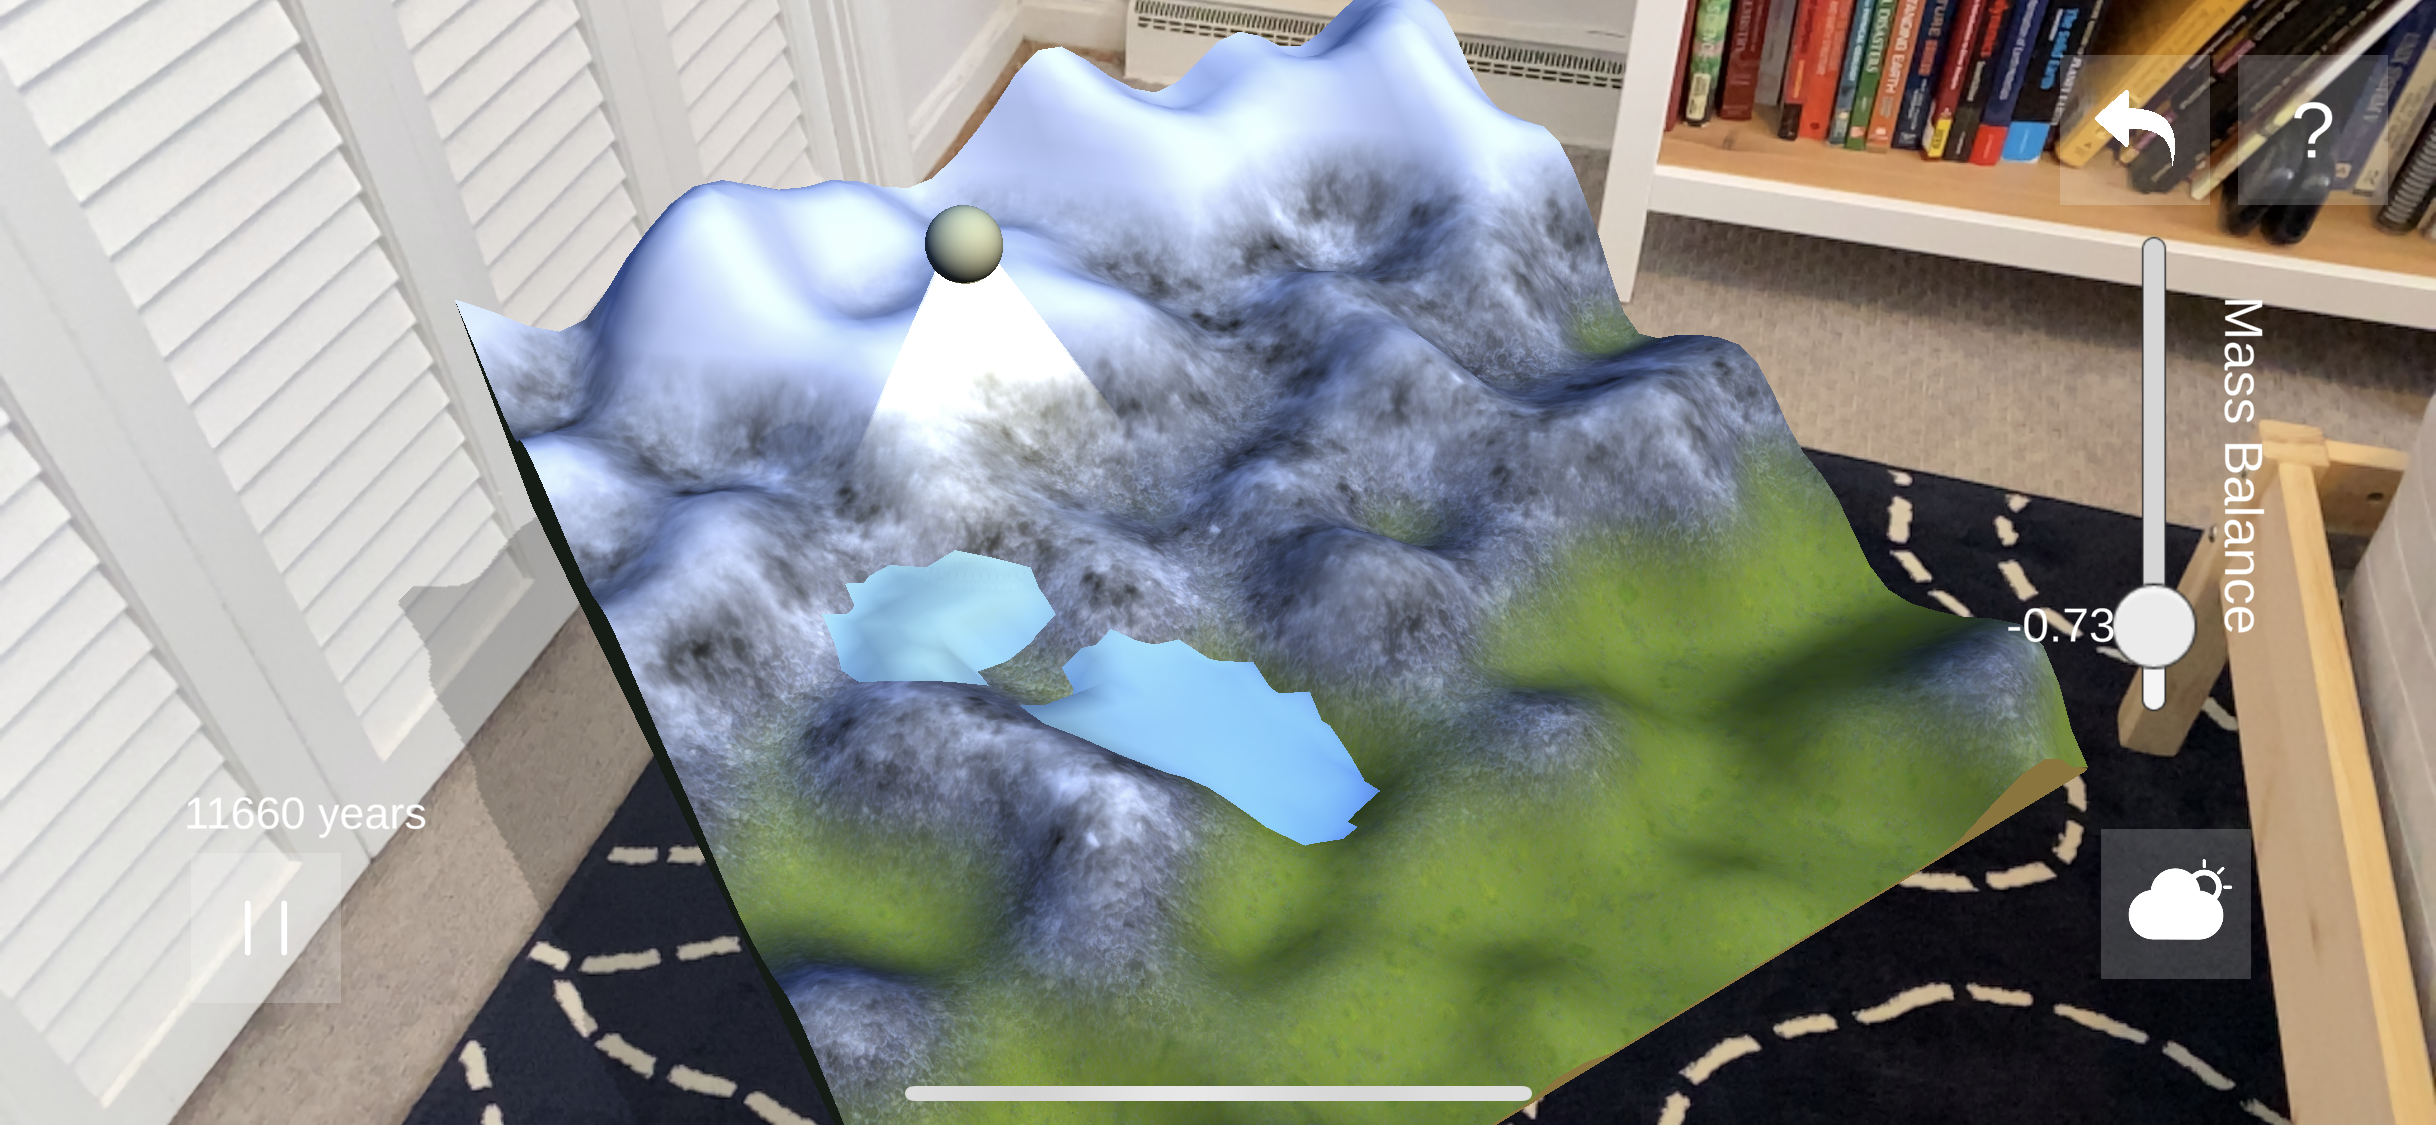
Hit the 'Play' button at the bottom of the model space to begin. The model will begin with mass balance set so that ice will accumulate beneath wherever the cloud or sun is located above the model surface. Move the cloud around by holding down the Cloud/Sun button in the bottom. This will lock the cloud object to a set position in front of the mobile device's screen. Move the mobile device around to move the cloud while holding the Cloud/Sun button.
You can also set the mass balance to be negative and 'melt' the ice sheet you've created.
The Microsoft HoloLens head mounted display provides the truest personal AR experience, handsfree and stereo imaging allow for an accurate 3D visualization, and spatial cameras allow for scanning of real world surfaces. This means we can have virtual objects be influenced by the real world.
Again, currently the app is still in beta and not released on the Microsoft store at this time. As such any person wanting to install the app on their own mobile device will need to download the HoloLens branch, build a new version in Unity targeting UWP, and then deploy it to their development device using Visual Studio.
On deployment, open the app on the HoloLens.
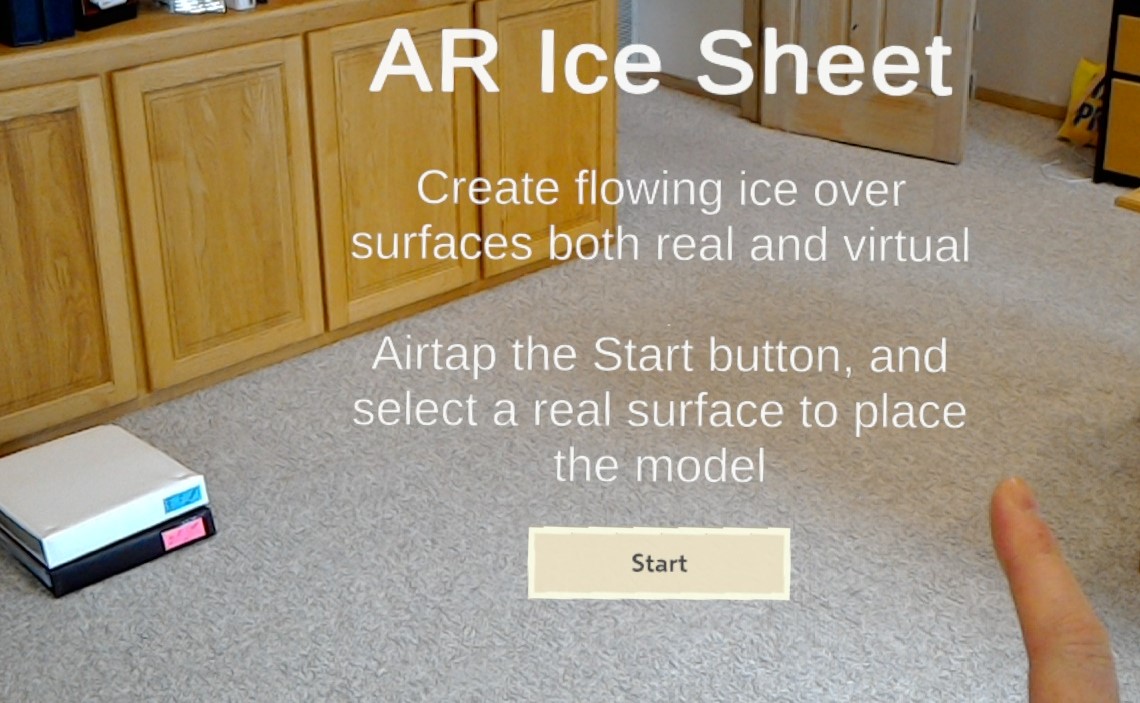
You will be presented with a loader screen and a Start button - airtap it to begin.
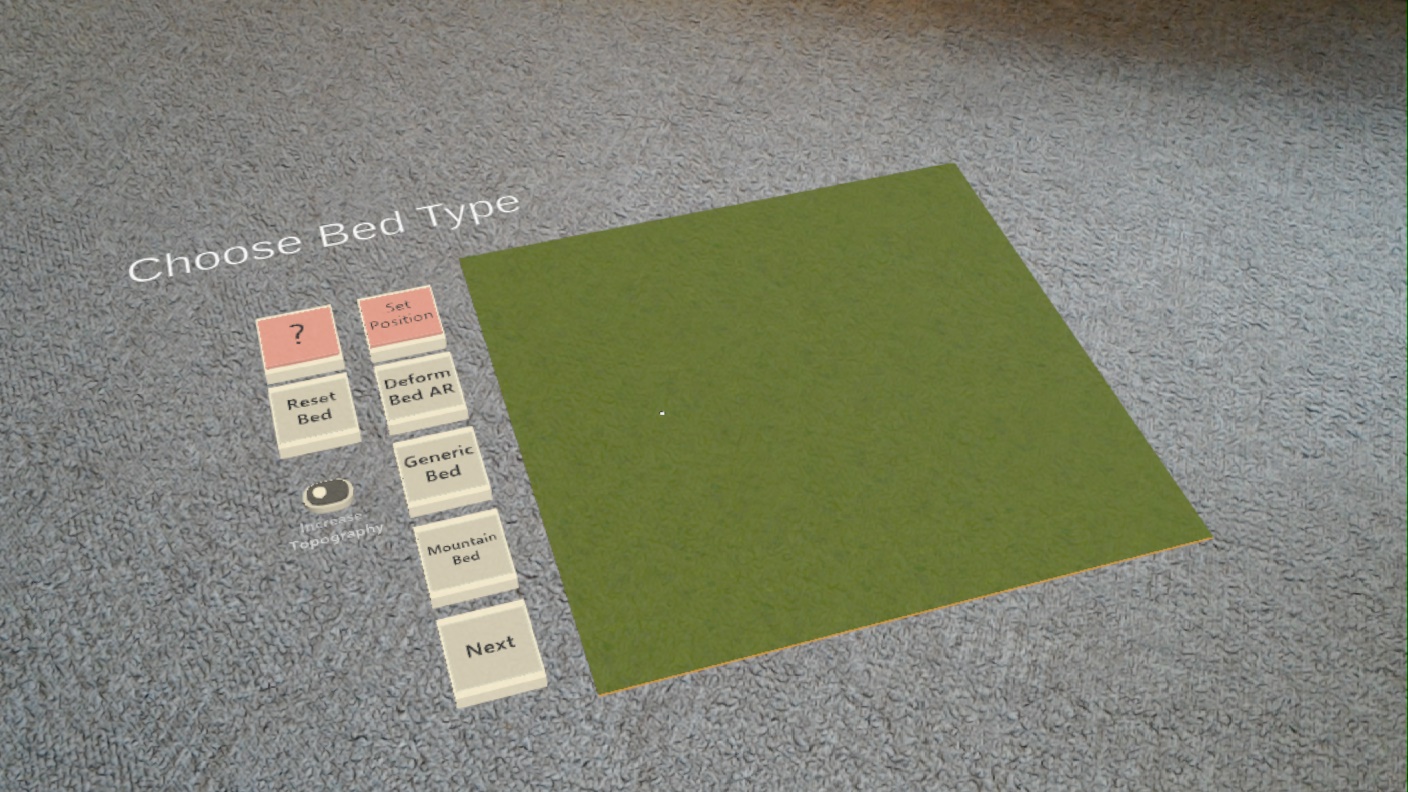
Scan around the room as the Spatial Mapping will be active and requires a surface to place the model space on. The model space will be placed a small distance above where you airtap, but will also be occluded by any real world objects within the model space area. Once the model space has been placed, you can move or resize it using the Set Position button at the top-left. When moving the model space around, be careful not to move it through the floor as you won't be able to retrieve it!
Setting the bed:
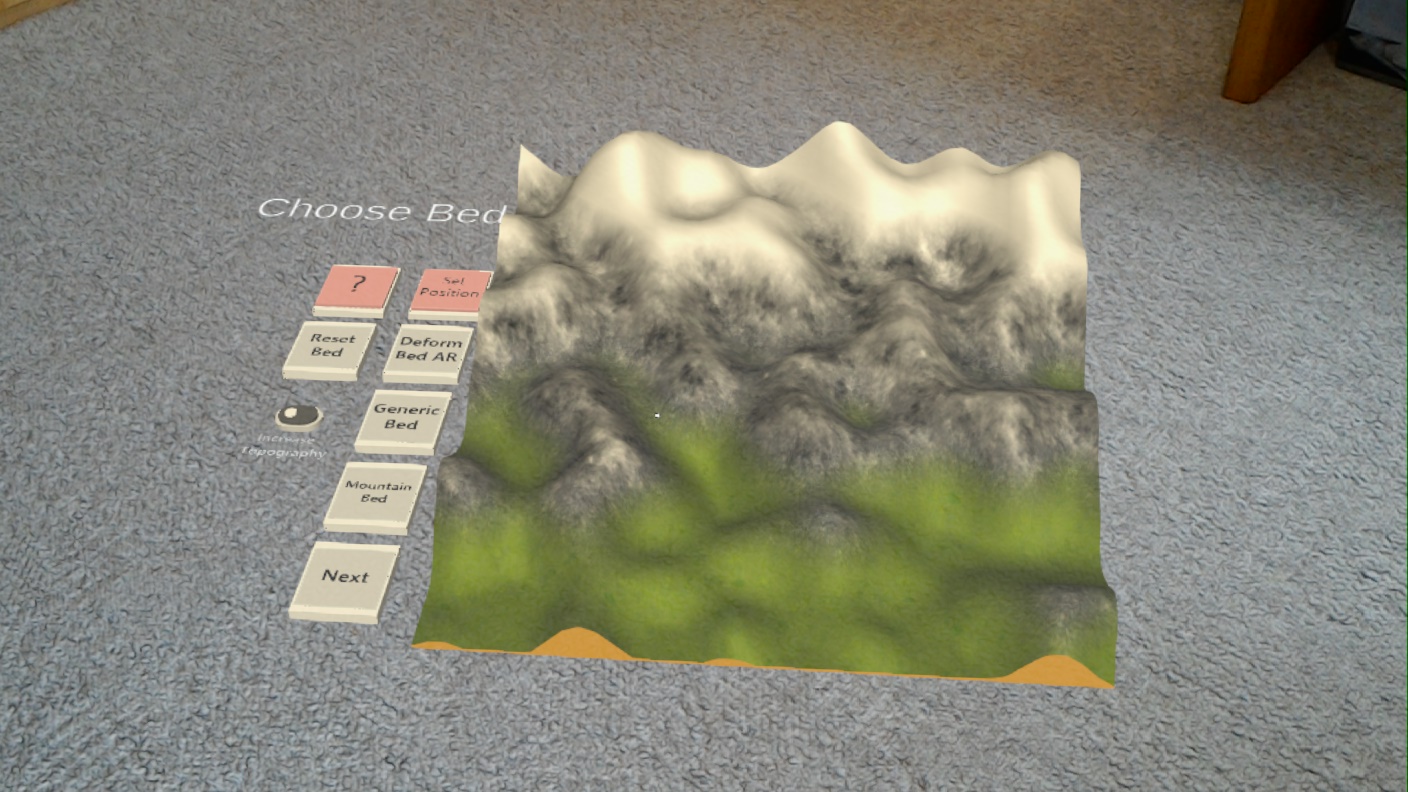
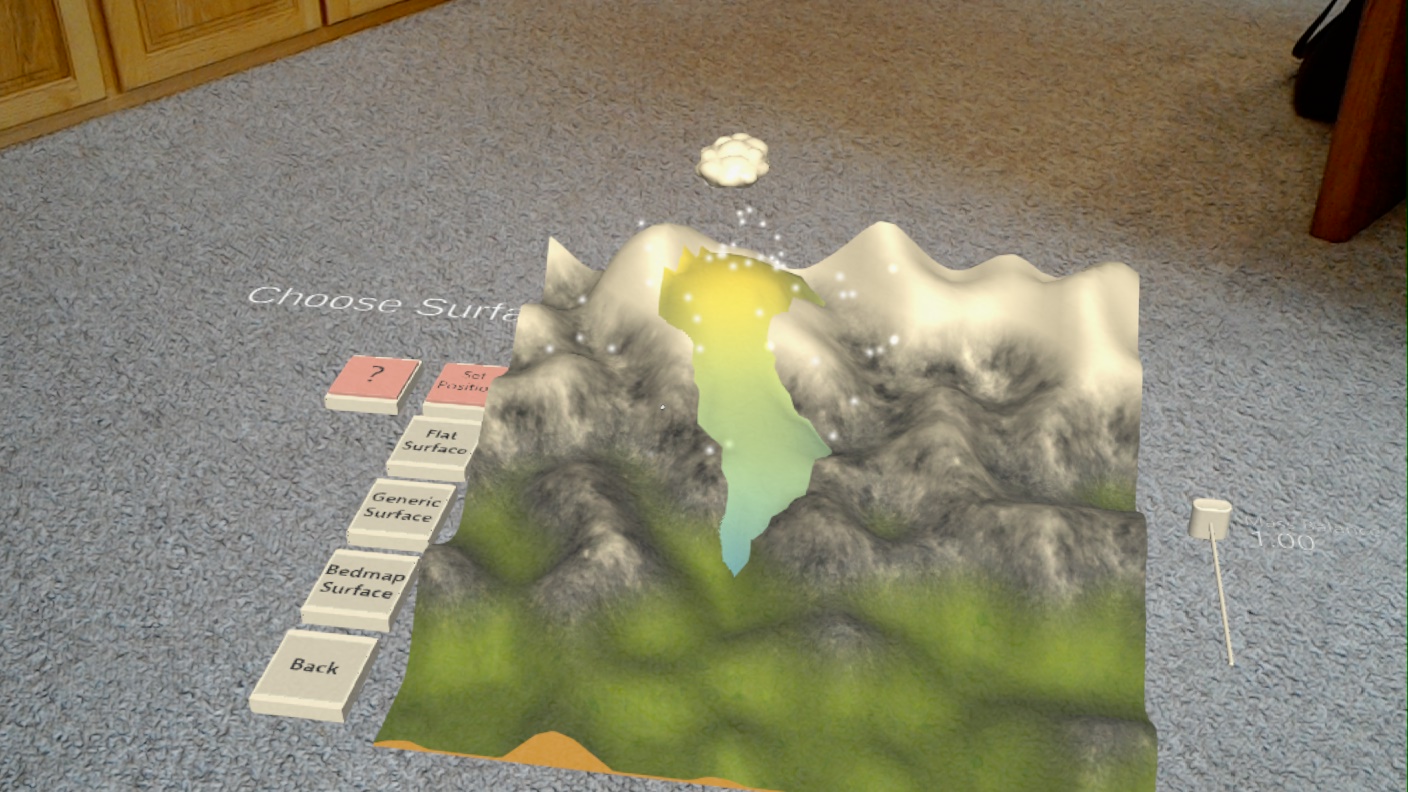
You will be able to adjust the bed elevation and of the bed by airtap and holding on the bed surface. There is a toggle switch on the left that will allow you to switch to decreasing elevation. There are also a few of presets:
- a 'generic' undulating bed, similar to bed elevation variations beneath an ice sheet.
- a 'mountain' bed, which provides a good setup for building glaciers.
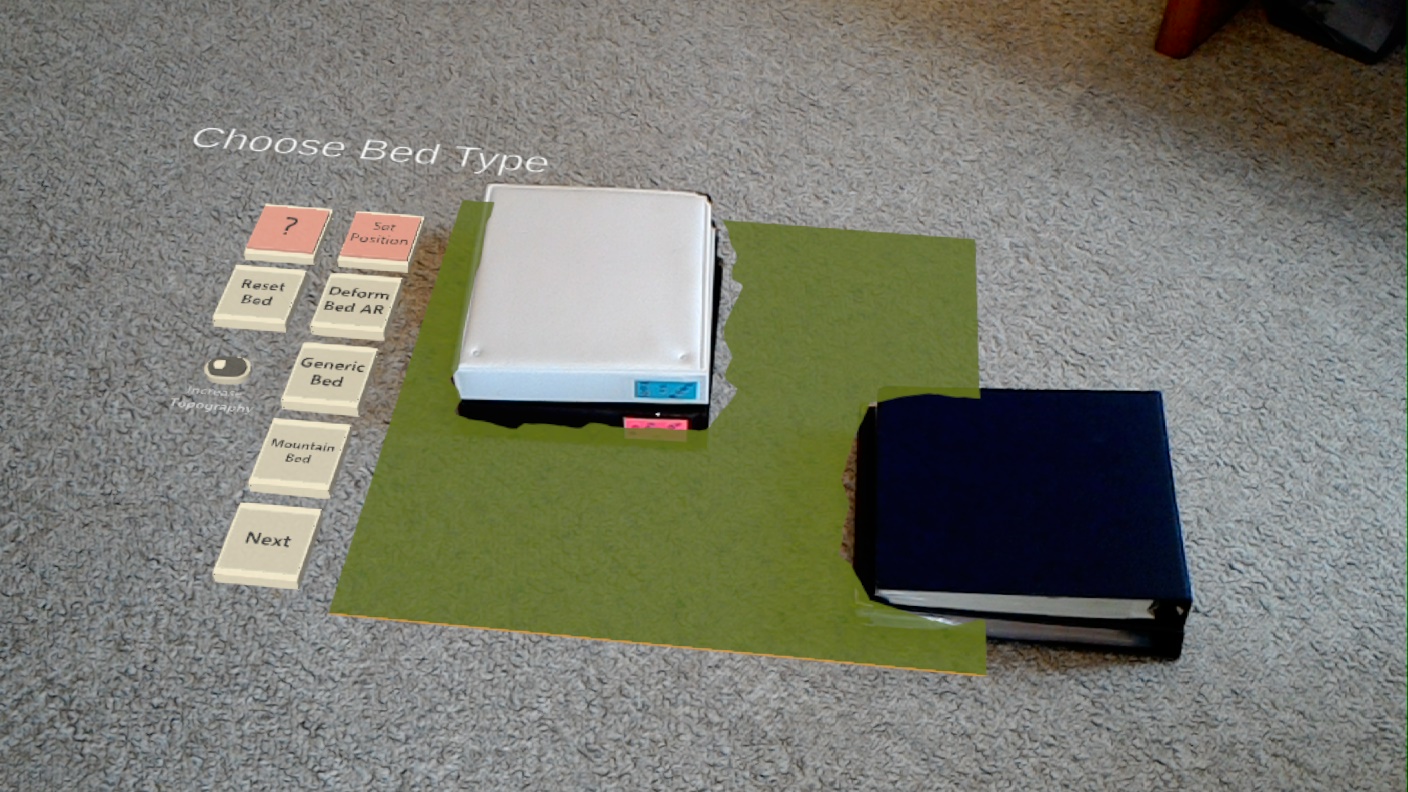
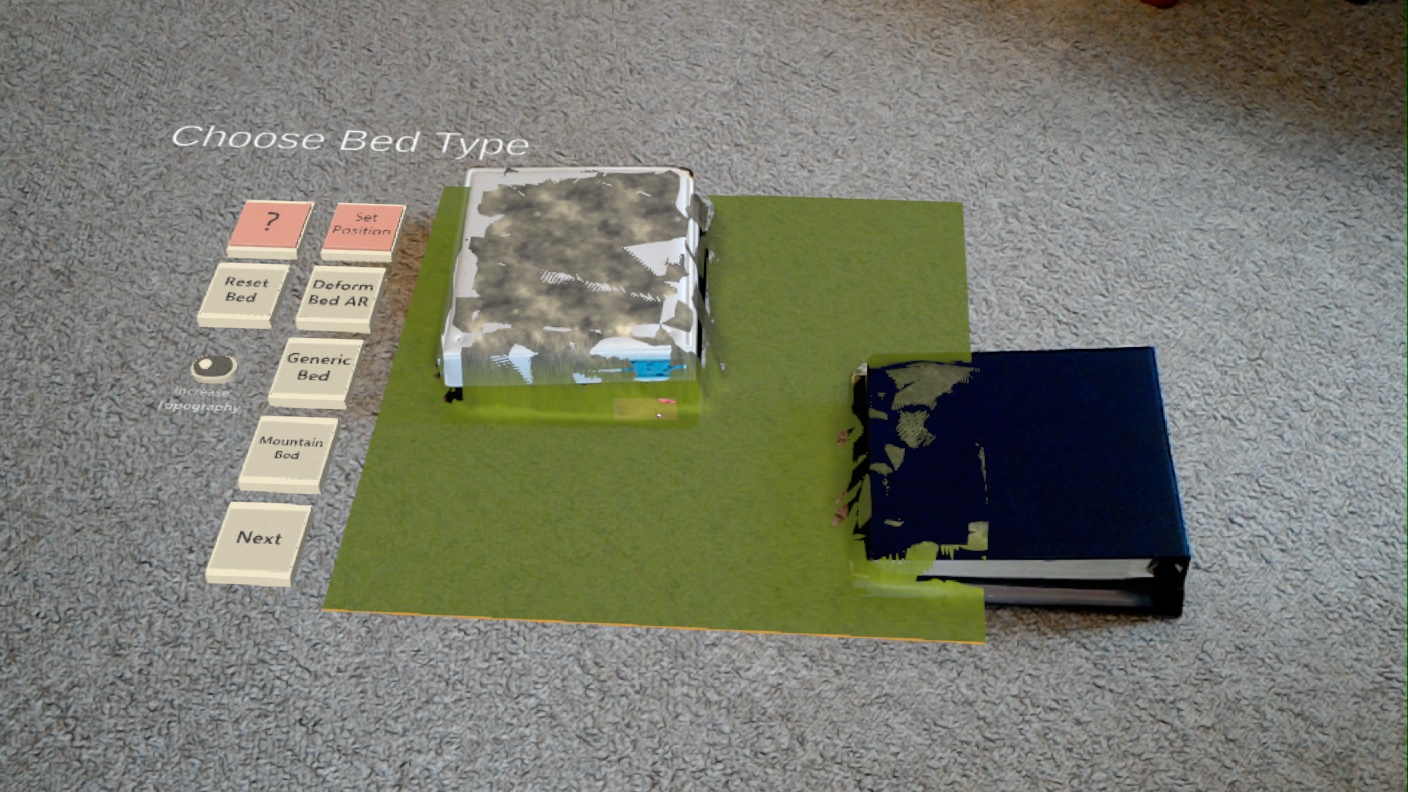
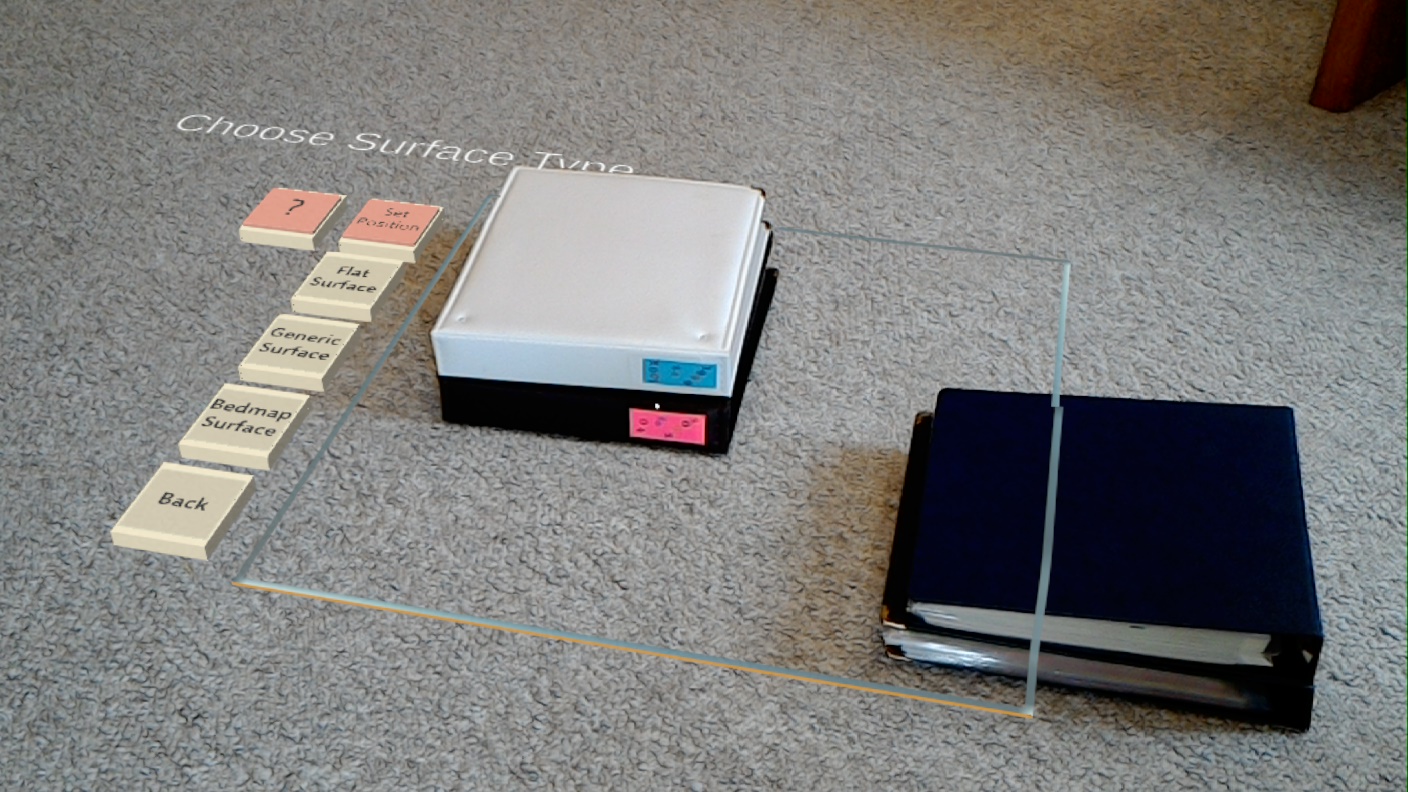
- an AR Surface. This option makes use of the HoloLens's spatial mapping capabilities. Selecting this option drapes the bed surface over any objects that exist within the bounds of the model space. Use the option to make the ice flow around real world objects. Make sure that the model is fixed in place before selecting this option, otherwise this can lead to an inconsistent AR experience! Keep scanning (moving your head) around the new objects to improve the reconstruction of the real world.
Once you're happy with the bed, click 'Set Bed'. If you've selected AR Surface, then the bed will disappear with only the bounds of the models space displayed.
Setting the ice surface:
We need to set the initial condition for the ice surface. This can be one of three options:
- a 'generic' ice sheet surface which is essentially a snapshot of an ice sheet if it formed on perfectly flat terrain.
- an Antarctic ice surface, which is in the shape of the Southern Continent and based on real data from BEDMAP2.
- a 'flat' surface, which is essentially no initial ice sheet, and you will start building a surface once the model begins to run. This should be selected when using the AR Surface or Mountain beds to ensure the model is accurate on play.
Now we're ready to start the model.
Running the model:
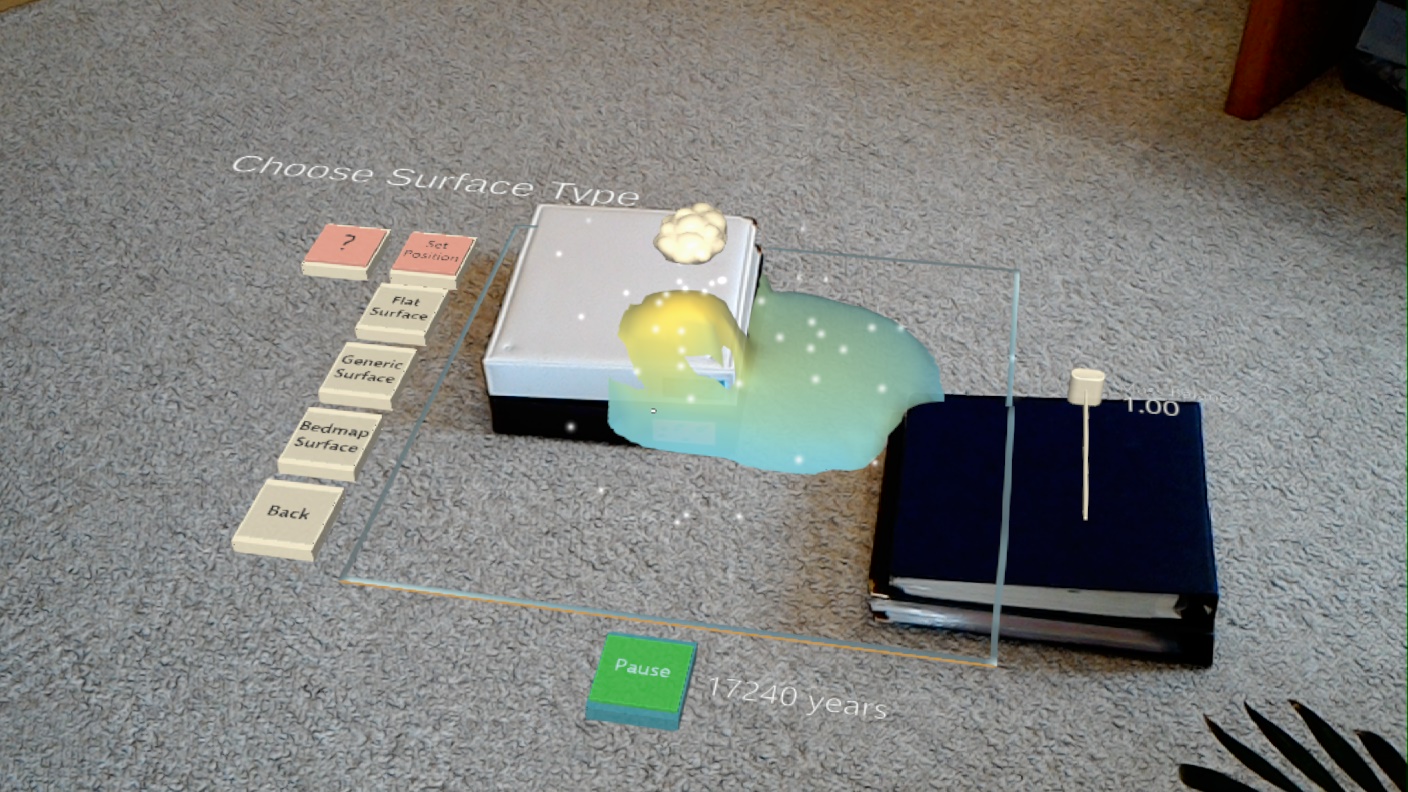
Hit the 'Play' button at the bottom of the model space to begin. The model will begin with mass balance set so that ice will accumulate beneath wherever the cloud or sun is located above the model surface.
You can also set the mass balance to be negative and 'melt' the ice sheet you've created.
| Program | Development Versions |
|---|---|
| Unity | 2017.4.2f2 (WebGL) / 2019.2.0f1 (HoloLens) / 2019.3.10f1 (MobileAR) |
| Visual Studio 19 | 15.8.9 |
| XCode | 11.5 |
| Android Studio | 4.0.1 |
The AR Ice Sheet application was developed by the Fossett Laboratory for Planetary Exploration at Washington University in St. Louis, and the Lamont Doherty Earth Observatory at Columbia University, New York.
The project was funded by the National Science Foundation, award number 1743310.
For enquiries about the app development by please email Martin Pratt at [email protected] or reach out to him on Twitter: @sympathy4data
For enquiries about the science behind the app, please email Jonathan Kingslake, Lamont-Doherty Earth Observatory, Columbia University, at [email protected].
