Hosting Minerva Story on GitHub
If you're publishing to the Harvard Tissue Atlas, read the protocol here instead.
This is a general-purpose guide for publishing standalone Minerva Story pages.
Minerva Story is the primary user-facing interface for interacting with the story on the web. Anyone familiar with GitHub and AWS can get a Minerva Story hosted on the web and running in a few hours. The rendered images output by Minerva Author are stored on a cloud host (e.g. Amazon Web Services S3) which Minerva Story reads to render to the client and renders using client-side JavaScript (.JS). Because rendering and interaction is performed on the client, no special backend software is needed. Images rendered by Minerva story (in JPEG) are compatible with multiple devices, including cell phones. The thickness of the arrows indicates the size of data transferred. First, use Minerva Author to create your story, then follow these step-by-step instructions to host your story on the web.
Note: If you are a member of the LSP, the Minerva Team will help you host your story on one of our websites (e.g., cycif.org). Reach out to the Minerva Team in the #minerva-story Slack Channel for assistance.

- Files output from Minerva Author
- JPEG images
- JSON configuration files, which follow this schema
- Access to a provider (such as AWS S3) to host a large image directory
- A GitHub account (to host the JSON configuration files on GitHub Pages)
If the total size of your Minerva Story output exceeds 100MB, you should host the images directory on a paid web hosting provider such as Amazon S3. Once the images are hosted externally, you should manually update the Image array in the exhibit.json file to reference the URL of the hosted image directory.
If you decide to use AWS, you can get started with their documentation to set up the AWS CLI:
-
Create an S3 bucket with aws s3api create-bucket
- use the
--acl public-readflag to make the bucket publicly available
- use the
-
Copy your images to S3 with aws s3 cp
- use the
--acl public-readflag to make the image directory publicly available
- use the
Once you upload your images to S3, you will need to edit the exhibit.json file in your Minerva Story, where YOUR_S3_BUCKET/YOUR_PATH_TO_YOUR_IMAGES should be replaced with the location on AWS S3 where you have uploaded your images directory.
  "Images": [
    {
      "Path": "https://s3.amazonaws.com/YOUR_S3_BUCKET/YOUR_PATH_TO_YOUR_IMAGES",
      "Description": "***",
      "Name": "i0",
      "Width": ***,
      "Height": ***,
      "MaxLevel": *
    }
  ],
Note: You only need to perform this step once before hosting multiple Minerva Stories in separate directories on the same GitHub repository.
-
Navigate to github.com/new
-
Fill out the Repository name
-
Click "Create repository"
-

- In the new repository, click the "Clipboard" icon to copy the URL to your repository.
- Click the "uploading an existing file" link under Quick Setup in your new repository.

-
Drag the files and folders from your Minerva Story folder output by Minerva Author.
- Click "Commit changes"
-
Open a terminal or command prompt to the Minerva Story folder output by Minerva Author.
- The folder should have the following contents:
exhibit.json
images
data
index.html
- In the terminal or command prompt, enter the following commands (replace YOUR_URL with the copied URL from the previous step):
git init
git remote add origin YOUR_URL
git add 'exhibit.json' 'data' 'index.html'
git commit -m 'initial commit'
git push --set-upstream origin main
-
After you change files in your minerva story directory, run the following commands:
-
Type
git add -Ato add new files to the Git Staging area. -
Type
git commit -m "custom message"with any "custom message". -
Type
git pushto upload your files to your fork on Github.
-
-
In a web browser, navigate to your Github repository.
-
Click the "Settings" tab.
-
Scroll to the "Github Pages" section.
-
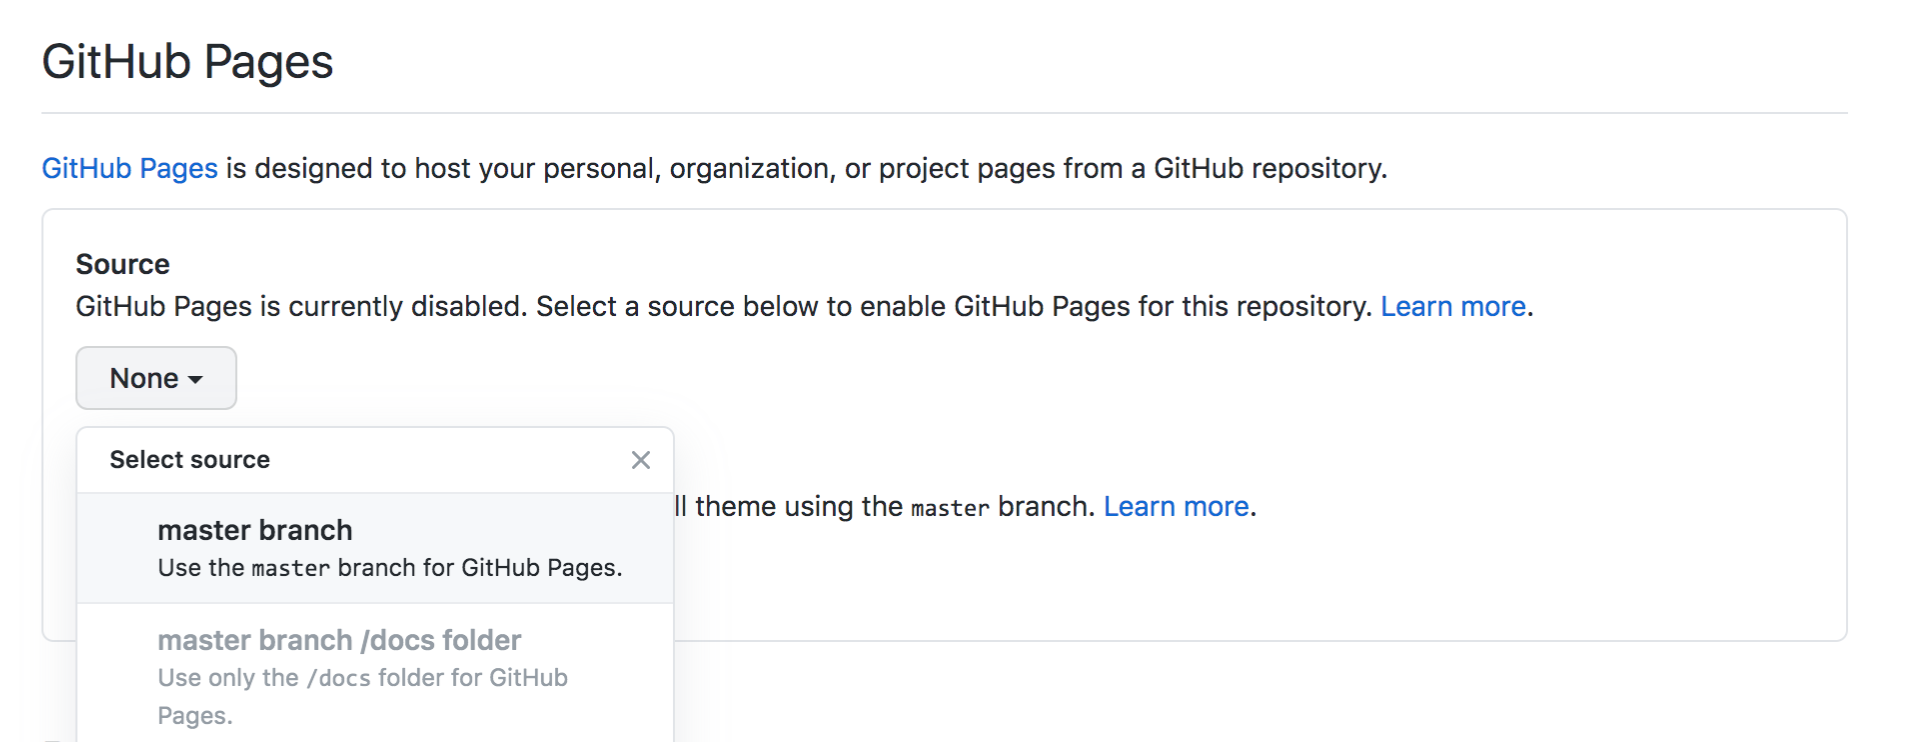
Click the "None" dropdown under the Source subsection.
-
Select the "main" branch to publish to Github pages.
-