Handmade Blog is a lightweight static blog generator for people who want to start a blog quickly. It supports article type document for a blog post, work type document for portfolio, code highlights, KaTeX syntax, footnotes, and more.
Demo: Here
- betty-grof.github.io: https://github.com/betty-grof/betty-grof.github.io
- parksb.github.io: https://github.com/parksb/parksb.github.io
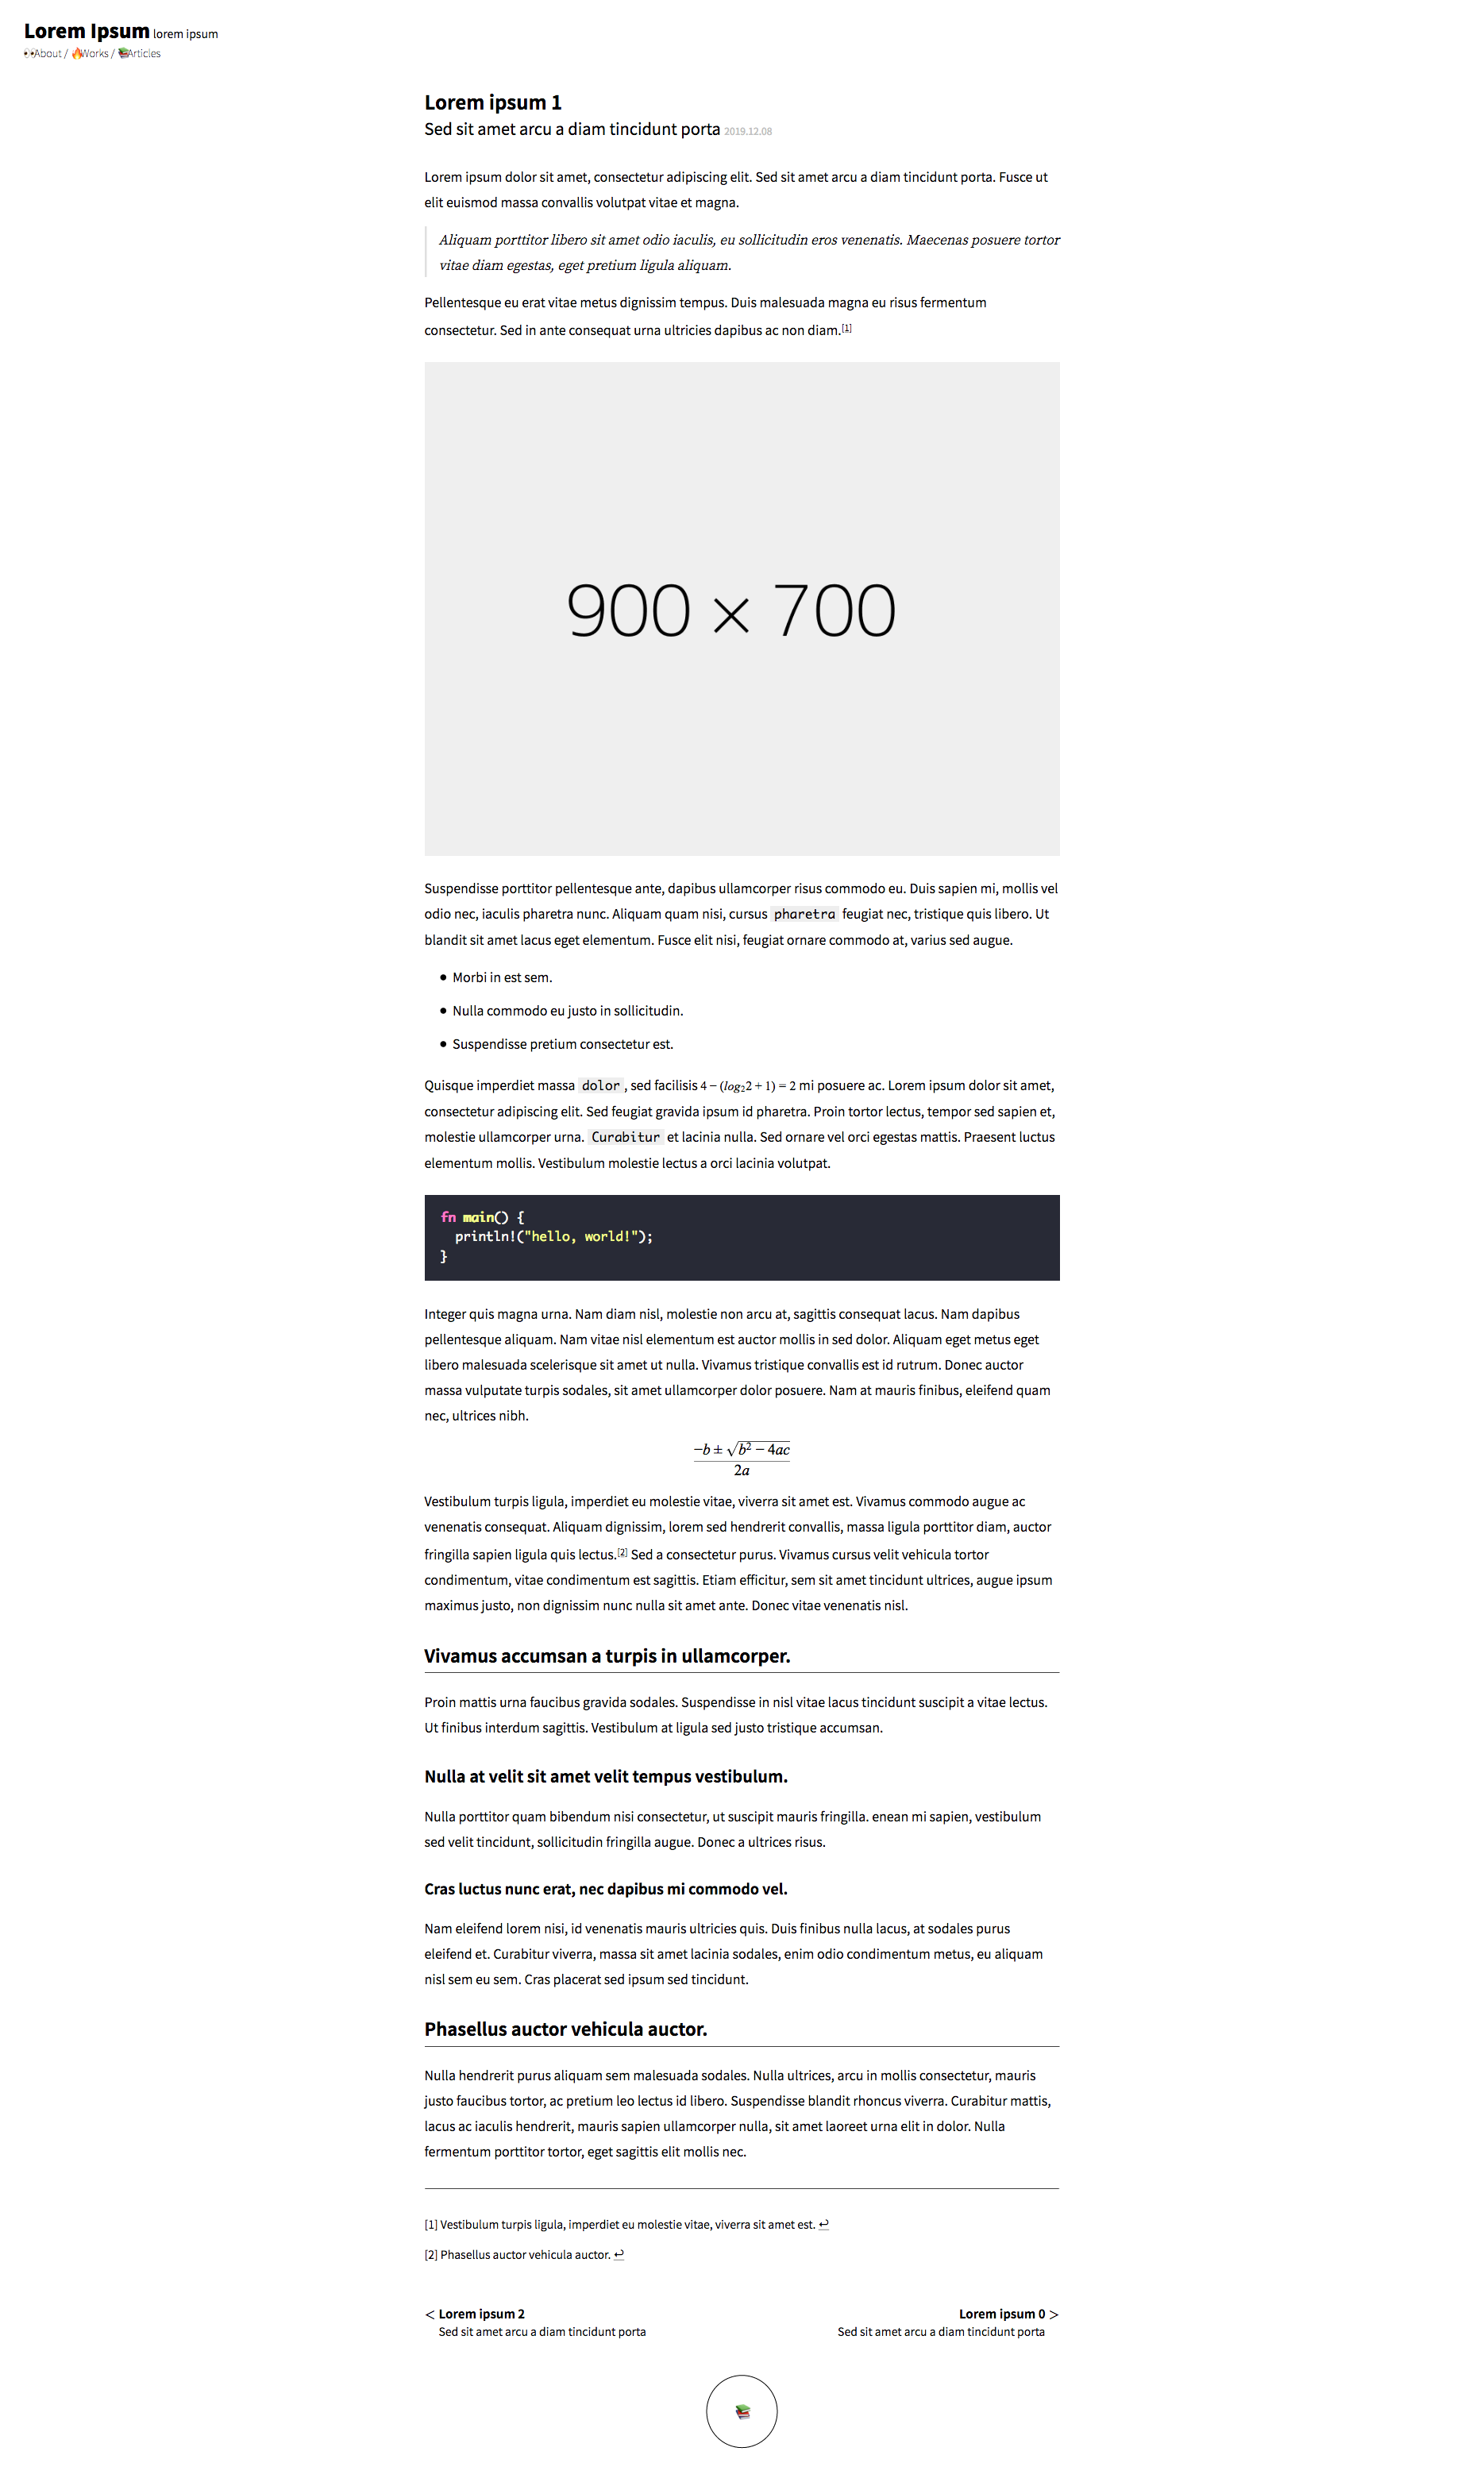
article/0.html on mobile
article/0.html on desktop
-
Click the 'Use this template' button above the file list to create a new repository. If you want to use github.io domain, have to name the repository
{YOUR_ID}.github.io. (e.g.,betty-grof.github.io) Don't forget to enable the 'Include all branches' option. -
Click the 'Settings' tab in your repository, and set the source branch for GitHub Pages to
gh-pagesbranch. GitHub Pages will host your website based ongh-pagesbranch. You'll be able to access the website viahttps://{YOUR_ID}.github.io/in a few minutes. -
Clone the repository, and install node packages.
$ git clone https://github.com/{YOUR_ID}/{REPOSITORY_NAME}.git # git clone https://github.com/betty-grof/betty-grof.github.io.git $ cd {REPOSITORY_NAME} # cd betty-grof.github.io $ npm install -
Customize a some texts such as title of the navigation(in
app/templates/navigations.ejs), and runnpm run build.<nav> <a class="logo-link" href="/"> <h1>CUSTOMIZED BLOG TITLE</h1> <span>customized blog subtitle</span> </a> <small> <a id="about" class="info-link" href="/about.html">👀About</a> / <a id="works" class="info-link" href="/works.html">🔥Works</a> / <a id="articles" class="info-link" href="/articles.html">📚Articles</a> </small> </nav>
$ npm run build
-
Run
npm startscript to start a local server listening onhttp://localhost:8080/. The local server is based ondistdirectory.$ npm run build $ npm start
-
Commit and push the changes in your working directory to the remote repository.
$ git add ./app/templates/navigations.ejs $ git commit -m "Customize the blog title and subtitle" $ git push origin master -
Run
deployscript if you're ready to host the website. This script builds local files todistdirectory and pushes it togh-pagesbranch that contains only the files indistdirectory. GitHub Pages will host your website athttps://{YOUR_ID}.github.io/based ongh-pagesbranch automatically.$ npm run deploy
- Run
npm run watchto track changes in real time. - Run
npm startto start local server. (npm run watchmust still be running in the background or other tab, or other session.) - Now, it is built automatically whenever you make changes to any files in
app/templates,app/styles, and_articlesdirectories.
- Write a document in
_articlesor_worksdirectory. - Run
npm run publish articleornpm run publish workscript to convert markdown documents to HTML. - Preview converted document on the local server using
npm startscript. - Commit and push the changes to the repository, and run
npm run deployto deploy.
Modify an ejs template to change the contents of the existing page. For example, if you want to put an image to the landing page, open the app/templates/index.ejs file, and add img tag to the main-container element.
<main id="main-container">
<img src="../assets/profile.jpg" alt="My profile picture" />
<p>Lorem ipsum dolor sit amet, consectetur adipiscing elit.</p>
</main>Then, run npm run build script to publish the modified landing page and preview changes on the local server using npm start script.
$ npm run build
$ npm startIf you're ready to deploy, run npm run deploy script. You can change not only the landing page but any pages like this way. (You may need to understand the project structure.)
Create a CNAME file in the root directory. The build process will automatically pick up on the CNAME for you and you can serve your blog from your custom domain.
To find out more about how Github manages CNAMEs, check out the docs
_articles- Markdown files for the blog posts._works- Markdown files for the portfolio.appassets- Any files to be imported by HTML files such as image, font, etc.public- HTML files generated bypublishscript.serveranddistdirectory is based on this directory. Do not change the files under this directory directly.article- HTML files converted from_articlesdirectory.work- HTML files converted from_worksdirectory.
styles- CSS source code to be imported by HTML files.static- Any static files that aren't compiled bybuildscript likerobots.txt,sitemap.xml, or SEO files.buildscript copies all files under this directory todistdirectory.templates- EJS template files.publishscript converts templates under this directory to HTML files.
dist- Files compiled bybuildscript.startscript opens local server based on this directory, anddeployscript deploys a website to GitHub pages based on this directory. Do not change the files under this directory directly.services- Source code implementingpublishscript.classesmodels
tools- Source code implementing various npm scripts.
Starts local development server listening on http://localhost:8080/.
Converts templates to HTML files.
$ npm run publish articleConverts all articles.
$ npm run publish worksConverts all works.
$ npm run publish article 5Converts an article which id is 5.
$ npm run publish work 3Converts a work which id is 3.
$ npm run publish pageConverts all pages.
Rebuilds template files in templates directory, css files in styles directory and markdown files in _articles directory automatically whenever the files are modified.
Builds files with parcel bundler.
Builds and deploys the files.
This project is licensed under the MIT License - see the LICENSE file for details.


