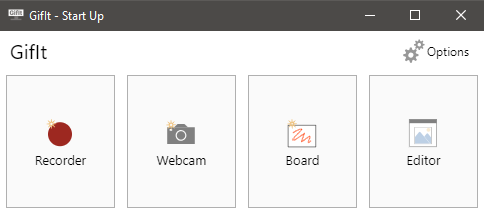
A JavaScript clone of the popular ScreenToGif.
ScreenToGif is a popular (7000⭐) .NET application that allows users to record GIFs from their screen, webcam or sketchboard. It is written primarily in C#. ScreenToGif is an exceptional application and I highly recommend you go and download it. This project an attempt to clone the original using JavaScript for education purposes. If you want to make GIFs download ScreenToGif.
Download the latest release.
Please note this application is not intended for distrubution. As mentioned above, download ScreenToGif.
Outline of the main dependencies used in the application.
| Library | Version | Description |
|---|---|---|
electron |
5.0.1 | A cross platform framework for building desktop application |
electron-webpack |
2.6.2 | Compile Electron apps with webpack |
electron-builder |
20.40.2 | Package and build Electron apps for distribution |
react |
16.8.6 | JavaScript library for building user interfaces |
react-dom |
16.8.6 | React entry point to the DOM |
react-rnd |
9.1.2 | A resizable and draggable component for React |
styled-components |
4.2.0 | Visual primitives for the component age |
gif-encoder-2 |
1.0.0 | Create GIFs with Node.js |
immutable |
4.0.0-rc.12 | Immutable persistent data collections for JavaScript |
date-fns |
2.0.0-alpha.27 | Tool for manipulating dates |
iohook |
0.4.6 | Node.js native keyboard and mouse listener |
archiver |
3.0.0 | A streaming interface for archive generation |
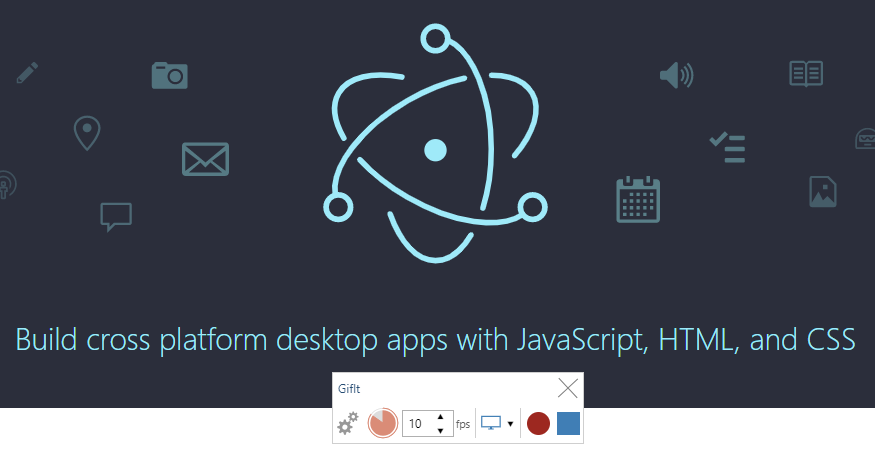
Capture fullscreen, or selected portion, frame-by-frame at a user set frame rate. This is accomplished using Electron's desktopCapturer API with HTML video and canvas elements. The user can pause and resume recording. After the recorder is stopped a new project folder is created containing each frame saved as a PNG as well as other information relating to the project saved in a JSON file.
The screen recorder uses Electron's transparent BrowserWindow which allows the display of a small recorder user interface.
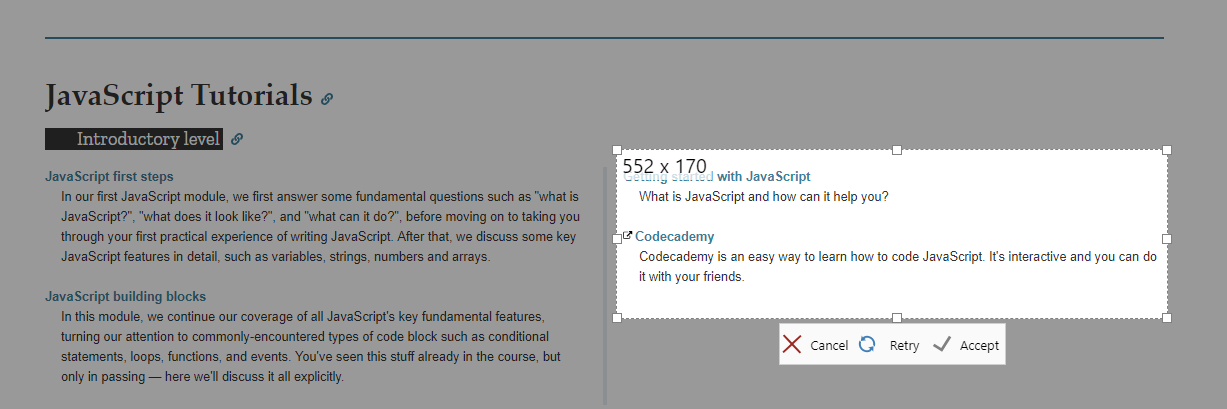
The react-rnd package provides a useful resizable/draggable component that can be used to select a portion of the screen. The dark tinted background is created with 4 separate div elements that resize along with the box.
When recording starts Electron's Tray API is used to add a red camera icon to the operating system tray in the lower right corner. Clicking this stops the recording. Electron also provides a globalShortcut API to set global shortcut keys. In this case, the escape key also stops recording.
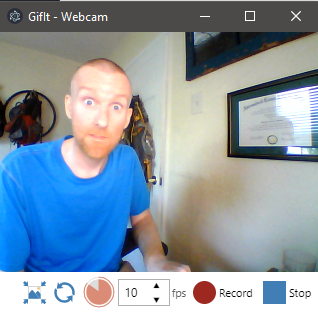
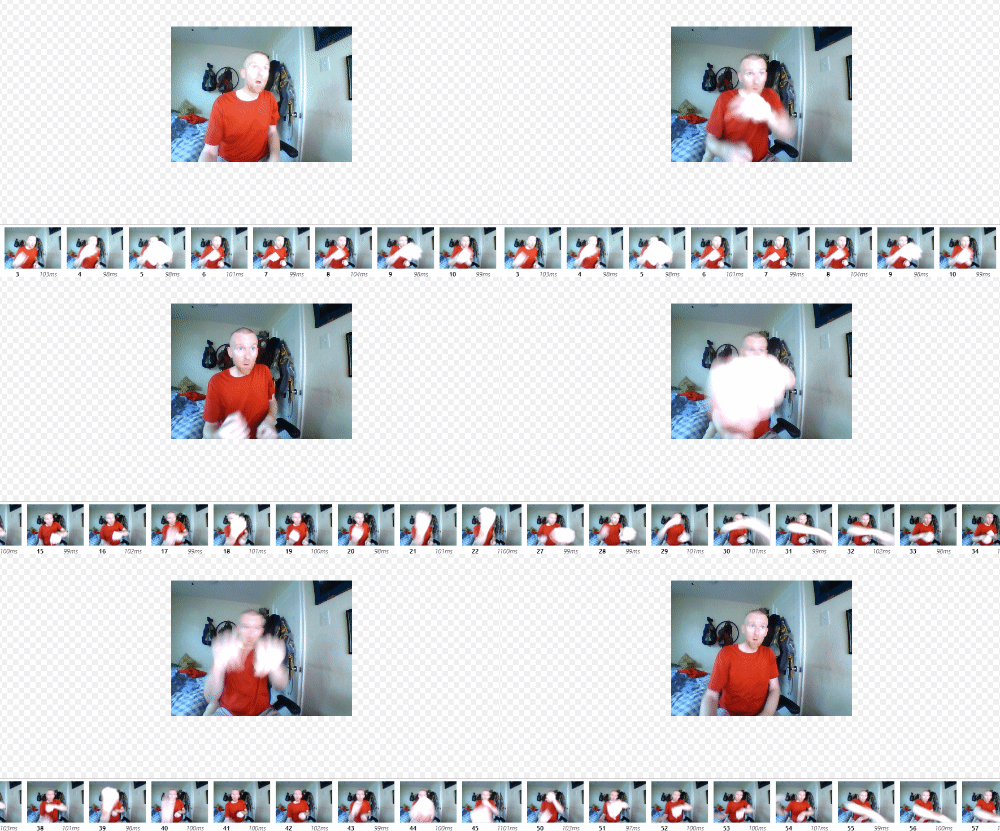
Capture webcam output at a user set size, frame-by-frame at a user set frame rate. This works very similarly to the Screen Recorder except it uses a video input device, aka webcam, of the user's choosing. A notable feature is the ability to scale the size of the video with a HTML range input.
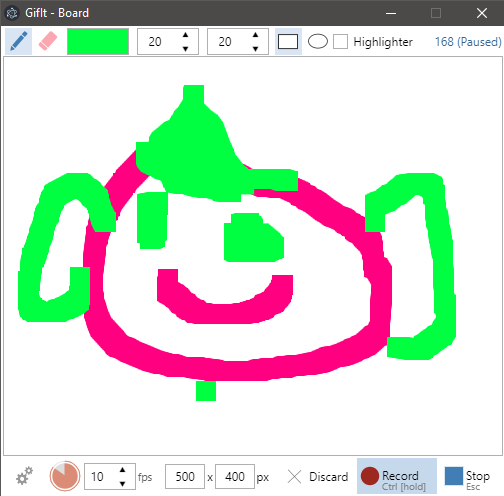
Capture canvas output as user draws onto white board. The board is an HTML canvas element. The key feature of the Board Recorder is that, by default, frames are only captured while the user is actually drawing. The end result is an animation that appears to draw itself.
Combine all frames into a single GIF image. There a numerous options for this, including three seperate encoders. Options include setting frame delay, number of loops, quality and palette size. I forked an existing GIF encoding package and added the Octree algorithm as well as some speed optimizations to create gif-encoder-2. This library is designed to be used in a Node environment.
As an alternative, FFmpeg can be used to encode the GIF. This is accomplished by using Node's child_process module. The user must download FFmpeg separately. GitIt will automatically look for the FFmpeg executable in the user's PATH environment variable, but the user can also enter this path manually in options.
| Encoder | Speed | Filesize | GIF |
|---|---|---|---|
| NeuQuant | 2nd | largest | 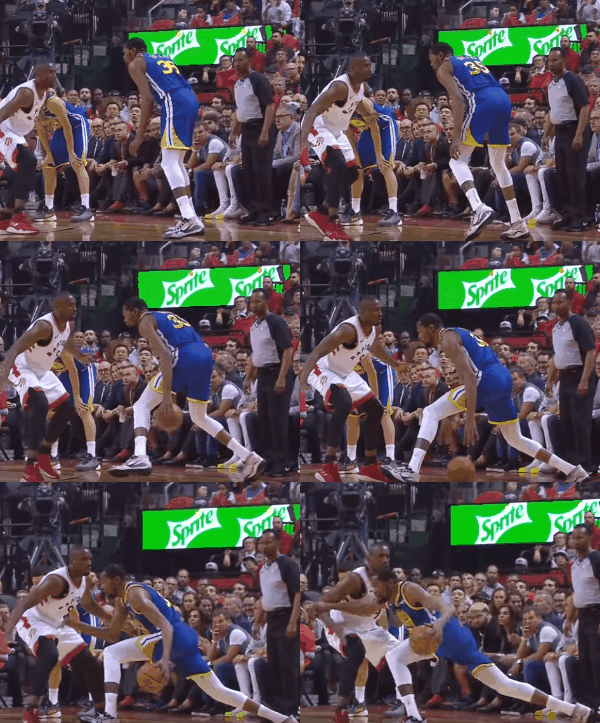 |
| Octree | 3rd | middle | 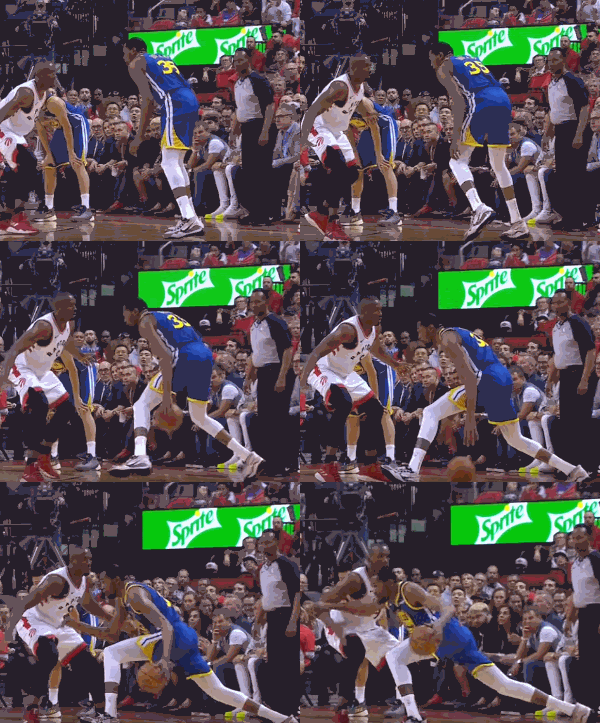 |
| FFmpeg | 1st | smallest | 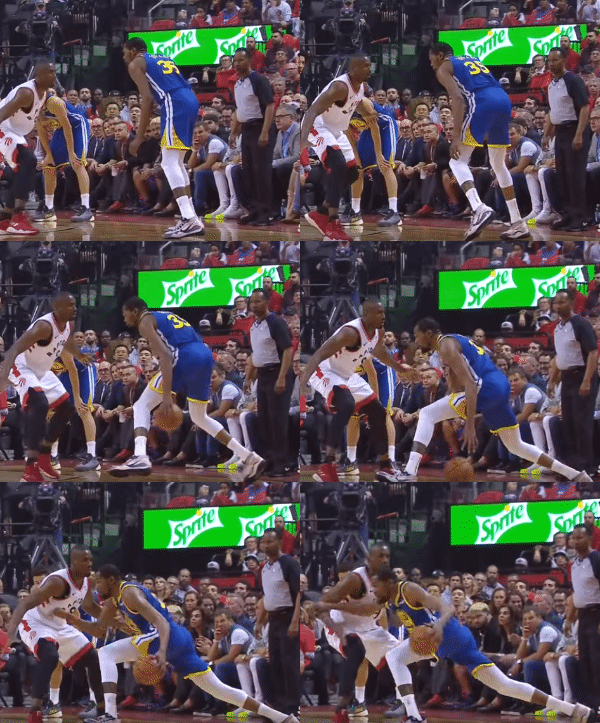 |
Offers a variety of features that can alter individual frames and manage the project as a whole.
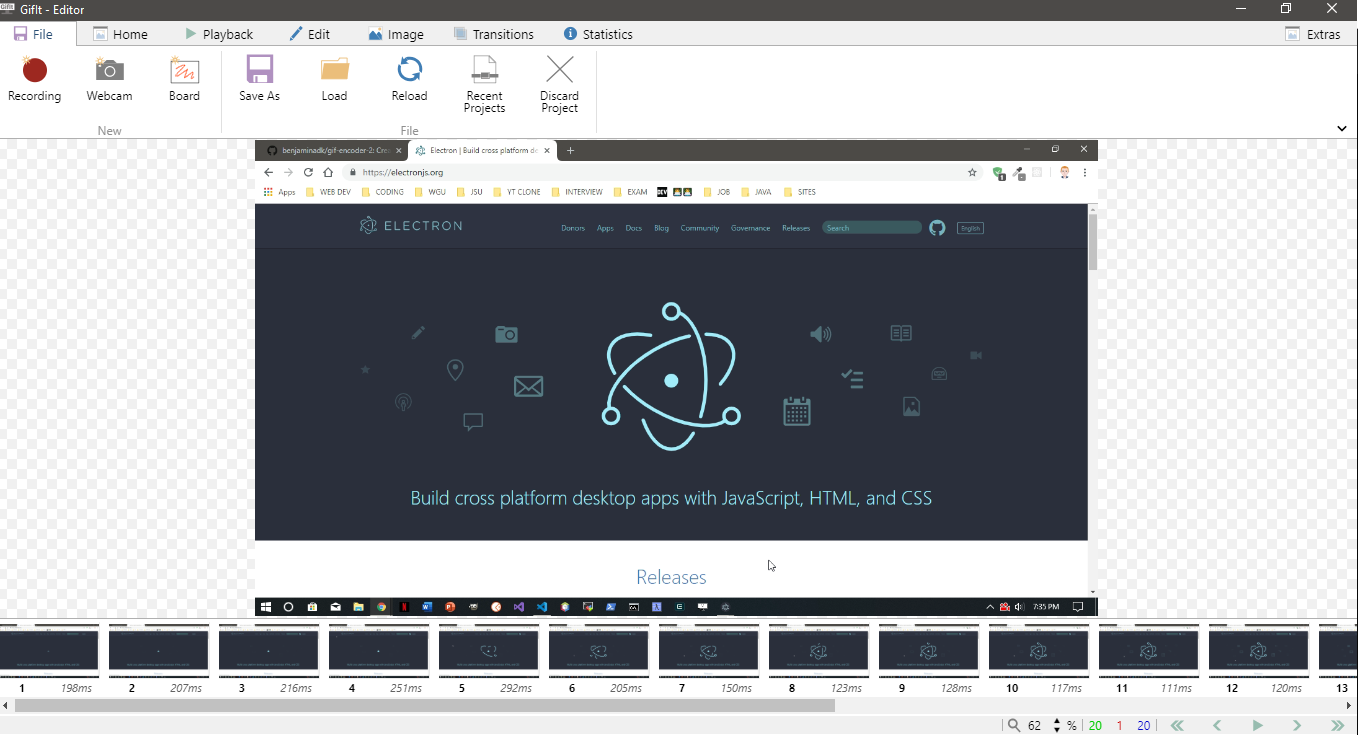
The top portion of the Editor is a menu with multiple tab categories. The main portion contains the current frame's image which can be scaled up and down. The bottom portion displays a row of thumbnails. Below the thumbnails is a small status bar that displays loading progress, messages and other controls. Various features require user input and these are displayed in a drawer which slides in and out from the right side of the screen.
While one full-size frame is displayed at a time in the main editor window, multiple frame thumbnails can be selected using the standard Control and Shift key modifiers. Many editor features can be applied to all selected frames.
Frames can be played back at actual speed to give the user an idea of what the GIF output will look like.
Each frame has a duration property which is set as the frame is captured, based on the initial frame rate. The editor allows setting this property to any value, increasing/decreasing by a set value or scaling up/down by a set percentage. The duration of each frame is displayed with its thumbnail.
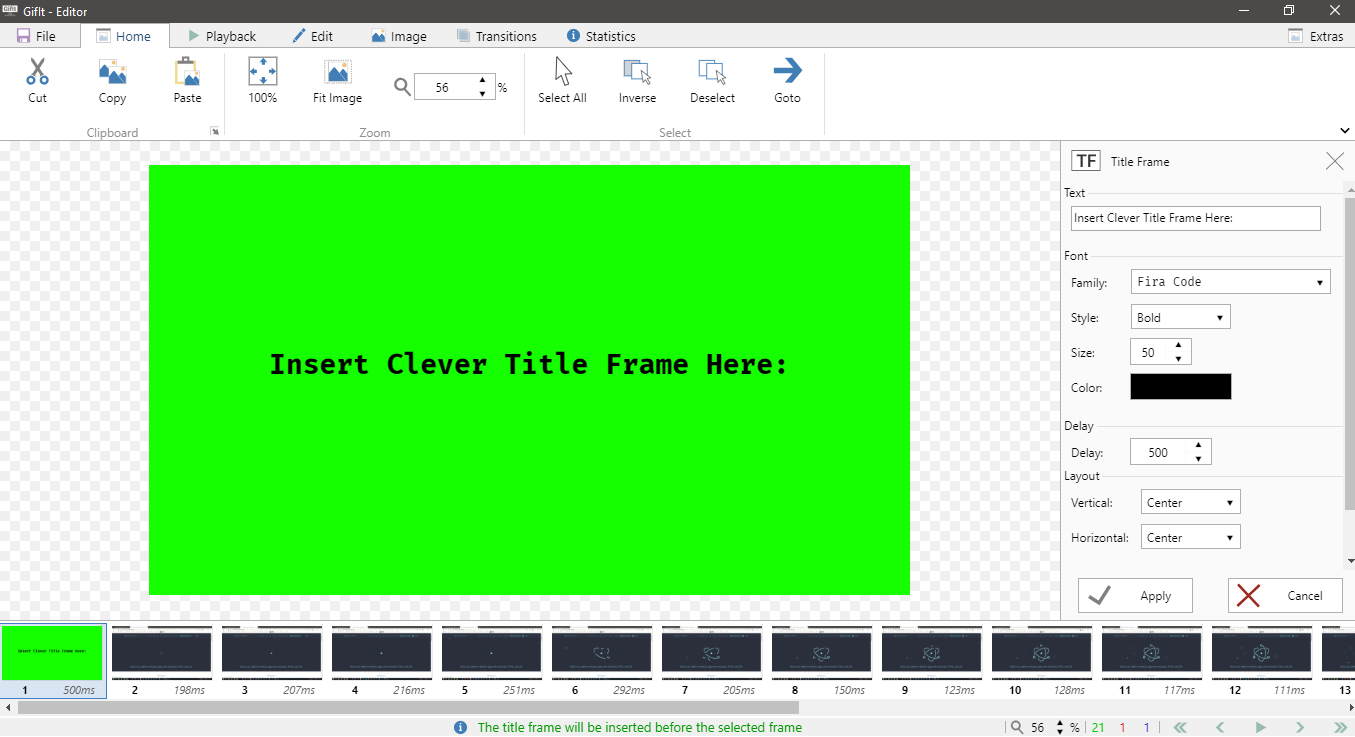
Title frames can be inserted into the frame list at any point and consist of a solid background and text.
The Editor has its own internal clipboard. The toolbar buttons or standard keyboard shortcuts of Control+X, Control+C and Control+V can be used to cut, copy and paste selected frames. This allows for easy manipulation of frames.
When a project is loaded the editor adjusts the scale setting so that the entire frame fits within the main section. The user then has the power to zoom in and out as they wish, with the options to return to the original zoom level at any point.
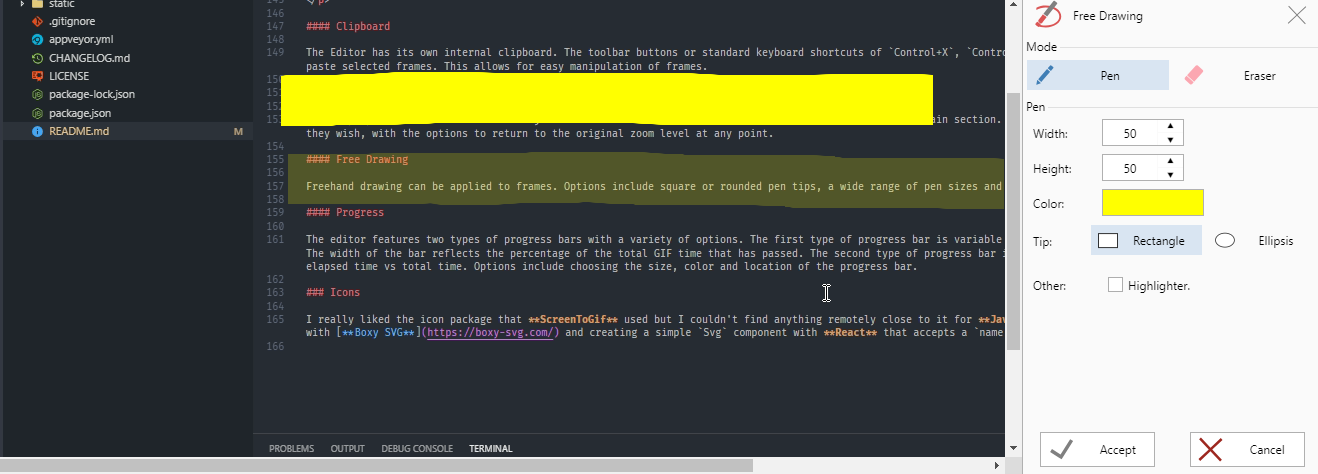
Freehand drawing can be applied to frames. Options include square or rounded pen tips, a wide range of pen sizes and color selections, and a highlighter effect.
The editor features two types of progress bars with a variety of options. The first type of progress bar is variable width with the bar growing as the GIF progresses. The width of the bar reflects the percentage of the total GIF time that has passed. The second type of progress bar is fixed width. The bar displays a comparison of elapsed time vs total time. Options include choosing the size, color and location of the progress bar.
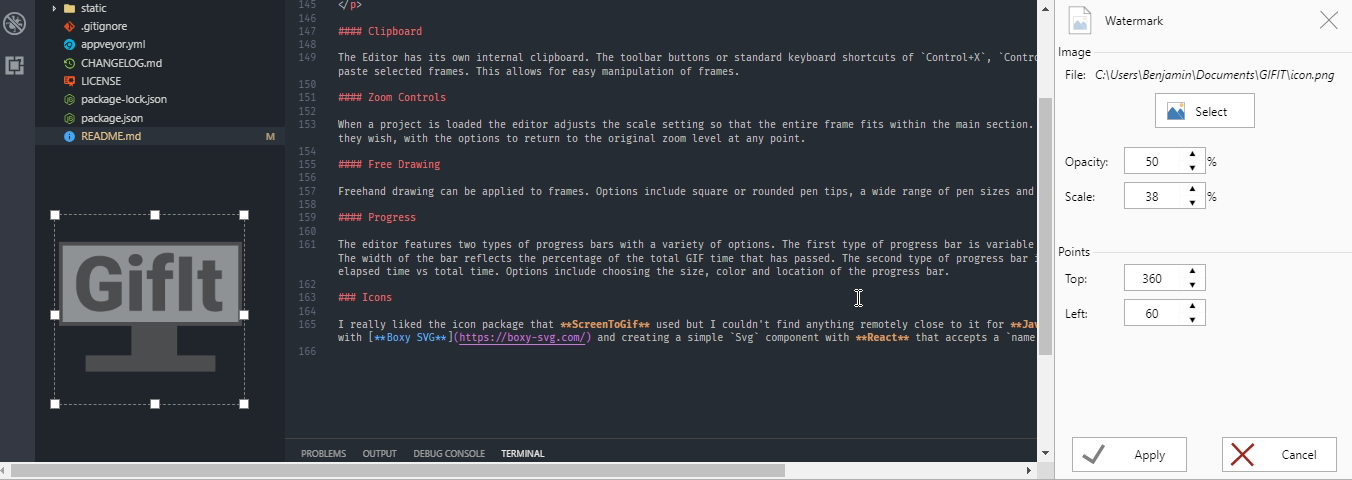
Add a smaller image as a watermark over the original frame. Typically, this is some sort of branding but it can be anything. The editor allows the user to chose any image file from their local machine and drag and/or resize it to any part of the screen. The user can also select the opacity of the image. This feature can be applied to one or more frames at a time.
Creates a pixelated effect that can disquise a selected area. Useful if a face or certain sensitive information needs to be covered up. The obfuscate effect creates a more visual appealing result than covering an area with a solid color for example.
Create a border on any or all sides of frames. This is an especially useful feature when frames have the same color background as the area where the GIF will be shared. Adding a border can help make the GIF stand out.
I really liked the icon package that ScreenToGif used but I couldn't find anything remotely close to it for JavaScript. I ended up drawing them all by hand with Boxy SVG and creating a simple Svg component with React that accepts a name prop and returns the actual svg markup.
