So, right now we’re going to talk about how to install a Laradock or a dockerized Laravel application, but first, what is Laradock?
-
Laradock simplifies the process of dockerizing Laravel applications, offering a convenient and efficient solution for developers. Dockerizing your Laravel project with Laradock allows you to encapsulate the entire development environment, making it portable and reproducible across different systems. This guide will walk you through the straightforward process of installing Laradock for your Laravel project. You can Visit Laradock Documentation here
- Docker
- Visual Studio Code or any IDE you want
- Browser
- Composer Installed
- PHP Installed
- Open phpMyAdmin, localhost:8081
- server: mysql
- username: root
- pass: root

cd Main Folder
cd Backend Folder
git clone https://github.com/Laradock/laradock.git
cp .env.example .env

docker-compose up -d nginx mysql phpmyadmin workspace
docker-compose exec workspace bash
composer create-project laravel/laravel `your-project-name`
Note you can name it all the way you i just make it consistent so not too hard to remember
1. Open /nginx/sites/
2. Duplicate laravel.conf.example
3. Rename the duplicate to `your-project-name`.conf
4. Change these Lines 18-19
    server_name `your-project-name`; // add that to your machines /etc/hosts
    root /var/www/`your-project-name`/public;
C Drive -> Windows -> System32 -> Drivers -> etc -> hosts
Note: Make sure to run the hosts as Administrator
After that edit the hosts file to like this and then saved it.
--- hosts file ---

#End of section
127.0.0.1  `Name it on what you named in the step 10`
http://name-you-put-in-hosts-and-step10
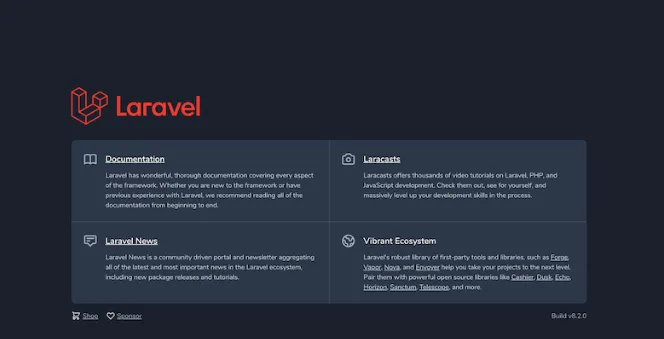
This is the output should look or make sure its accessible in short
Ensure that Nginx has the necessary permissions to access the files in your Laravel project. The Nginx process needs to have read permissions for the files and execute permissions for the directories.
docker-compose exec workspace chmod -R 755 /var/www/your-project-name
/var/www/`project-name`# sudo chmod -R ugo+rw storage
- Rebuilding a container
docker-compose build `container`
docker-compose build workspace
- Recreating a container
docker-compose up -d `container`
docker-compose up -d workspace

