Find the light in your darkness. Highly configurable Tally for Blackmagic Atem switchers.
- Hardware tally output.
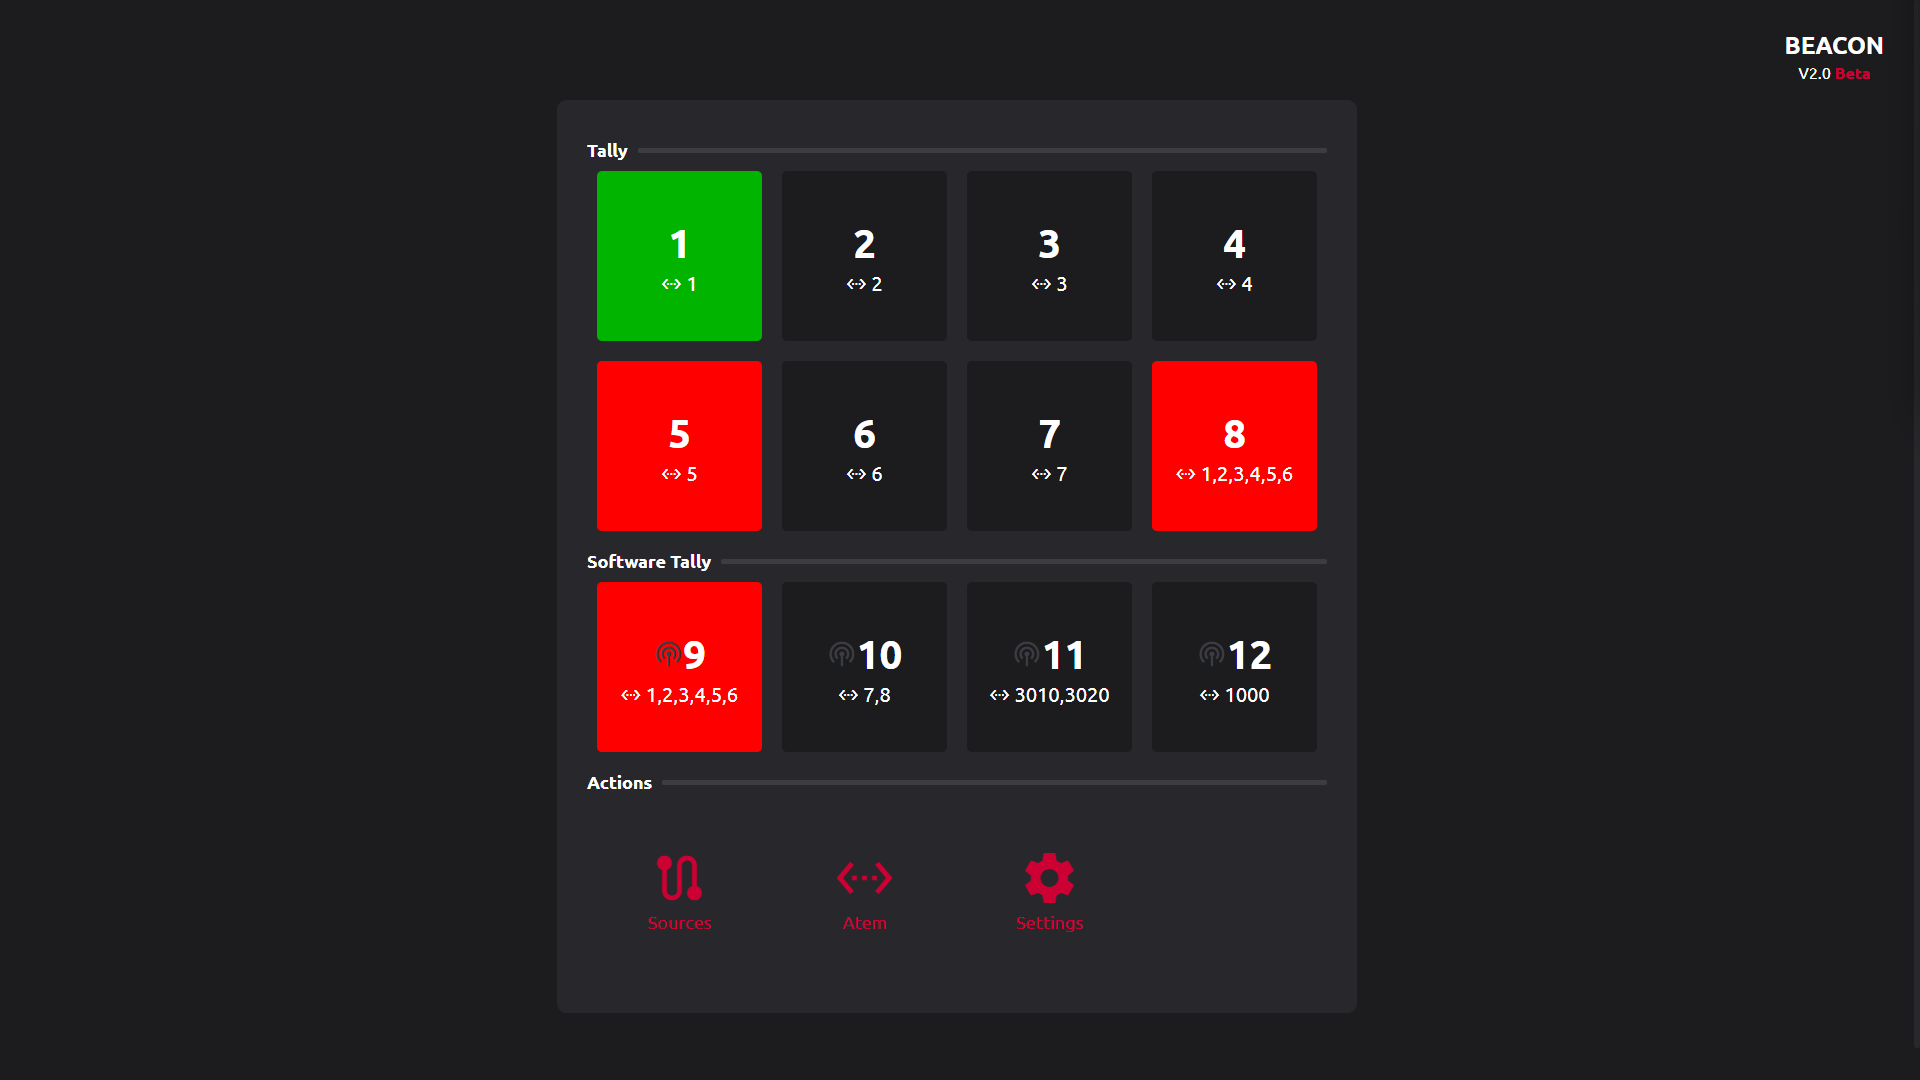
- Online settings configuration.
- Outputs that can show multiple Atem sources.
- Web view of tally.

Beacon runs on a Raspberry pi. It has been tested a lot on a pi 2, but also works on newer versions. It uses the gpio as hardware tally outputs. The pins are:
| Tally | Program | Preview |
|---|---|---|
| 1 | 3 | 15 |
| 2 | 5 | 16 |
| 3 | 7 | 18 |
| 4 | 8 | 19 |
| 5 | 10 | 21 |
| 6 | 11 | 22 |
| 7 | 12 | 23 |
| 8 | 13 | 24 |
I have developed hardware for this system. The base Beacon Hardware consist of the Base and the Lighthouses. The Base is a rack mount device that has 8 XLR outputs. The Lighthouses are the lamps that you connect to the base. They have 4-pin mini xlr connectors and a switch to toggle the front leds. I sell them on my site beacon.synapt.net.
I am currently in the development of a wireless version of the lighthouses and battery packs to make the current lighthouses wireless. They will communicate over 2.4ghz in a mesh network, with a POE base station.
Update your Raspberry pi:
sudo apt-get update &&
sudo apt-get upgrade
Install Git, NodeJS, NPM, Yarn and TSX:
sudo apt install git -y &&
sudo apt install nodejs &&
sudo apt install npm -y &&
sudo npm install --global yarn &&
sudo npm install --global tsx
Note. The last two installs might give the error "ENOENT: no such file or directory, uv_cwd". Re-opening the terminal will resolve this.
Make a directory:
sudo mkdir /opt/Beacon-tallyClone and initialize repository:
sudo git clone https://github.com/IJIJI/Beacon.git /opt/Beacon-tally &&
cd /opt/Beacon-tally &&
sudo yarn install
Create startup service:
sudo nano /lib/systemd/system/beacon.servicePaste startup service into file, then press Ctrl + S to save and Ctrl + X to exit:
#/lib/systemd/system/beacon.service
[Unit]
Description=Beacon Tally
After=network-online.target

[Service]
Type=simple
Restart=always
RestartSec=3
Restart=on-failure
WorkingDirectory= /opt/Beacon-tally/
ExecStart=yarn start /opt/Beacon-tally/

[Install]
WantedBy=multi-user.target
Enable and start service:
sudo systemctl daemon-reload &&
sudo systemctl enable beacon &&
sudo systemctl start beacon
Congratulations, you can now access your Beacon tally via the browser! To see your ip address you can use this command:
ifconfig | grep -Eo 'inet (addr:)?([0-9]*\.){3}[0-9]*'You can install Beacon Tally automatically with this install script:
WARNING! This script does not allways work. The manual method is still recommended.
bash -c "$(wget -qLO - https://raw.githubusercontent.com/IJIJI/Beacon/main/install.sh)"