5. Chat Widget Setup
In RASA you can connect Chatbot to different Channels using Credentials.yml.

To integrate chatbot into the web widget, we have to enable the channel integration in "Credentials.yml". Here we are using SocketIO channel which uses WebSockets in real-time. To use the SocketIO channel, use below Credentials to your credentials.yml
socketio:
user_message_evt: user_uttered
bot_message_evt: bot_uttered
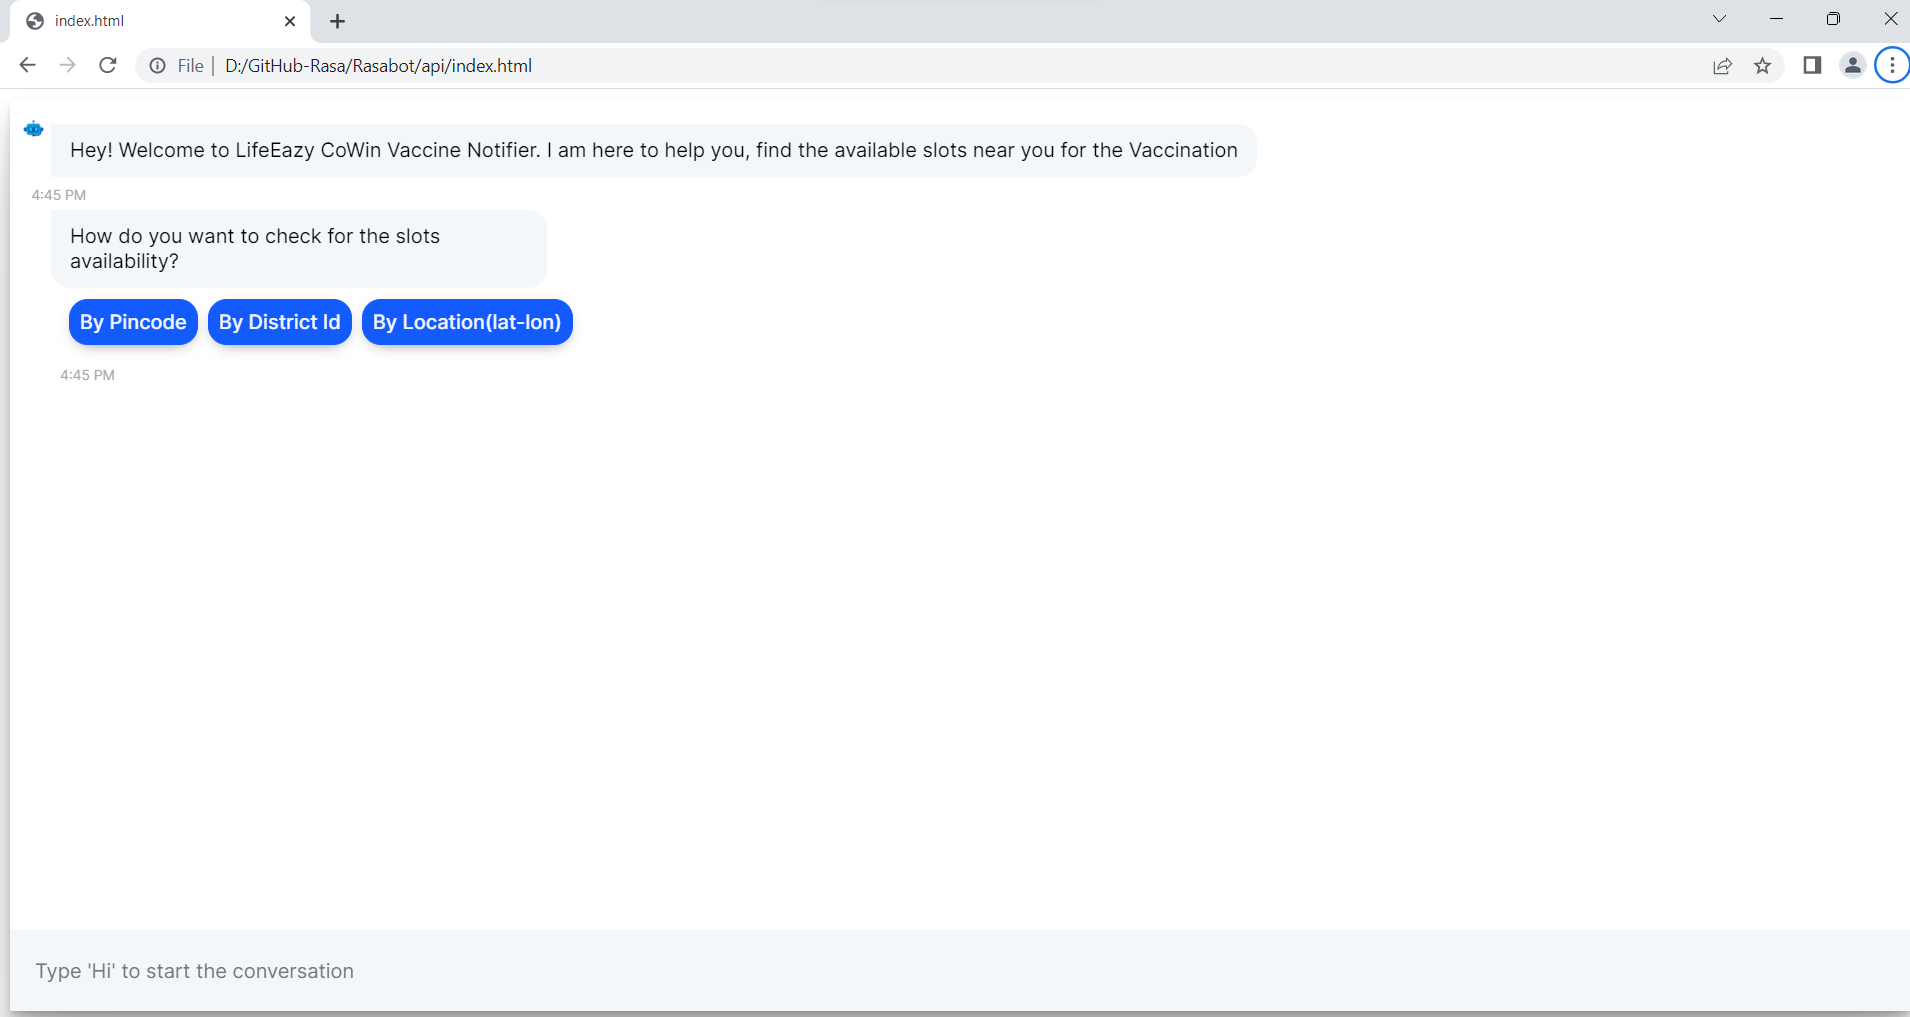
session_persistence: trueNeed to create one more file in our project that's an HTML file in this file we will be integrating our bot with a web widget and this web widget can be attached to the web project that you want. I am renaming the HTML file as an Index.html, and using a template from RASA documentation in this template javascript code is inbuilt so the onclick operations and triggering we don't need to write the logic everything is done by rasa.
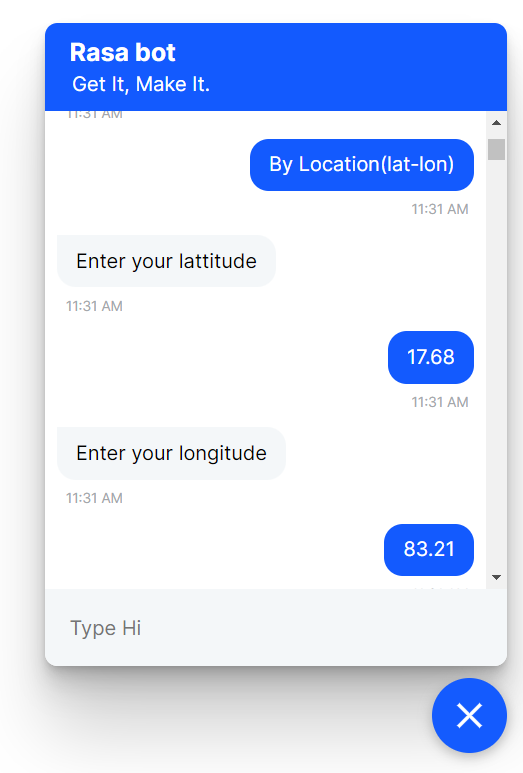
There are Two widget Ui's you can use any of these Ui's Paste this Code in Index.html
<div id="rasa-chat-widget" data-websocket-url="https://localhost:5005/"></div>
<script src="https://unpkg.com/@rasahq/rasa-chat" type="application/javascript"></script> <html>
<head>
<meta name="viewport" content="width=device-width,height=device-height,initial-scale=1.0"/>
<style>
.rw-conversation-container .rw-header{background-color:hsl(250, 69%, 61%);}
.rw-conversation-container .rw-messages-container .rw-message .rw-client{background-color: hsl(250, 69%, 61%);}
.rw-launcher{background-color: hsl(250, 69%, 61%);}
.rw-conversation-container .rw-reply{background-color: hsl(250, 69%, 61%); border: 1px solid hsl(250, 69%, 61%);}
</style>
</head>
<body>
<script>!(function () {
let e = document.createElement("script"),
t = document.head || document.getElementsByTagName("head")[0];
(e.src =
"https://cdn.jsdelivr.net/npm/rasa-webchat/lib/index.js"),
(e.async = !0),
(e.onload = () => {
window.WebChat.default(
{
customData: { language: "en" },
socketUrl: "http://localhost:5005/",
title: 'Lifeeazy',
subtitle: 'Say hi and get started!',
initPayload: '/greet',
profileAvatar: "https://img.icons8.com/fluency/344/chatbot.png",
openLauncherImage: "./assets/svg/comment.svg",
closeImage: "./assets/svg/down.svg",
showMessageDate: true,
inputTextFieldHint: "Type 'Hi' to start the conversation",
embedded: true,
},
null
);
}),
t.insertBefore(e, t.firstChild);
})();
localStorage.clear();
</script>
</body>
</html>The first two configuration value defines the event names used by RASA Open Source when sending or receiving messages over [socket.io].
Restart your RASA server to make the new channel endpoint available to receive messages. You can then send messages to http://<host>:<port>/,
replacing the host (i.e. localhost) and port (i.e. 5005 - its a default port for rasa)

Now you can run these command and Copy file path of index.html and paste it in web browser to see the chat widget
rasa run -m models --enable-api --cors *