00 start here
Welcome to the first step in this laboratory edition’s computational pipeline. In this stage, we begin by using a shell script (see below) to establish the eXist-db application framework we’ll use to build the edition. After the shell script creates the core files in our new working repository, we build, install, and launch the application to test it. Next, we’ll create the remote repository and push the code we’ve generated to GitHub, adding a .gitignore file to exclude certain files from Git tracking.
- eXist-db
- Bash shell
- Apache Ant
- eXistentializer
- Git
- GitHub account
- Visual Studio Code (VSCode)
- exist-db-vscode, a free Marketplace extension for VSCode
We assume you know how to use the command line, including Git on the command line, and have some prior experience with these tools. If you don’t, don’t panic! The level of experience required by this course is beginner friendly. The following tutorials offer exactly the skills we will use, repeat, and practice throughout the development of the laboratory edition.
When setting up eXist-db locally, we recommend configuring it to require no password for the admin account and to accept the default Jetty ports (8080 and 8443). If you choose to change these options, you will need to edit the .existdb.json file (created by the eXistentializer) accordingly.
This no-password recommendation is only for the local machine where you develop your application. An instance of eXist-db used for publication is hosted on a public server, and thus requires security beyond the scope of this initial setup. If you are setting up eXist-db on a public server, at a minimum always use a secure admin password.
Where do we even start? You, a researcher, know you’d like to use eXist-db to store, explore, and perhaps also publish your XML data. You downloaded eXist-db and have it running on your local machine, you downloaded and set up all the other resources listed above, and you’re ready to get to work.
- Make a new directory for your project (
mkdir) - Navigate into that directory (
cd) - Make a copy of properties.txt from your clone of eXistentializer in this directory (
cp) - Using a text editor (VSCode works here!), edit the properties according to your project requirements
- Run the eXistentializer script according to the documentation directions
- Check that your set-up worked as expected. Use
ls -ato list files in your directory. Usecat build.xml(or one of the other created filenames) to view the file. - Type
antto build the application. This command creates an installable application file (.xar) in a build directory, which will be created the first time you build. All eXist-db applications are packaged, distributed, and installed using these .xar files.
- Open a web browser and navigate to http://localhost:8080, which will open the eXist-db Dashboard.
- Log in using the admin username and no password.
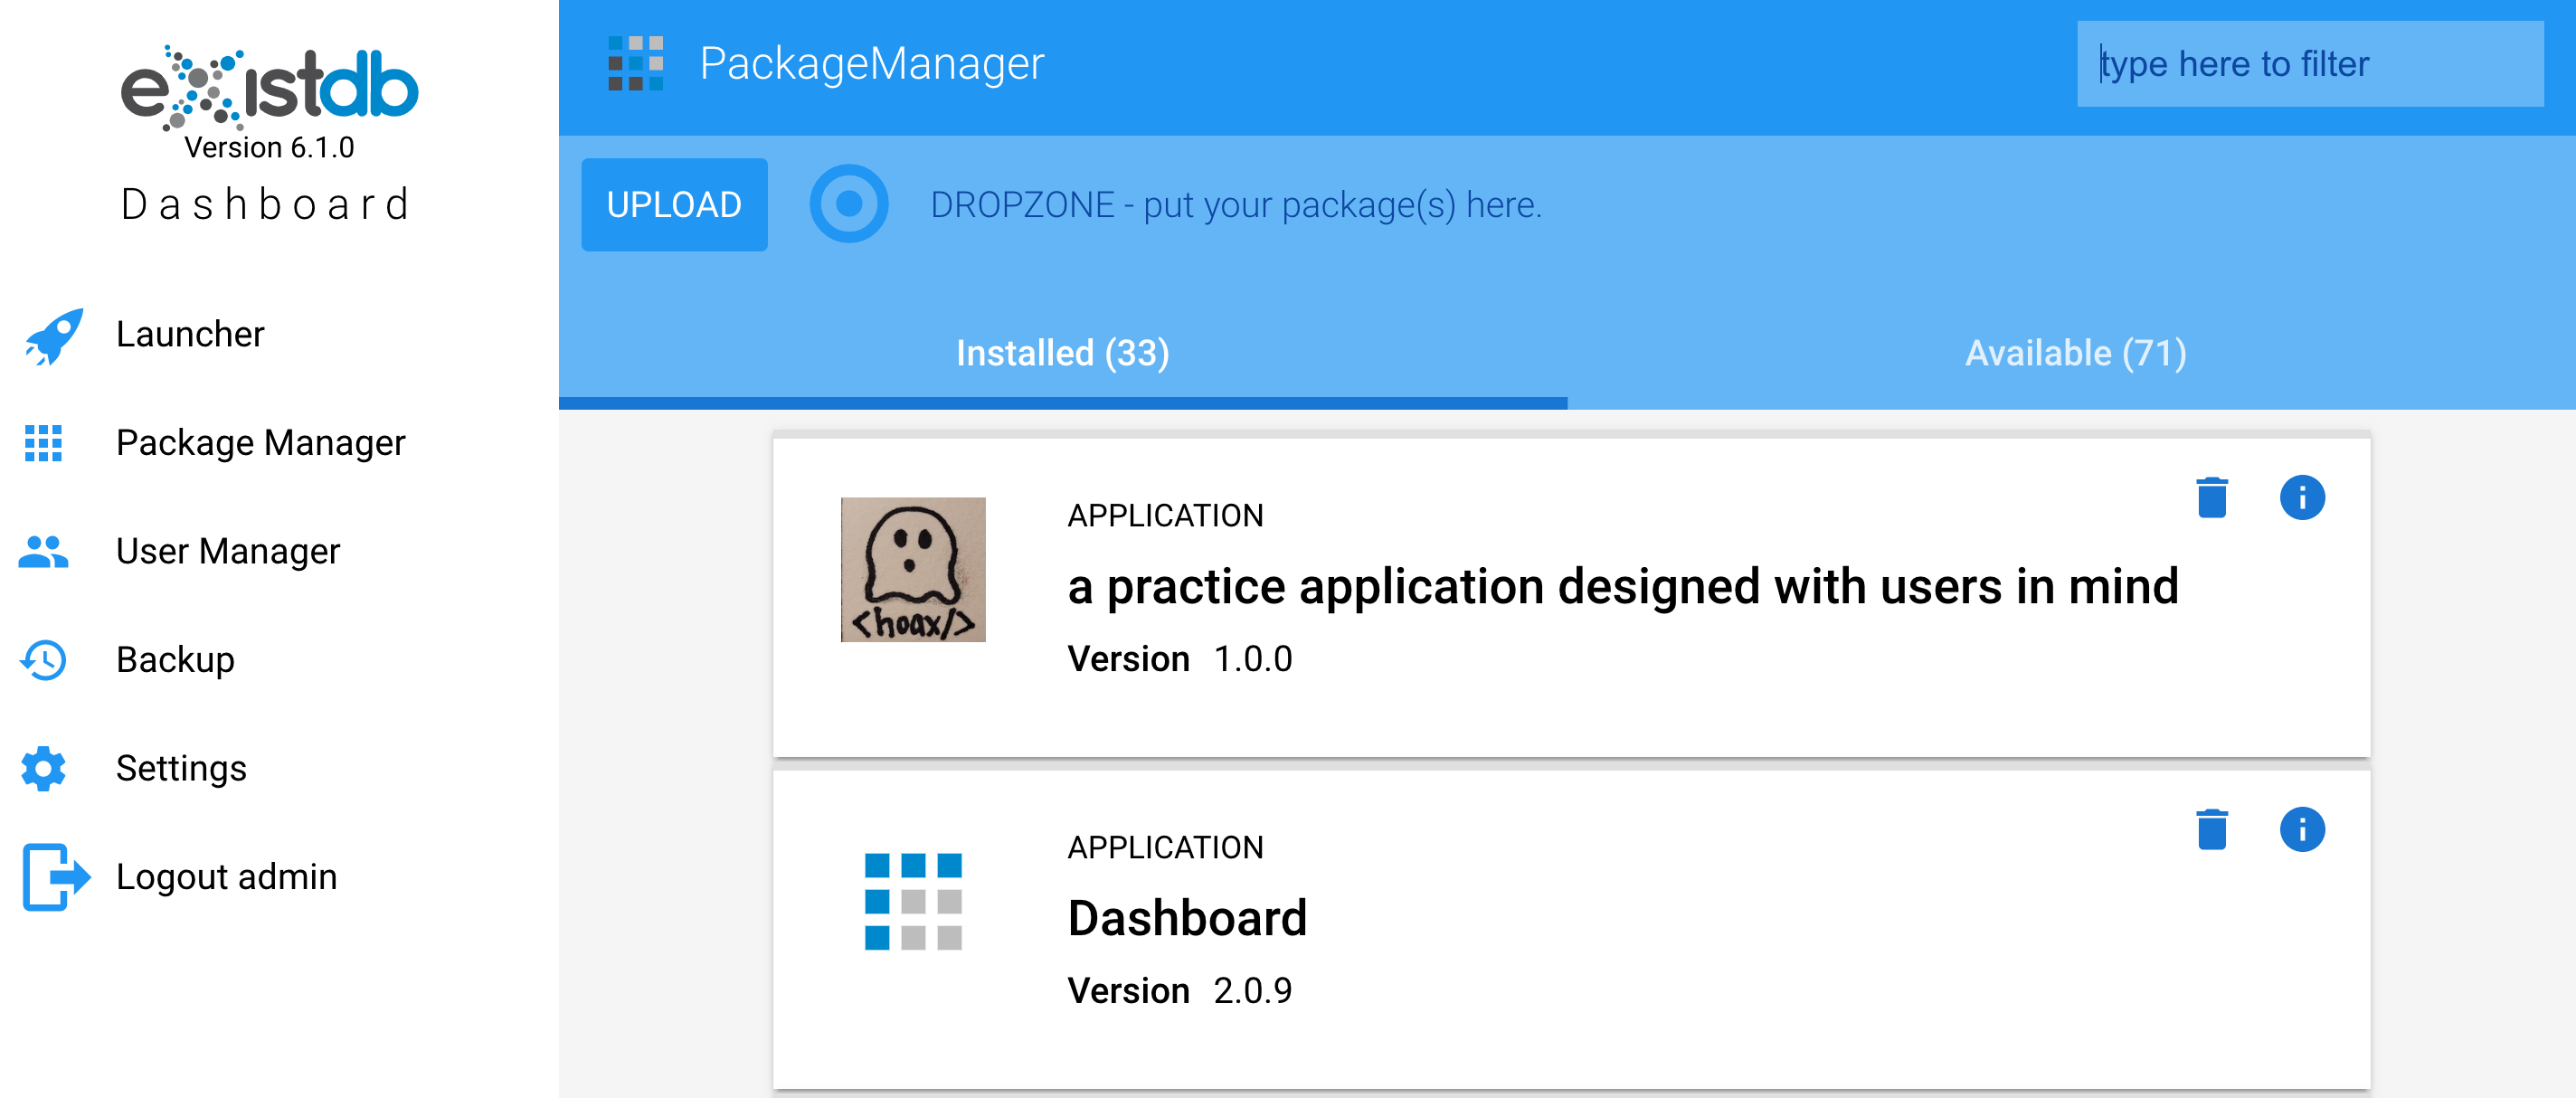
- Navigate to Package Manager and click “Upload”. Select the build directory within your repository, where you can select the .xar file mentioned above.
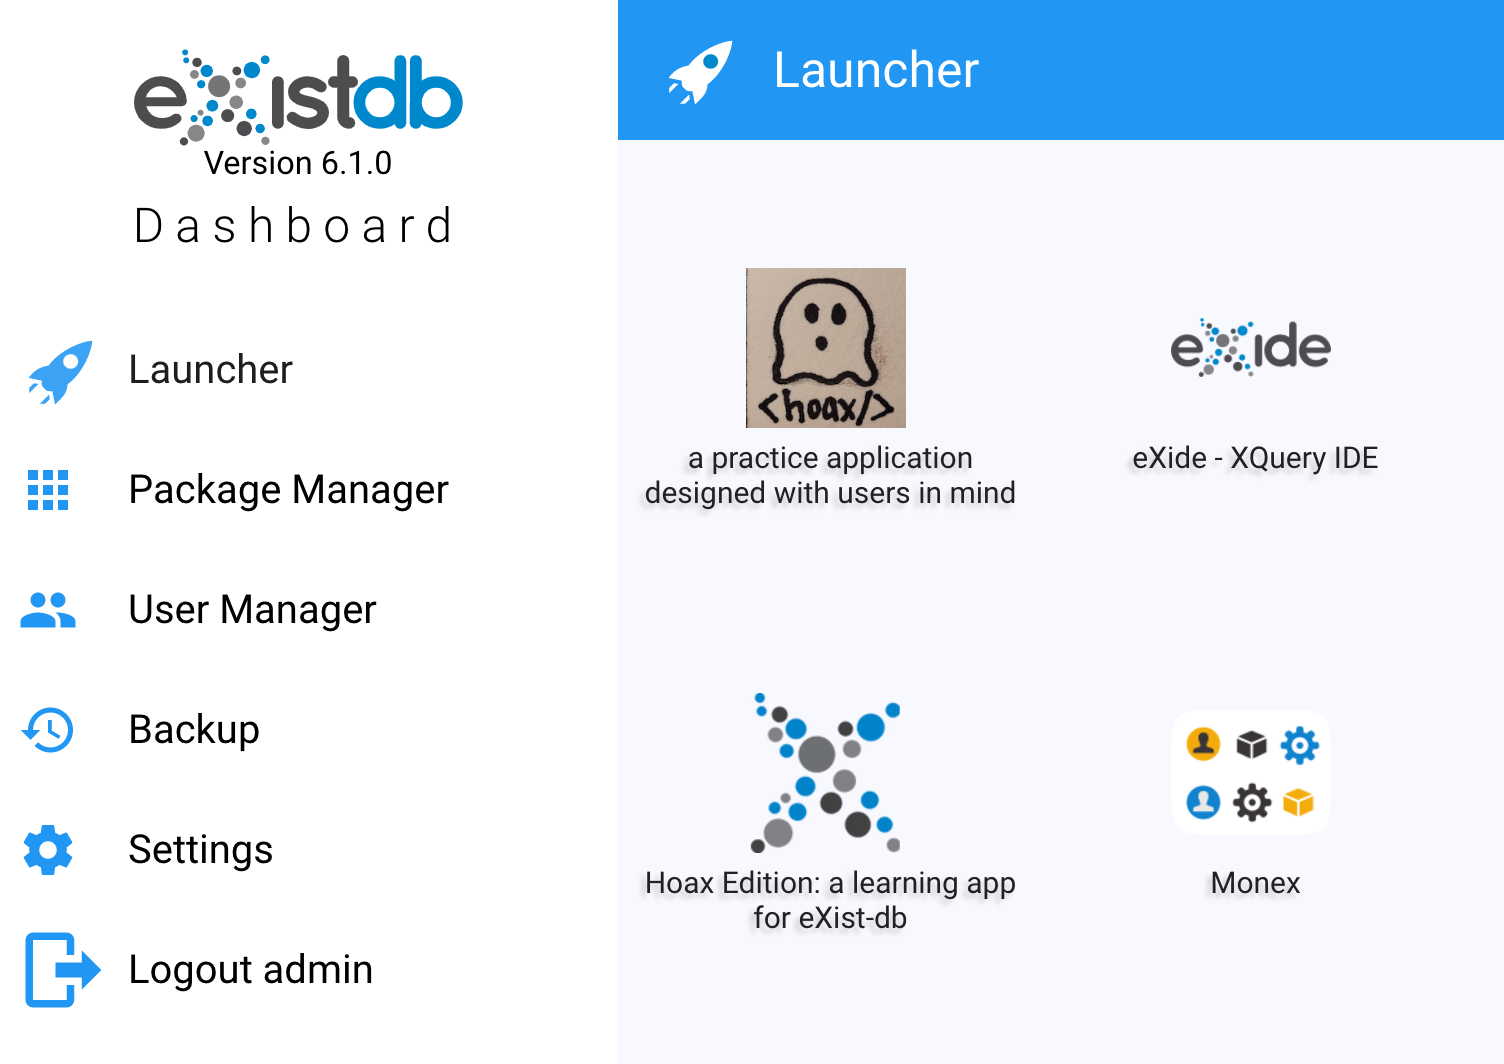
- Confirm that your application has been added successfully by viewing the new icon in the Launcher.
- Navigate to the project directory and run git init to initialize Git. Add and commit your first commit.
- Once logged into your account at GitHub.com, create a new empty repository with the same name as your local working repository. Do not add a description, README, .gitignore, or license.
- Once you have created the empty repository in GitHub, follow the instructions provided by GitHub under the option ”...or push an existing repository from the command line.”
One limitation of eXist-db is that you cannot use version control from within the database. Instead, you have to save the changes to your filesystem, where they can be tracked with Git, and then rebuild and upload your application each time you want to apply changes to the database. This can be quite time consuming when you are troubleshooting, as each tiny change being tested requires a rebuild and reupload. Alternatively, you have to test your changes in the database and then transpose them to the filesystem. There, you run the risk of errors and a possibly incomplete commit history.
Our solution is to use a VSCode extension that relays changes made on the file system to the database, so you can make changes and test seamlessly without losing version control. This syncing works in one direction, so changes made directly in the database will still not appear in the filesystem. Changes appear only when syncing is turned on, so it’s essential to turn on syncing when you pull from the remote repository as well.
- Launch VSCode. Add the existdb-vscode extension if you have not already done so.
- Under “File” click "Add Folder to Workspace". Select the project directory.
- Under “File” select “Save workspace as” and give your workspace a meaningful project name, saving the the new workspace file in your project directory. This new file enables the VSCode workspace.
- Under “Terminal” select “Run Task” and then begin typing exist-db. There should be a task called "exist-db:sync-your-workspace-name". When you run it, a terminal panel will open inside VSCode.
- To test your connection, create a new XML file in VSCode that consists entirely of
<code>Hello world!</code>and save it inside your project directory with the filename test.xml. To confirm that sync is working do any of the following:- Watch the terminal panel.
- Open the app in your browser (if the app is configured to show available files).
- Launch the eXist-db Java Admin Client and look for your new file there.
In this section, we covered environment requirements, app initialization, Git and GitHub setup, and VSCode file syncing. This is the base-level configuration for an eXist-db app project, but currently the application is empty. Think of the steps above as arranging a workspace and gathering materials, so that each time you or your team members begin to develop the app, you have a shared set of tools, materials, and practices to use.
In the following stages, we'll add data and begin using XQuery to explore and analyze our texts.