LLM:Storyly.md
Please read this documentation entirely before working on anything Storyly related in LLM or LLD.
- 📖 Terminology
- 🛠 The Storyly debug screen
- 👀 How to: visualize in Ledger Live a Storyly instance that is not integrated yet
- ➕ How to: integrate a new Storyly instance in Ledger Live
- 🧑🔬 How to: modify an existing Storyly instance & visualize the changes in LL without impacting production
- 🌎 How to: localize stories
The core concepts of Storyly are defined here, please read this before working on anything Storyly related. It is crucial to understand the terminology:
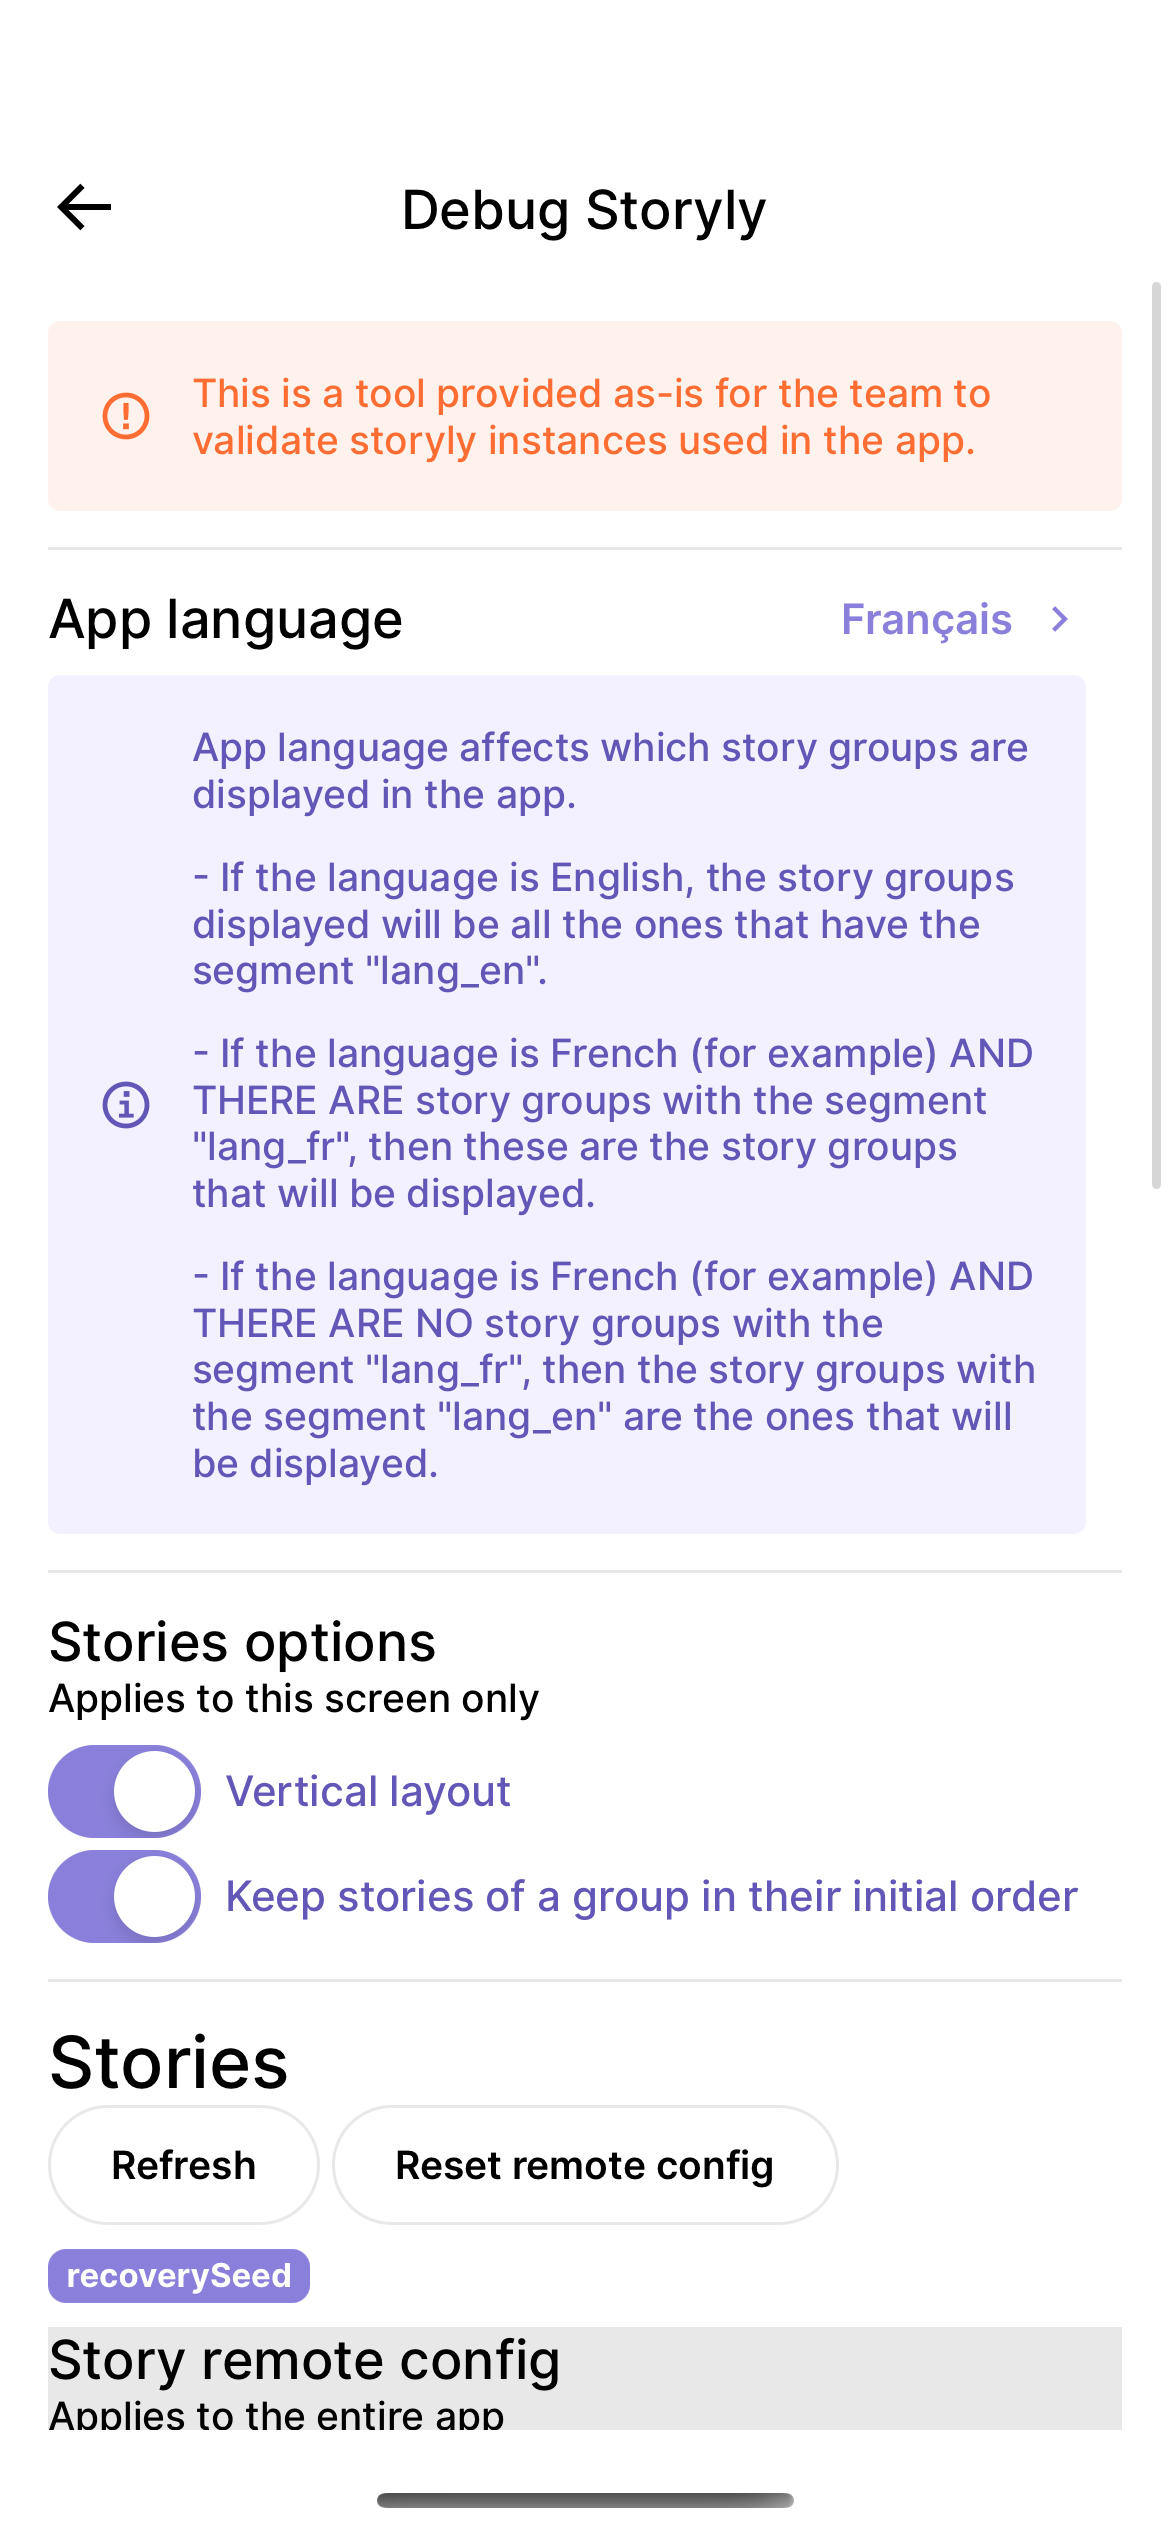
This screen is essential for testing the integration of Storyly instances in Ledger Live mobile:
- To test new Storyly instances without modifying any source code or Firebase remote configuration
- To test the localization of Storyly instances
- To enable "test mode" for a given Storyly instance and see "in testing" story groups in their Ledger Live context before you push them to production.
Access to the Storyly debug screen:
- open LLM
- go to settings
- press "Powered by Ledger" (at the bottom), 7 times quickly
- go to debug settings > mock and test > debug storyly
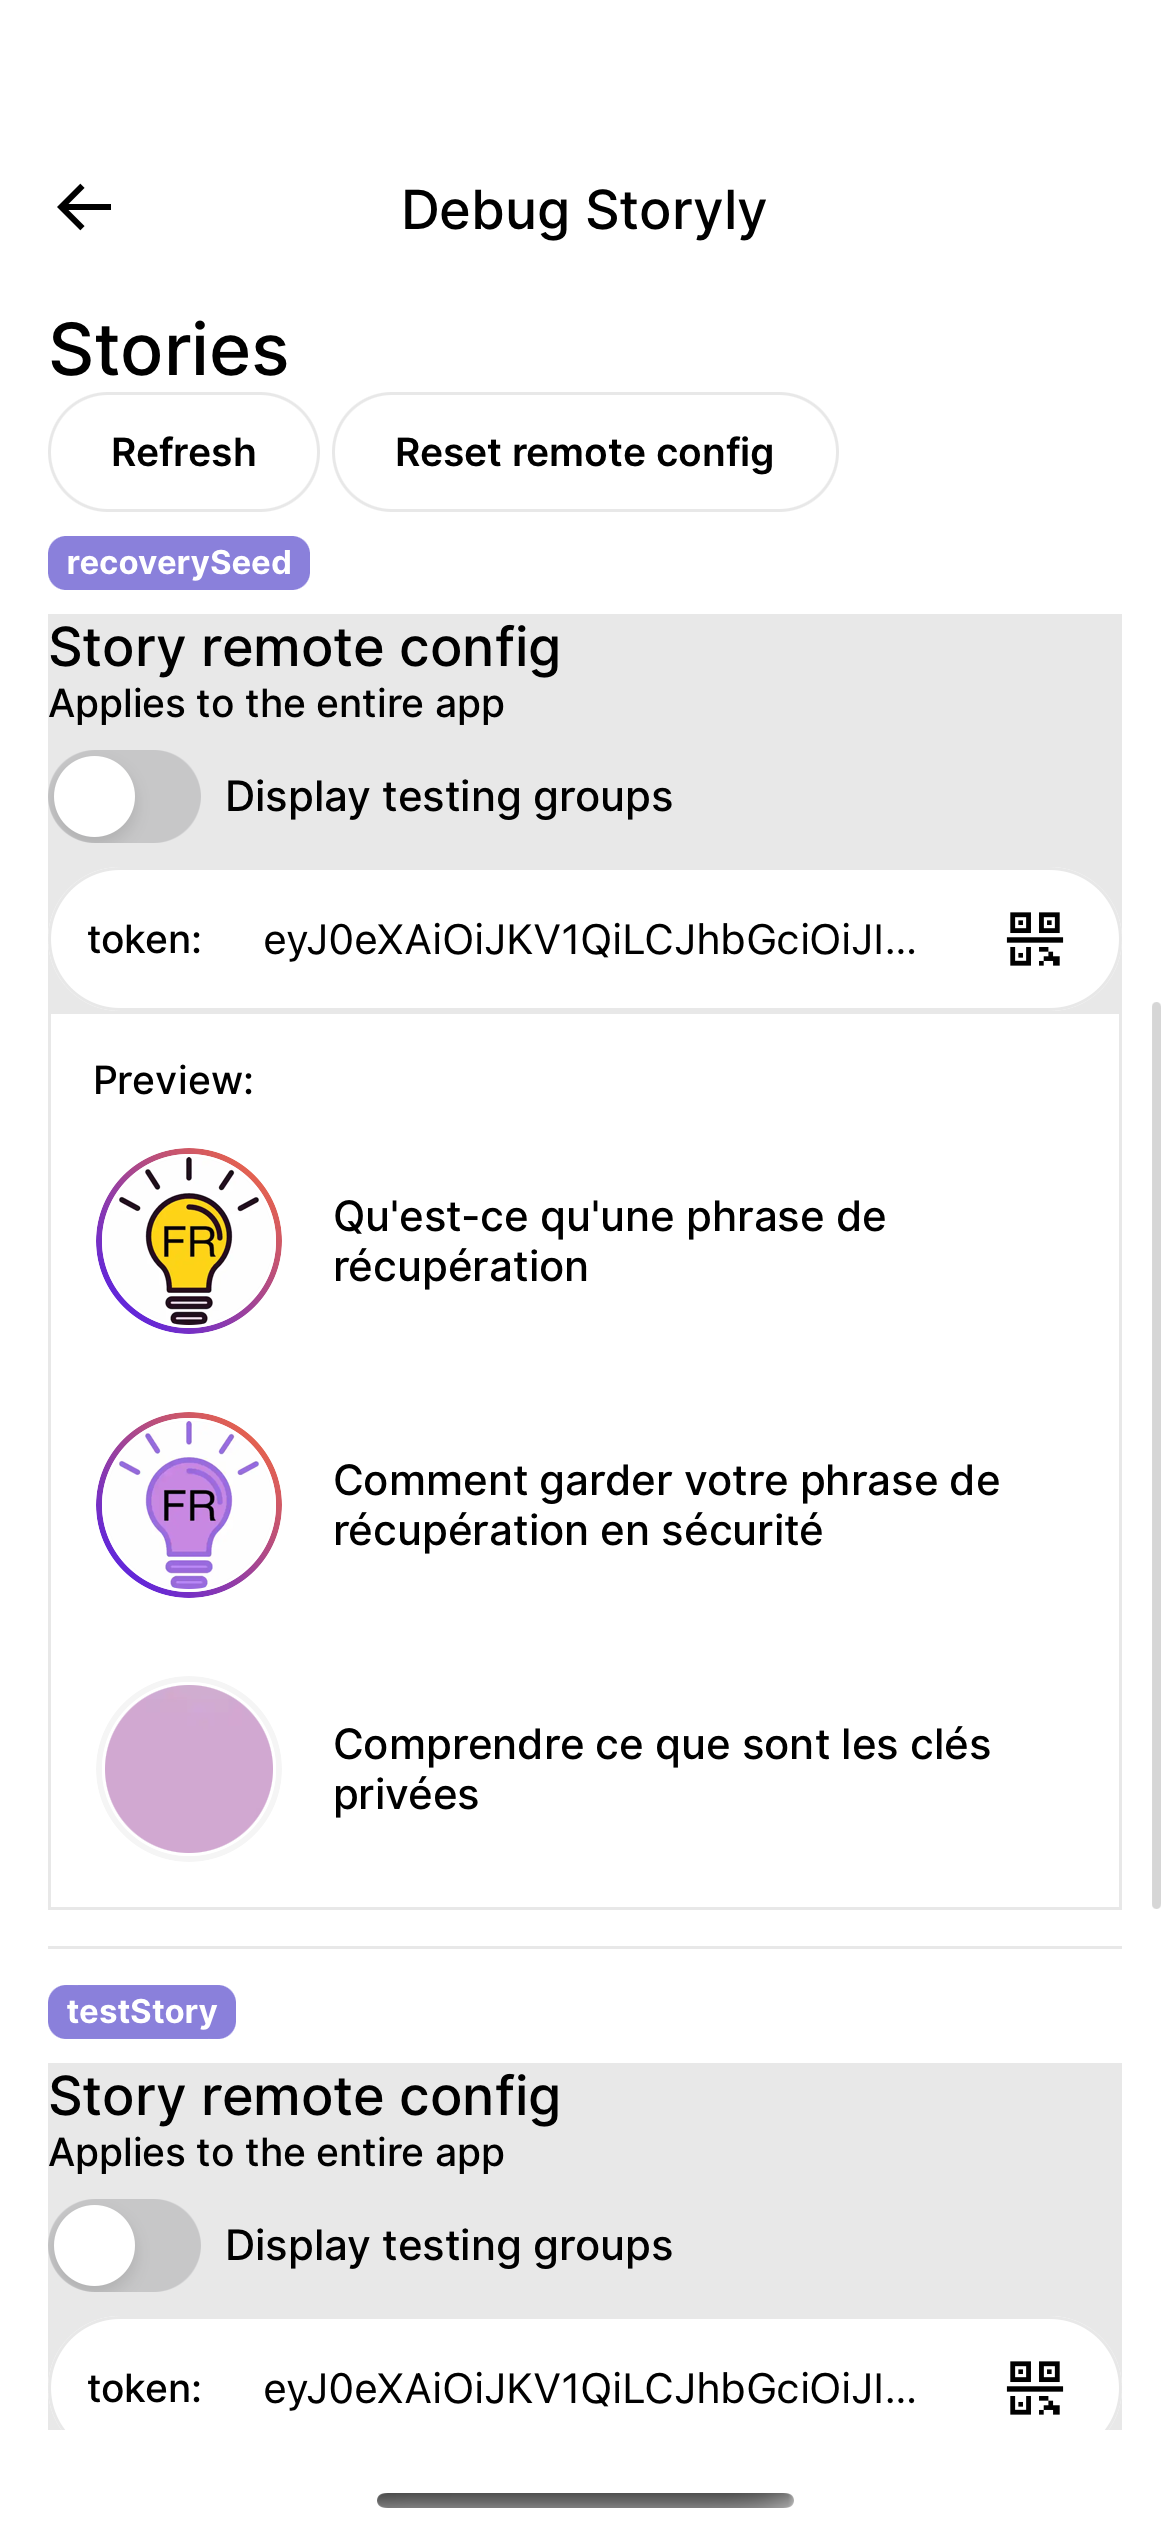
In the Storyly debug screen of LLM, you have the ability to change the token of any story that is already integrated in LL and visualize it directly.
If copy pasting is too difficult (:trollface:), you can also tap the QR button and scan the QR code that will be displayed next to the Storyly instance in https://dashboard.storyly.io/settings/app
In the debug screen, tap here

In dashboard.storyly.io/settings/app click here

The Storyly instance will appear below, and wherever that Storyly instance is integrated in the app, the instance will also be replaced so it can be visualized in the real in-app context.
- Create a new Storyly instance on the Storyly dashboard
- In the
defaultFeatures.tsfile, add an entry for this new story instoryly.params.stories.yourStoryIdentifier, containing the token of the Storyly instance instoryly.params.stories.yourStoryIdentifier.token
- Add
yourStoryIdentifierin the enumStorylyInstanceID - Use the
StorylyStoriescomponent, use"yourStoryIdentifier"for theinstanceIDprop, this ID will be used to retrieve the Storyly instance token from the remote configuration (from the feature flag).
🧑🔬 How to: modify an existing Storyly instance & visualize the changes in LL without impacting production
So it's actually not possible for now to modify an existing story group in staging and then push to prod. Instead, the strategy is to create a new story group, test it, and then archive the one you are replacing.
- Duplicate the story group you want to modify, or create a new one, and click "Save as test mode" (very important) (if you choose to duplicate, it will first be a deactivated group)
- Make the changes on the story group
- Open the Storyly debug menu
- There you see all the Storyly instances integrated in LLM, and you can toggle testing mode for each, which will make "testing groups" visible
- If you are happy with the changes, you can disable the "testing" mode of this story group on the Storyly dashboard and it will become instantly visible to users.
- Archive the story group that you are replacing.
In order to have localized stories, we are using the segmentation feature of Storyly, for lack of a better solution.
Each story group on Storyly has segments. When Ledger Live loads a Storyly instance, it specifies the segments to target.
- If LL is in English, when loading a given Storyly instance, it will only show the story groups of that instance that have the
lang_ensegment. - If LL is in French or another language (other than English), it will first try to load the story groups of that instance that have the
lang_frsegment.- If there are no story groups with the
lang_fr, it will fallback to loading the Storyly instance with thelang_ensegment. - If there is at least one story group with the segment
lang_fr, it will display it, and not display thelang_enstory groups.
- If there are no story groups with the
⚠️ Story groups that have nolang_xysegment will never be displayed.
- create your story group in English, with the original content, and add the segment
lang_en - duplicate that story group (or create a new one), in the same Storyly instance. Add the localized content, and add the segment
lang_xy, wherexyis one of the locales specified here