Getting Started
Whether you're self-hosting or using the hosted version of Curse Updates after inviting the bot to your server of choice the setup process is the same.
Important
As obvious as it might seem, make sure the bot has the required permissions to send announcements messages in the the designated channel. This is a frequent oversight that can be difficult to spot once you're thinking about all the other steps.
You'll now be using the /schedule command to add the projects you're interested in to the bot's scheduled check that happens once every 15 minutes.
Warning
At the moment a command to search a project on CF via keywords doesn't exist so you'll have to use CurseForge's website / app to look up projects to add to the bot schedule.
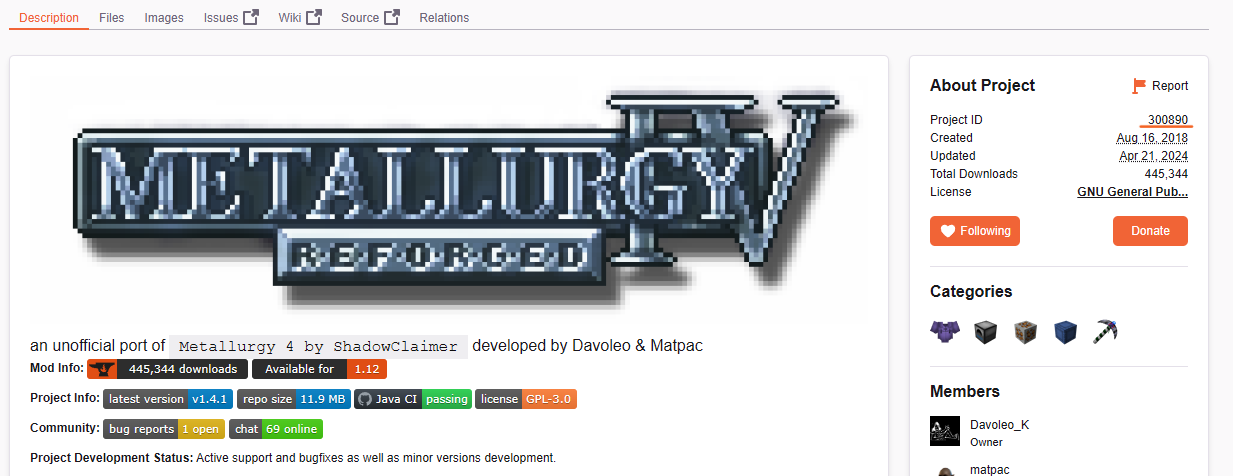
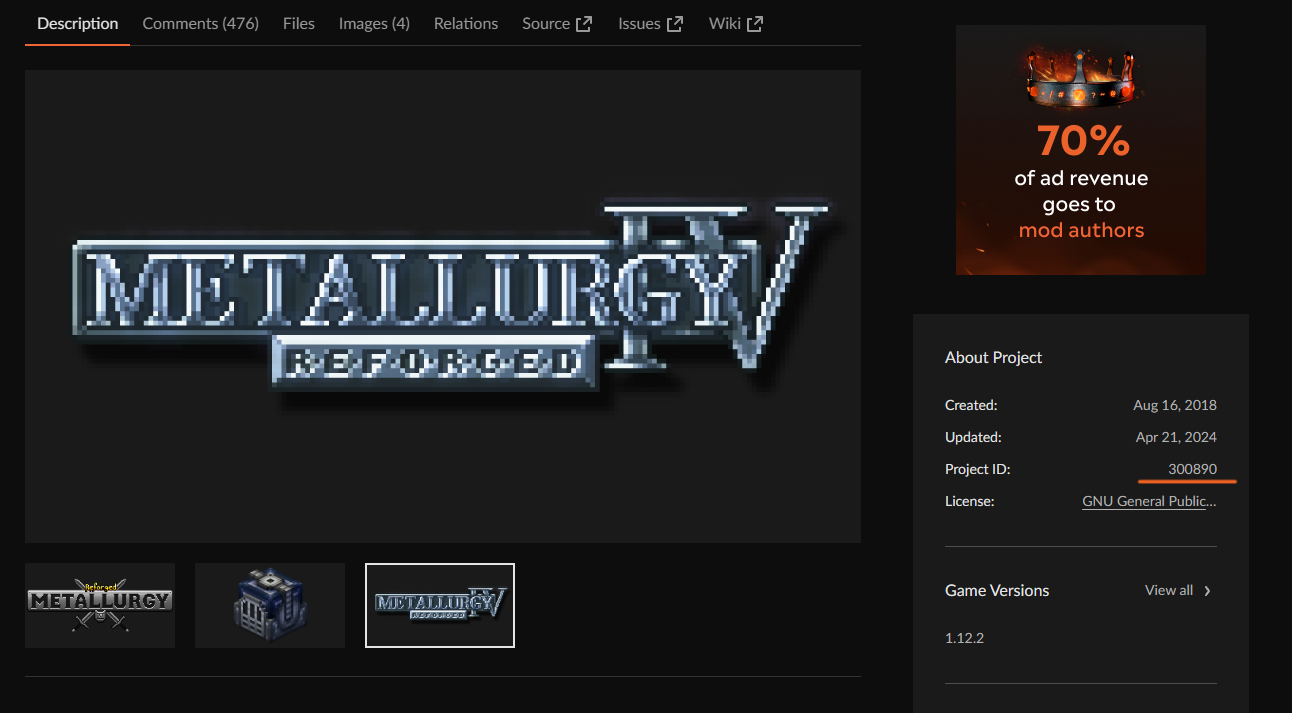
Obtain the ID of the project you want to add to the bot schedule: this is shown on the Curseforge page on the sidebar on the right, both on the new and legacy websites.
Now run the command /schedule add <project_id> replacing the last argument with the id found on the website.
The bot should respond with a message with the project slug saying it was added to the schedule (you can cross-check the project slug on the CF url of your project).
You can now do the same for all the projects you want to be announcing updates of.
At any point you can always run the command /schedule show to receive a list of all the projects that were previously added.
If you made a mistake and/or want to remove a certain project from the schedule just run /schedule remove <project_id>
For more information on the /schedule commands you can run /help schedule or read the related wiki page.
Now you'll need to create one or more announcements configuration(s) to choose how/where announcements messages are delivered via the /updates command
Run /updates newtemplate to create a new configuration, this command optionally takes 2 paramteres:
-
channel: a channel selector - the channel where updates from this configuration will be sent. -
template_message: (optional) a text message to be included with the update embed
Important
It is essential that a channel is specified in the announcement config for announcements to be sent.
After submitting the command, a modal will pop up, allowing you to configure filters for updates announced by this configuration, this is completely optional, and if you don't want to set any filters just press submit without adding anything else; you can also set filters for a specific announcement config later using a dedicated command.
this system allows to customize completely where to send which updates for the various scheduled projects and also ruling them out via project IDs and CurseForge Tags [e.g. minecraft:forge, minecraft:1.12.2, ...].
For more information on how filters work refer to the /updates setfilters command page.
Warning
The Filters system is relatively untested, feel free to report any issue that arises when using it.
if a certain announcements configuration was misconfigured it may stop from working, while most of the settings should notify errors properly if you do something wrong, the system still allows for the channel in the configuration to be set to null, therefore disabling the config.
To see an overview of all the created announcement configurations on the current server: run the /updates showconfigs command.
You can edit the various components of a configuration via the following dedicated commands:
-
/updates setchannel: Sets the announcements channel on a specific configuration, if the channel parameter is omitted, the channel is set to empty and the config will be disabled (no announcements will be posted). -
/updates setmessage: Sets the messsage that accompanies the update message embed (can be empty). -
/updates setfilters: Opens the filters editing modal allowing you to make changes.
Finally, you can remove a configuration you don't want anymore using the /updates removetemplate command.