web_user_manual
GMQL-WEB project is designed and implemented to make GMQL project publicly available through the web and easy to use by biologist and bioinformaticians.
Two main services have been developed: the web service REST API and, on top of it, a web interface. Both of them are serving the same functionalities, i.e., browsing the datasets of genomic features and biological/clinical metadata that we collected in our system repository (such as those from ENCODE, Roadmap Epigenomics and TCGA, as well as annotations from GENCODE and RefSeq), building GMQL queries upon them, and efficiently run such queries on thousands of samples in several heterogeneous datasets. Furthermore, by using the user management system, private datasets can be uploaded and used together with the ones available in the GMQL repository. GMQL REST API is planned to be used by an external system that can communicate to REST services over HTTP.
The Play Framework 2.4 has been used and all the functionality are RESTful compatible. All public functions provided by the project are defined by the SWAGGER framework as shown in the figure below:

The frontend implementation has been generated by using CoffeeScript and Less, which are driven by the Play Framework.

This project has been realized by GeCo group.
These interfaces are available at http://www.bioinformatics.deib.polimi.it/GMQL/interfaces/.
The main page before login into the system is shown in the image below:
| GMQL login page |
|---|
 |
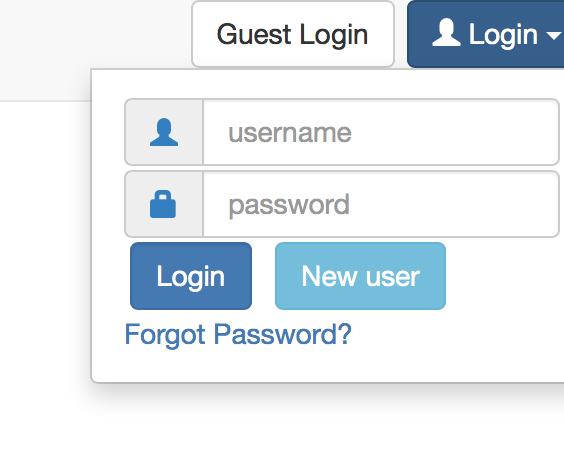
By using login controller as shown in the figure below, a user can login as:
- Guest user: has limited source (memory and execution power). The accounts will be cleaned periodically after the last usage.
- Standard user: needs to create the account on the system. By using the new user button, a user can create their credentials and login to the system with the created credentials.
| Login controller |
|---|
 |
| GMQL main page |
|---|
 |
GMQL page is divided into the 5 sections:
A - Dataset browser: It provides the public (such as ENCODE, Roadmap Epigenomics, TCGA, GENCODE, RefSeq, ...) and private dataset information. From this menu, a user can manipulate (add/delete/download) the private datasets and also extract the information about the datasets by right clicking on the dataset or samples. There is also the possibility to load and view them in the UCSC Genome Browser by using UCSC button.
B - Query editor: The GMQL query is composed in this area. By using the drop-down menu on the upper right side, a user can load or delete his/her previous queries saved in the system. The default shortcuts for the editor can be found in https://github.com/ajaxorg/ace/wiki/Default-Keyboard-Shortcuts. One of the important features of the editor is the autocompletion of GMQL query statements; please use CTRL + space shortcut to activate it.
C - Query execution controller: After the query is composed in the query editor, it can be compiled/executed using the buttons in this module. Also, the execution status is shown in this module, and further details of user executions are here available as well.
D - Metadata browser: It is possible to analyze the metadata and create the metadata part of a GMQL SELECT statement using the metadata browser. Please check the metadata browser section below for further information.
E - Sample metadata: The metadata of the selected sample are shown in this section.
F - Schema: The schema information of the selected dataset is available in this section.
| Upload new dataset |
|---|
 |
By choosing the option Add at the bottom of the dataset browser, the user can upload his/her own dataset, in alternative to using public datasets. It is required to provide a name for the dataset (no spaces allowed, as to standard Java variable naming) and to specify the type of the file (here for supported formats). In the section Files the user can choose files to upload, ensuring they are conform with the specified file type. In case the "Custom (GTF or tab-delimited)" option is chosen, the user must also upload a custom schema file.
Dataset creation is finalized by pressing the Upload button. The new dataset is now visible in the Private folder of the dataset browser.
| GMQL dataset info |
|---|
 |
The context menu of a dataset or a sample (available by right-clicking on the dataset/sample) enables the user to get the operations available on the dataset as shown above. These operations are :
Show info: It opens a dialog to show the profile of the dataset and also some extra information about the dataset, such as description, upload data, etc.
Show query: It opens a dialog to show the query that generated the dataset, if it has been generated by a query run.
Rename: User can rename the dataset by selecting this option.
Show region data: It opens a dialog to show the first lines of the region data of the selected sample. It is possible to download a single file from the menu for further analysis of the selected sample.
Show metadata: It opens a dialog to show the first lines of the metadata of the selected sample. It is possible to download a single file from the menu for further analysis of the selected sample.
| GMQL metadata browser result |
|---|
 |
Users can then use the Metadata browser to progressively create a GMQL SELECT statement on a repository dataset, by adding simple predicates as shown in the figure above. The dataset is profiled and hence the user can see the number of result samples that are obtained after applying each conjunctive condition. When the condition is executed with the test button, it generates a tabular view of the metadata of the dataset samples which satisfy the selection; the Figure below shows the metadata attributes and their values of the RefSeqGenes sample.
| GMQL metadata browser result |
|---|
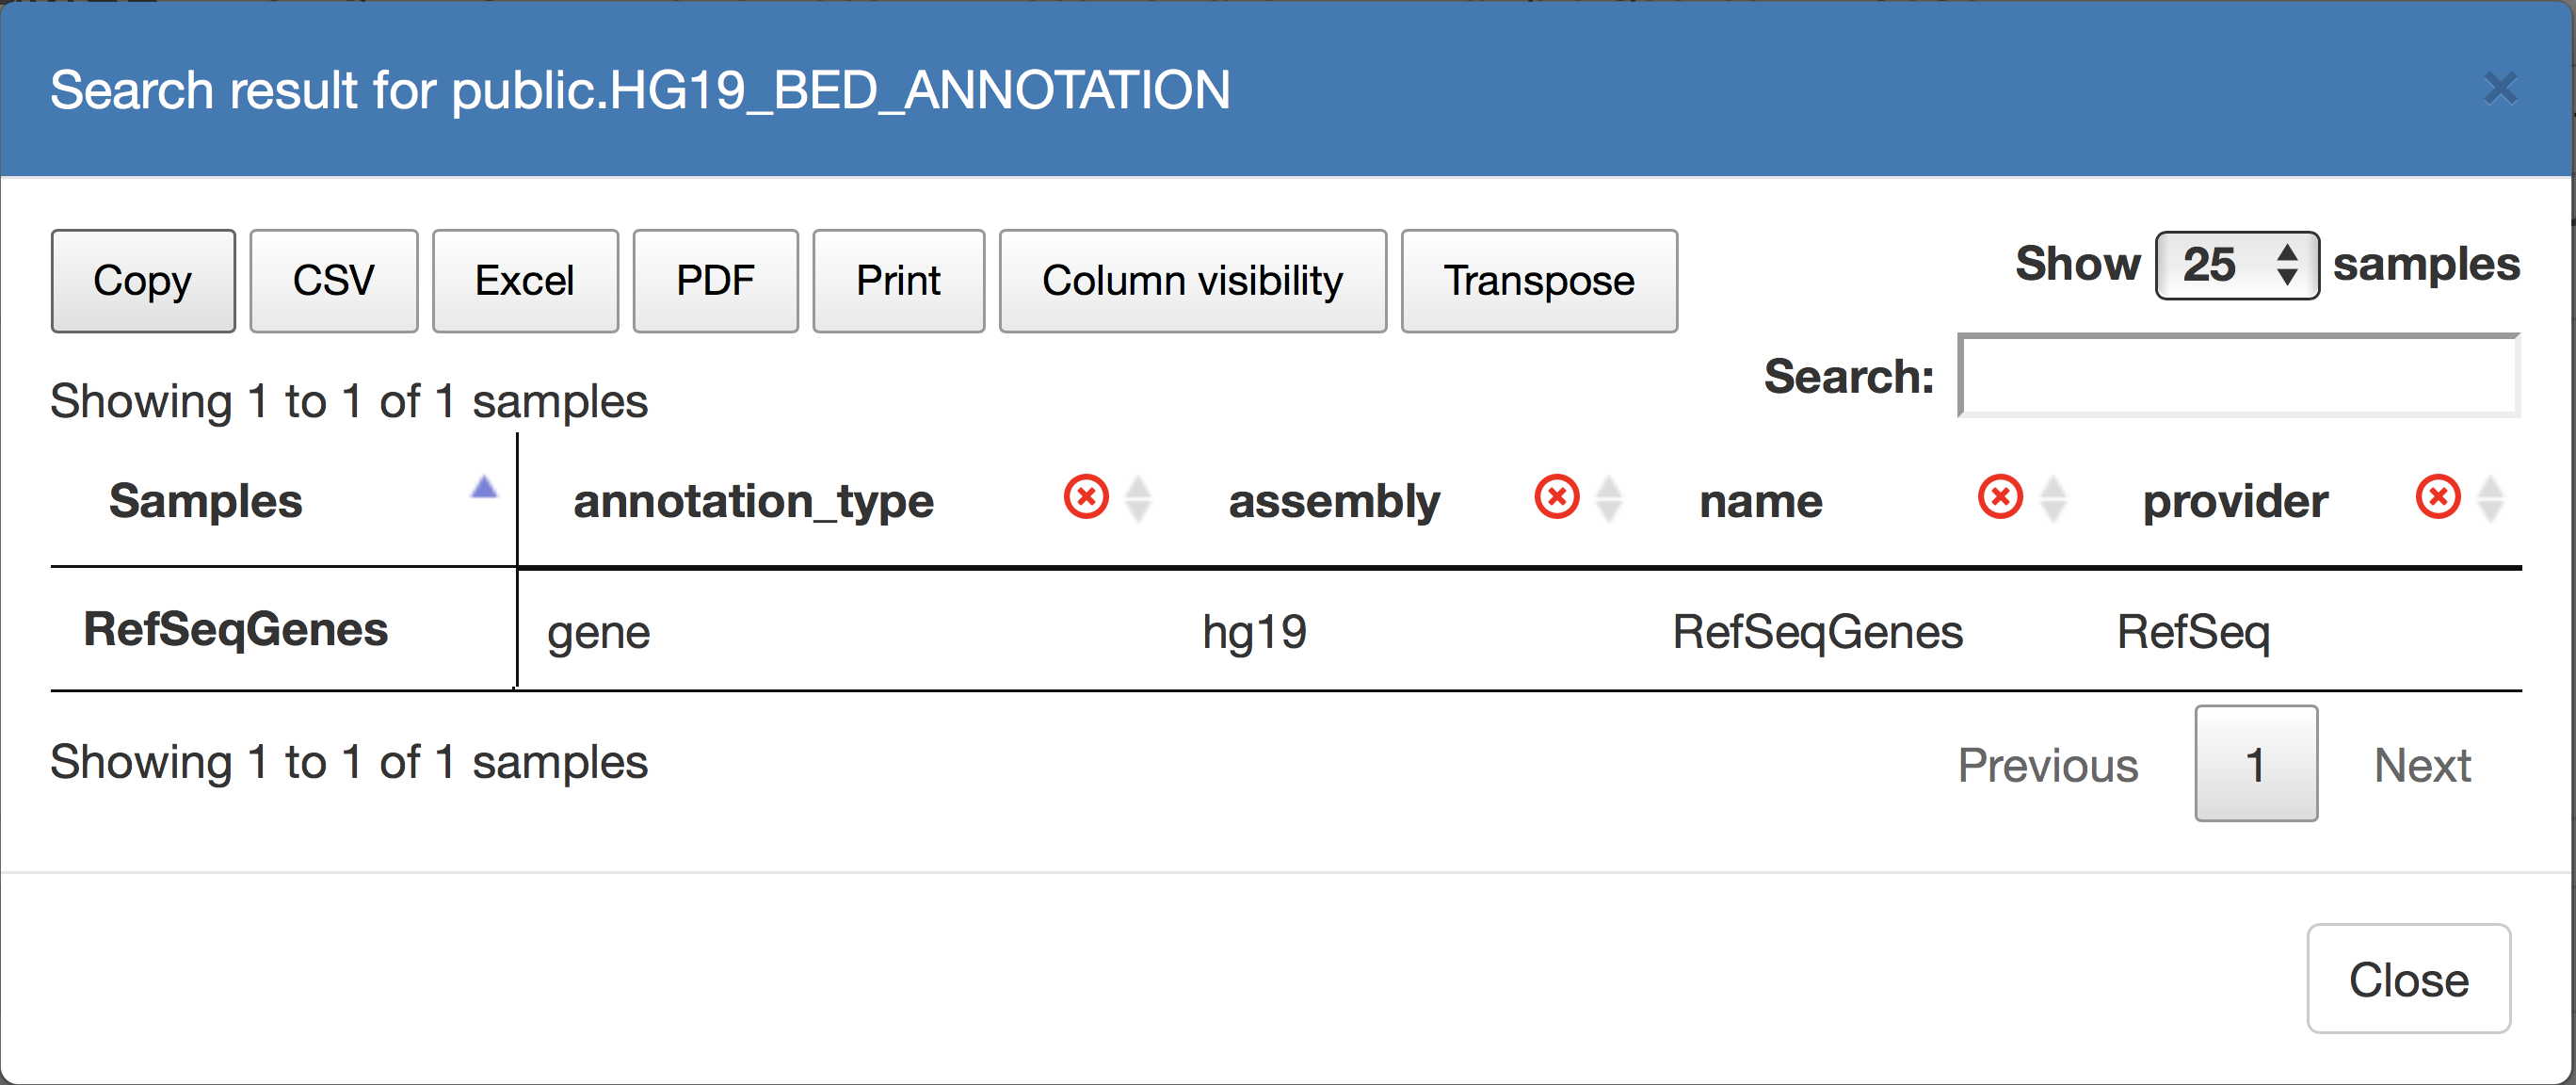 |
The generated table can be downloaded from the menu above in different file formats, to be analyzed locally.
| GMQL admin page |
|---|
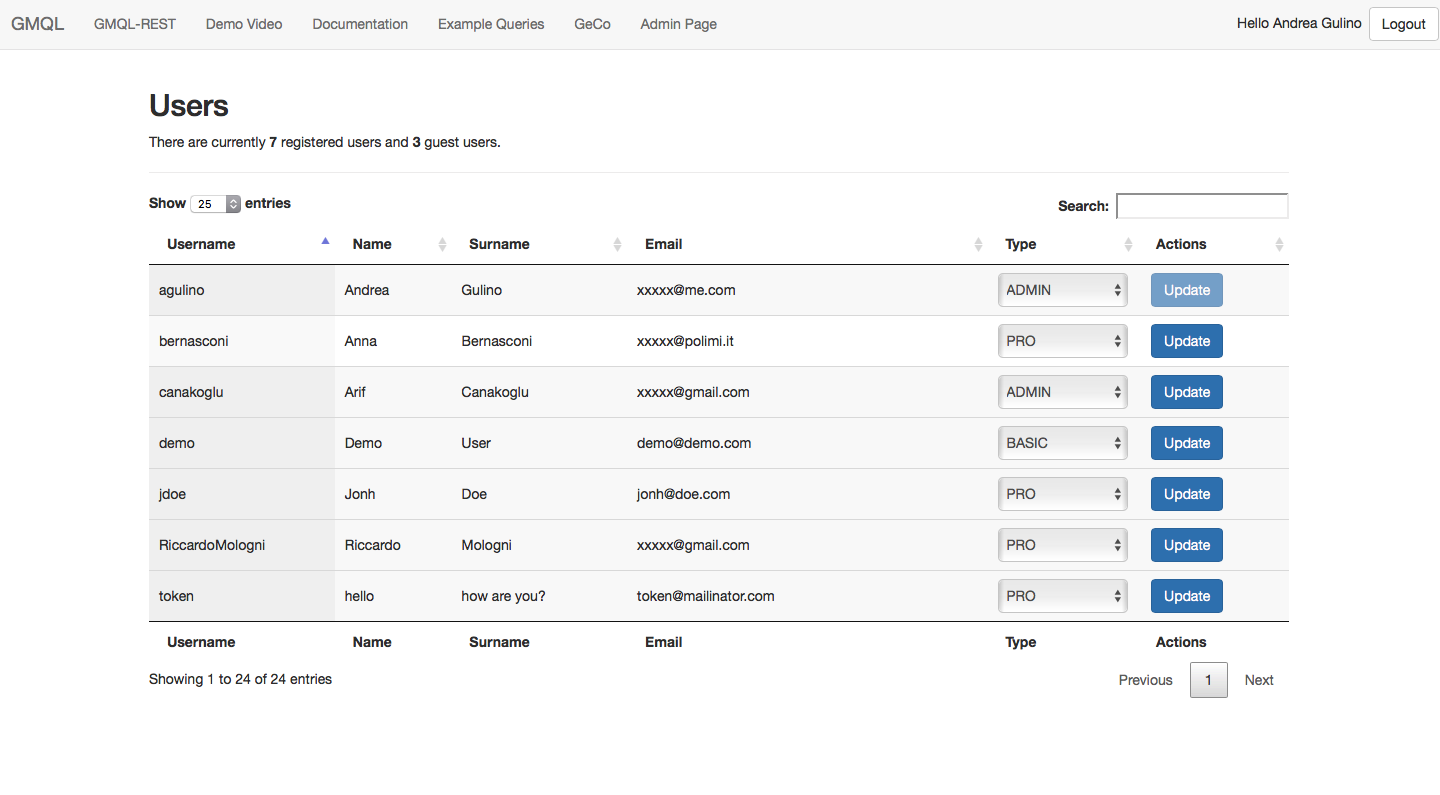 |
Admin users can access the administration page by clicking on "Admin page" in the top navigation bar. The Admin Page presents the list of registered users (associated to one of the three categories BASIC, PRO and ADMIN) and the count for GUEST users. An admin user can change the category of another user by selecting the new type from the drop-down list and applying the changes by clicking on the "Update" button.
Note 1: The first Admin user is the first user who registers to the system.
Note 2: An admin user is prevented from updating his own category.
A comprehensive set of GMQL example queries is available in the top menu of the Web interface (Example Queries), where they can be directly executed.