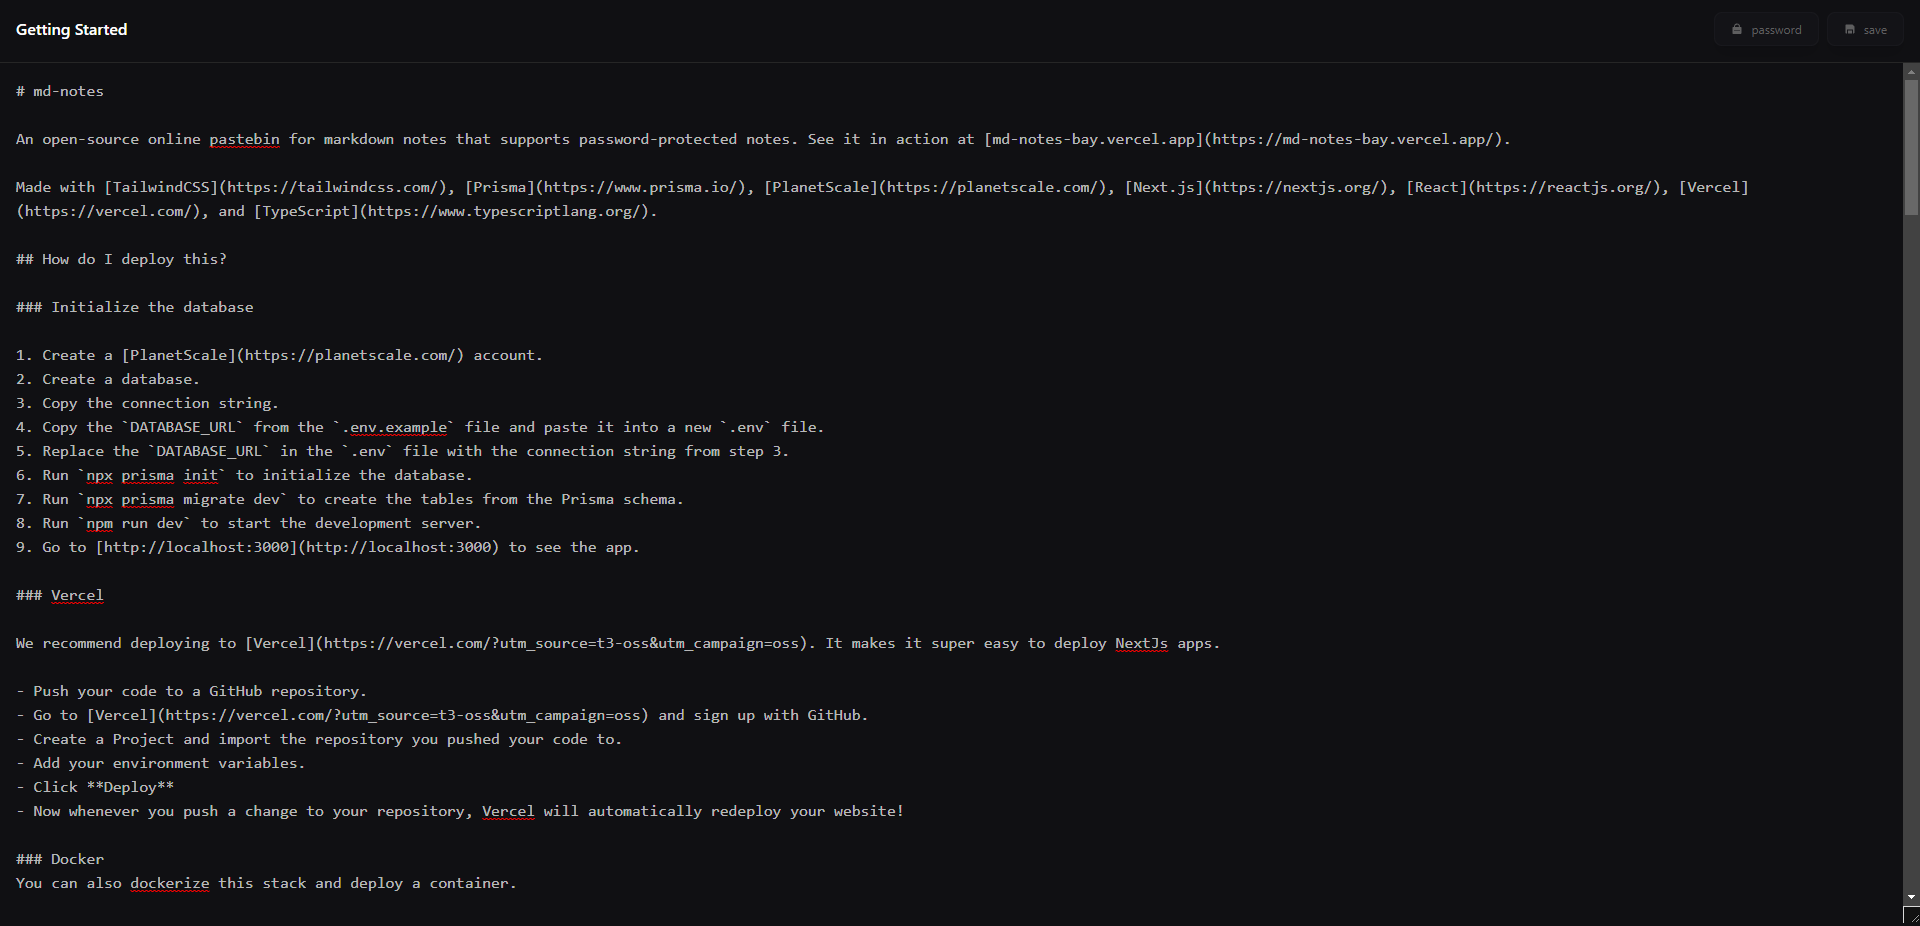
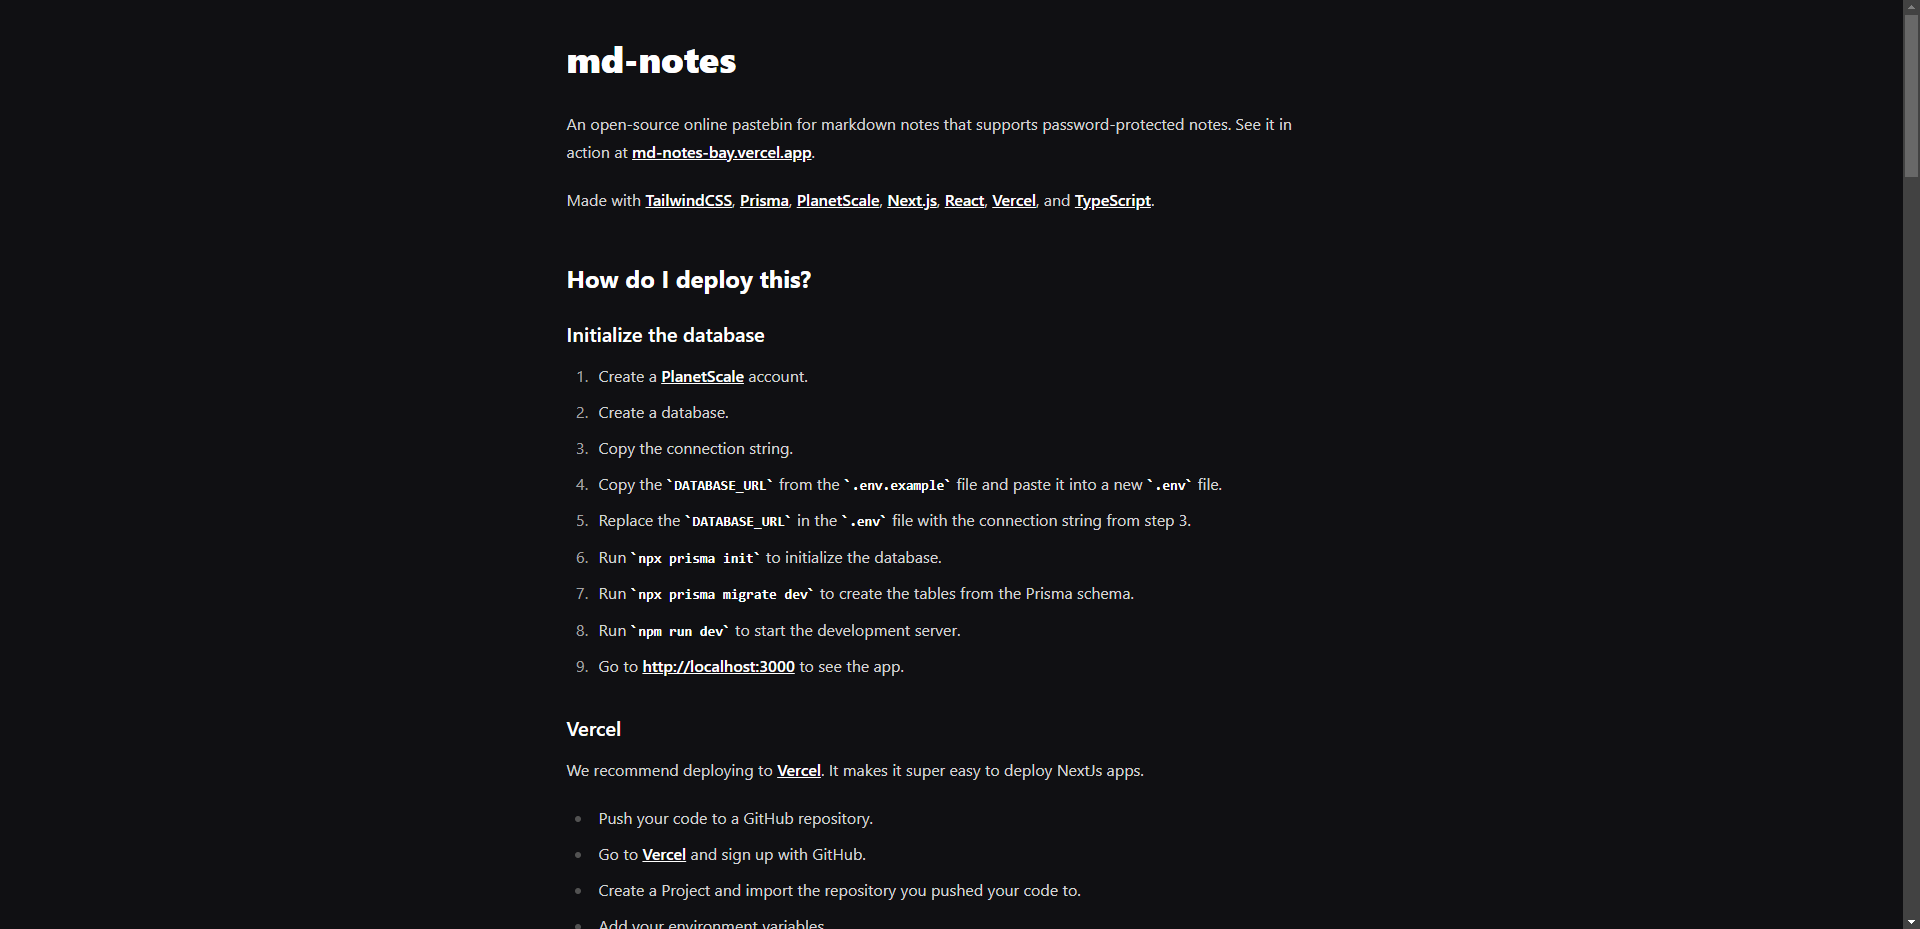
An open-source online pastebin for markdown notes that supports password-protected notes. See it in action at md-notes-bay.vercel.app.
Made with TailwindCSS, Prisma, PlanetScale, Next.js, React, Vercel, and TypeScript.
- Create a PlanetScale account.
- Create a database.
- Copy the connection string.
- Copy the
DATABASE_URLfrom the.env.examplefile and paste it into a new.envfile. - Replace the
DATABASE_URLin the.envfile with the connection string from step 3. - Run
npx prisma initto initialize the database. - Run
npx prisma migrate devto create the tables from the Prisma schema. - Run
npm run devto start the development server. - Go to http://localhost:3000 to see the app.
We recommend deploying to Vercel. It makes it super easy to deploy NextJs apps.
- Push your code to a GitHub repository.
- Go to Vercel and sign up with GitHub.
- Create a Project and import the repository you pushed your code to.
- Add your environment variables.
- Click Deploy
- Now whenever you push a change to your repository, Vercel will automatically redeploy your website!
You can also dockerize this stack and deploy a container.
Please note that Next.js requires a different process for buildtime (available in the frontend, prefixed by NEXT_PUBLIC) and runtime environment, server-side only, variables. In this demo we are using two variables, DATABASE_URL (used by the server) and NEXT_PUBLIC_CLIENTVAR (used by the client). Pay attention to their positions in the Dockerfile, command-line arguments, and docker-compose.yml.
-
In your next.config.mjs, add the
standaloneoutput-option to your config:export default defineNextConfig({ reactStrictMode: true, swcMinify: true, + output: "standalone", }); -
Remove the
env-import from next.config.mjs:- import { env } from "./src/env/server.mjs"; -
Create a
.dockerignorefile with the following contents:.dockerignore
.env
Dockerfile
.dockerignore
node_modules
npm-debug.log
README.md
.next
.git
-
Create a
Dockerfilewith the following contents:Dockerfile
########################
#         DEPS         #
########################

# Install dependencies only when needed
# TODO: re-evaluate if emulation is still necessary on arm64 after moving to node 18
FROM --platform=linux/amd64 node:16-alpine AS deps
# Check https://github.com/nodejs/docker-node/tree/b4117f9333da4138b03a546ec926ef50a31506c3#nodealpine to understand why libc6-compat might be needed.
RUN apk add --no-cache libc6-compat openssl
WORKDIR /app

# Install Prisma Client - remove if not using Prisma
COPY prisma ./

# Install dependencies based on the preferred package manager
COPY package.json yarn.lock* package-lock.json* pnpm-lock.yaml* ./
RUN \
  if [ -f yarn.lock ]; then yarn --frozen-lockfile; \
  elif [ -f package-lock.json ]; then npm ci; \
  elif [ -f pnpm-lock.yaml ]; then yarn global add pnpm && pnpm i; \
  else echo "Lockfile not found." && exit 1; \
  fi

########################
#        BUILDER       #
########################

# Rebuild the source code only when needed
# TODO: re-evaluate if emulation is still necessary on arm64 after moving to node 18
FROM --platform=linux/amd64 node:16-alpine AS builder

ARG DATABASE_URL
ARG NEXT_PUBLIC_CLIENTVAR

WORKDIR /app
COPY --from=deps /app/node_modules ./node_modules
COPY . .

# Next.js collects completely anonymous telemetry data about general usage.
# Learn more here: https://nextjs.org/telemetry
# Uncomment the following line in case you want to disable telemetry during the build.
# ENV NEXT_TELEMETRY_DISABLED 1

RUN \
  if [ -f yarn.lock ]; then yarn build; \
  elif [ -f package-lock.json ]; then npm run build; \
  elif [ -f pnpm-lock.yaml ]; then yarn global add pnpm && pnpm run build; \
  else echo "Lockfile not found." && exit 1; \
  fi

########################
#        RUNNER        #
########################

# Production image, copy all the files and run next
# TODO: re-evaluate if emulation is still necessary after moving to node 18
FROM --platform=linux/amd64 node:16-alpine AS runner
# WORKDIR /usr/app
WORKDIR /app

ENV NODE_ENV production
# Uncomment the following line in case you want to disable telemetry during runtime.
# ENV NEXT_TELEMETRY_DISABLED 1

RUN addgroup --system --gid 1001 nodejs
RUN adduser --system --uid 1001 nextjs

COPY --from=builder /app/next.config.mjs ./
COPY --from=builder /app/public ./public
COPY --from=builder /app/package.json ./package.json

# Automatically leverage output traces to reduce image size
# https://nextjs.org/docs/advanced-features/output-file-tracing
COPY --from=builder --chown=nextjs:nodejs /app/.next/standalone ./
COPY --from=builder --chown=nextjs:nodejs /app/.next/static ./.next/static

USER nextjs

EXPOSE 3000

ENV PORT 3000

CMD ["node", "server.js"]
-
To build and run this image locally, run:
docker build -t ct3a -e NEXT_PUBLIC_CLIENTVAR=clientvar .
docker run -p 3000:3000 -e DATABASE_URL="database_url_goes_here" ct3a
-
You can also use a PaaS such as Railway's automated Dockerfile deployments to deploy your app.
You can also use docker compose to build the image and run the container.
-
Follow steps 1-4 above
-
Create a
docker-compose.ymlfile with the following:docker-compose.yml
version: "3.9"
services:
  app:
    platform: "linux/amd64"
    build:
      context: .
      dockerfile: Dockerfile
      args:
        NEXT_PUBLIC_CLIENTVAR: "clientvar"
    working_dir: /app
    ports:
      - "3000:3000"
    image: t3-app
    environment:
      - DATABASE_URL=database_url_goes_here
-
Run this using
docker compose up.
Here are some useful references you can further look into:


