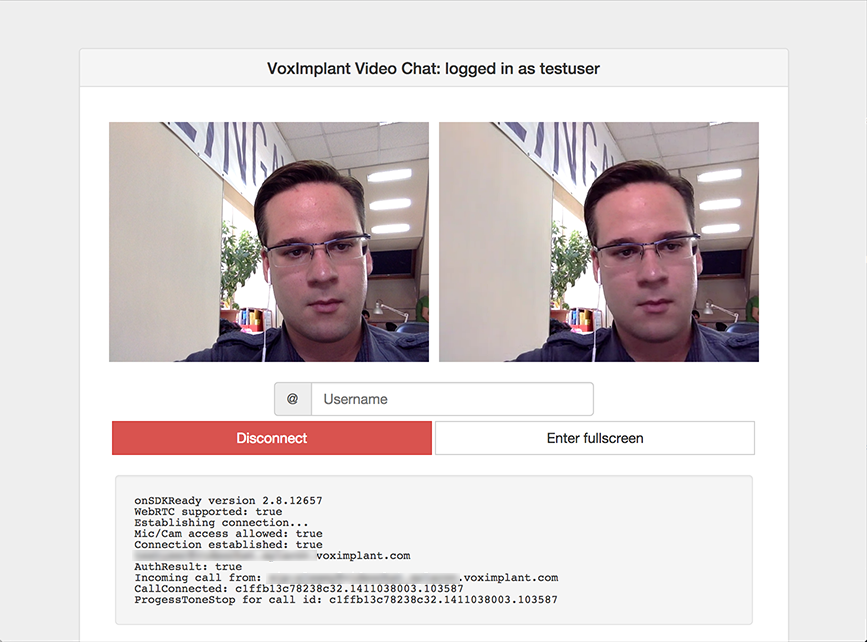
This project contains VoxEngine scenario and web interface for 1 on 1 web video chat application. This README file describes how to use the provided files to launch the application. The only thing you need to start building your audio conferencing is VoxImplant developer account - you can get it for free at https://voximplant.com/sign-up
After you successfully created and activated your VoxImplant developer account you need to login into VoxImplant admin interface and complete these steps to setup video chat service:
-
Create new scenario using the file from VoxEngine folder of the project (User2User.js) at https://manage.voximplant.com/#scenarios
-
Create new VoxImplant application called
videochatat https://manage.voximplant.com/#applications, its full name will look likevideochat.youraccountname.voximplant.com -
Specify one rule for the application, it will be used to launch the scenario:
- Name: Intercom, Pattern:
.*, Assigned scenario: User2User. It will handle all calls going via the application - we will specify application username as a phone number to make a call between 2 users.
- Name: Intercom, Pattern:
-
Create at least two users in Users tab and assign them to videochat application
Just upload the files from the WebApp folder to your web server and open index.html#accname=YOUR_VOXIMPLANT_ACCOUNT_NAME in your browser, then you can log in using users credentials (you specified while created the application users in VoxImplant Control Panel) and make a call between users. The app will automatically answer on incoming call so the connection should be established immediately after the call if everything is ok.
1.0
