fwd-edu-breakout=github:climate-action-kits/pxt-fwd-edu/fwd-breakout
sonar=github:climate-action-kits/pxt-fwd-edu
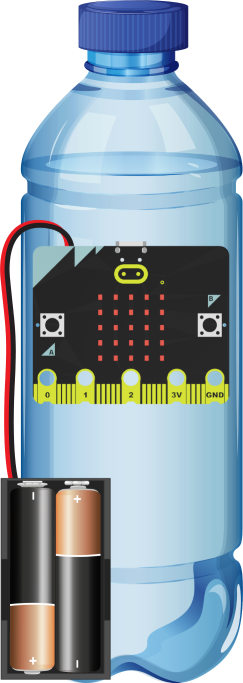
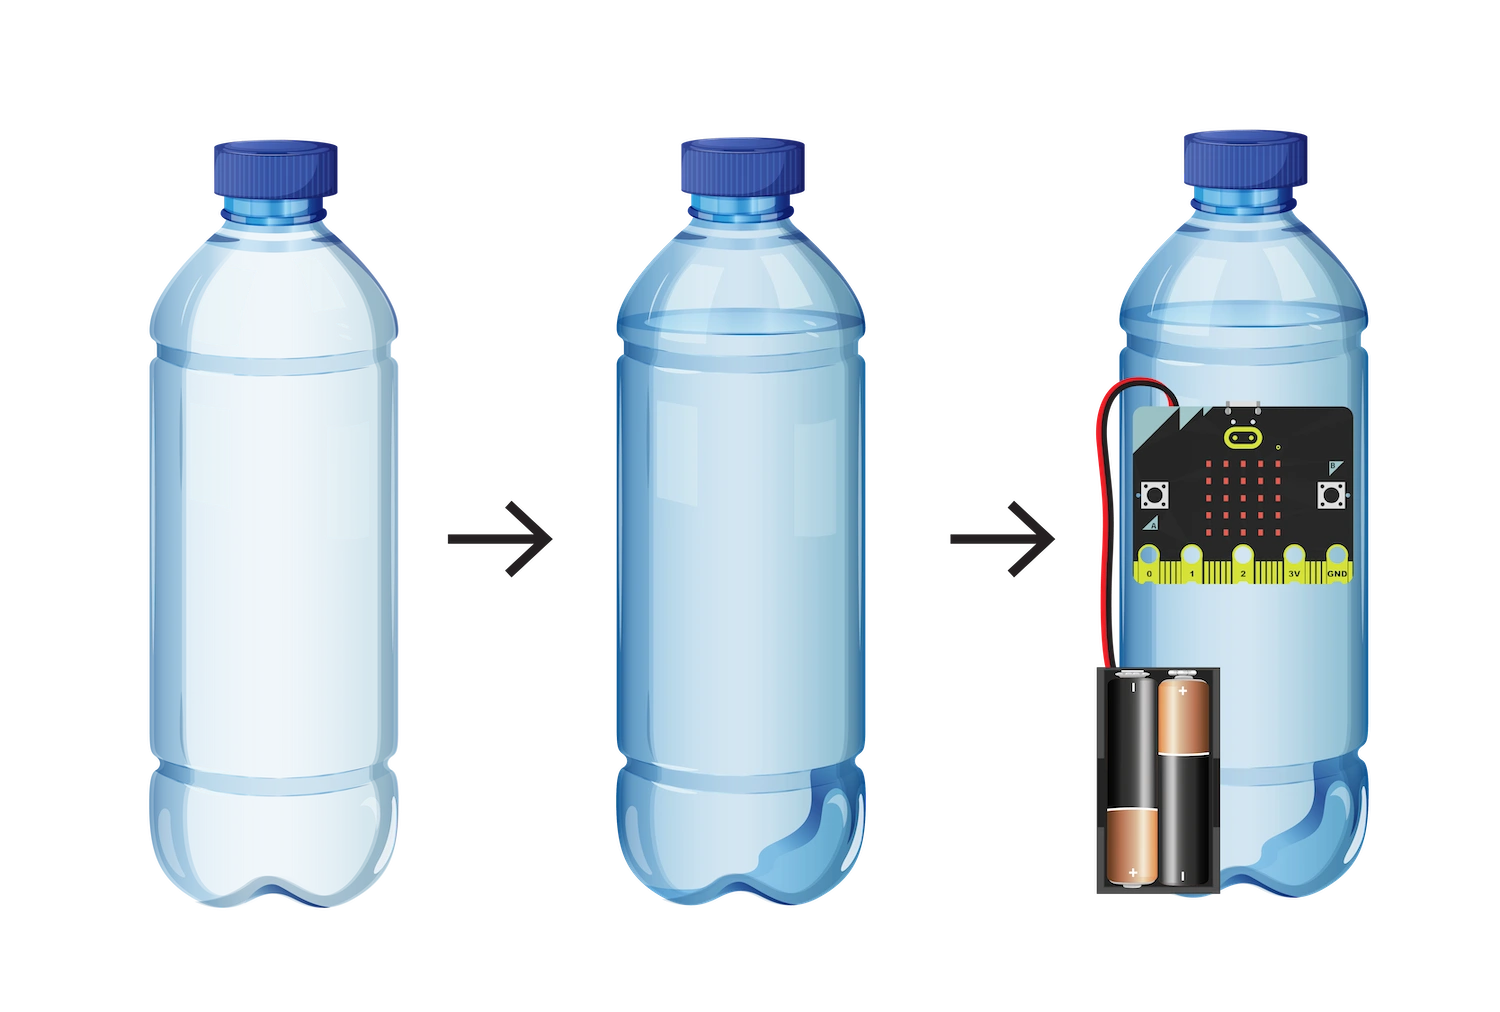
Let's create our SODIS timer! We are going to do this in 4 parts:
- Build our SODIS timer
- Add code to bring it to life
- Modify the timer to better understand how it works
- Complete some challenges to improve the timer
We need to connect our project to the computer to make it come to life with code!
The code will be the instructions that tell our micro:bit what to do.
exposure_sec = 0

input.onButtonPressed(Button.A, function () {
    control.reset()
})

basic.forever(function () {
    basic.showNumber(exposure_sec)
    if (input.lightLevel() > 200) {
        basic.pause(1000)
        exposure_sec += 1
    }
})
Plug the micro:bit into your computer.
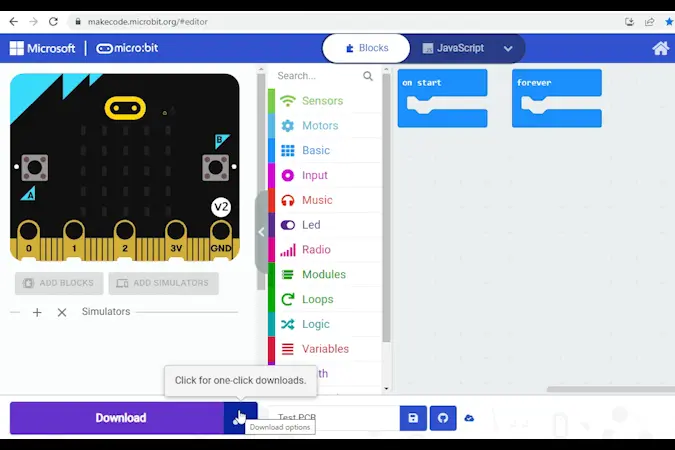
Click the three dots beside the |Download| button, then click on Connect Device. Follow the steps to pair your micro:bit.
Click the |Download| button to download the code to your project.
We are ready to modify our SODIS timer!
Tips
- Follow the instructions at the top of the screen.
- When you are ready for more information, click 'Tell me more!'
- If you need help with the code, click the lightbulb!
- After each change, you will need to
|Download|the updated code to your micro:bit.
A SODIS timer helps us track how long our water has been exposed to the sun's UV rays and tells us when it is safe to drink!
Take a look at your timer right now. What do you see? What do you think will happen when we shine a light on it?
hint Tell me more!
For now, you should see a '0' on the micro:bit!
hint
Try shining a bright light on your water bottle and SODIS timer. Hold it there for a few seconds, then turn it off. What did you notice?
~hint Tell me more!
- As long as the light is shining, the number on the micro:bit increases by '1' every second.
- The number stops increasing when the light is turned off.
- Assuming the flashlight represents the sun, the number on the micro:bit is how many seconds the water has been exposed to UV light!
- If your number isn't increasing, try moving your light closer to the micro:bit. hint~
Let's take a look at the code now.
We are using a conditional statement and a variable to create our SODIS timer. Take a look at the lightbulb to highlight these blocks.
// @highlight
    if (input.lightLevel() > 200) {
        basic.pause(1000)
        // @highlight
        exposure_sec += 1
    }
Variables allow us to store information for later use. In this program, we've created a variable called ||variables:exposure_sec|| to keep track of how long our water has been in the sun (in seconds)!
Change the number in the ||variables:change exposure_sec by|| block to '3'. What happens when you shine the light on the water and SODIS timer now?
~hint Tell me more!
- The number on the display now increases by '3' every second.
- Nothing changed? Don't forget to redownload your new code to the micro:bit! hint~
    if (input.lightLevel() > 200) {
        basic.pause(1000)
        // @highlight
        exposure_sec += 3
    }
Each second, the variable increases by '3'. This isn't very logical. We want the number that is shown to represent how many seconds have actually passed.
Is there another block we could modify to fix this issue? Try it now, then check the lightbulb!
~hint Tell me more!
- Changing the value in the
||basic:pause||block to '3000' will make the micro:bit pause for 3 seconds before increasing the||variables:exposure_sec||variable by '3'. - In other words, the variable and time count are synchronized again! hint~
    if (input.lightLevel() > 200) {
        // @highlight
        basic.pause(3000)
        exposure_sec += 3
    }
Do you notice anything unexpected about the timer now? How might this behaviour impact the disinfection process?
~hint Tell me more!
- Increasing the value in the
||basic:pause||block has made the timer less responsive. There is sometimes a delay between the count and the actual time elapsed. - For example, you might notice that if you expose your timer to light for 4 seconds, the count still goes up to '6'!
- Inaccurate reporting of sun exposure means people might be drinking unsafe water! hint~
Let's reset the value in the ||variables:change exposure_sec by|| block to '1' and the value in the ||basic:pause|| block to '1000' to deal with this dangerous bug.
    if (input.lightLevel() > 200) {
        // @highlight
        basic.pause(1000)
        // @highlight
        exposure_sec += 1
    }
Let's move on to the conditional statement.
The conditional statement in our code acts as a decision point and allows us to control when the ||variables:exposure_sec|| variable increases. Remember, we want the variable to go up whenever the sun is shining.
    // @highlight
    if (input.lightLevel() > 200) {
        basic.pause(1000)
        exposure_sec += 1
    }
What do you think will happen to your SODIS timer if you decrease the number in the ||input:light level|| ||logic:> 200|| block? Try it now!
Why might we want to make this change?
~hint Tell me more!
- Decreasing the value in the conditional statement allows the SODIS timer to respond to lower levels of light. You might even notice that the light level in your room is enough to make the count go up!
- We could change this value so the SODIS timer still works on a cloudy day when the sun is less intense. hint~
    // @highlight
    if (input.lightLevel() > 100) {
        basic.pause(1000)
        exposure_sec += 1
    }
Change the value in the ||input:light level|| ||logic:> 100|| block back to '200'
    // @highlight
    if (input.lightLevel() > 200) {
        basic.pause(1000)
        exposure_sec += 1
    }
Now that we understand the code a little better, let's create a clear visual that tells the user when the water is safe to drink.
Remember, this decision will depend on whether it is a sunny or cloudy day. For example, in sunny weather, water only needs 6 hours of sun exposure to be disinfected. When it is cloudy, water will need to be exposed to the sun for 48 hours to be considered safe!
Let's update our code to take both situations into account.
Assume the SODIS timer is being used in a climate that is mostly sunny. Sunny conditions will be our default setting!
To create a visual indicator when the water is safe to drink on a sunny day, we need to write another decision point or conditional statement. This conditional will allow the micro:bit to evaluate whether the exposure threshold has been met. In sunny weather, this threshold is 6 hours.
Think about how you could phrase this decision point in English using an if/then statement.
~hint Tell me more!
- In English, you might say "If the water has been exposed to UV for 6 hours, then show a smiley face on the micro:bit's LEDs."
- The visual indicator doesn't have to be a smiley face, it could be anything! hint~
Drag a ||logic:if then|| and ||logic:<|| block from the ||logic:Logic|| category and drop them into the workspace. Then, drag an ||variables:exposure_sec|| block from the ||variables:Variables|| category and a ||basic:show icon|| block from the ||basic:Basic|| category.
How can you combine these blocks to create a conditional statement that checks whether the recommended exposure time has passed? Try it now, then check the lightbulb for the solution.
hint Tell me more!
While 6 hours would technically be 21,600 seconds, we will leave the number in the conditional as '6' for now to make it easier to test! Otherwise, we'd be waiting a long time.
hint
if (exposure_sec >= 6) {
    basic.showIcon(IconNames.Happy)
}
Where should we put this conditional statement within our existing code?
~hint Tell me more!
- Let's put it right after the
||variables:change exposure_sec by||block, nested within the first conditional. This way, the computer will check whether the threshold has been met each time the||variables:exposure_sec||variable changes. - Redownload your code to test it out! hint~
    if (input.lightLevel() > 200) {
        basic.pause(1000)
        exposure_sec += 1
        // @highlight
        if (exposure_sec >= 6) {
            basic.showIcon(IconNames.Happy)
        }
    }
We now have two conditional statements in our code. The criteria for both will change based on the weather. On a cloudy day, the sun's intensity will be lower and the required exposure time will be higher than on a sunny day.
Let's create two new variables so that we can track and change these values day-by-day.
// @highlight
if (input.lightLevel() > 200) {

        // @highlight
        if (exposure_sec >= 6) {

        }
    }
First, we'll create a variable called ||variables:lightThreshold|| to track the intensity of light required to trigger our timer. Remember, this number should be lower on a cloudy day and higher on a sunny day.
Go to the ||variables:Variables|| category and click 'Make a Variable'. Name this variable 'lightThreshold' and click 'OK'.
Drag the ||variables:lightThreshold|| block and replace '200' in the ||input:light level|| ||logic: > 200|| block.
// @highlight
if (input.lightLevel() > lightThreshold) {
        basic.pause(1000)
        exposure_sec += 1
        if (exposure_sec >= 6) {
            basic.showIcon(IconNames.Happy)
        }
    }
When it is sunny, we want the ||variables:lightThreshold|| to be set to '200'. This will be the default setting.
Move the ||variables:set lightThreshold to|| block into the ||basic: on start|| block. Change '0' to '200'.
let lightThreshold = 0
exposure_sec = 0
// @highlight
lightThreshold = 200
It's your turn!
Create another variable that represents the sun exposure threshold and call it ||variables:exposureThreshold||. On a sunny day, this value should be 6 hours!
~hint Tell me more!
- While 6 hours would technically be 21,600 seconds, we will leave the
||variables:exposureThreshold||as '6' for now to make it easier to test! hint~
How can we add this new variable to our existing code? Try it now, then check the lightbulb!
let exposureThreshold = 0
let lightThreshold = 0
exposure_sec = 0
lightThreshold = 200
// @highlight
exposureThreshold = 6

basic.forever(function () {
    basic.showNumber(exposure_sec)
    if (input.lightLevel() > lightThreshold) {
        basic.pause(1000)
        exposure_sec += 1
        // @highlight
        if (exposure_sec >= exposureThreshold) {
            basic.showIcon(IconNames.Happy)
        }
    }
})
We need a way to change the value of both variables when it is cloudy. Add code so the values change when the 'B' button is pressed.
When 'B' is pressed, we want to set ||variables:lightThreshold|| and ||variables:exposureThreshold|| to '100' and '48', respectively.
~hint Tell me more!
- We set the
||variables:lightThreshold||variable to '100' because it is lower than '200'. You can choose another value here as long as it is less than '200'. - We set the
||variables:exposureThreshold||variable to '48' because water needs 48 hours of sun exposure on a cloudy day to be disinfected properly. While 48 hours would technically be 172,800 seconds, we will leave the threshold as '48' for now to make it easier to test! hint~
input.onButtonPressed(Button.B, function () {
    lightThreshold = 100
    exposureThreshold = 48
}
Let's test it out! Download your new code and:
- Shine a light on the SODIS timer for 6 seconds.
- Press 'A' to reset the timer.
- Press 'B' to activate 'cloudy day mode'. Shine a light on the timer for 48 seconds.
What do you notice after each step? Did anything unexpected happen? If so, can you explain why?
Right now, the display and exposure thresholds are all in seconds. In reality, we know that for SODIS to work, water needs to be exposed to UV rays for 6 hours on a sunny day and 48 hours on a cloudy day. How might you change your program to have more accurate exposure thresholds and display hours passed on the LEDs?
Hint: To convert between hours and seconds, you may use the multiplication and division blocks in the ||math:Math|| category.
Try this on your own, then check the lightbulb for our solution.
input.onButtonPressed(Button.A, function () {
    control.reset()
})
input.onButtonPressed(Button.B, function () {
    lightThreshold = 100
    // @highlight
    exposureThreshold = 48 * 3600
})
let exposureThreshold = 0
let lightThreshold = 0
exposure_sec = 0
lightThreshold = 200
// @highlight
exposureThreshold = 6 * 3600
basic.forever(function () {
    // @highlight
    basic.showNumber(Math.round(exposure_sec / 3600))
    if (input.lightLevel() > lightThreshold) {
        basic.pause(1000)
        exposure_sec += 1
        if (exposure_sec >= exposureThreshold) {
            basic.showIcon(IconNames.Happy)
        }
    }
})
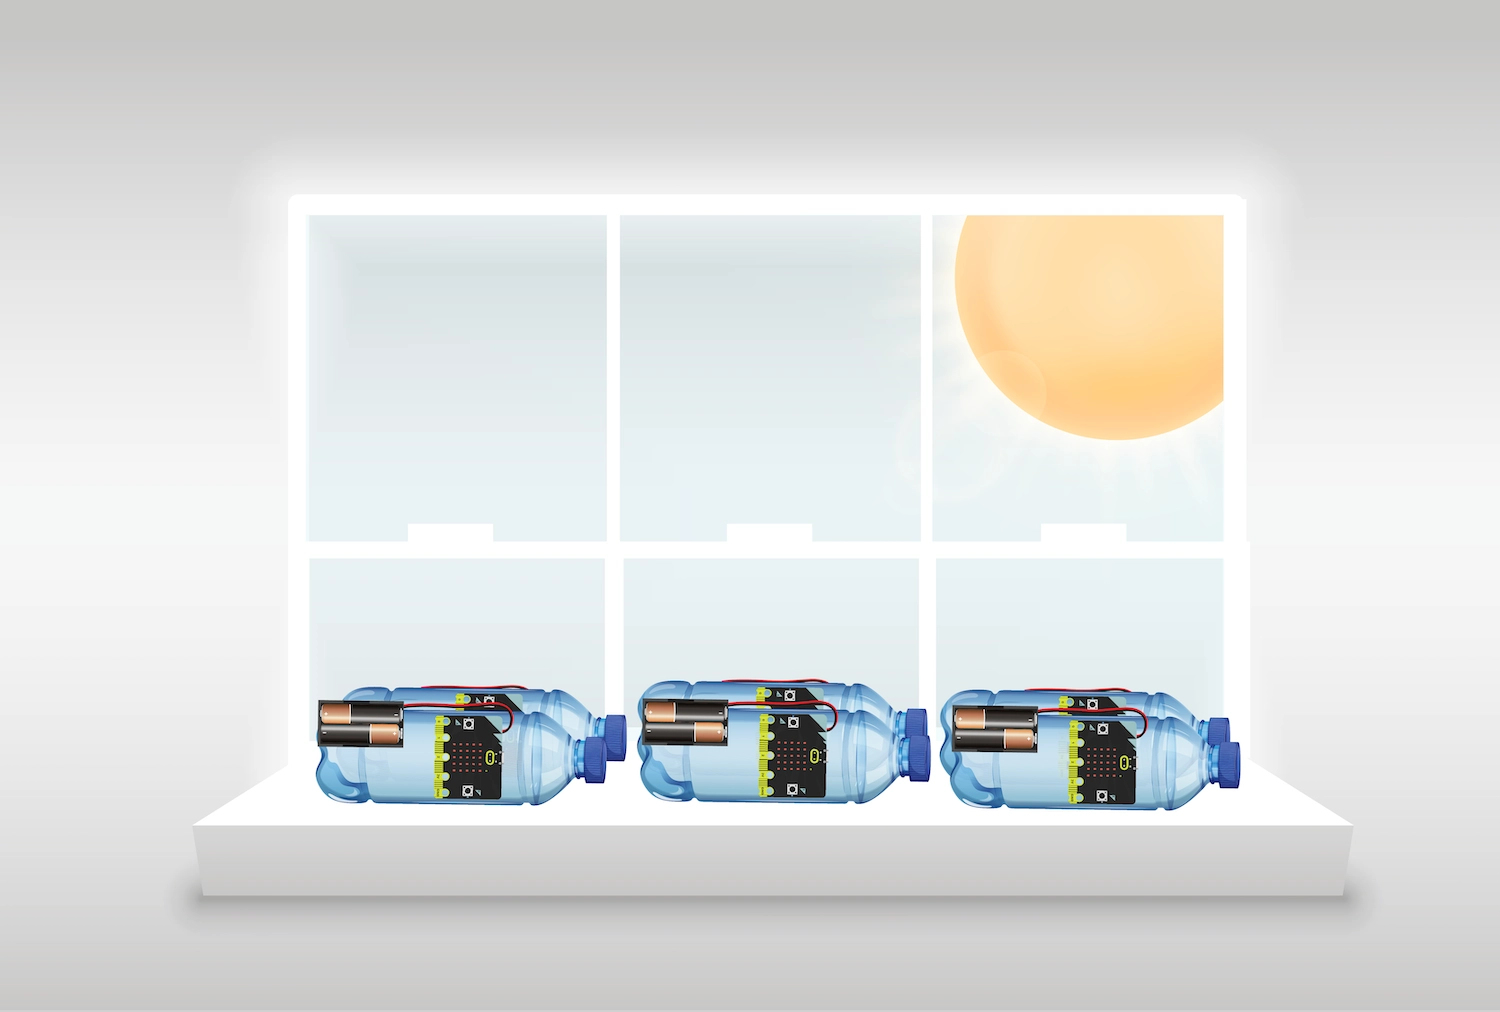
You've completed the activity! As a next step, you could always test out how the SODIS timer works in the real-world by placing it in a sunny area - like by a window!
Think about something in this project that challenged you.
How did you overcome this challenge? How did that make you feel?
In the next step, you can click the |Done| button to finish the tutorial.


