fwd-edu-breakout=github:climate-action-kits/pxt-fwd-edu/fwd-breakout
ledRing=github:climate-action-kits/pxt-fwd-edu
basic.forever(function () {
    if (fwdSensors.solar1.fwdLightLevel() <= 40) {
        fwdSensors.ledRing.fwdSetAllPixelsColour(0xff0000)
    } else {
        fwdSensors.ledRing.fwdSetAllPixelsColour(0x000000)
    }
})
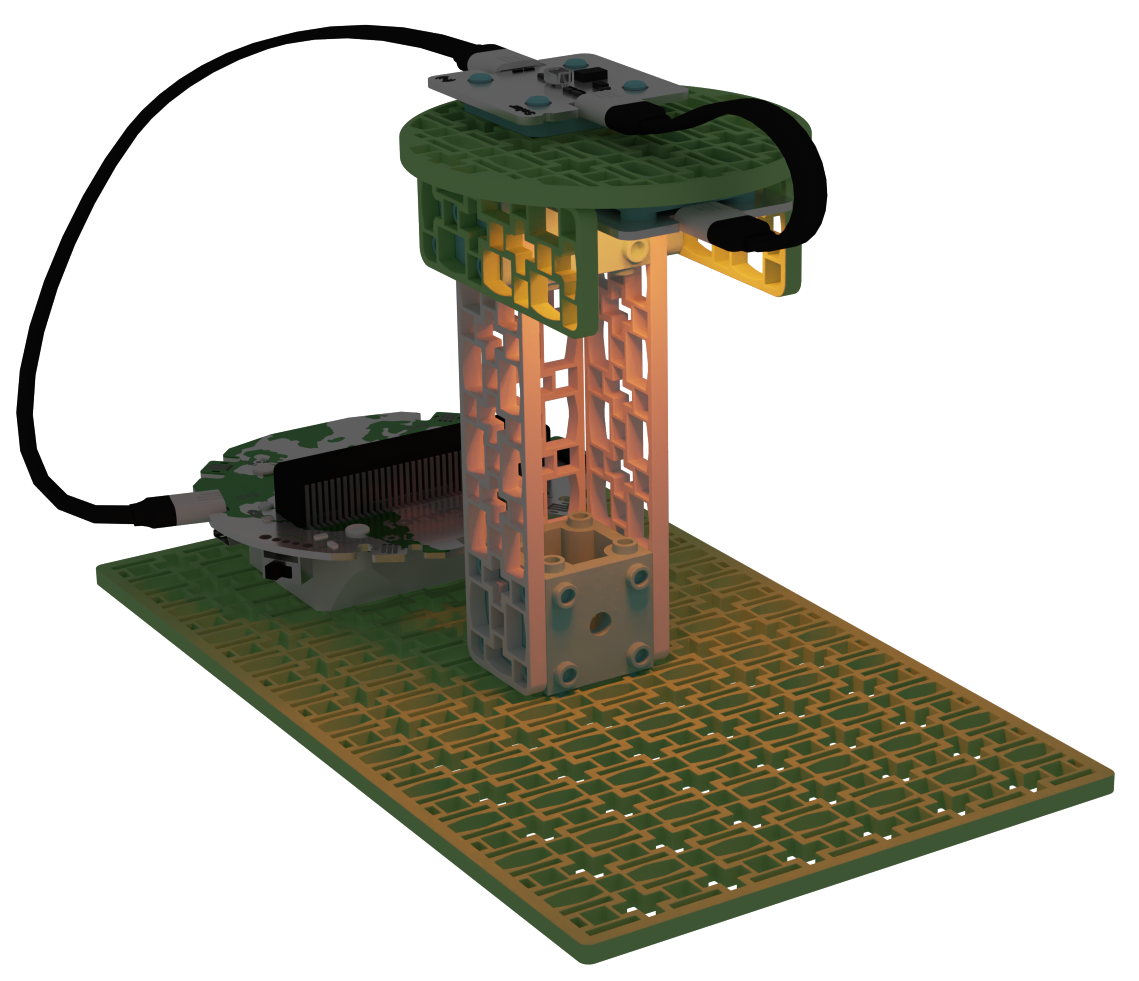
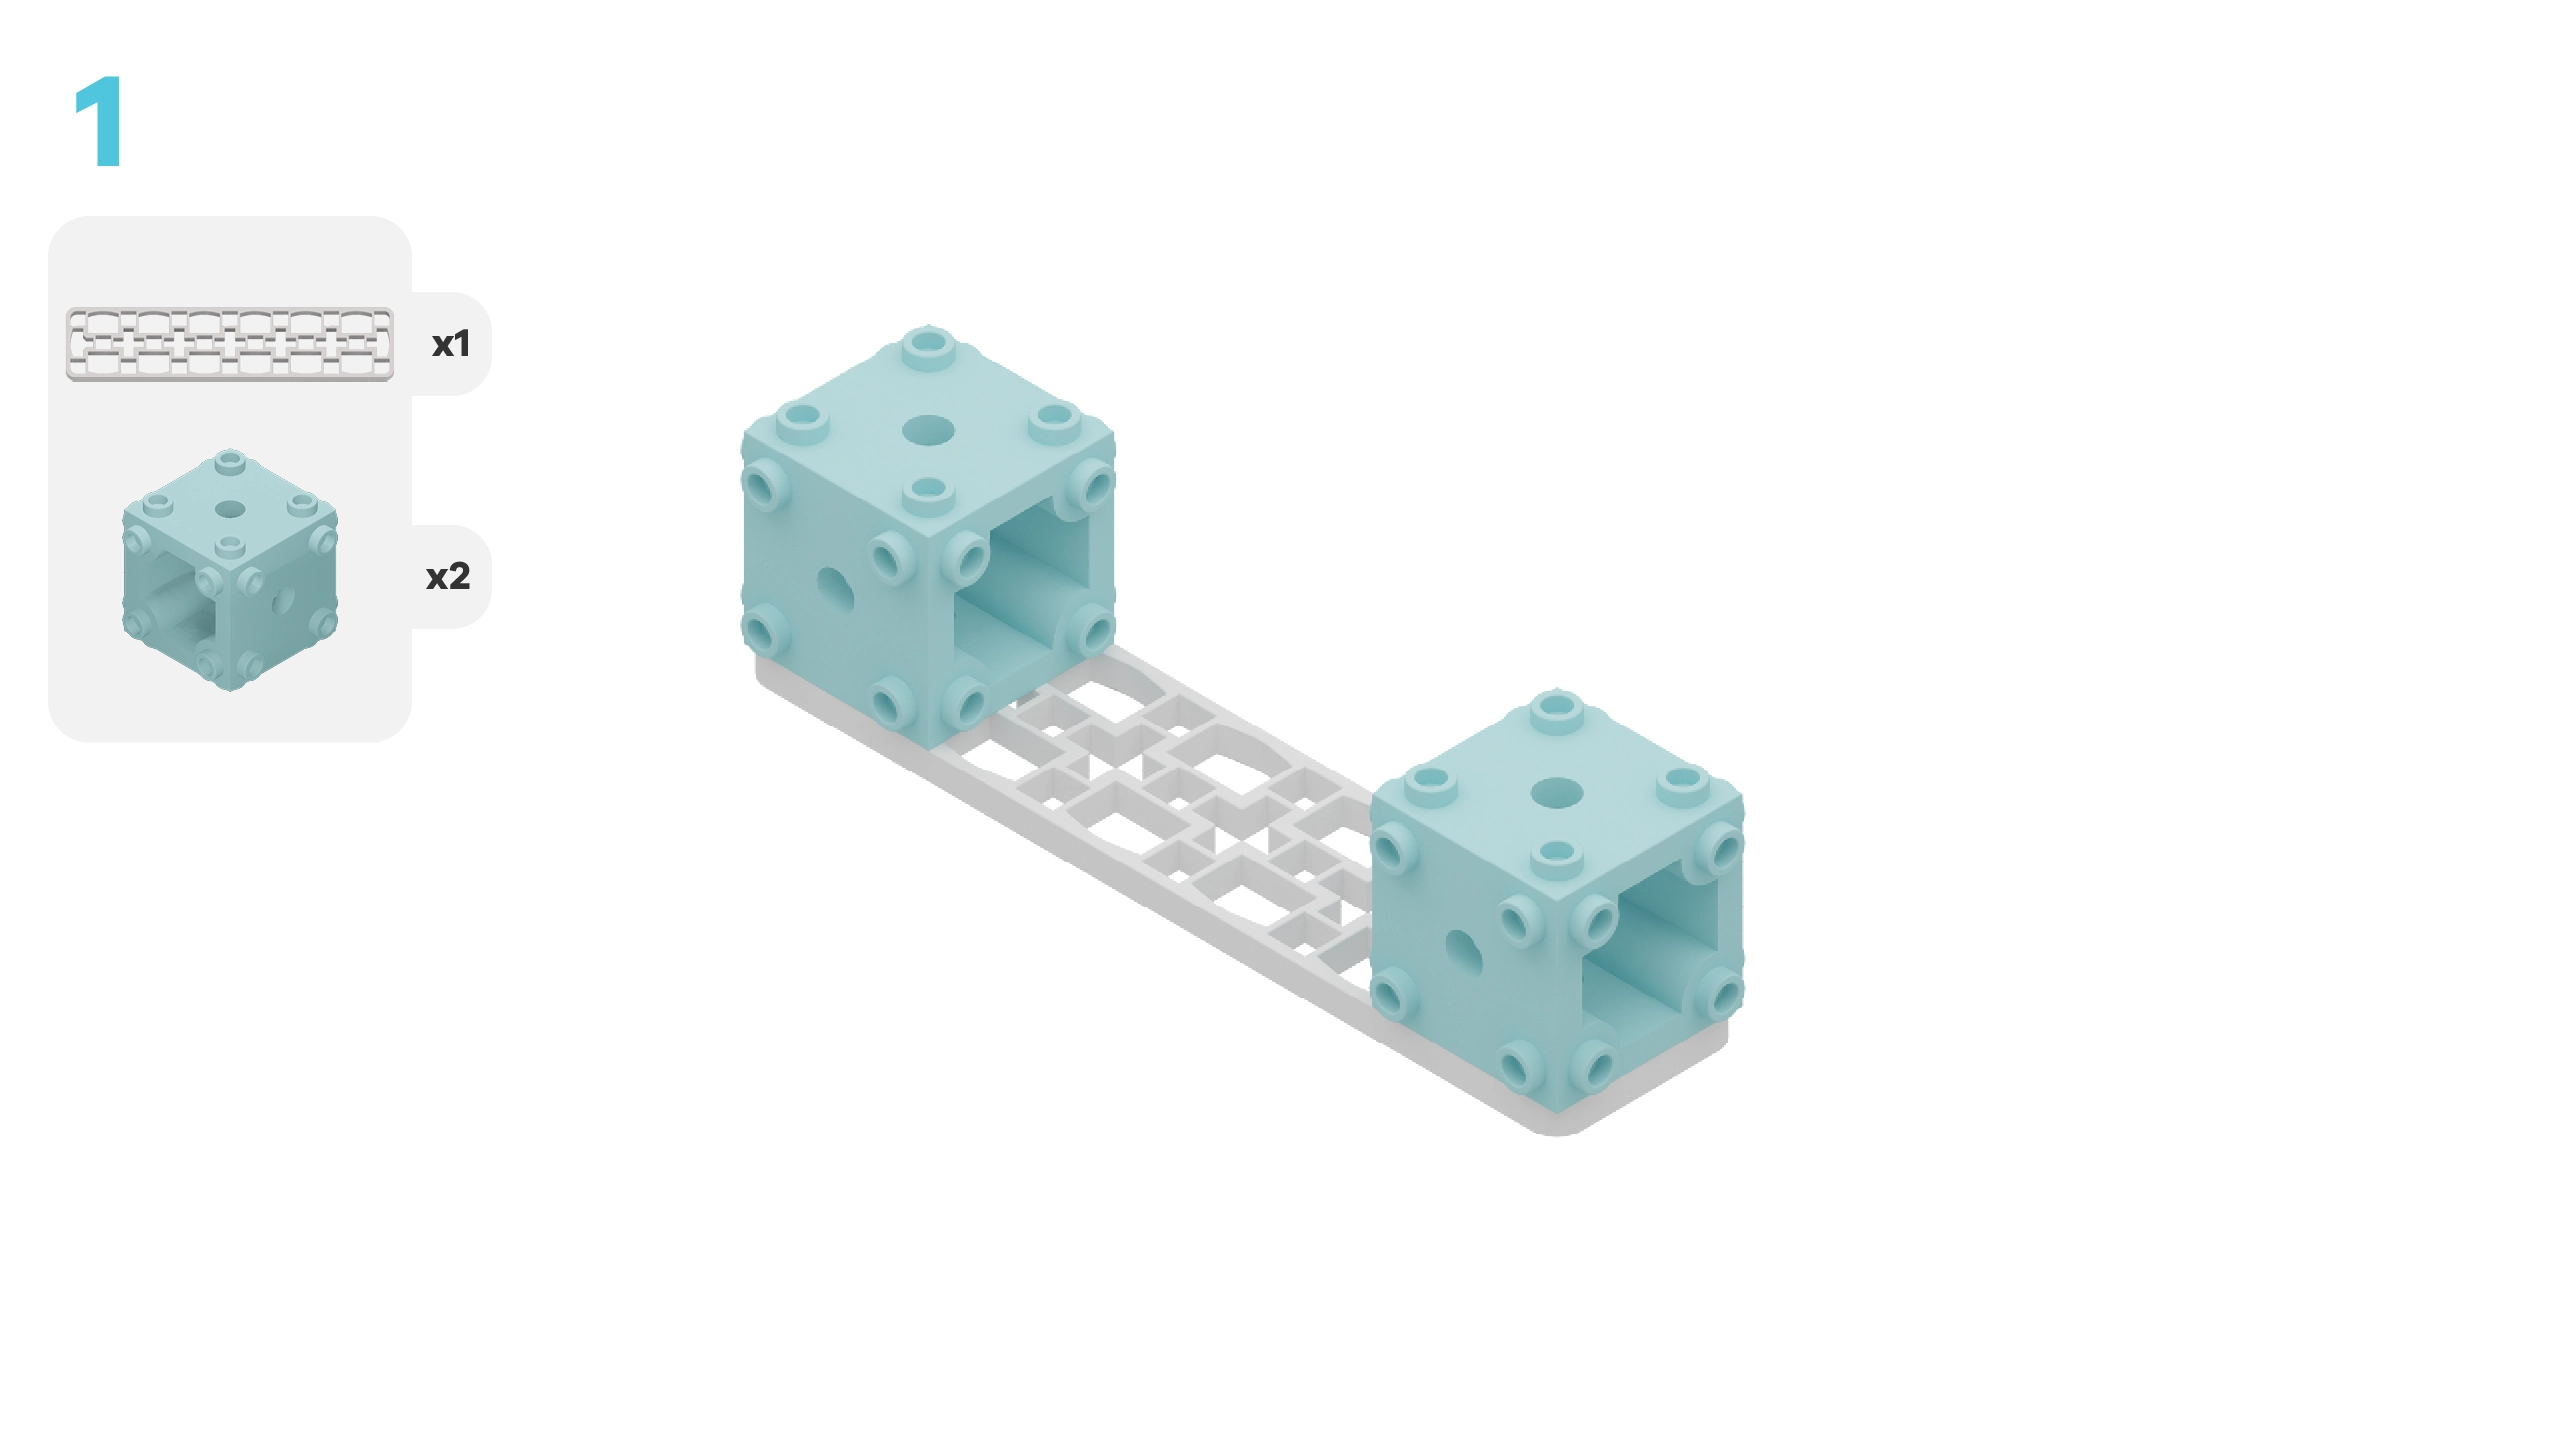
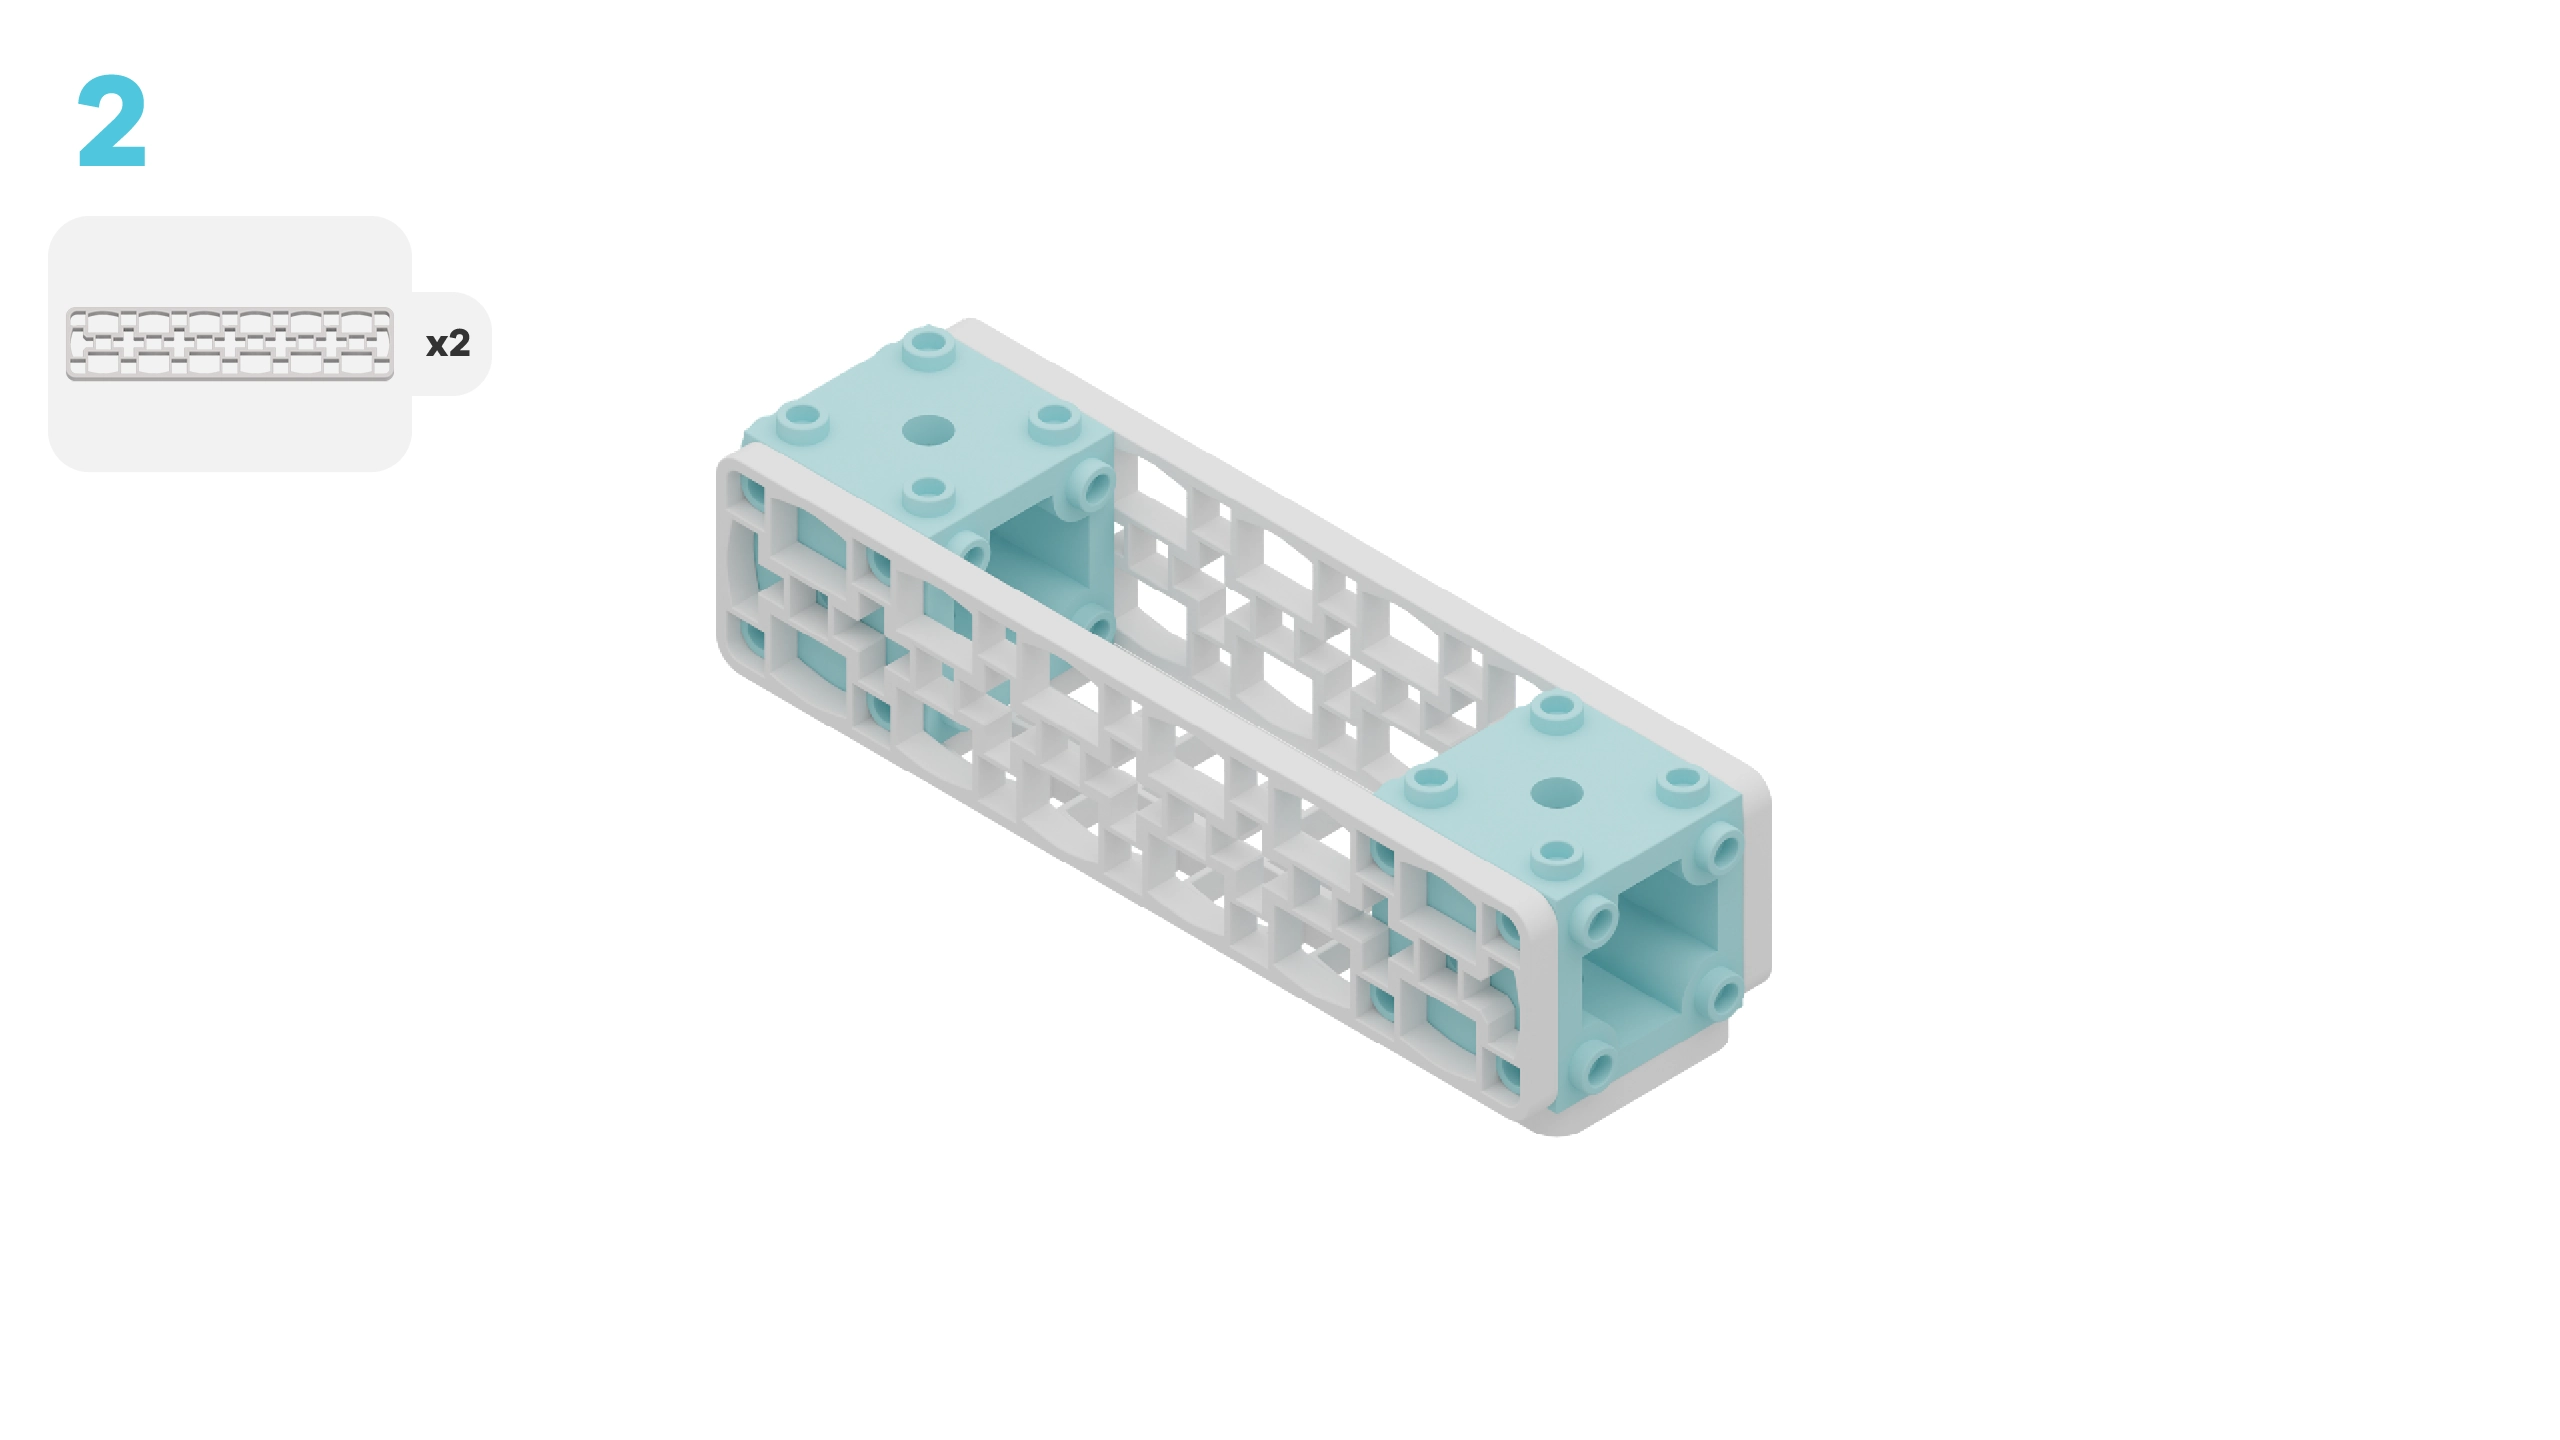
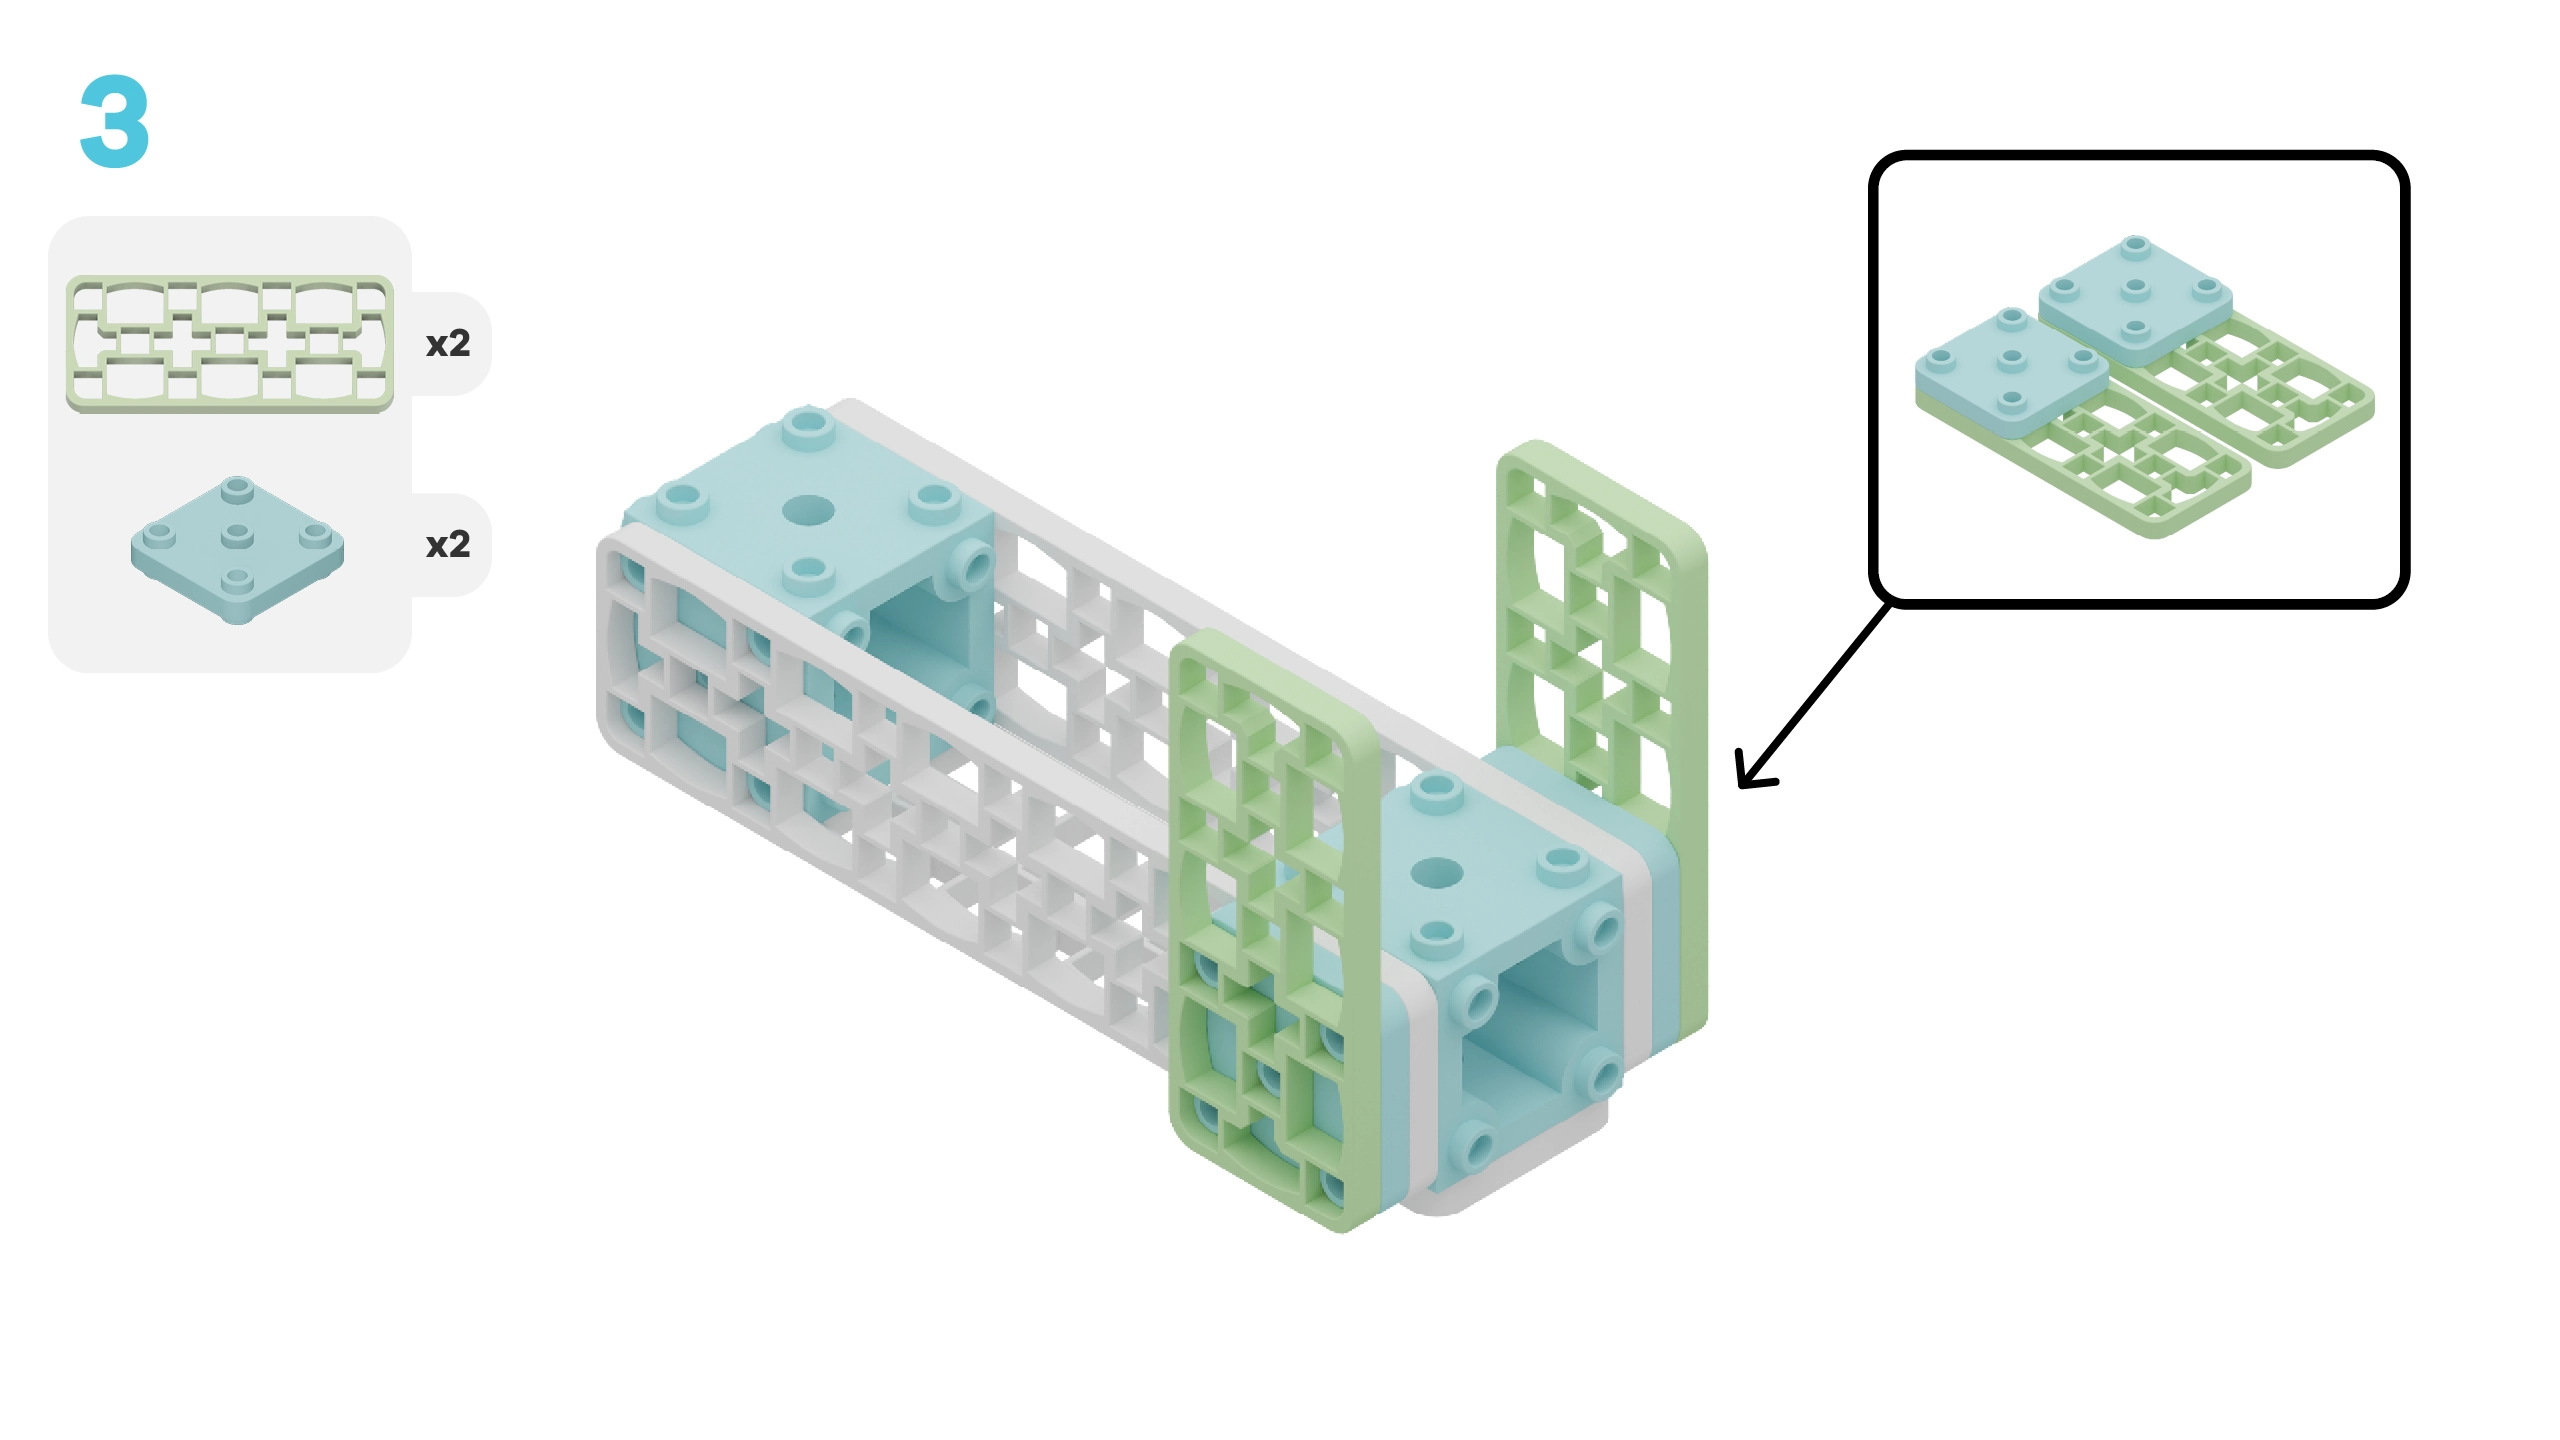
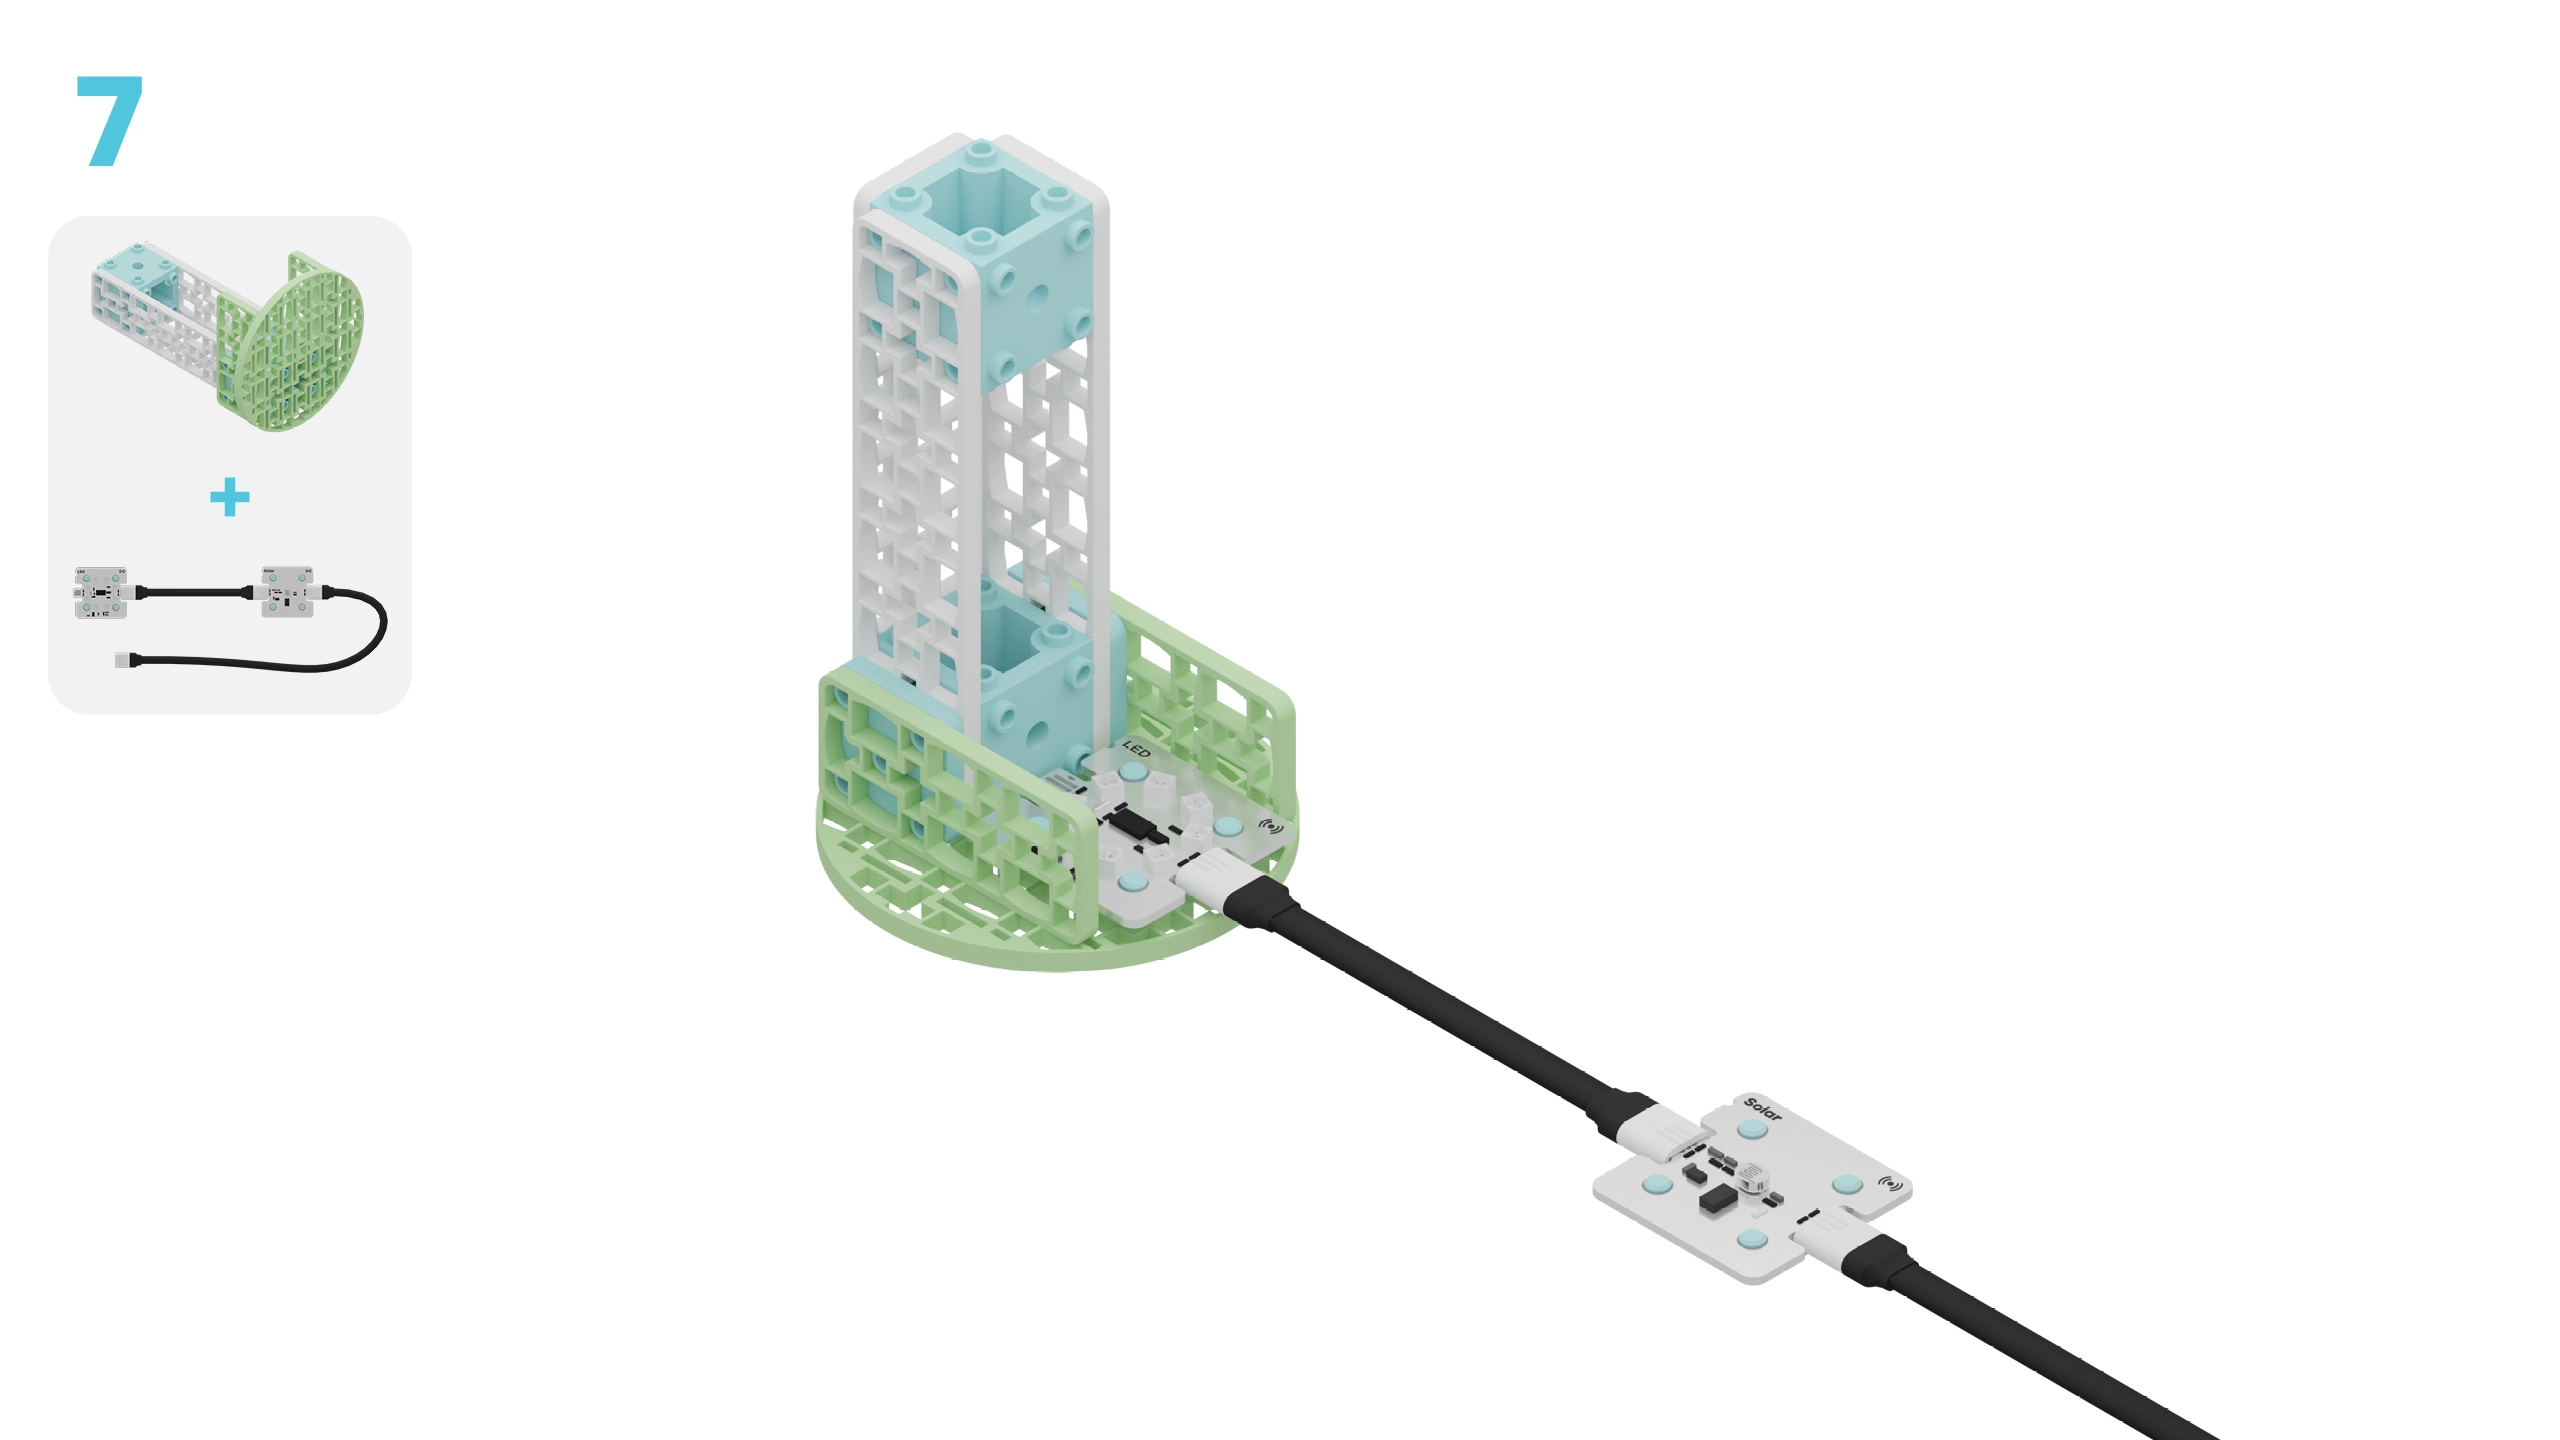
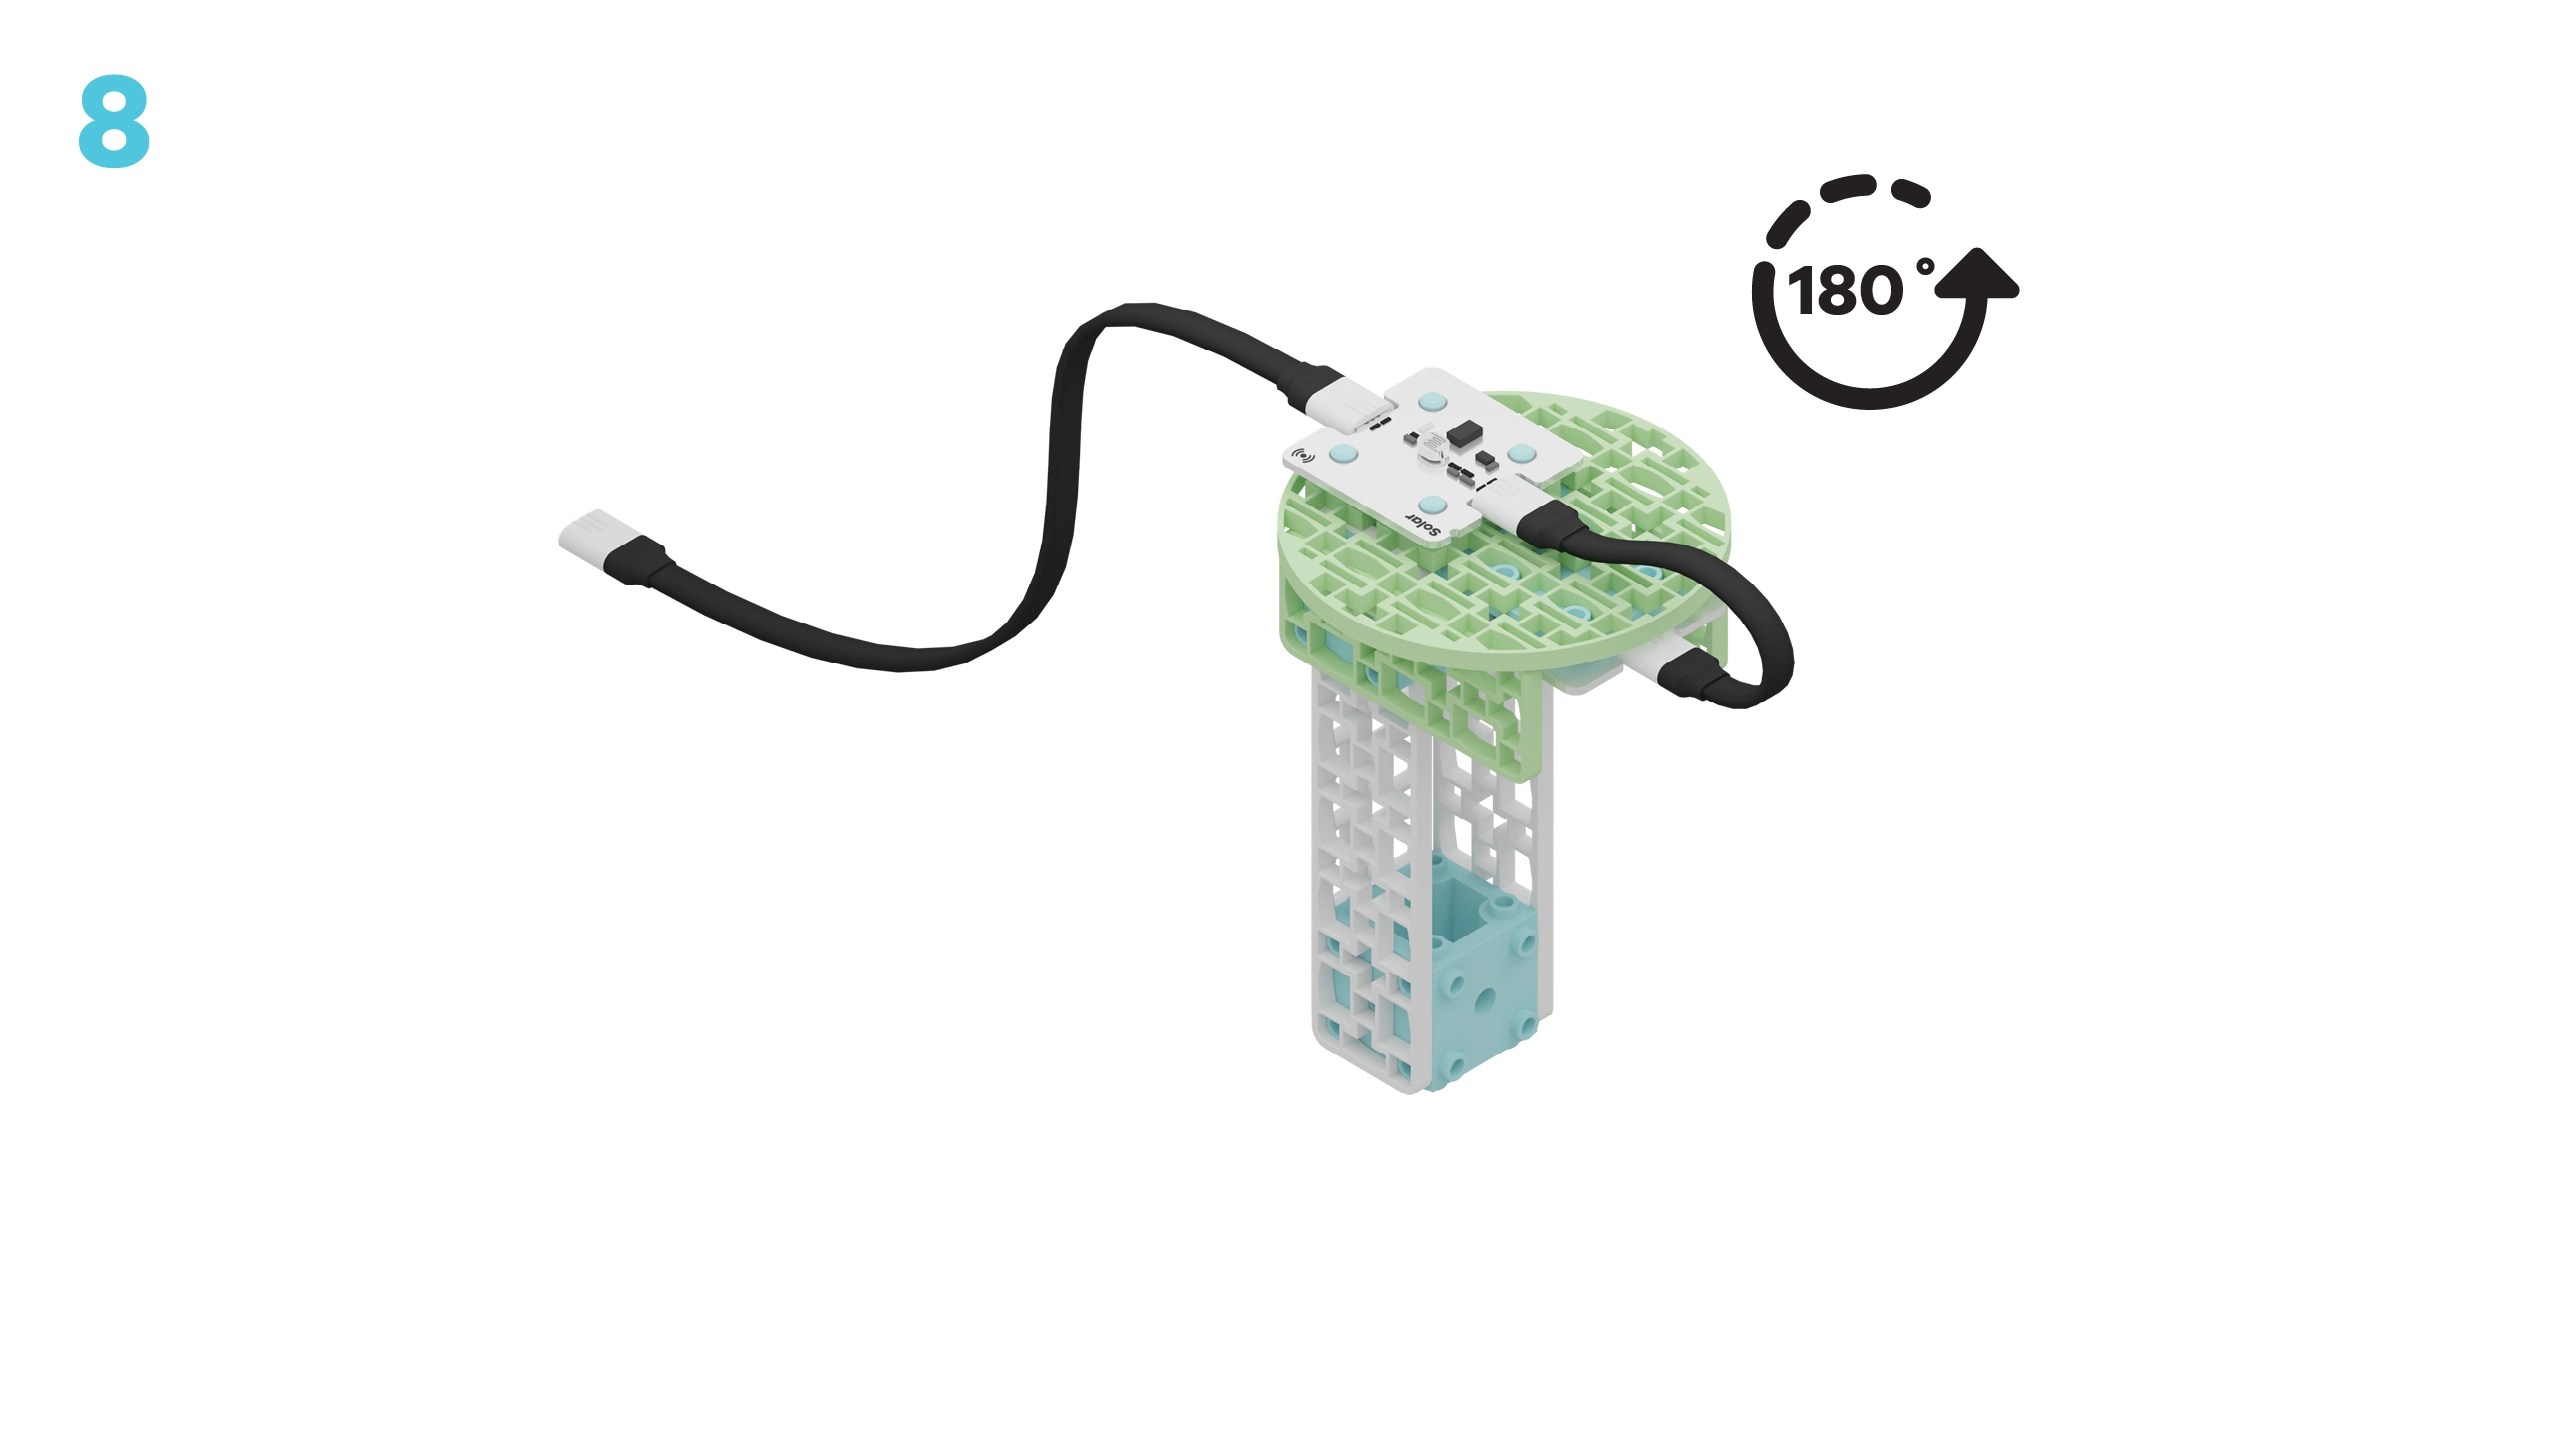
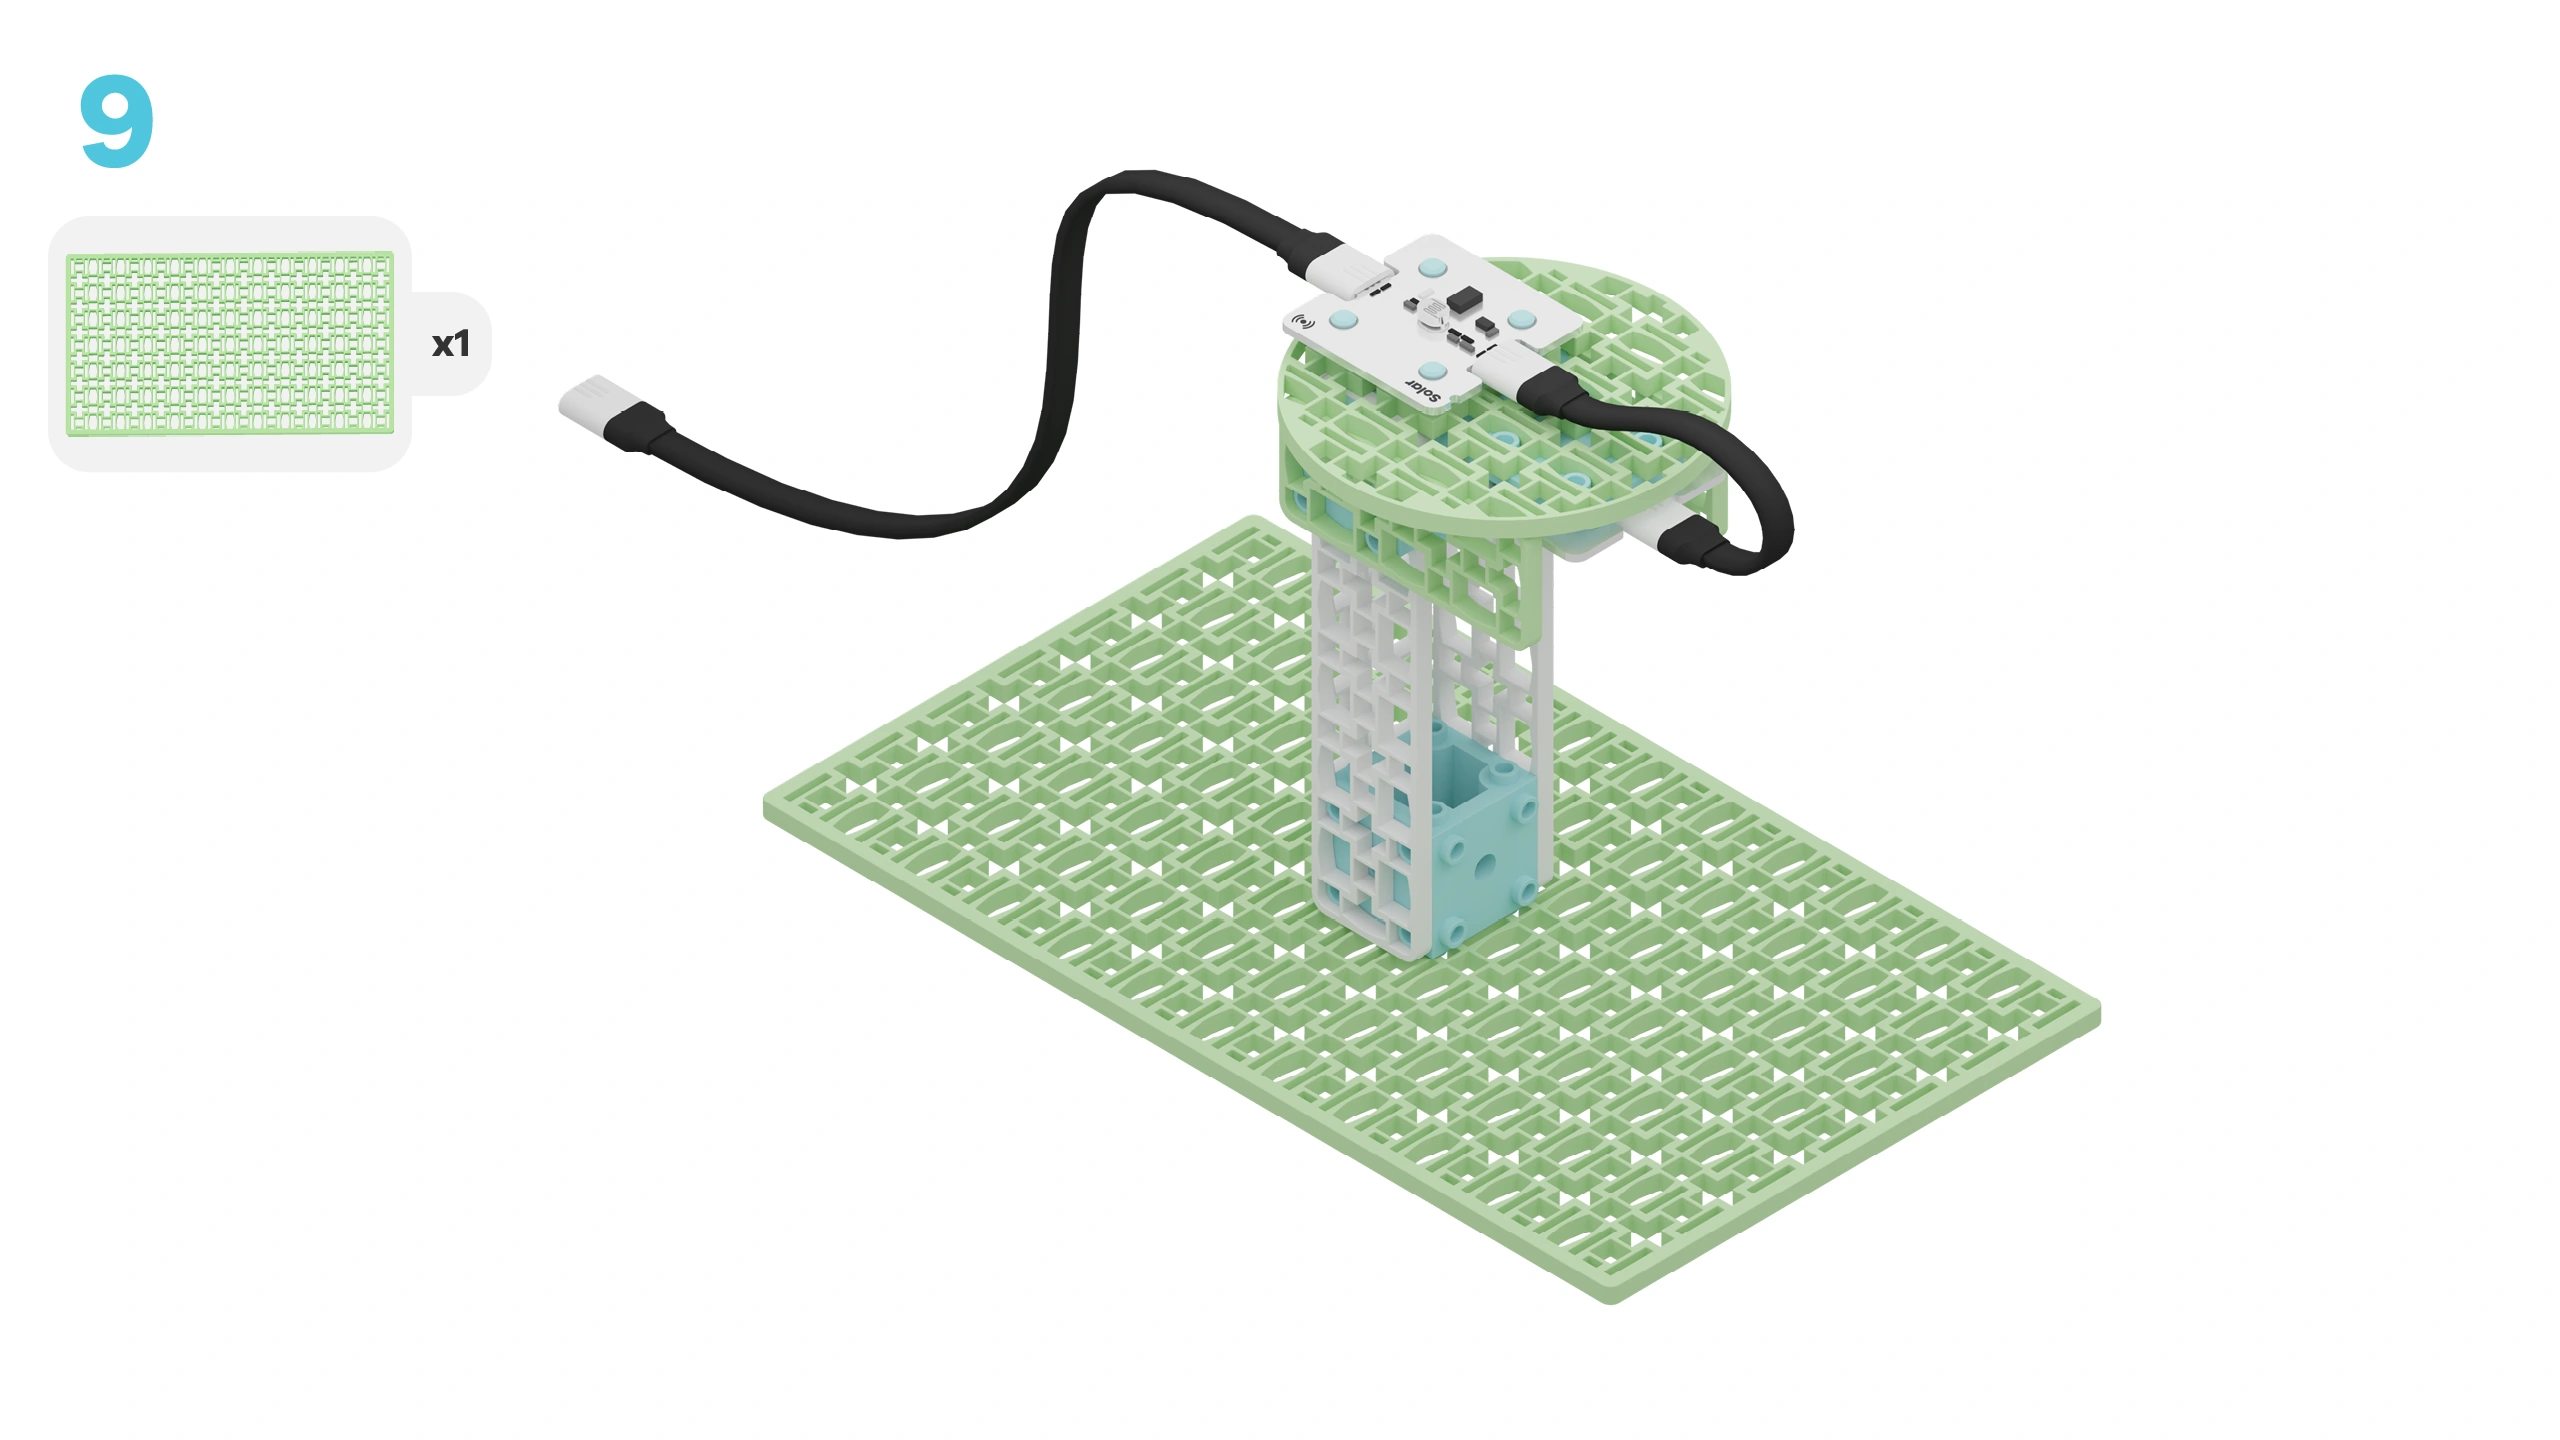
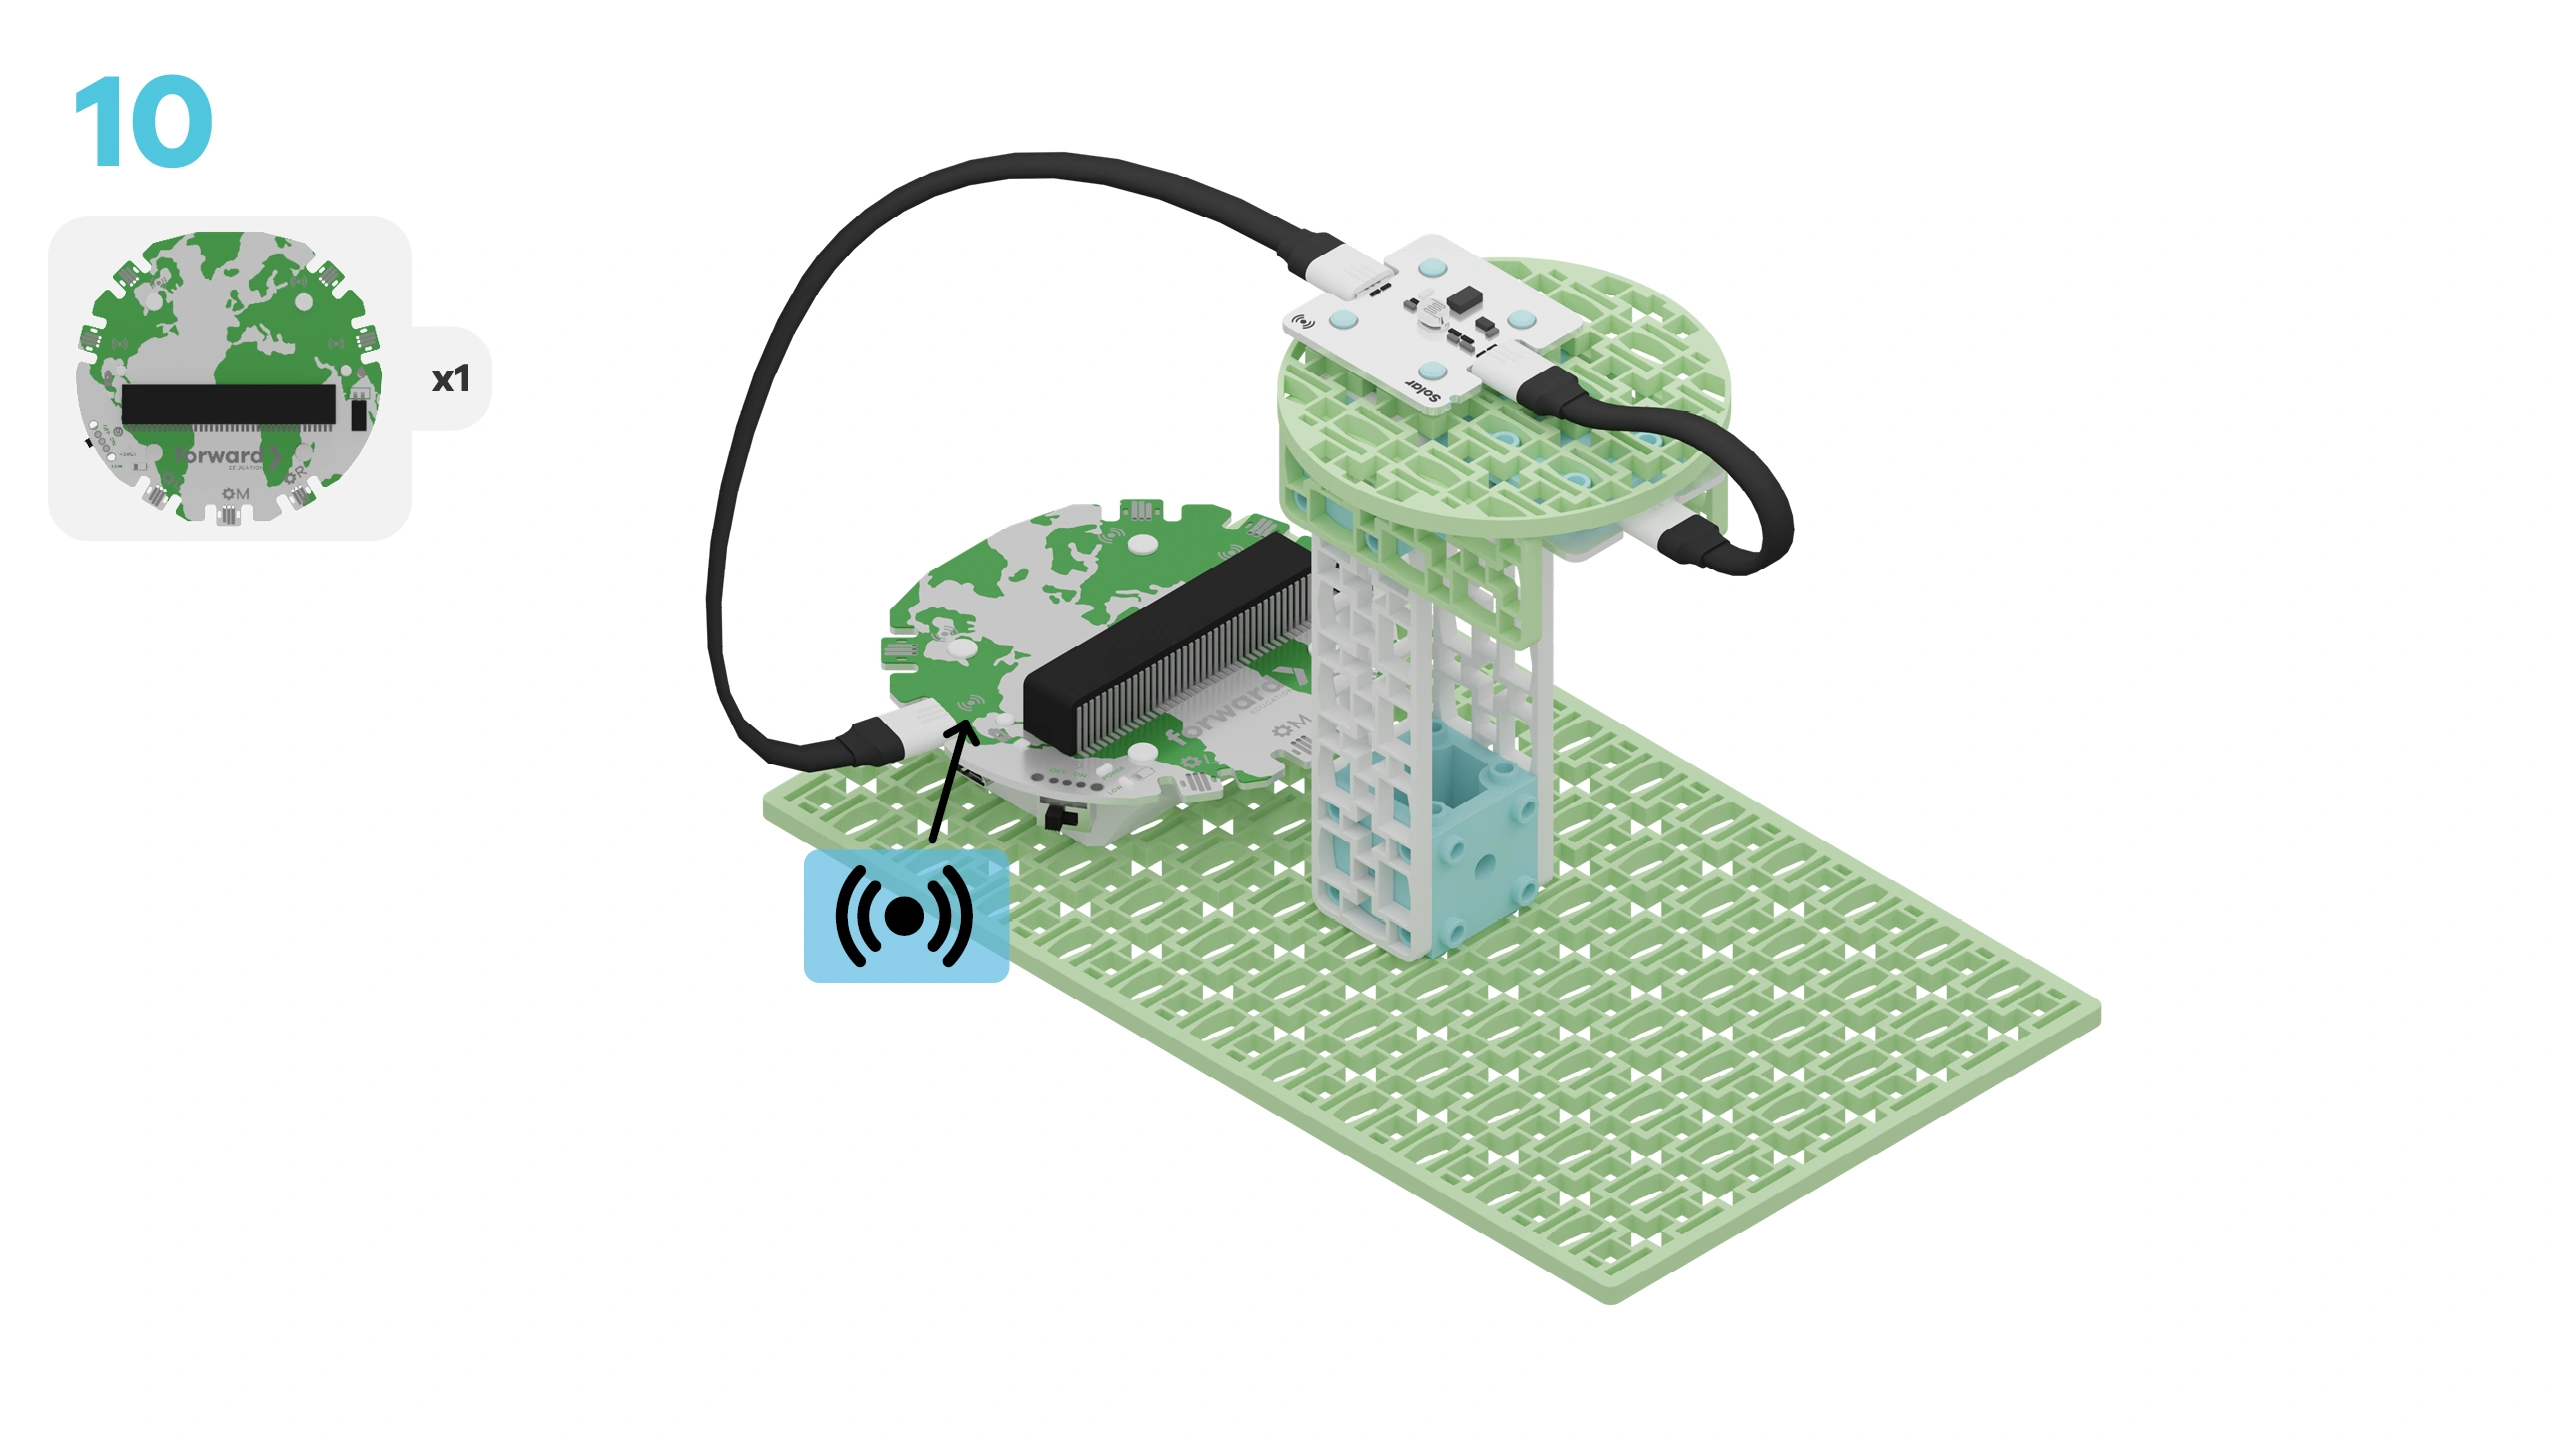
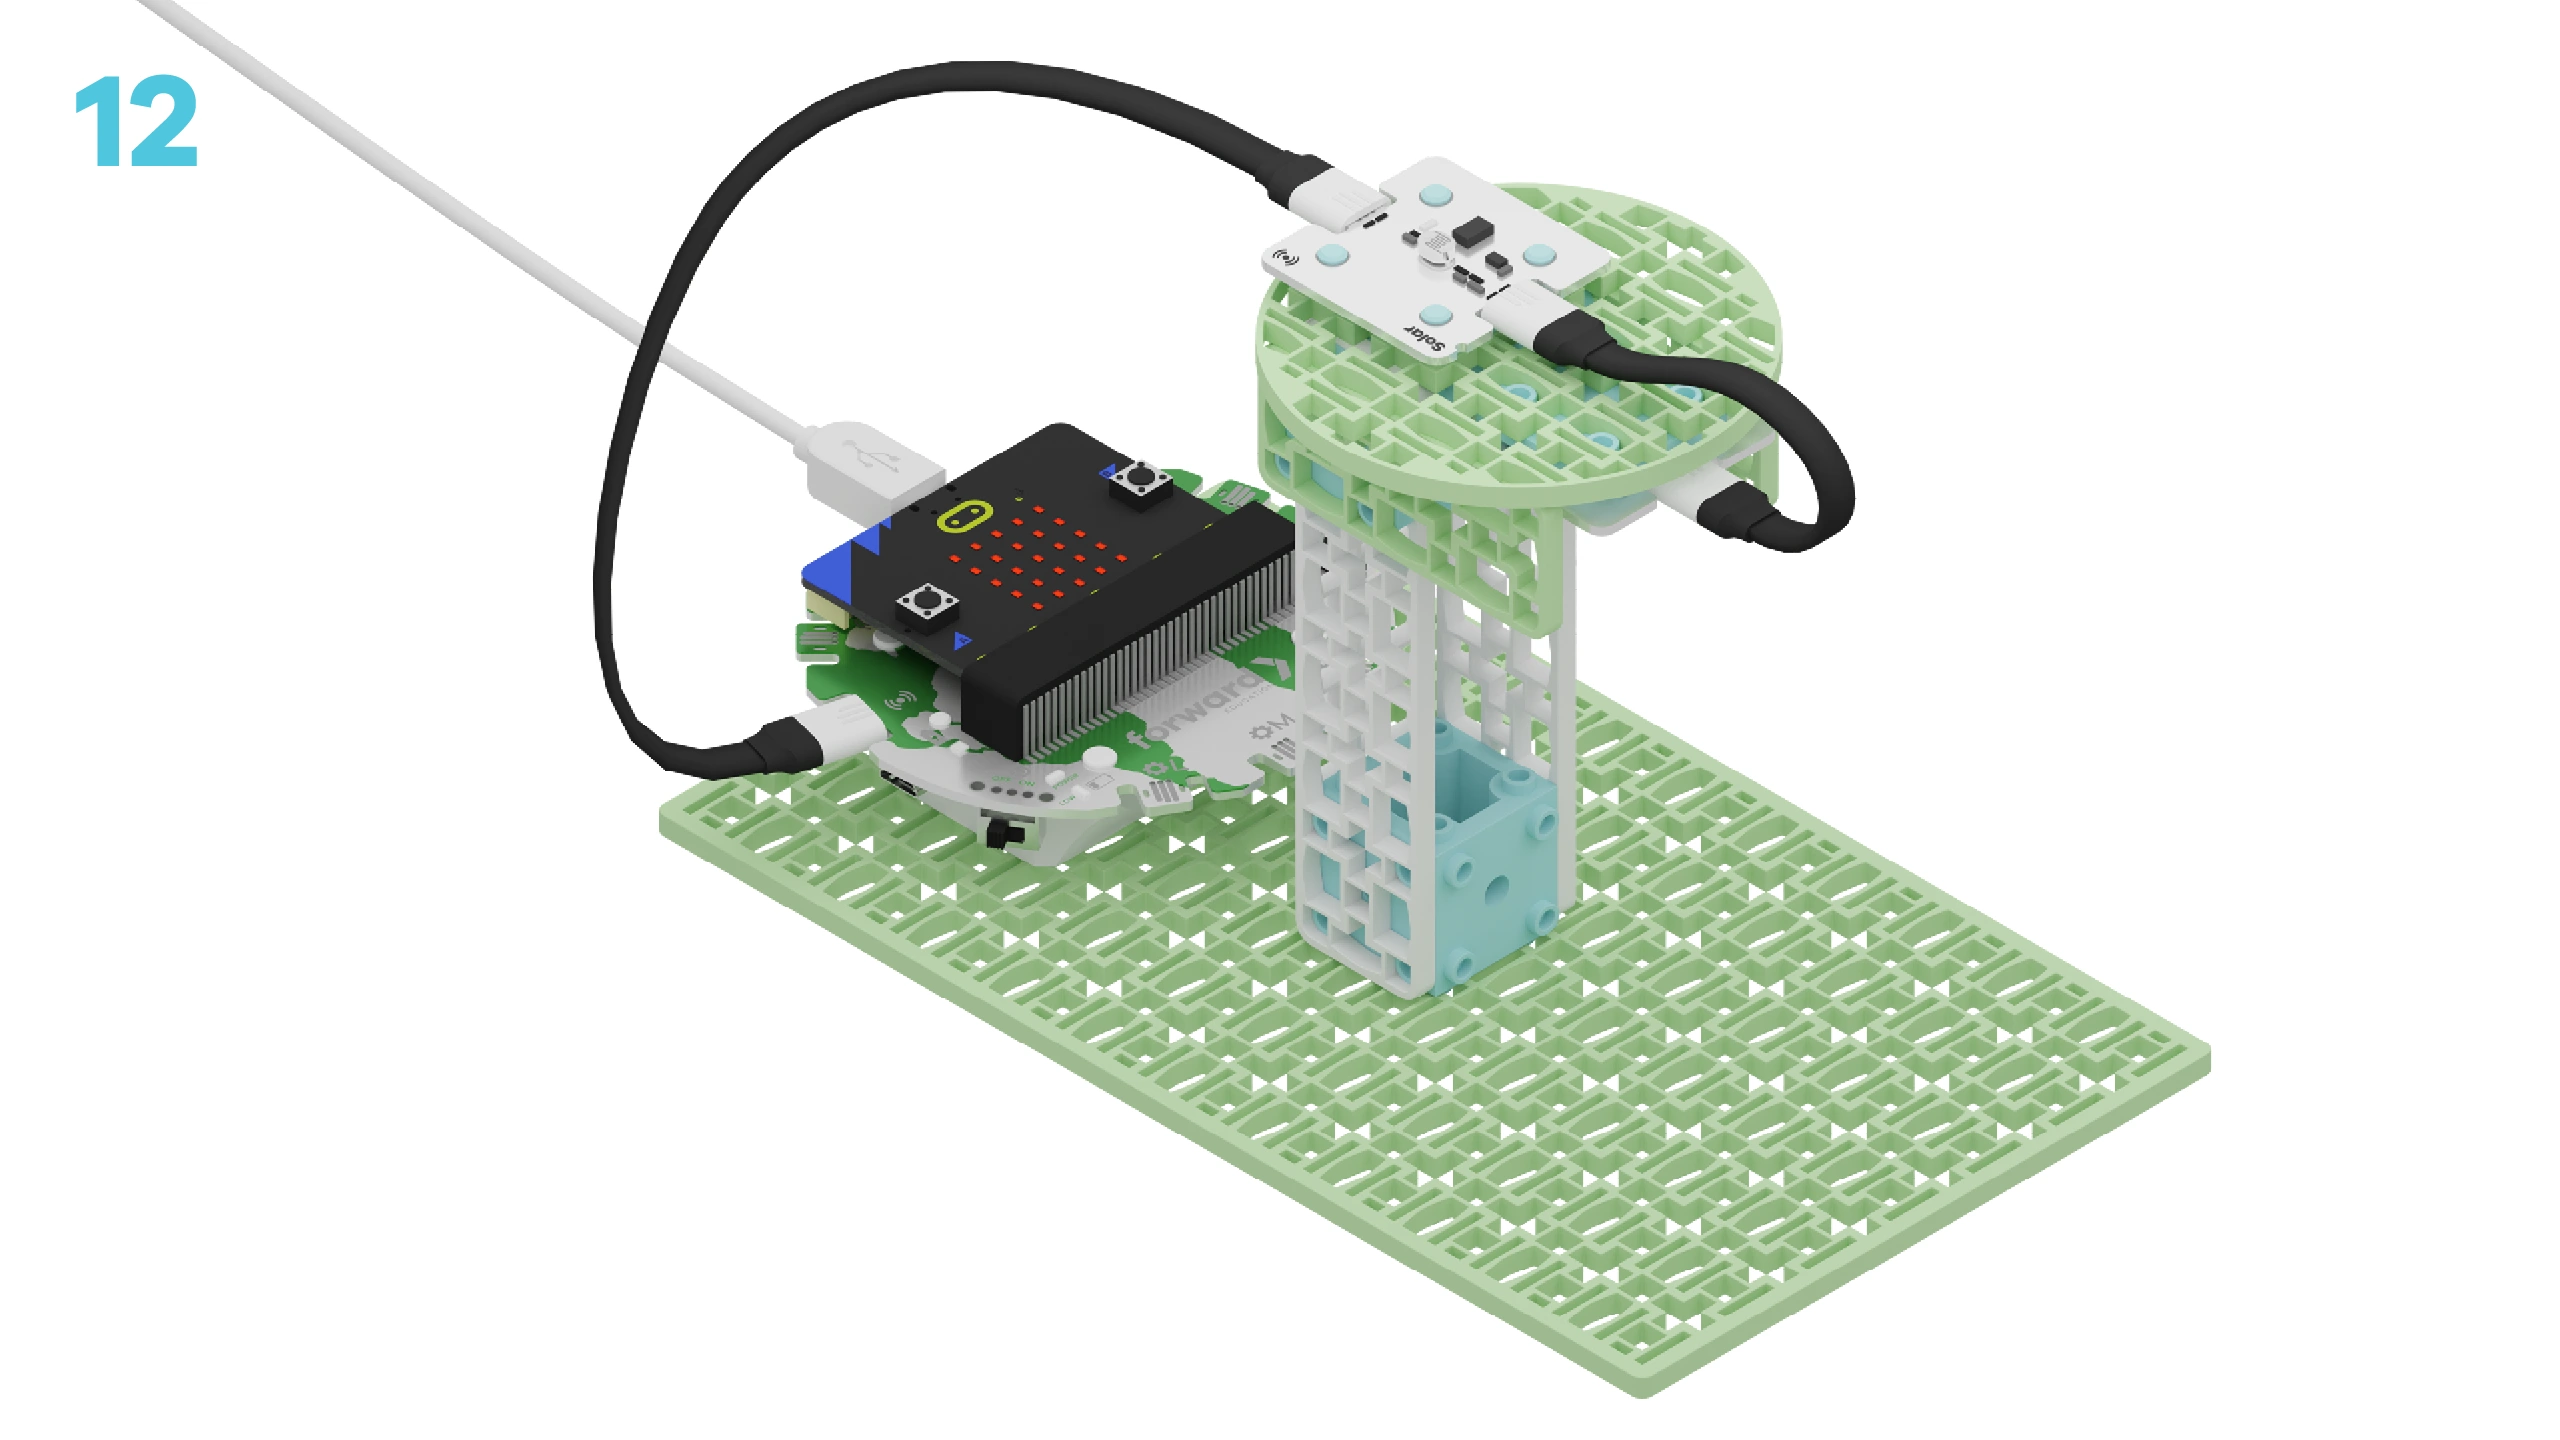
Let's build a turtle-safe beach light! We are going to do this in 3 parts:
- Build our light
- Add code to bring it to life
- Use or test out the light to learn how it works
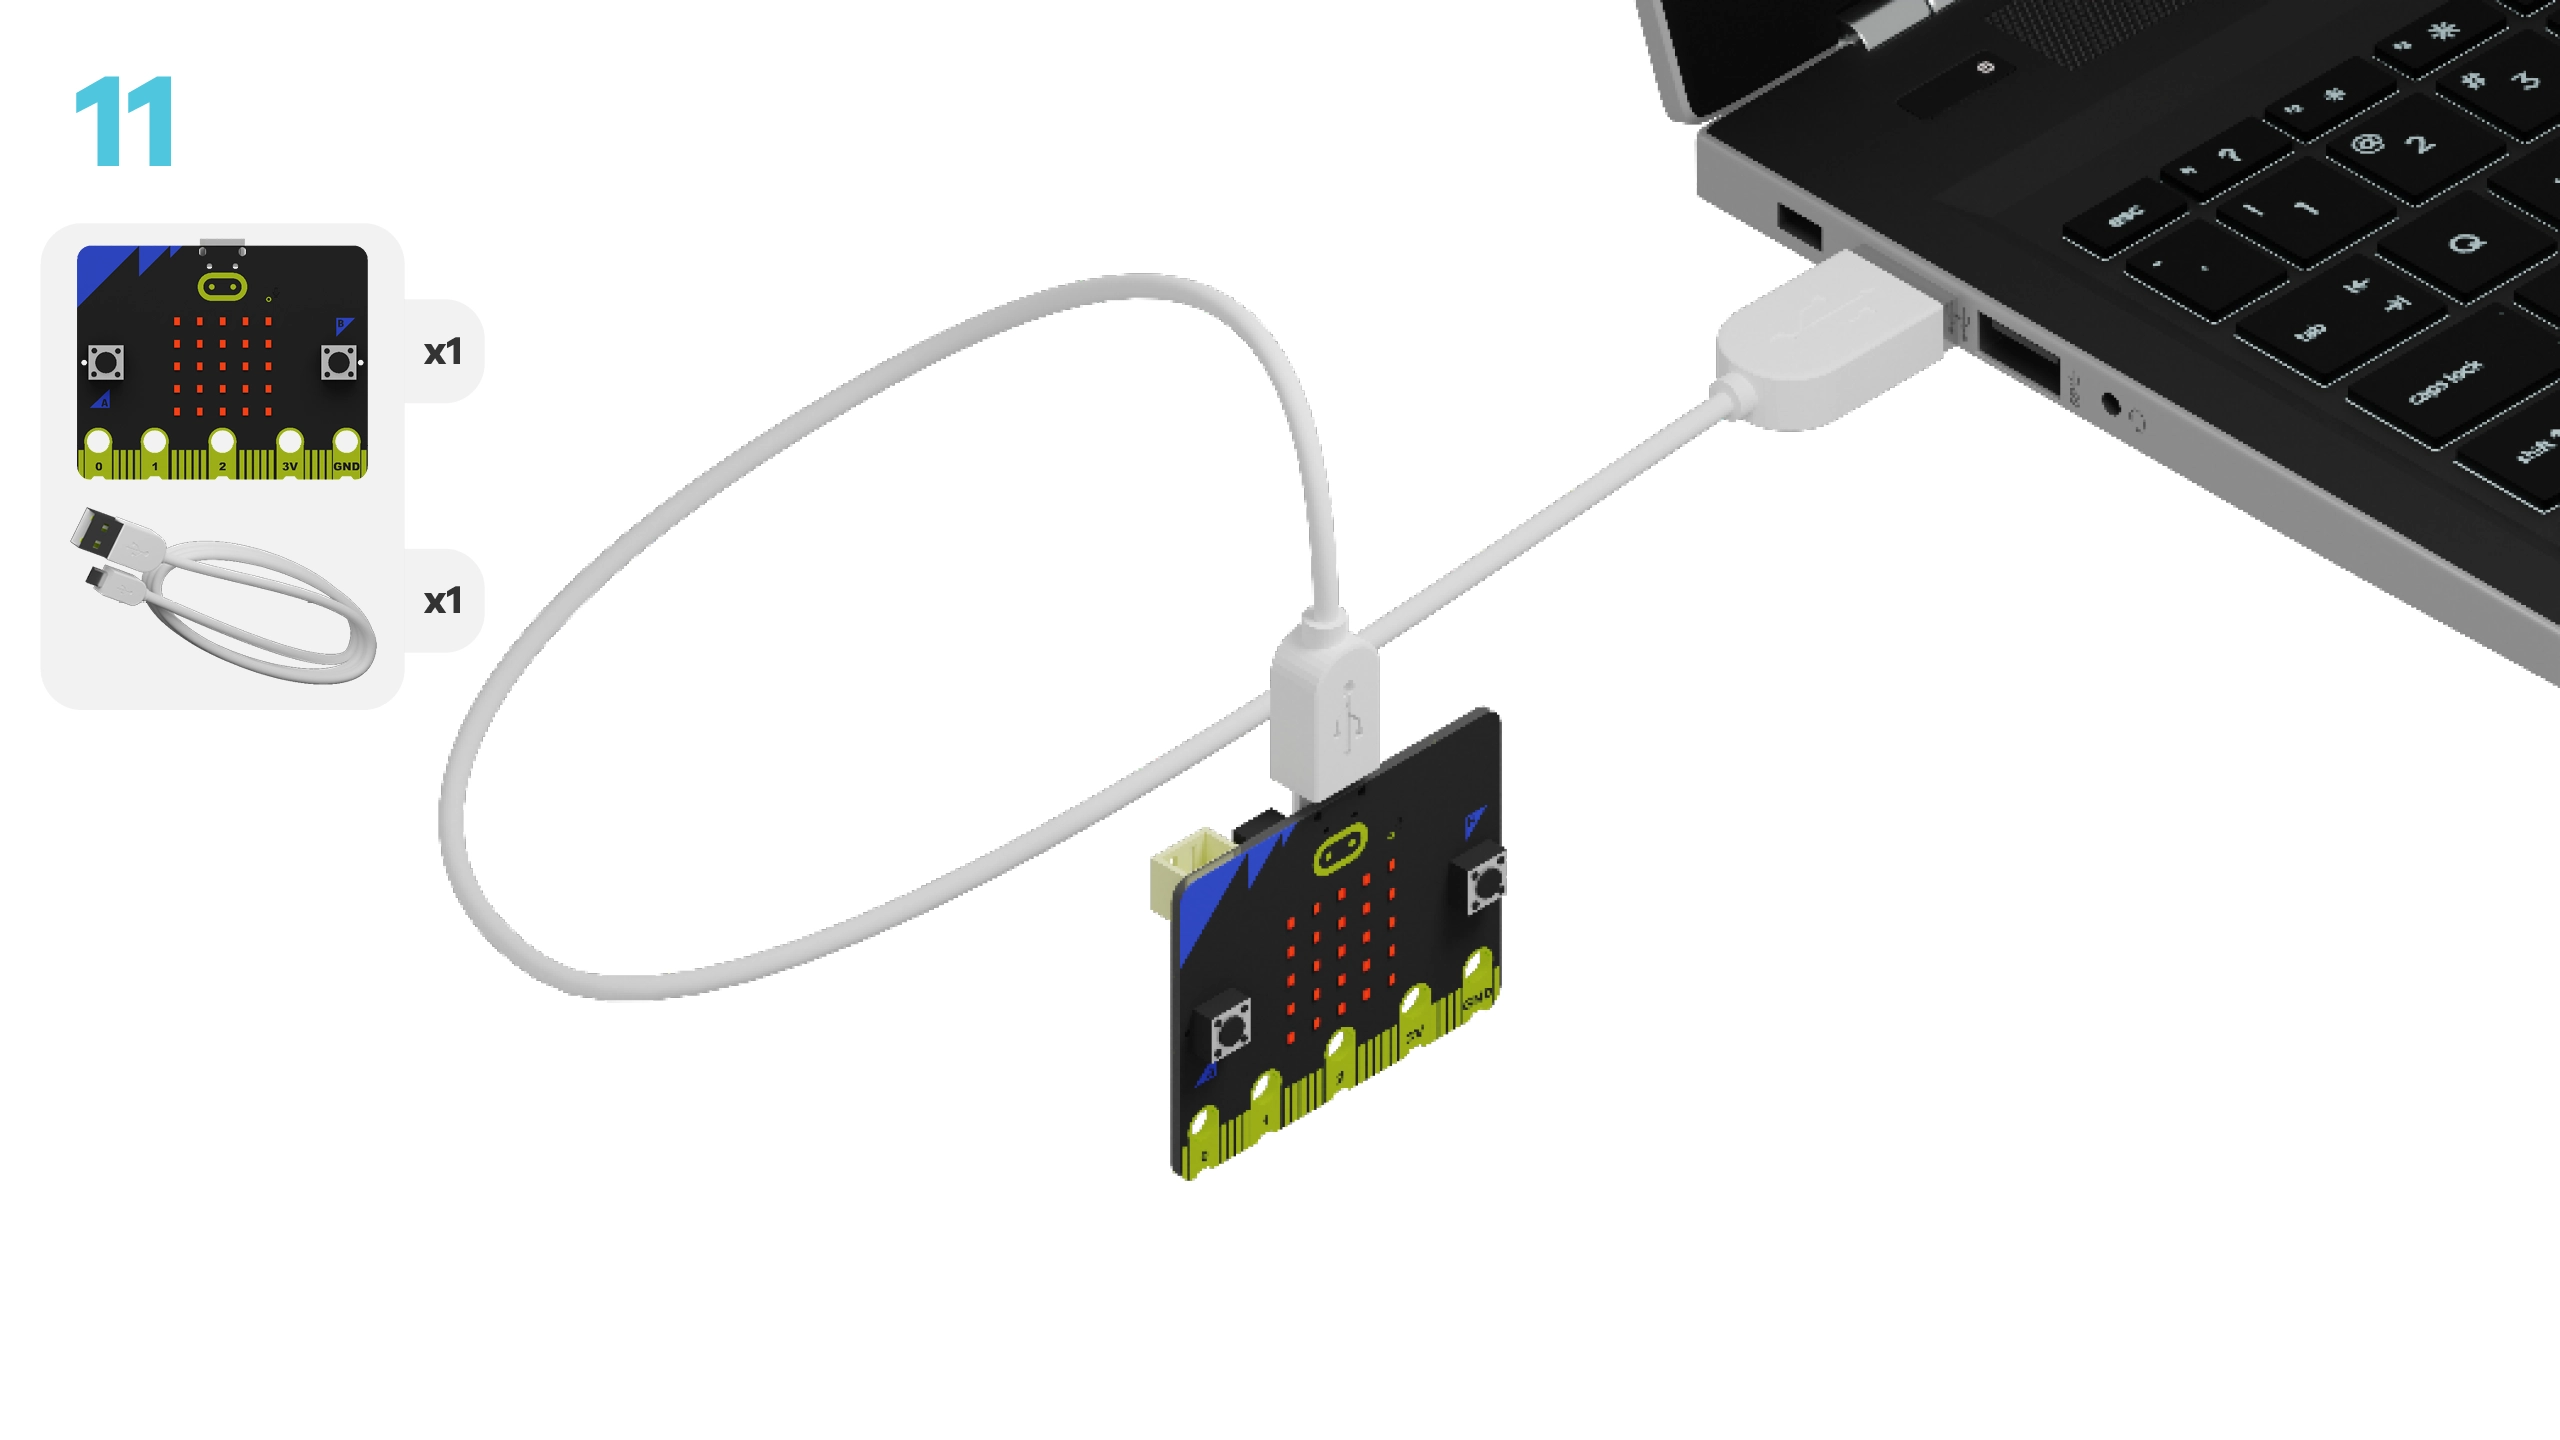
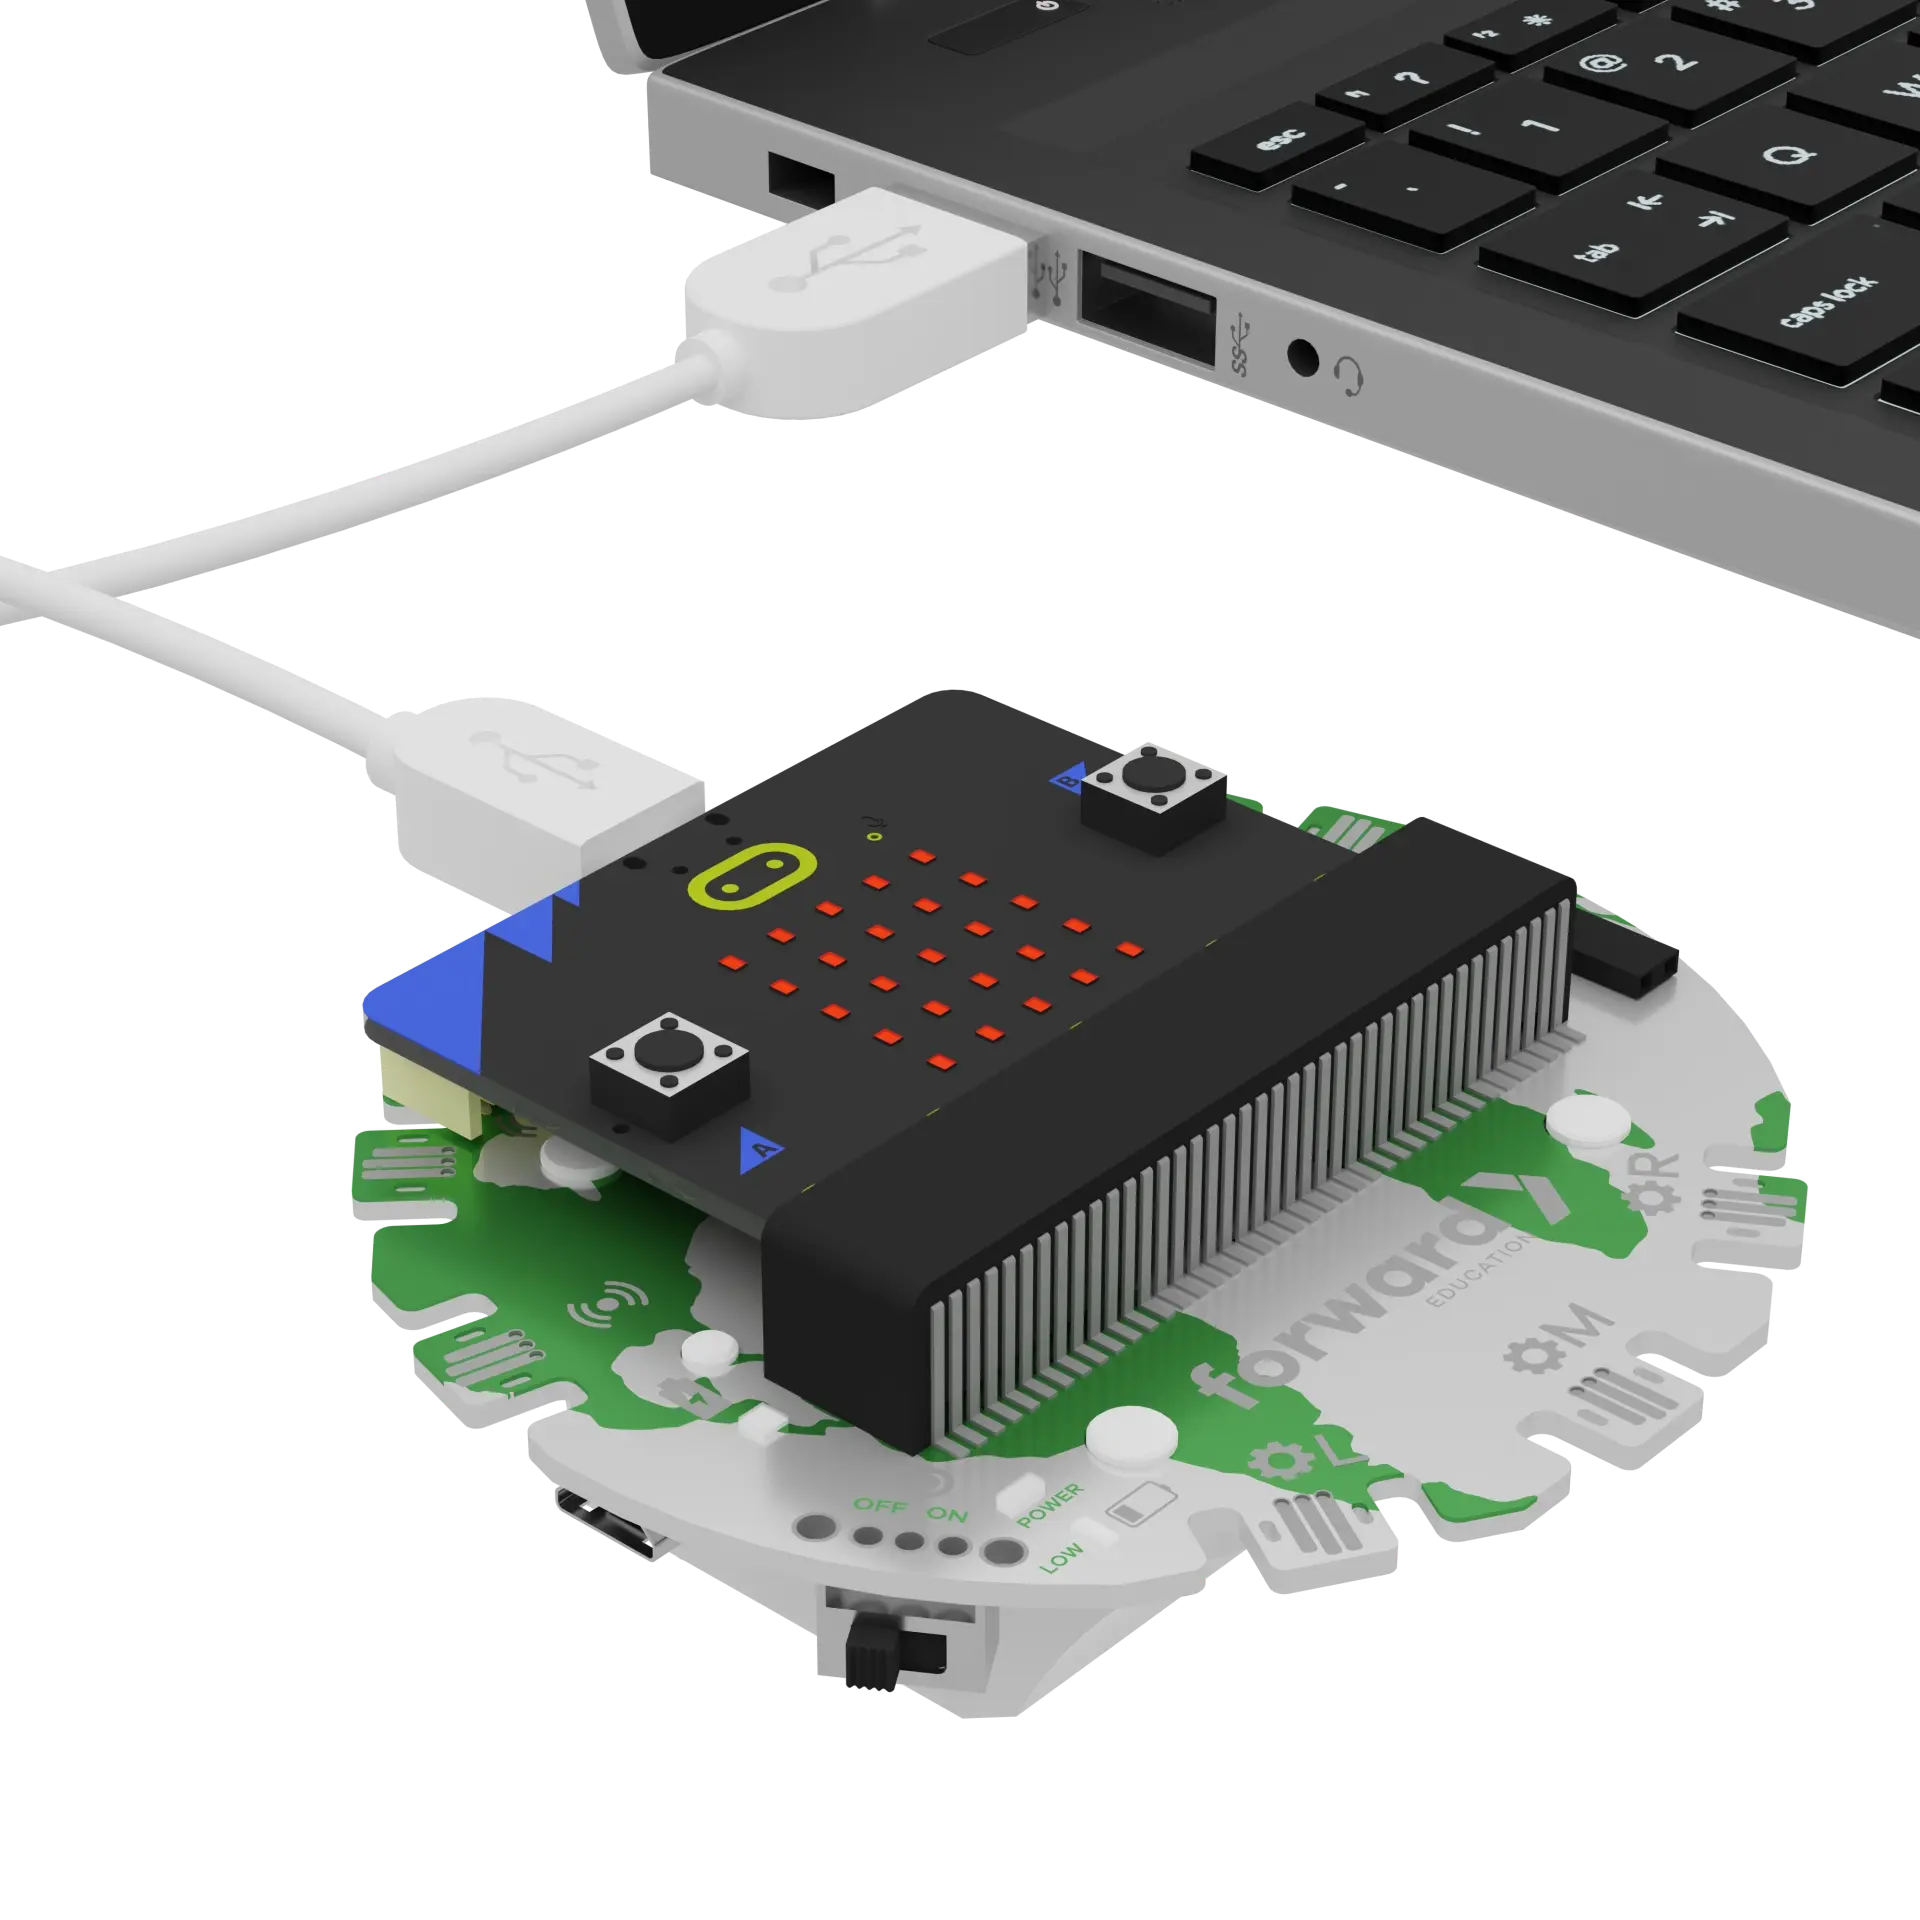
We need to connect our project to the computer to make it come to life with code!
The code will be the instructions that tell our micro:bit what to do.
IMPORTANT! Make sure your Climate Action Kit Breakout Board is turned on and your micro:bit is plugged into your computer.
Click the three dots beside the |Download| button, and click on Connect Device.
Next, follow the steps to pair your micro:bit.
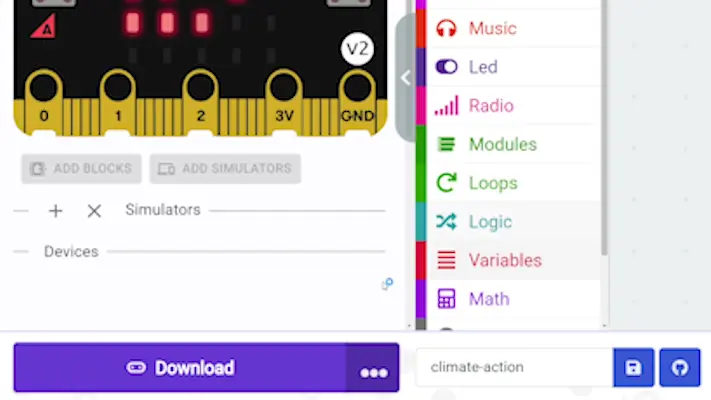
Click the |Download| button to download the starter code.
We are ready to use our turtle-safe beach light!
Tips
- Follow the instructions at the top of the screen.
- Whenever you are ready for more information, click ‘Tell me more!’
- If you need help with the code, click the lightbulb!
Take a look at your turtle-safe beach light. Can you name all of its physical parts?
~hint Tell me more! Our light has:
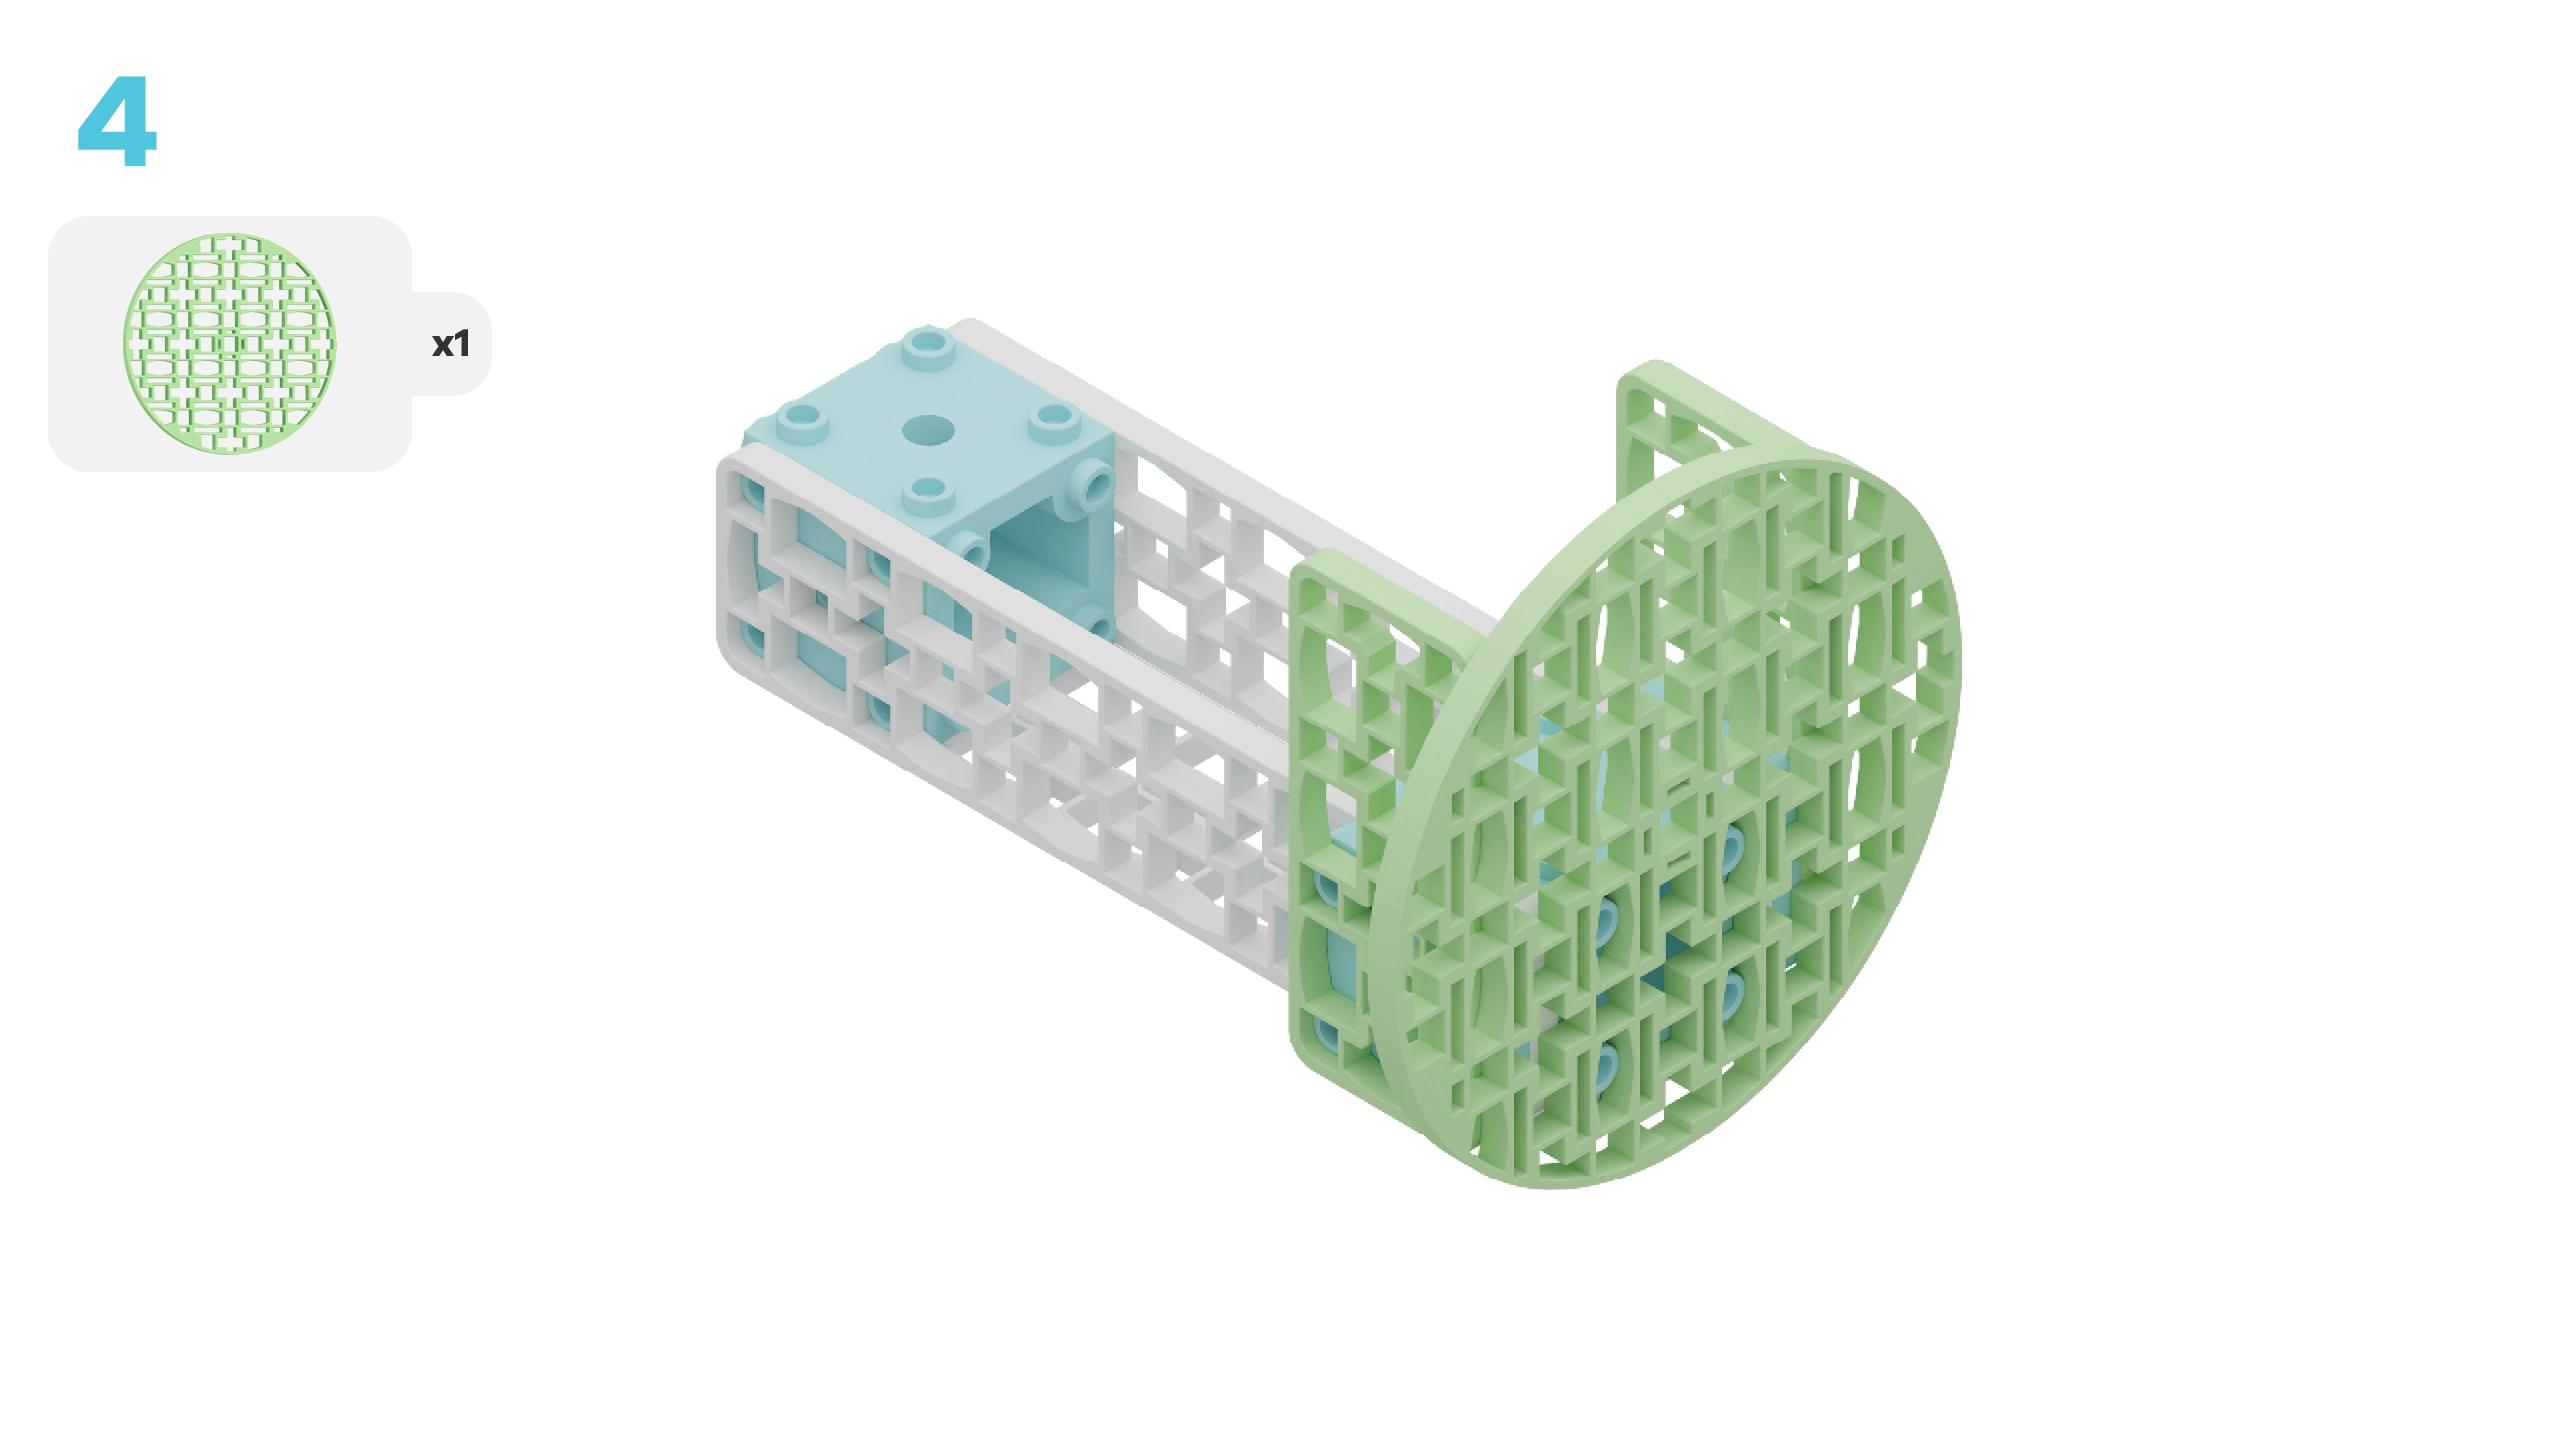
- Building blocks: one baseplate, three white medium frames, two small frames, one circle, two cube connectors, and two back-to-back connectors
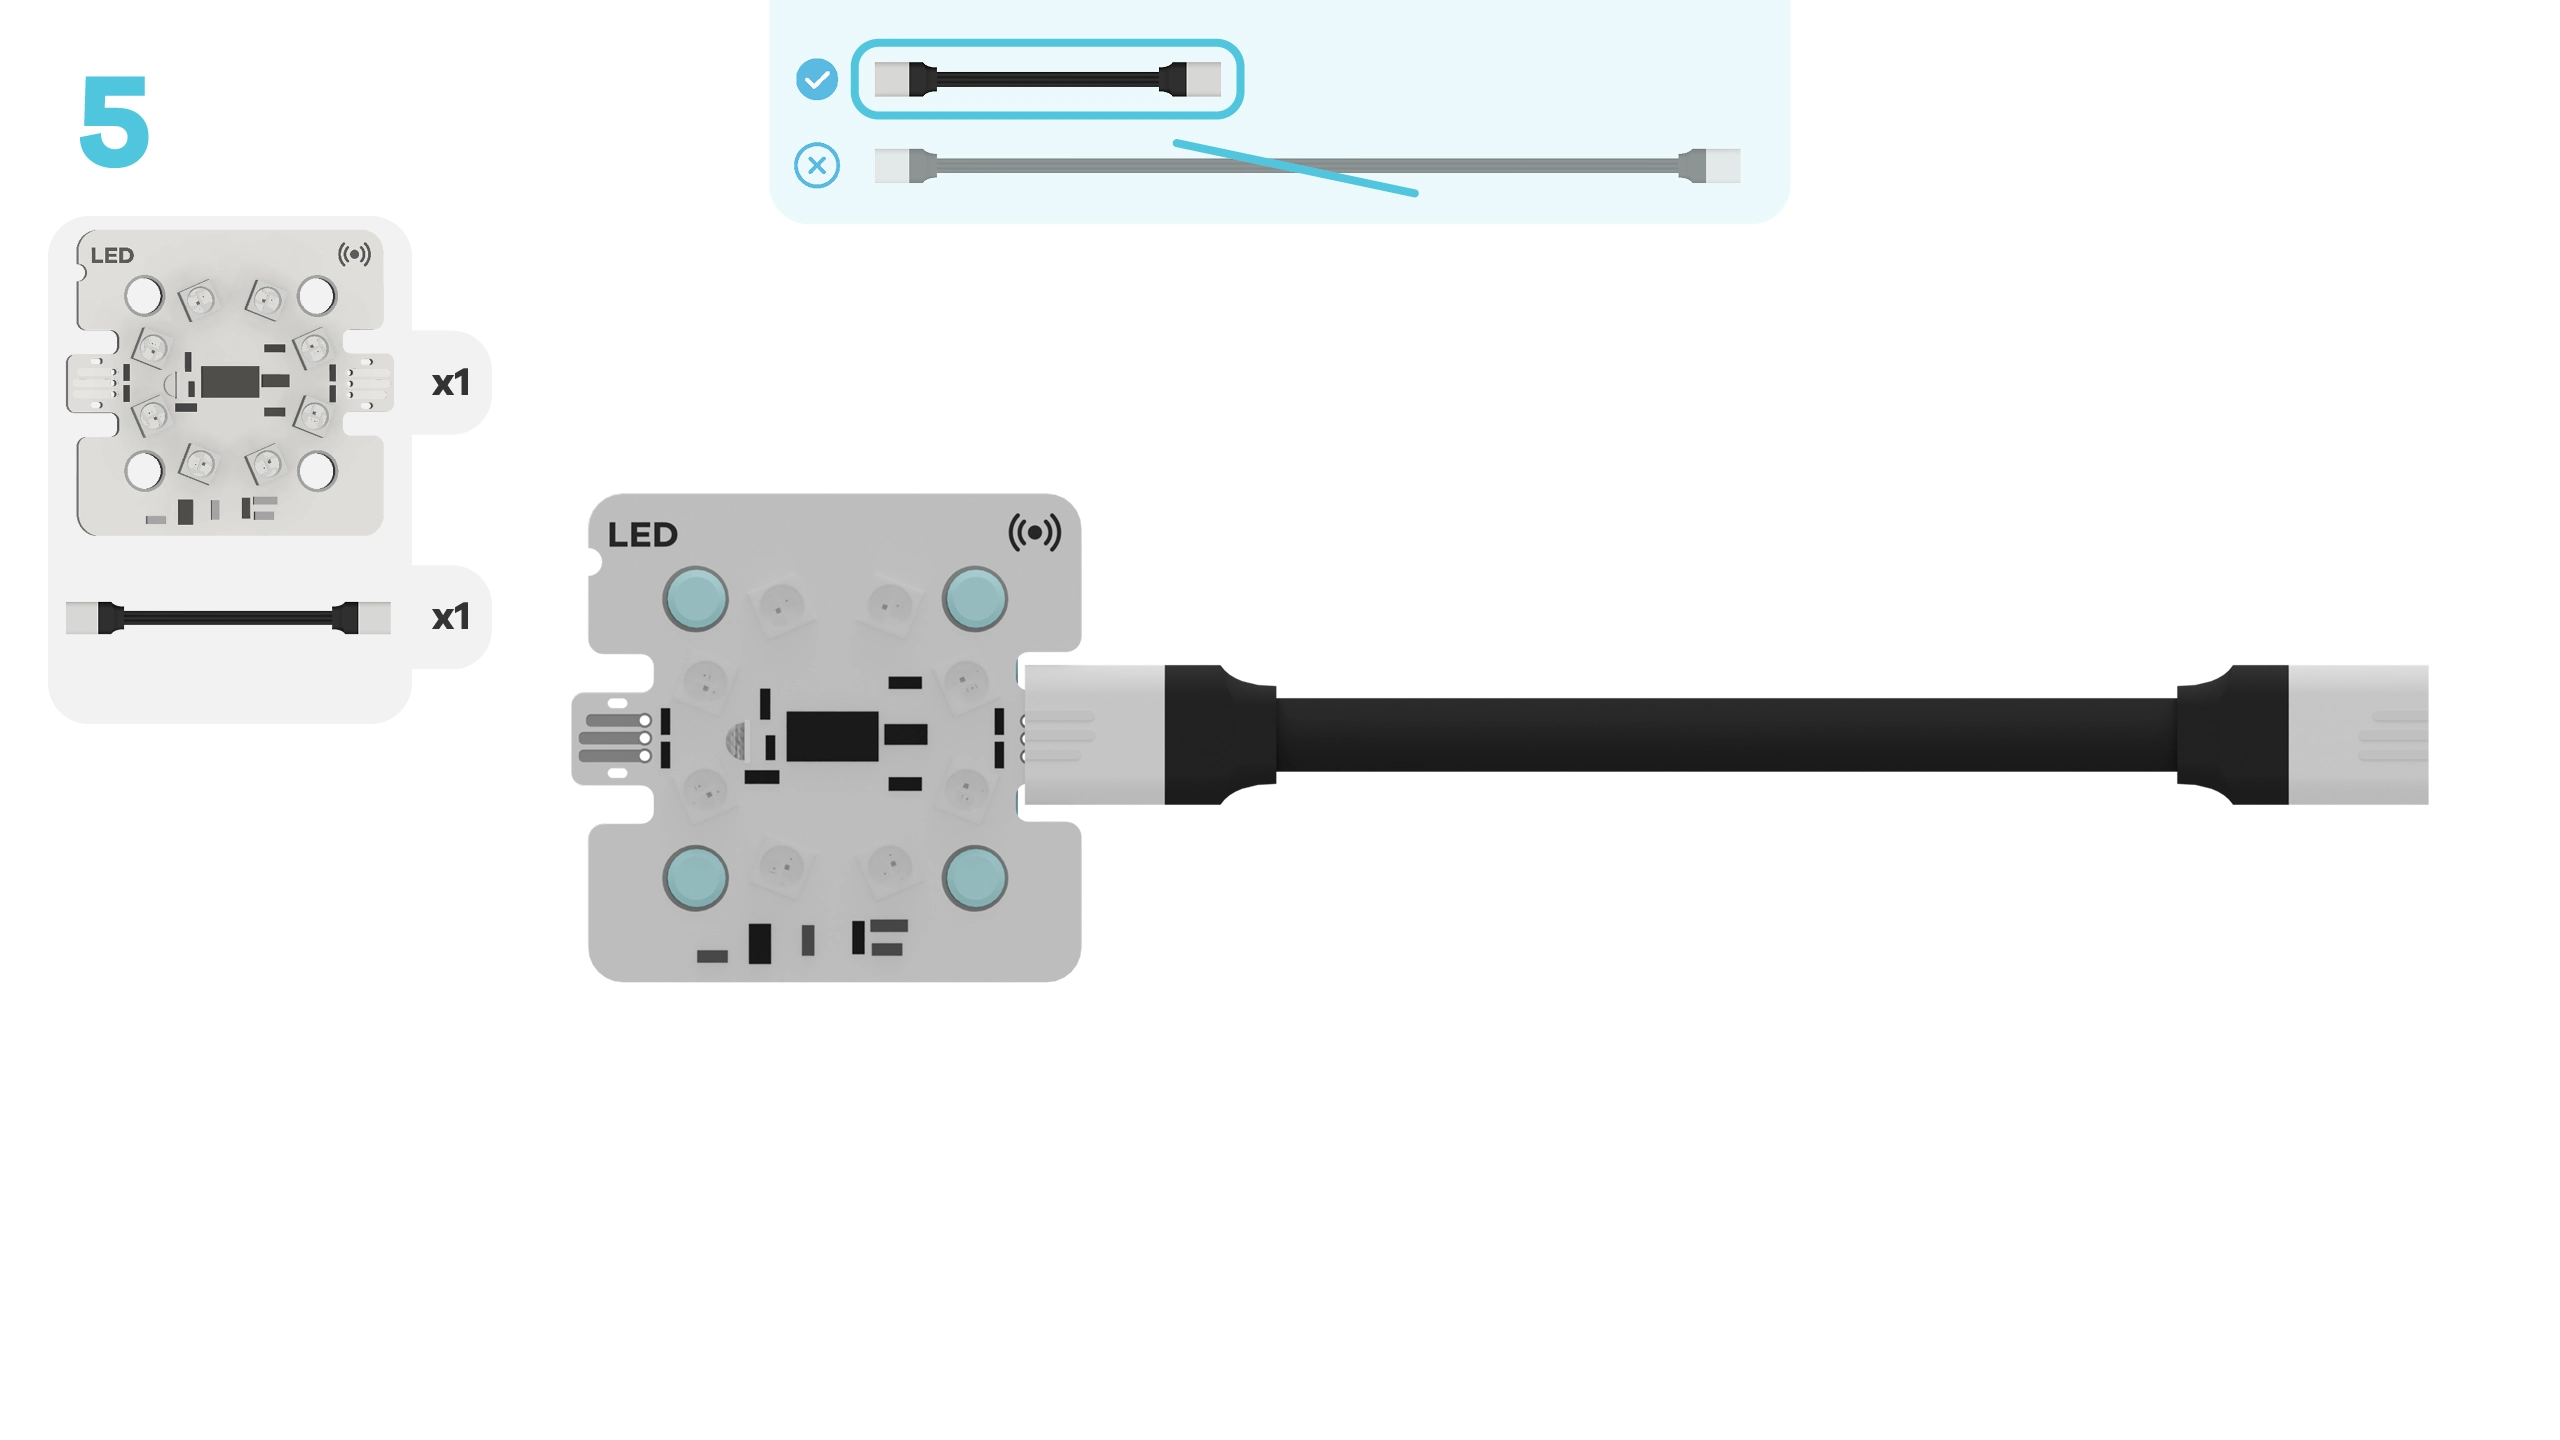
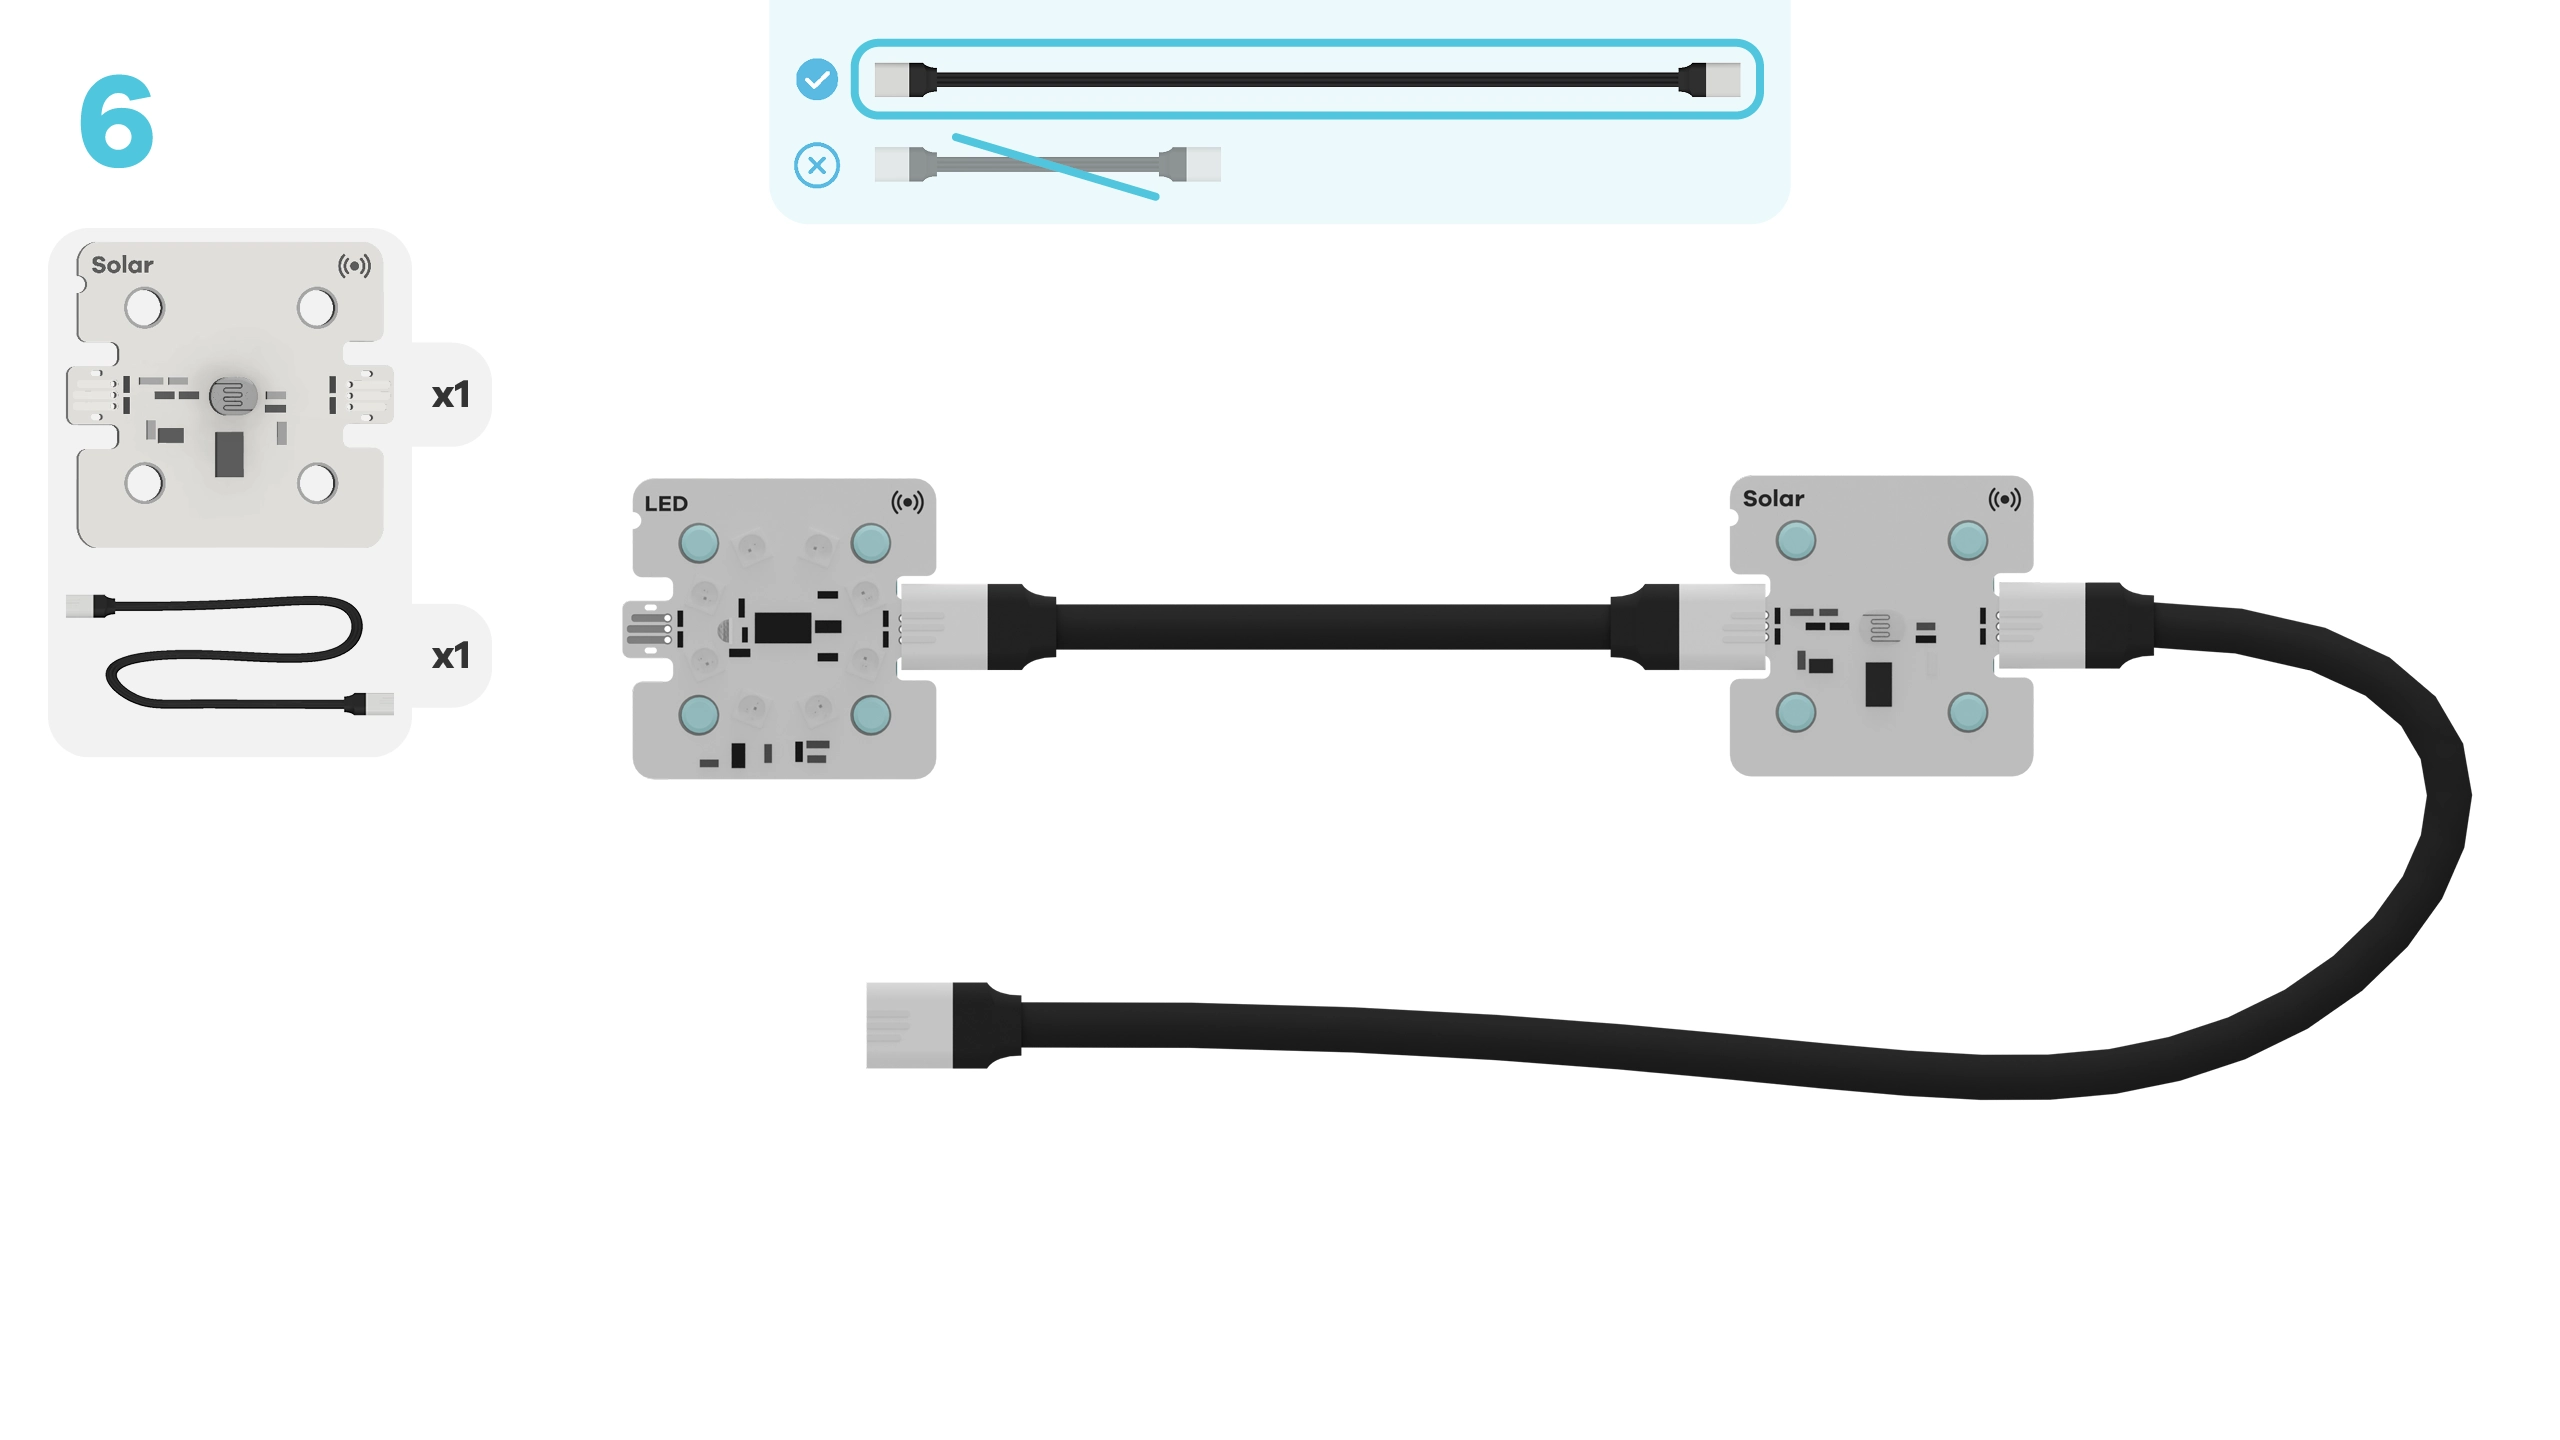
- Robotic components: a micro:bit, a breakout board, a battery, an LED ring, and a solar sensor
- Cable connectors: one short and one long hint~
What do you think is the purpose of each part? How do they interact with one another?
~hint Tell me more!
- The building blocks are like the bones of our project, providing structure, support, and basic function!
- The micro:bit is like the brain of our project. It stores all the code (aka instructions!) that tells our light how to operate.
- The breakout board sends these instructions from the micro:bit to the solar sensor and LED ring through cables. The sensor is similar to an organ like our eyes, while the LED ring acts like a limb.
- The battery on the breakout board powers our project when it's not plugged into the computer. It’s like the project’s heart! hint~
Let’s take a look at the instructions (aka the code!) that we’ve added to our light. This will help us understand how it works.
Based on the code in the workspace, can you make an initial guess when the light should turn on? When will it turn off?
Let’s test it out! Try placing your hand over the solar sensor to block the light and simulate nighttime. What happens?
~hint Tell me more!
- When our hands are over the sensor, the red LEDs turn on. When our hands are removed, the LEDs turn off.
- We are controlling the light with a conditional statement.
- Conditional statements are "if-then" rules used in coding. They add checkpoints to our programs and tell the computer what to do in different situations, like showing a birthday message if it's your birthday. hint~
Can you identify the conditional statement that is controlling our LEDs?
What rules does the micro:bit use to decide when the LEDs are on?
~hint Tell me more!
- The micro:bit collects data from the solar sensor. It will turn on the beach light when environmental light levels are equal to or below 40%.
- This is known as a boolean expression. Boolean expressions must be evaluated to be either true or false. If the boolean is true, the micro:bit will run the code below. If not, it will jump to the
||logic:else||statement. hint~
    if (fwdSensors.solar1.fwdLightLevel() <= 40) {
        fwdSensors.ledRing.fwdSetAllPixelsColour(0xff0000)
    } else {
        fwdSensors.ledRing.fwdSetAllPixelsColour(0x000000)
    }
Think about the physical build and the code behind this light. In your opinion, what features make it “turtle-safe”?
~hint Tell me more!
- The white medium frames keep the light low.
- The green circle and short frames direct the light downwards and prevent it from spreading.
- The red LED lights are hard for sea turtles to see.
- The conditional statement ensures the light is only turned on when absolutely necessary. hint~
Unplug your light from the computer and try moving to different areas.
How does the light respond?
Based on what you've learned, how might you improve the design of the beach light?
~hint Tell me more! You might change the physical build by covering the green building blocks with black construction paper to create a better light shield. You might change the code so that:
- the LEDs turn on at a lower percentage of sunlight
- the brightness of the LEDs changes based on how dark it is outside
- the light only turns on when people are nearby hint~
You've completed the activity!
Did anything surprise you about this project?
List 2 new things you learned today.
What is one thing you want to learn more about?
In the next step, you can click the |Done| button to finish the tutorial.
