You signed in with another tab or window. Reload to refresh your session.You signed out in another tab or window. Reload to refresh your session.You switched accounts on another tab or window. Reload to refresh your session.Dismiss alert
vi /etc/sysconfig/iptables
vi /etc/sysconfig/ip6tables
# 分别在两份配置文件中加入下面两行,然后重启即可# -A INPUT -p tcp -m state --state NEW -m tcp --dport 80 -j ACCEPT# -A INPUT -p tcp -m state --state NEW -m tcp --dport 443 -j ACCEPT
service iptables restart
service ip6tables restart

systemctl restart iptables
# 查看端口  看到80和443都开启了即可
iptables -L -n
目录
* 买云服务器,在服务器中安装好CentOS操作系统
* 配置远程SSH免密登录
* 安装常用基础工具
* 配置zsh提高效率
* Node环境
* 开启80和443端口
* HTTPS证书
* 配置Nginx,强制HTTPS
* 数据库 Mysql+MangoDB
一、买云服务器,在服务器中安装好CentOS操作系统
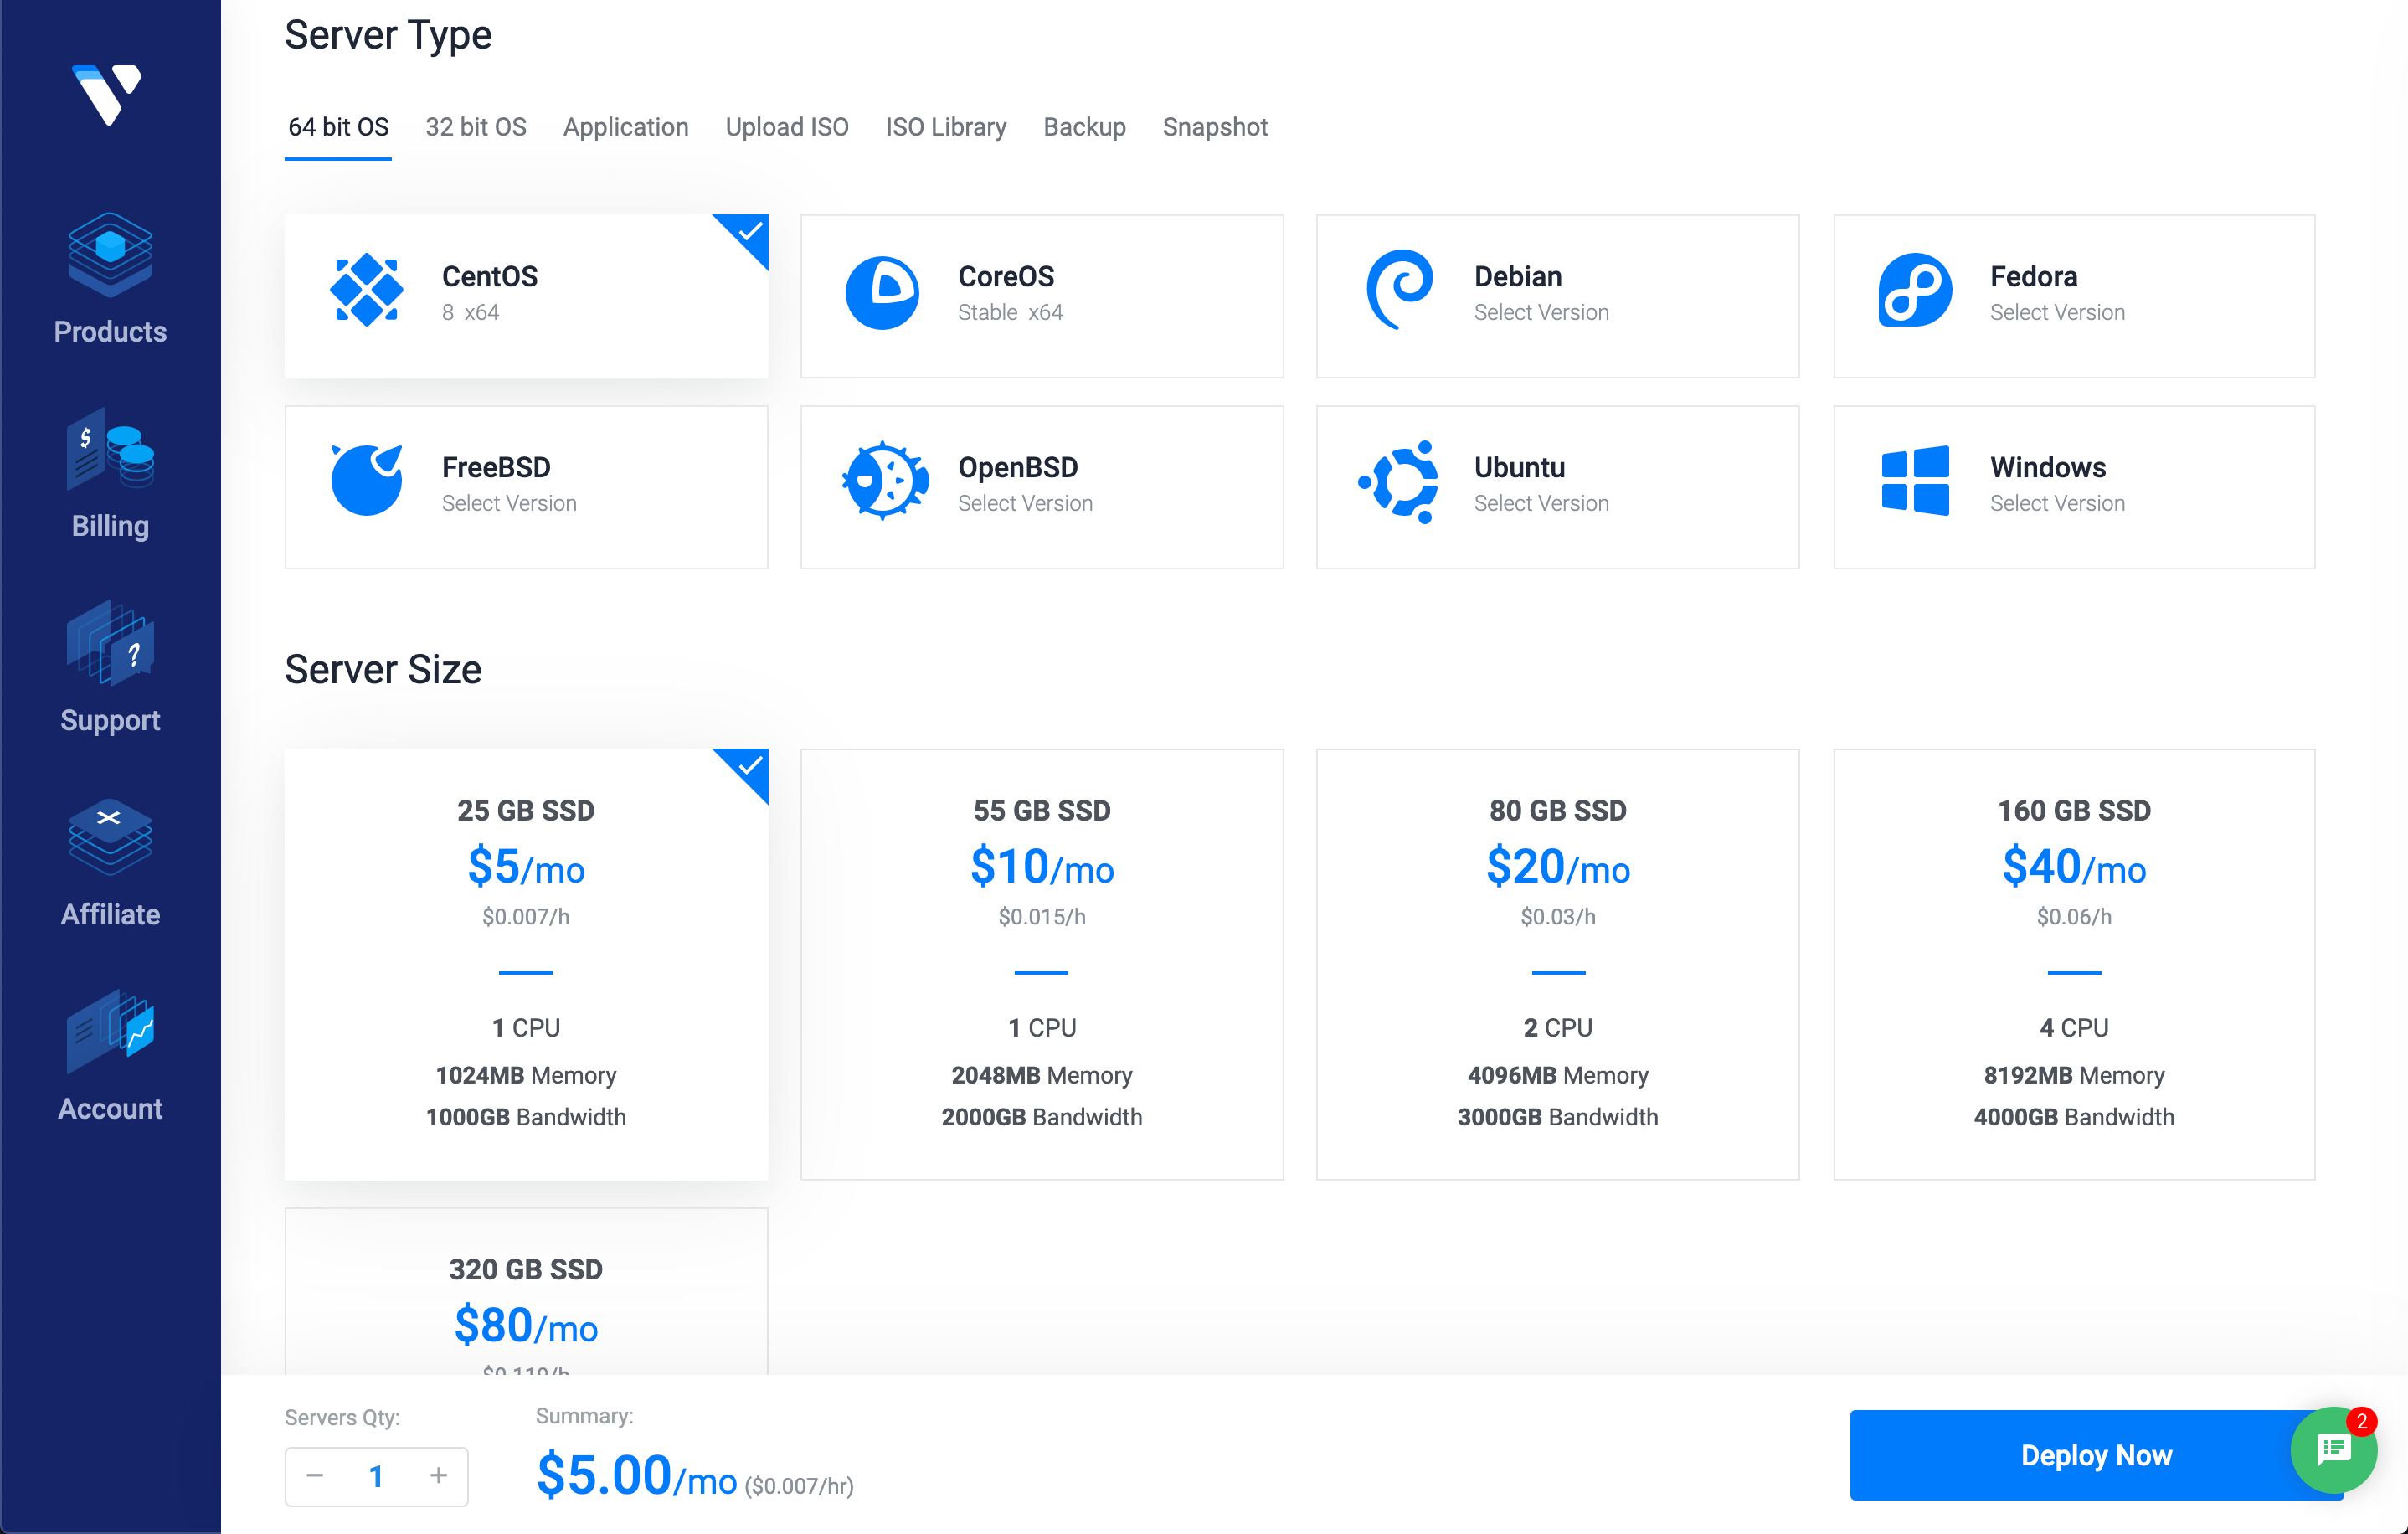
直接云服务器走起,什么阿里云、腾讯云,就跟shopping一样,挑个比较便宜的买就是了,我自己买的是国外的服务器Vultr(需要visa信用卡)
阿里云 - 弹性计算
云产品-腾讯云
Vultr.com
买完后,安装CentOS操作系统也是傻瓜式的,甚至已经内置好了,在网站上点点点就行了
配置远程SSH免密登录
首先在网站上找到你的IP地址、root账号密码
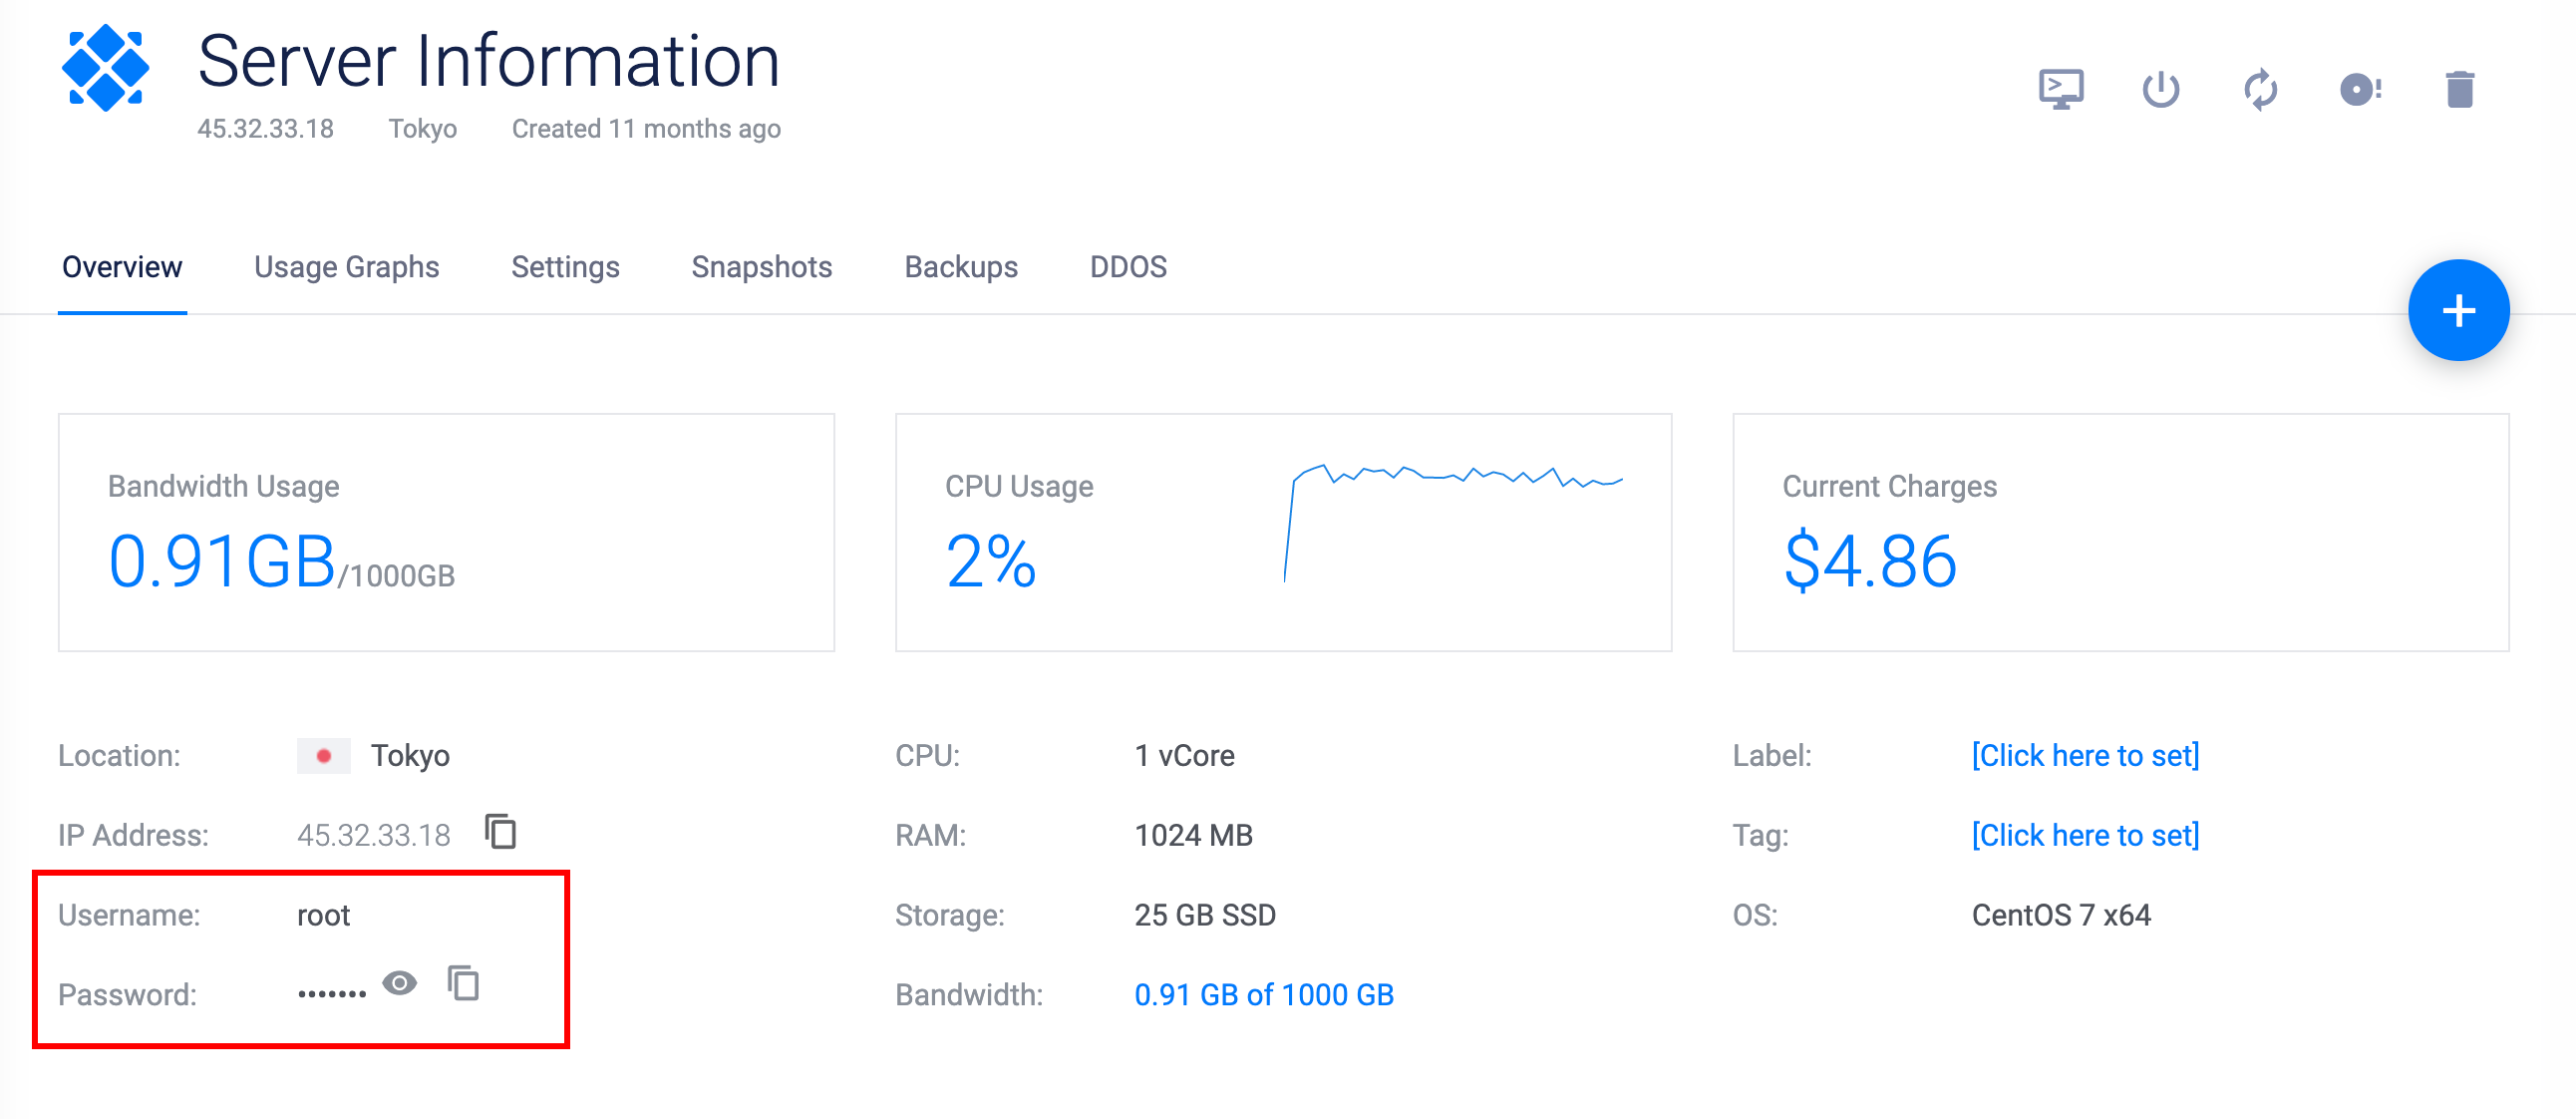
本机修改ssh配置,
vim ~/.ssh/config添加内容如下,然后就可以愉快的用
ssh amanda登录了Host amanda HostName 45.32.33.18 User root IdentityFile ~/.ssh/id_rsa3 Steps to Perform SSH Login Without Password - ShellHacks
安装常用基础工具
不理解也没关系,装上就是了,后面简单用到而已
zsh (个人是为了提高效率,也可以选择不装)
安装 Oh-my-zsh 参考官网即可GitHub - ohmyzsh/ohmyzsh
sh -c "$(curl -fsSL https://raw.githubusercontent.com/ohmyzsh/ohmyzsh/master/tools/install.sh)"必装插件zsh-autosuggestions(强推!!!) ~~

记住曾经敲过的命令,只要输入几个词,自动推荐,提高效率神器
zsh-autosuggestionsGitHub
在
~/.zshrc里加入plugins=(zsh-autosuggestions),然后重启命令行窗口就可以了安装node环境
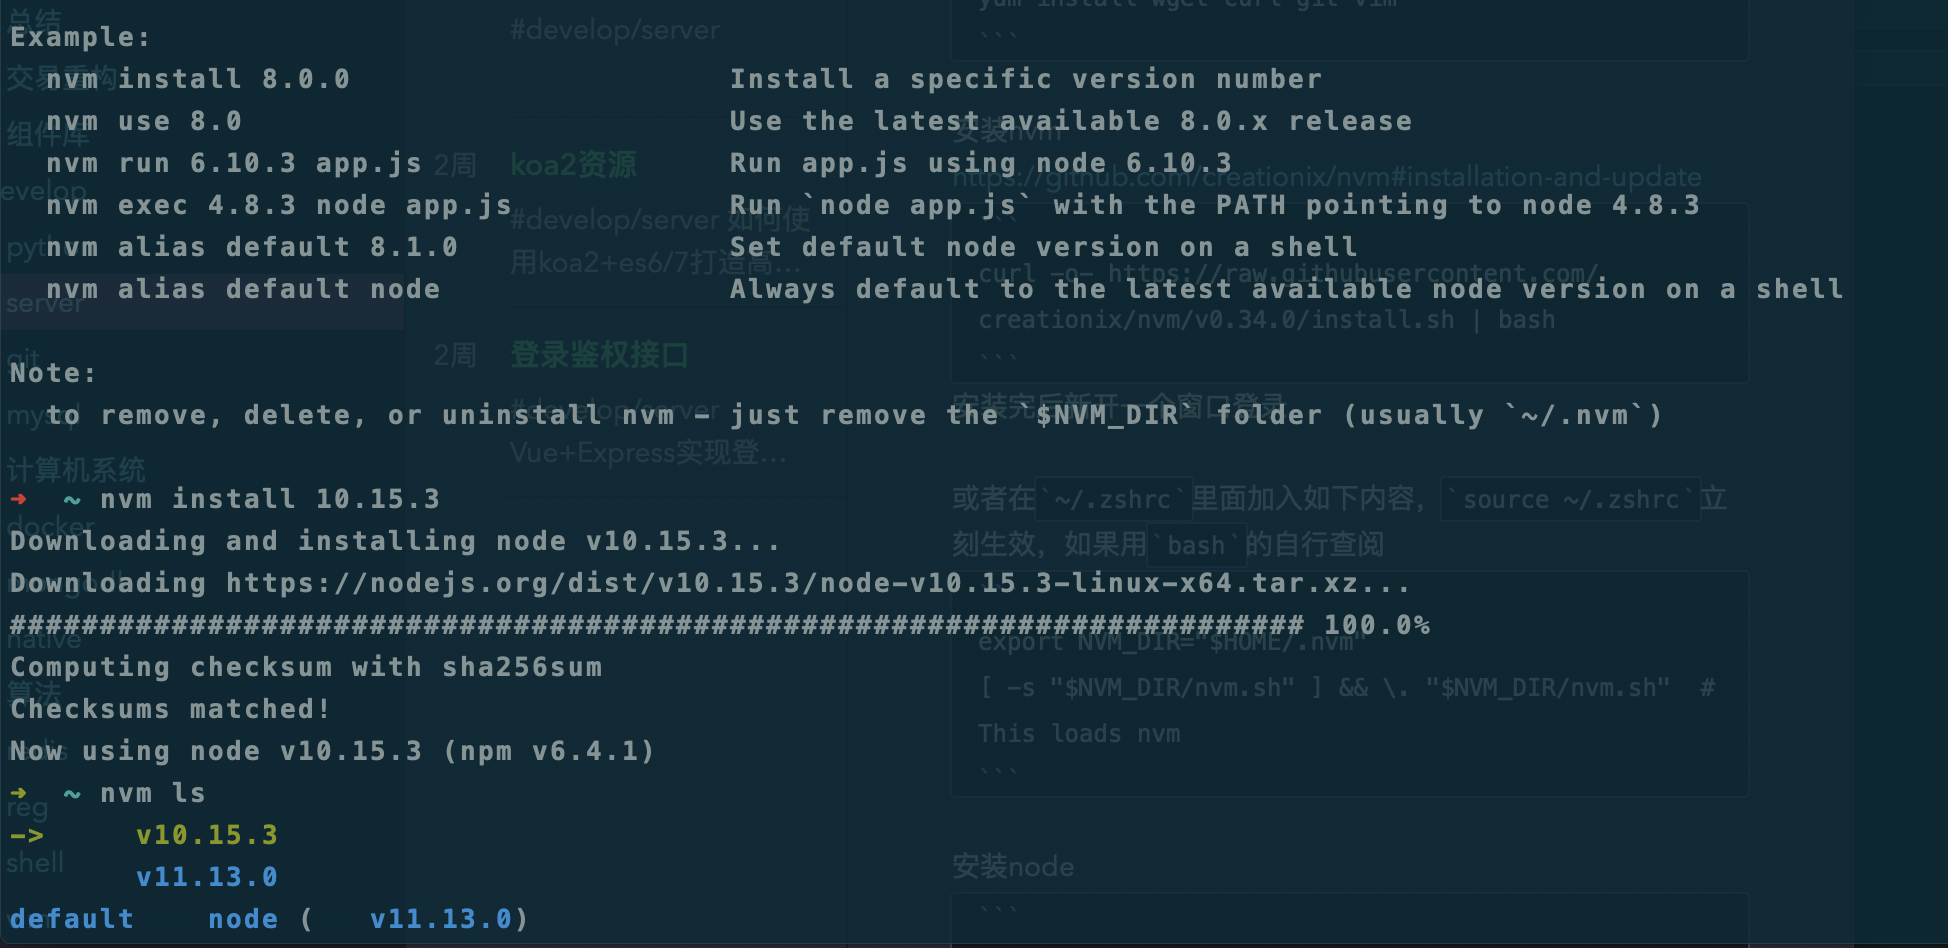
首选安装nvm,这是用来管理node版本的
curl -o- https://raw.githubusercontent.com/creationix/nvm/v0.34.0/install.sh | bash然后在
~/.zshrc里面加入如下内容,source ~/.zshrc立刻生效,如果用bash的自行查阅重开窗口才生效,使用方法很简单,看下图就知道了
开启80和443端口
linux默认只开启了22端口以供ssh登录访问,下面需要开启80(http)和443(https)端口,不然http都访问不了,如何称作web服务器
Linux Iptables Setup Firewall For a Web Server - nixCraft
前面我们已经安装了iptables-services,跟着一波操作即可
service iptables restart service ip6tables restart systemctl restart iptables # 查看端口 看到80和443都开启了即可 iptables -L -nLinux有默认的防火墙
firewall,也是可以开启端口的但用起来不是很爽,所以上面用iptable替代
Linux CentOS7 开启80,443端口外网访问权限 - 杨浪 - 博客园
但是吧,用
firewall开启端口后,后面的nginx访问出了点小问题,一怒之下换用iptablessystemctl restart iptables # 关闭和禁用防火墙,禁止开机启动 systemctl stop firewalld.service systemctl disable firewalld.service安装https证书
我们个人的服务器选择免费的Let’s Encrypt就可以了,只是需要3个月更新一次(也可以配置自动更新)
快速入门 - Let’s Encrypt - 免费的SSL/TLS证书
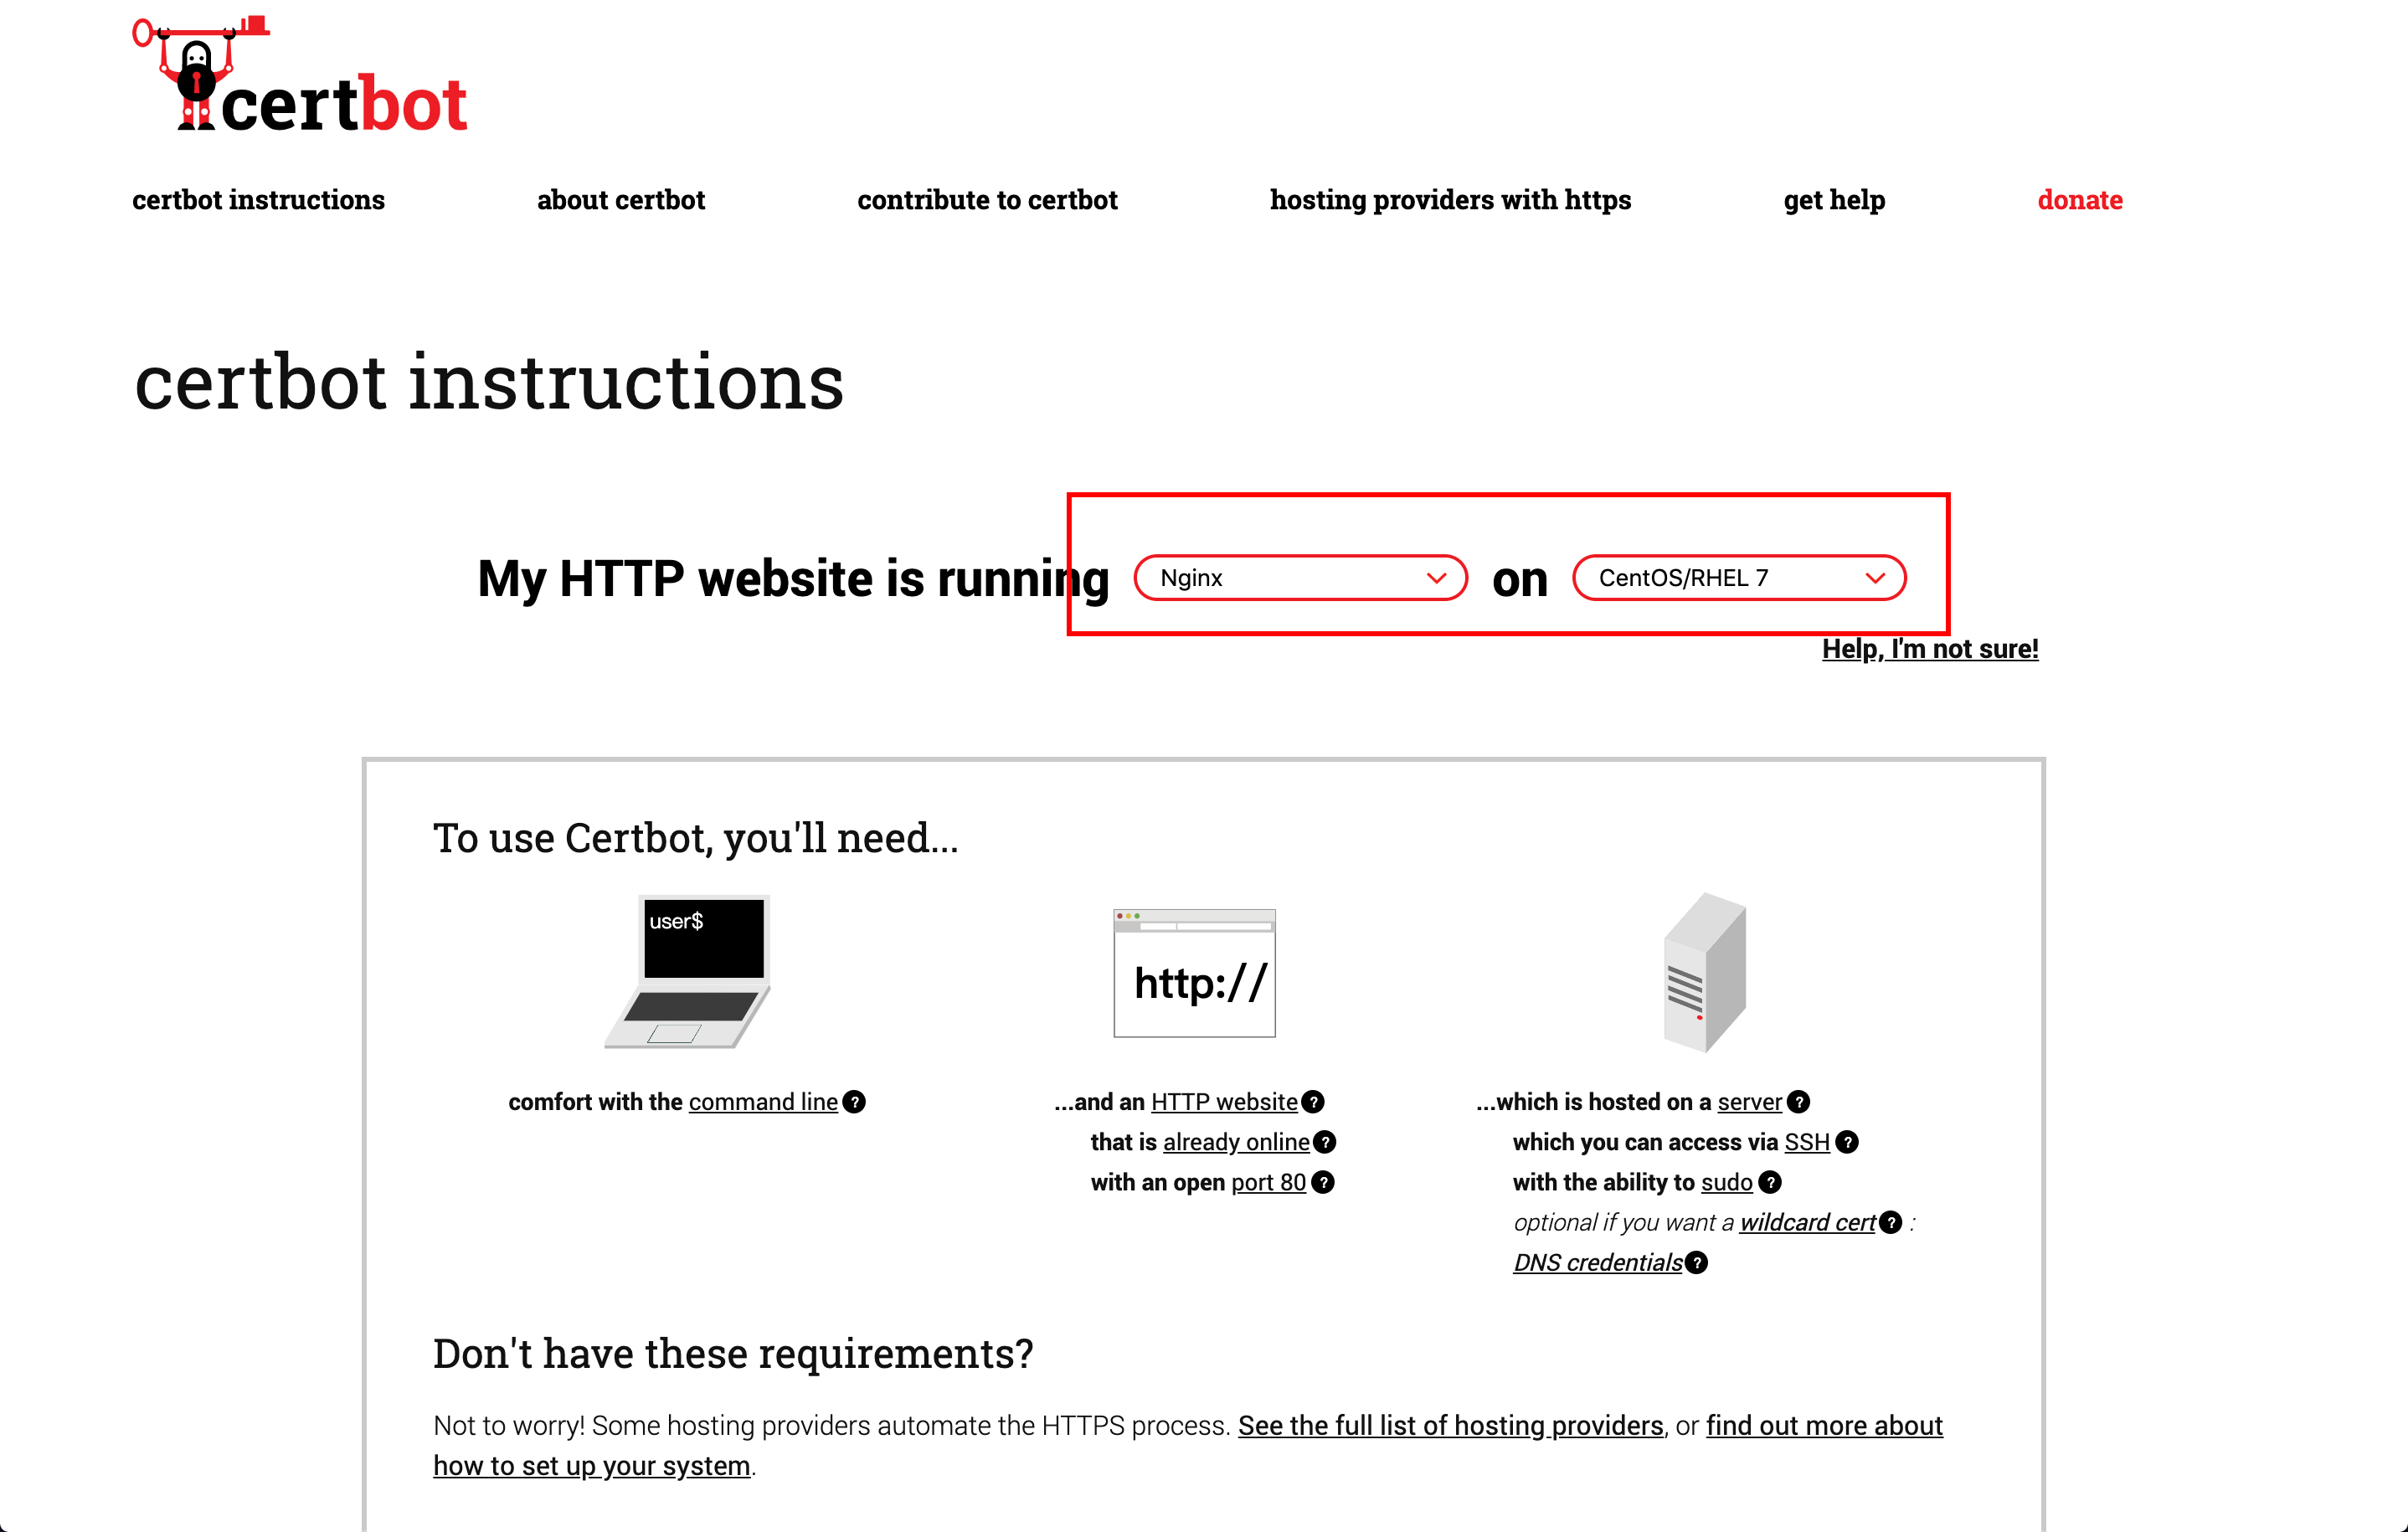
跟着certbot傻瓜式操作即可 Certbot - Centosrhel7 Nginx
环境选nginx+CentOS
然后就配置完事了,接下来我们配nignx
配置Nginx,强制HTTPS
首先是安装
How to Install Nginx on CentOS 7 | Linuxize
sudo yum install epel-release
sudo yum install nginx
# 安装完即可看nginx安装路径 出现就成功了
nginx -t
sudo systemctl enable nginx sudo systemctl start nginx sudo systemctl status nginx通过这个方法安装的nginx会有官方小bug

Failed to read PID from file,nginx不生效How to fix the NGINX error “Failed to read PID from file”, quick and easy - Cloud Insidr
Bug #1581864 “nginx.service: Failed to read PID from file /run/n…” : Bugs : nginx package : Ubuntu
这时候我们直接访问

http://[ip](我的买了域名),应该已经能看到如下页面,最新版的nginx首页,说明已经成功了开启https访问
开多一个server监听443端口,然后把80端口的访问通过
return 301 https://$host$request_uri;强制转发到https然后
nginx -s relaod重启nginx,这时候访问https://[ip]应该就稳了这里暂时不说部署项目的location配置,后面会加一篇文章专门讲如何持续集成部署,会有跟nginx相关的配置
到这里为止,如果单纯用来部署前端项目已经够用了,但如果要部署一些后端服务的话,比如node服务,那是离不开数据库的,我们这里也顺手装了吧
数据库 Mysql+MangoDB
How to Step by Step Install MySQL 8 on CentOS 7官方版本
Install MySQL on CentOS 7 | Linuxize 这个更简洁
基础使用就不讲了,自行google就好
接下来是MangoDB
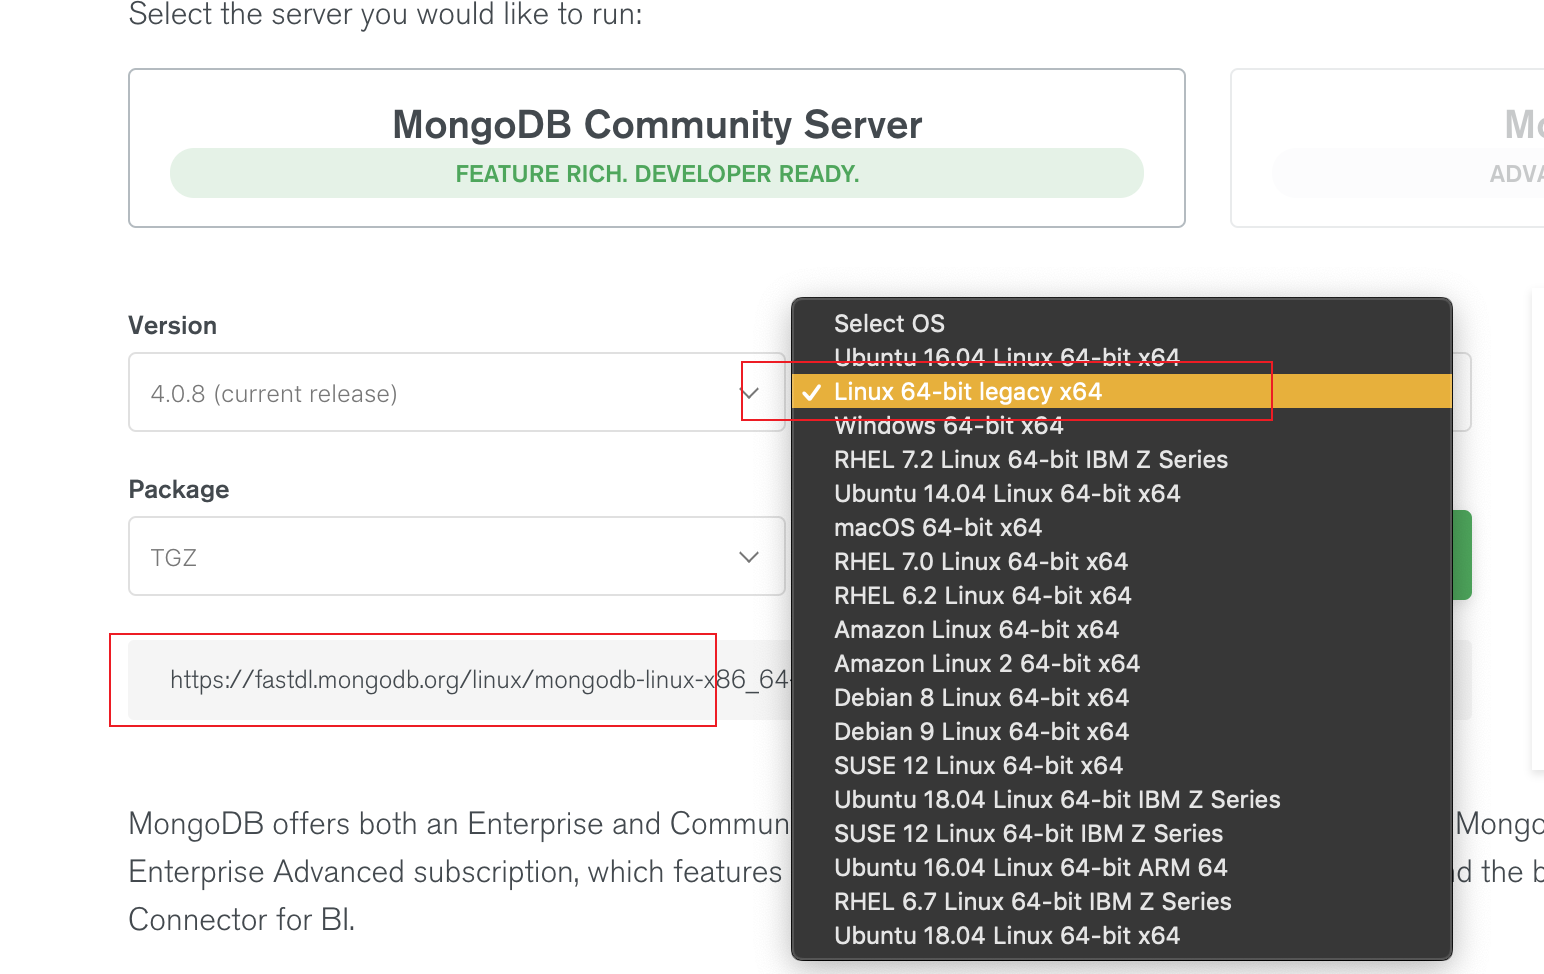
Linux 平台安装 MongoDB | 菜鸟教程
官网查找下载链接MongoDB Download Center | MongoDB
添加系统变量到
~/.zshrc在根目录建立数据文件夹
启动mongod 服务器
进入mongo交互窗口
总结
到此为止,这已经是一台成熟的服务器了,可以拿来做好些事情了
可以参考当我有一台云服务器时,我做了些什么 - 掘金
随便举几个例子
* 前端应用部署,CI/CD 持续集成
* 后端服务支持,开发api,做服务端渲染
* Docker
* 新技术实践,比如graphQL
总之,服务器还是以测试,学习和实践居多,特别对于前端同学,意义重大
The text was updated successfully, but these errors were encountered: