The transform feature lets you perform various operations on the input data in order to help you customize your workflow output or the data you send to the next action. This feature is available in all actions supported by webMethods.io Integration.
In webmethod.io there are manny transform available for use wrt different data type. Please click on the hyper links to get more details about each data type's Transform.
- Log in to your webmethod.io account then go to
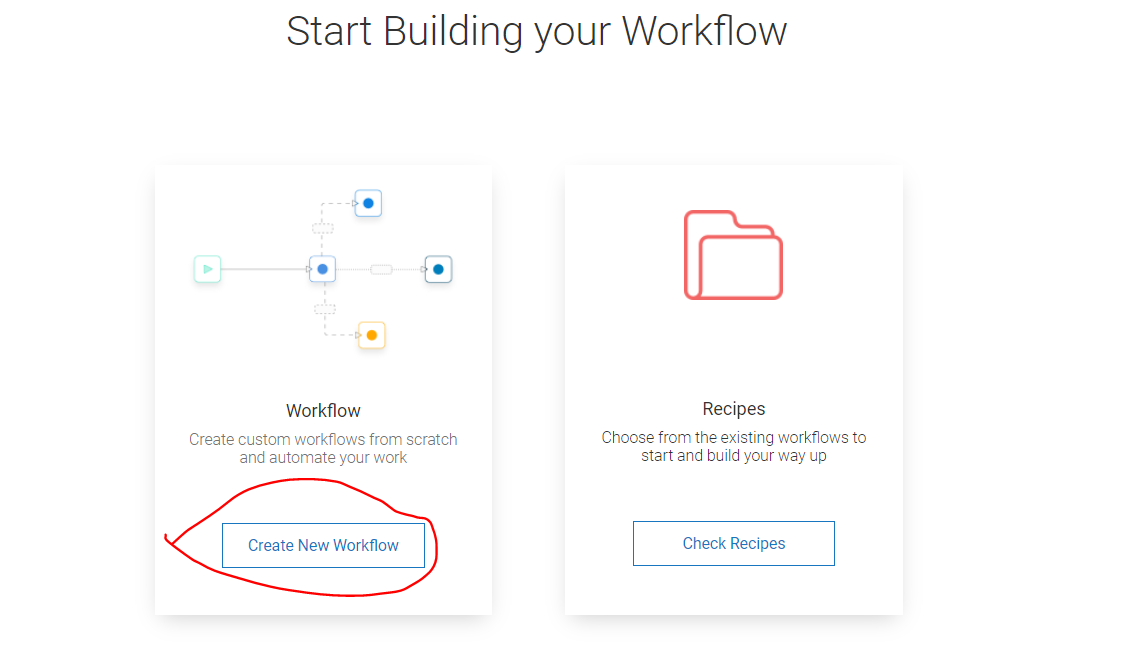
webMethods.io Integration. - Create a new workflow under a
Project.
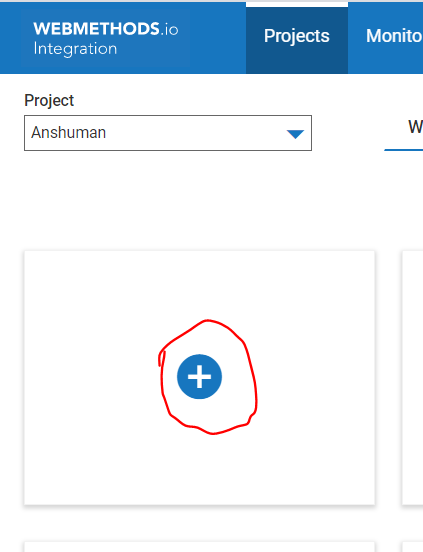
- Go to the search pannel on the
connector listand searchLogger.
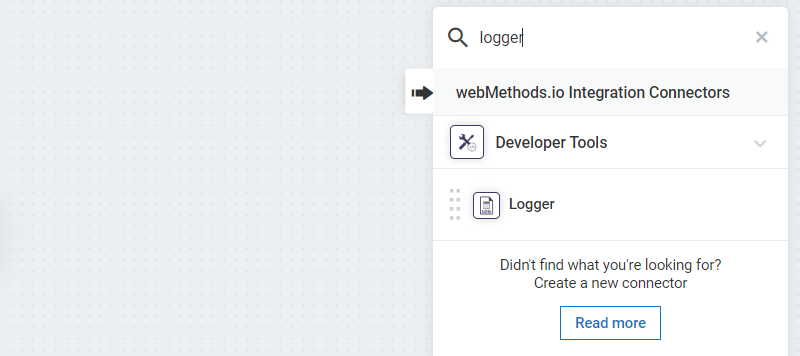
- Now put this logger in your work flow.
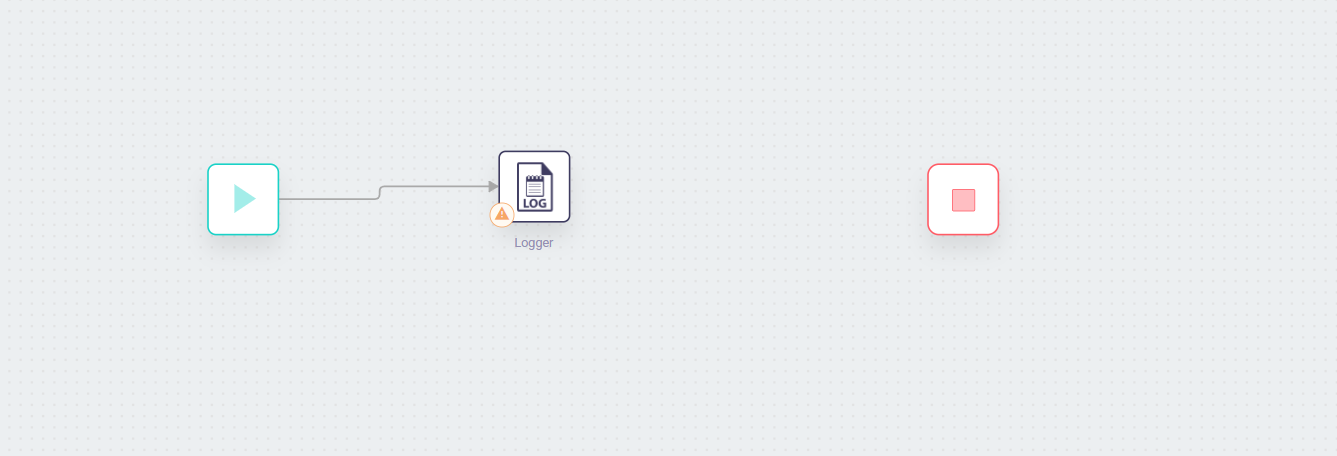
- Now
Double Clickon the Logger and clickNext. On the next window you will get a optionTransformClick on that.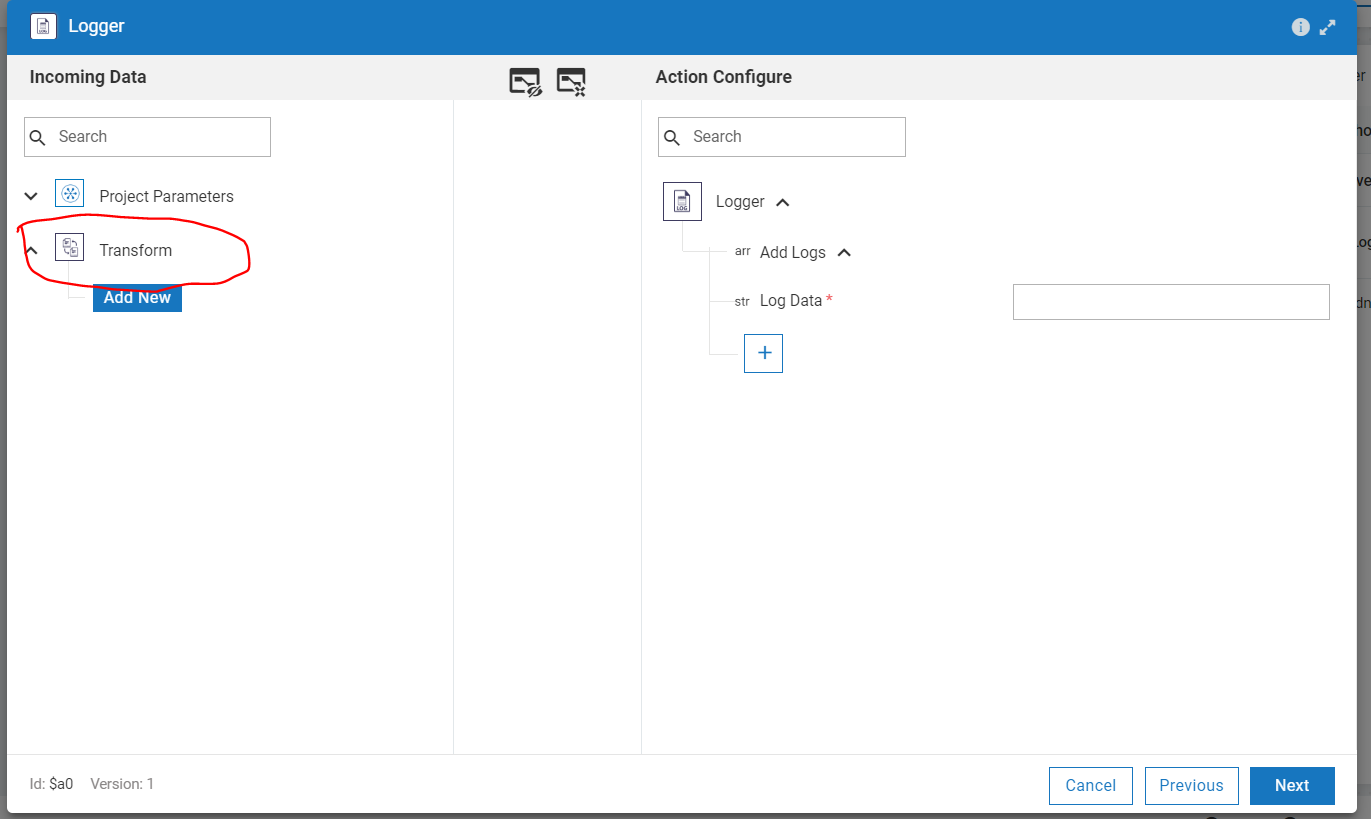
- Now Click on
add new. Give the transform a name and selectTransform datawhich Transform you want to test.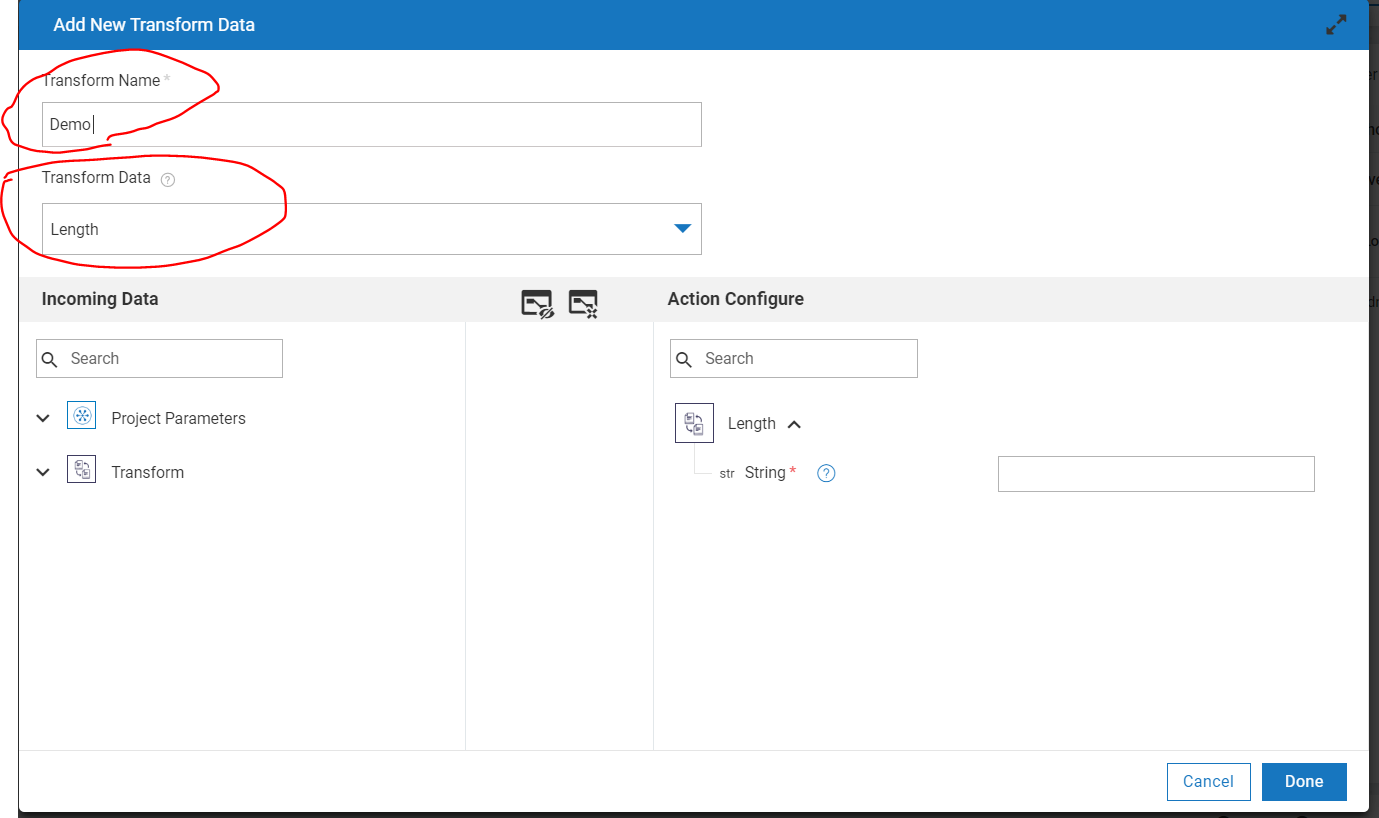
- Now you can provide hard coded values or use a weebhook to pass the values to the transfrom. Click
Done.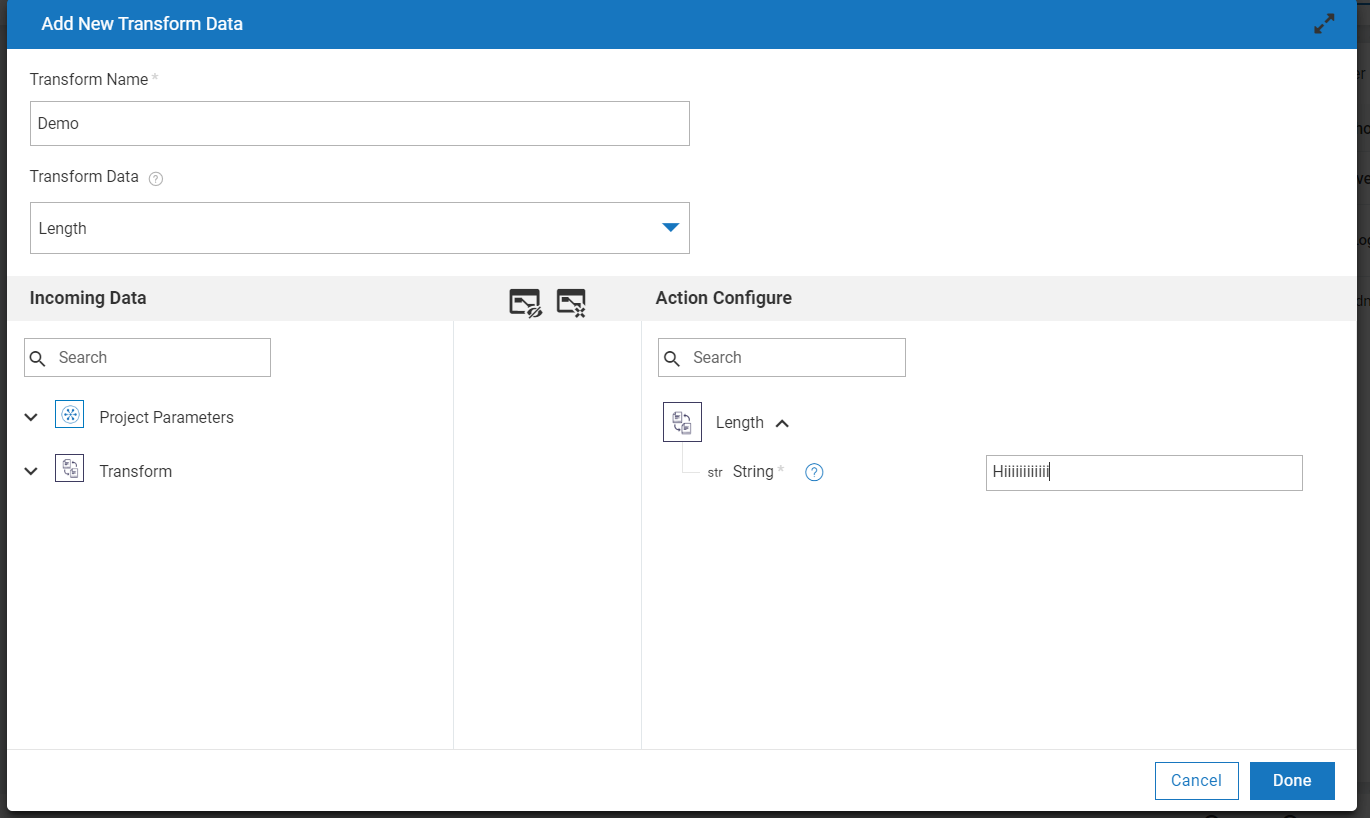
- Now the transform
output datato loggerInputAnd clickNextandDone.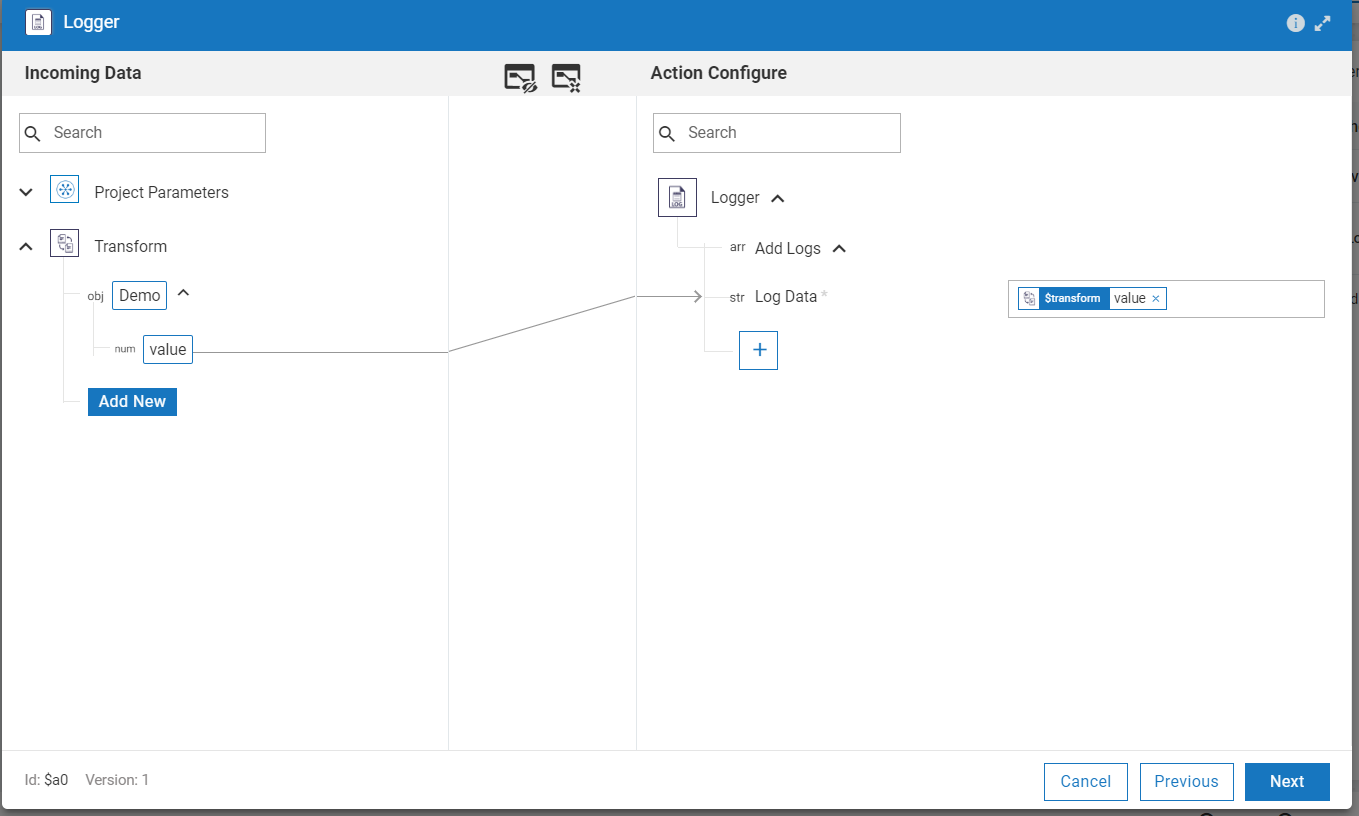
- Now connect the whole workflow
StarttoEnd.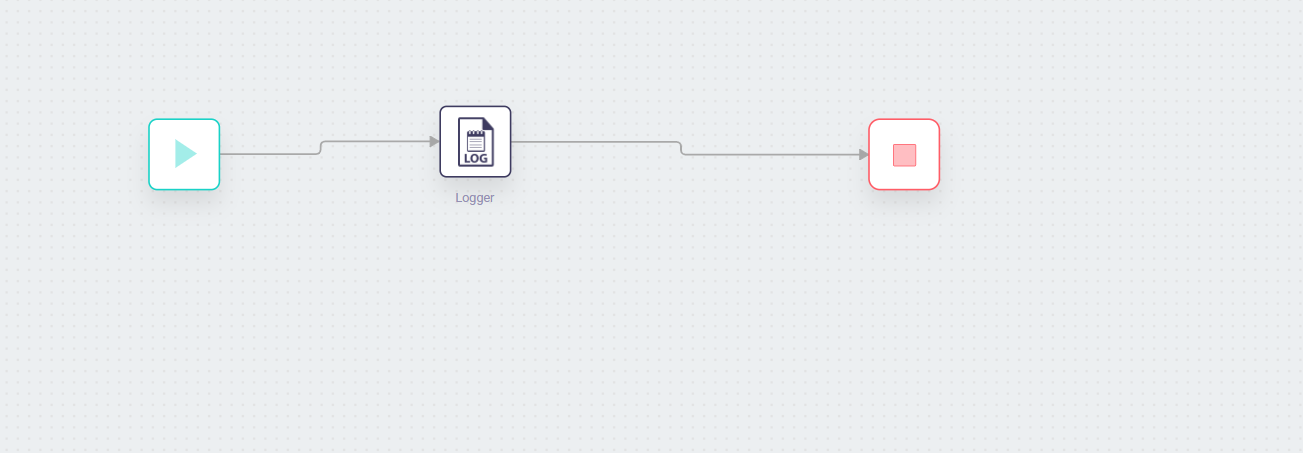
- Now
Run the WorkFlow. In the logger you will see the result of the transform. Here you can see the length of the string.
- Open the logger and hover over the transform name. You will goin to see a
edit iconthere Click on that icon.
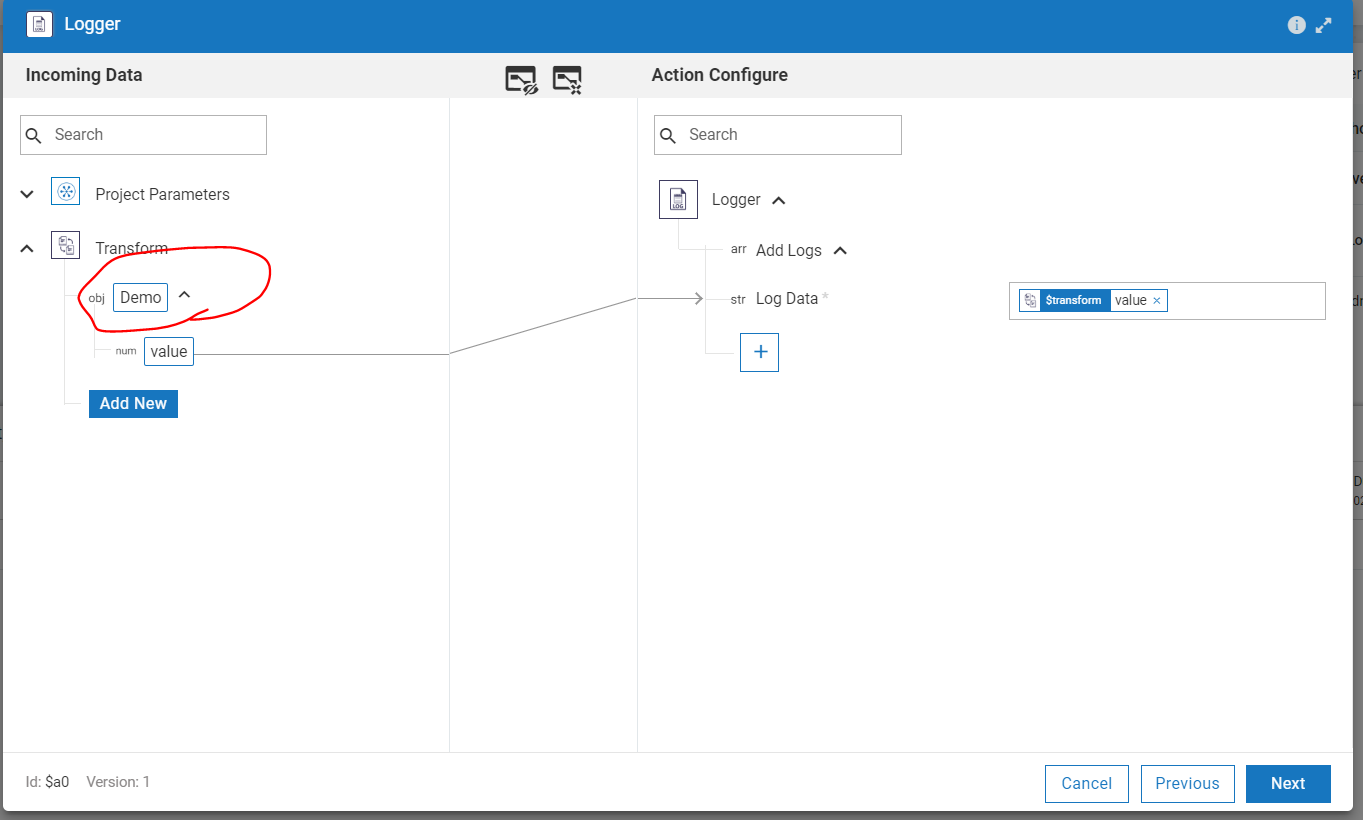
- Now from the Action Configure window cheack what are the input the transform need and its datatypes. Here the transform only need one input and data type is string.
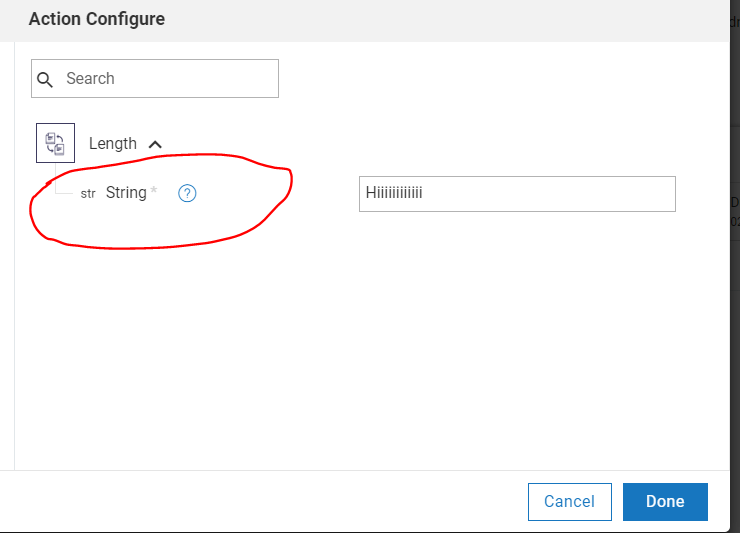
- Configure a JSON object wrt the input.
if the inputs are a string and a array, configure the JSON as
{"data1":"string","data2":[1,2,3,4]}
Here the tranfrom need only one input we will configure the JSON as
{"data1":"Anshuman Saikia"} - Now
double clickon the start .
 .
. - From the list click on webhook.
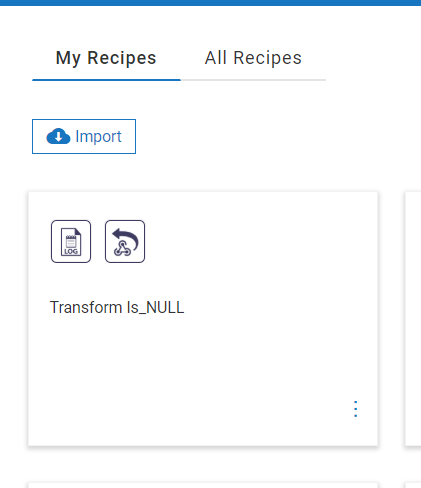
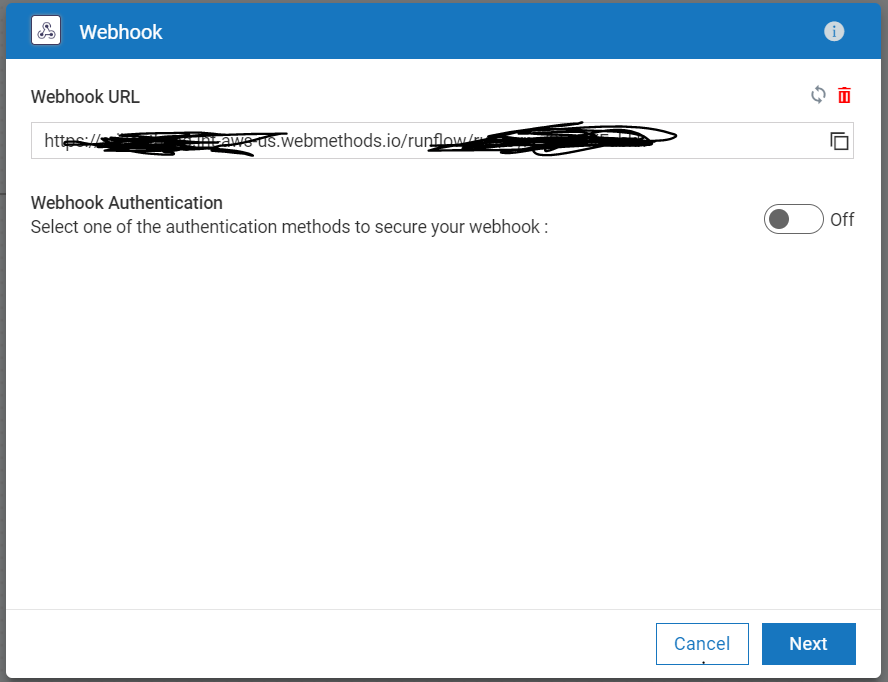
- Click
Next.
- From the next window coppy the link.
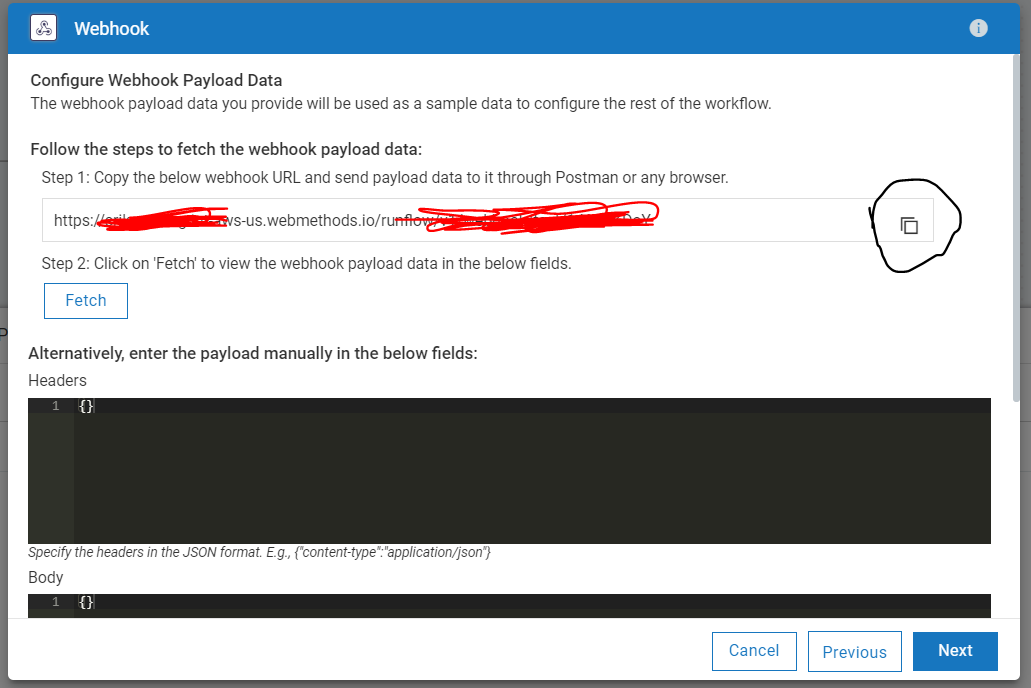
- Now open the Postman and paste the link. And also paste the configured JSON data in the body. keep the body type as
rawand formate asJSONClick onSend.
- Go to your browser and click on
Fetchon your webhook. After data has been fetch successfully click onNext.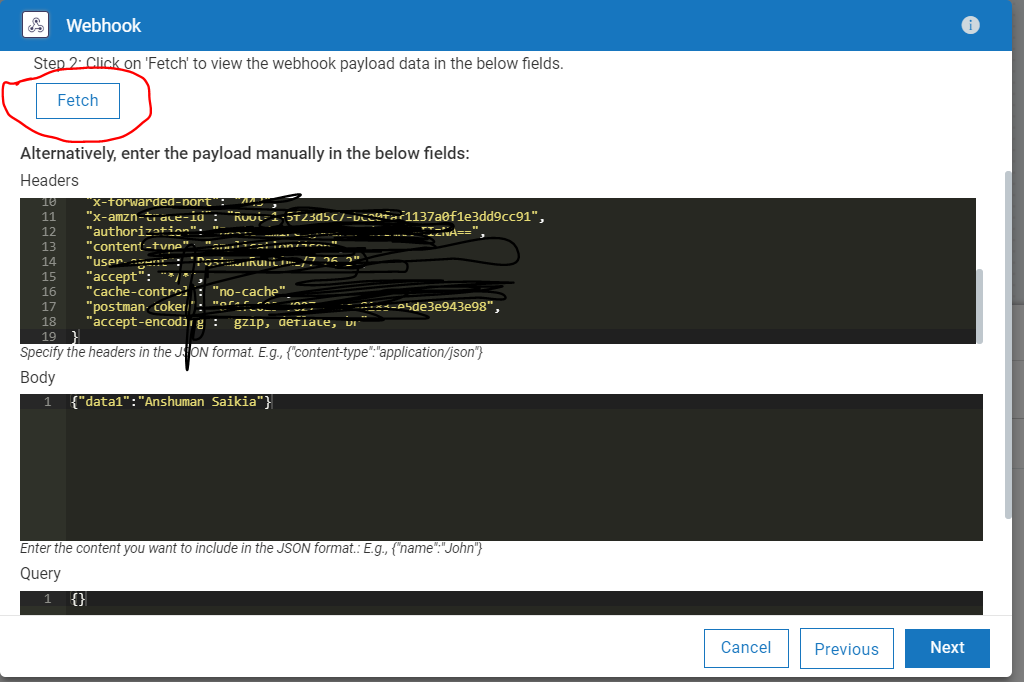
- Select and on the Auto Connect return data option and click
Next. andDone.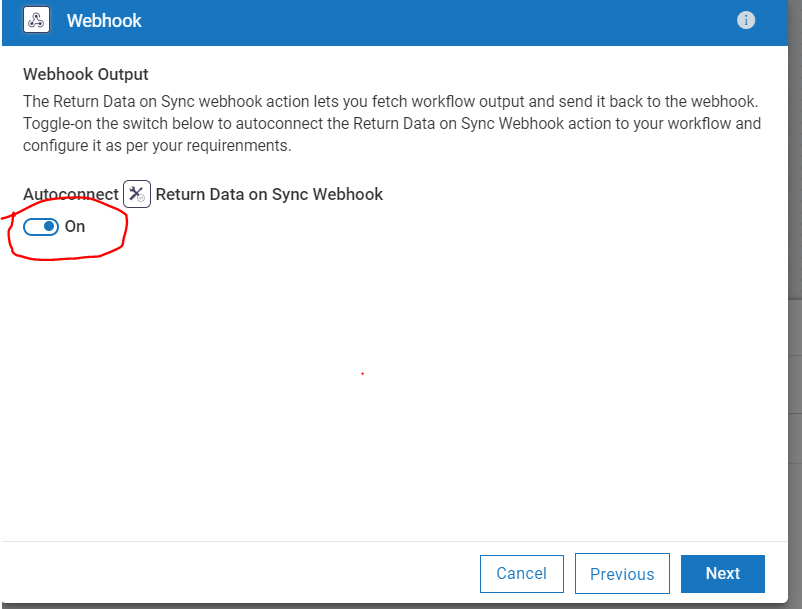
- Now Connect the webhook with the logger and then logger to Return data on Synch and then to Stop.

- Open the
LoggerAnd go to theTransform Configurewindow.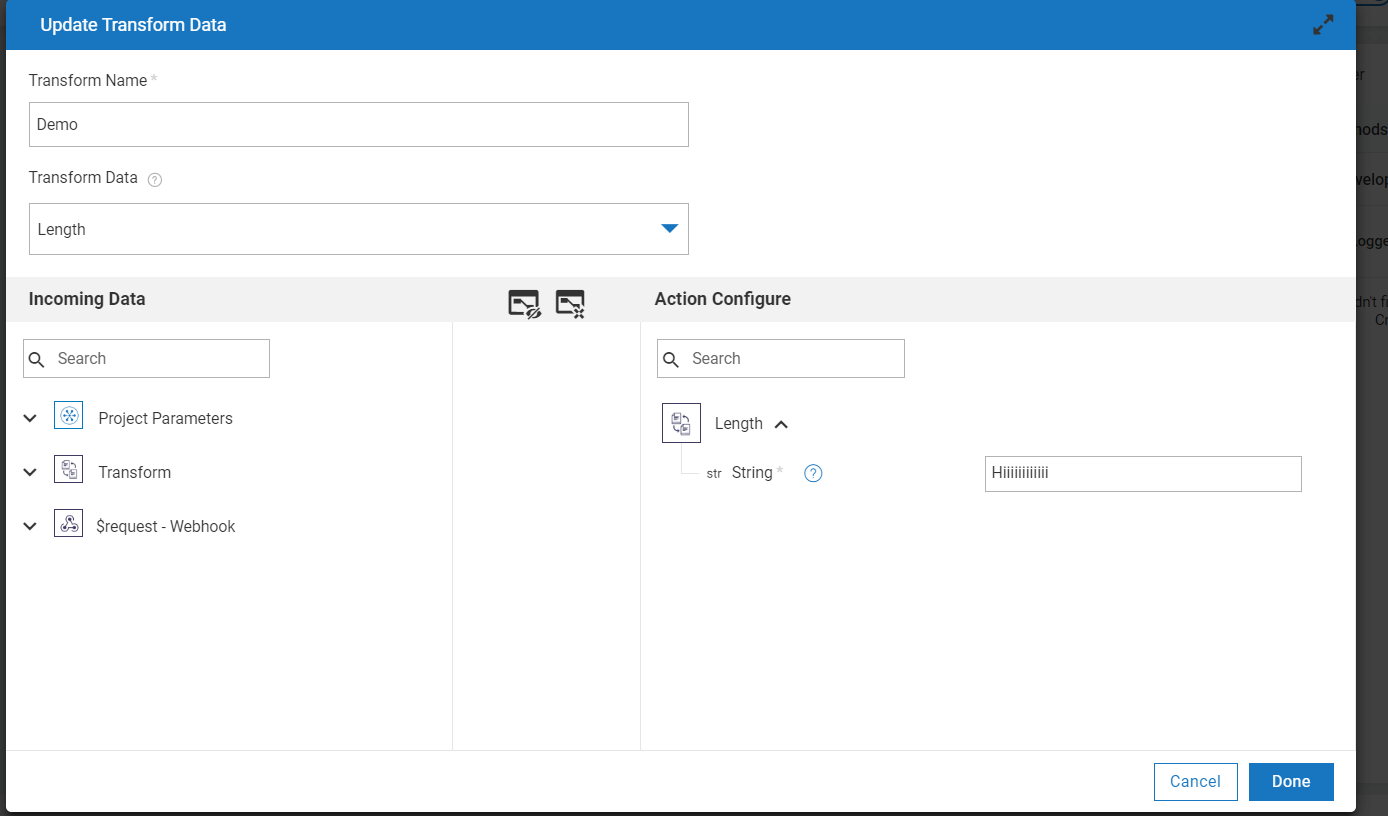
- Expand the webhook and map the data to the transfrom input fields. Erase the previous data from the input fields.. Click
DoneandNext.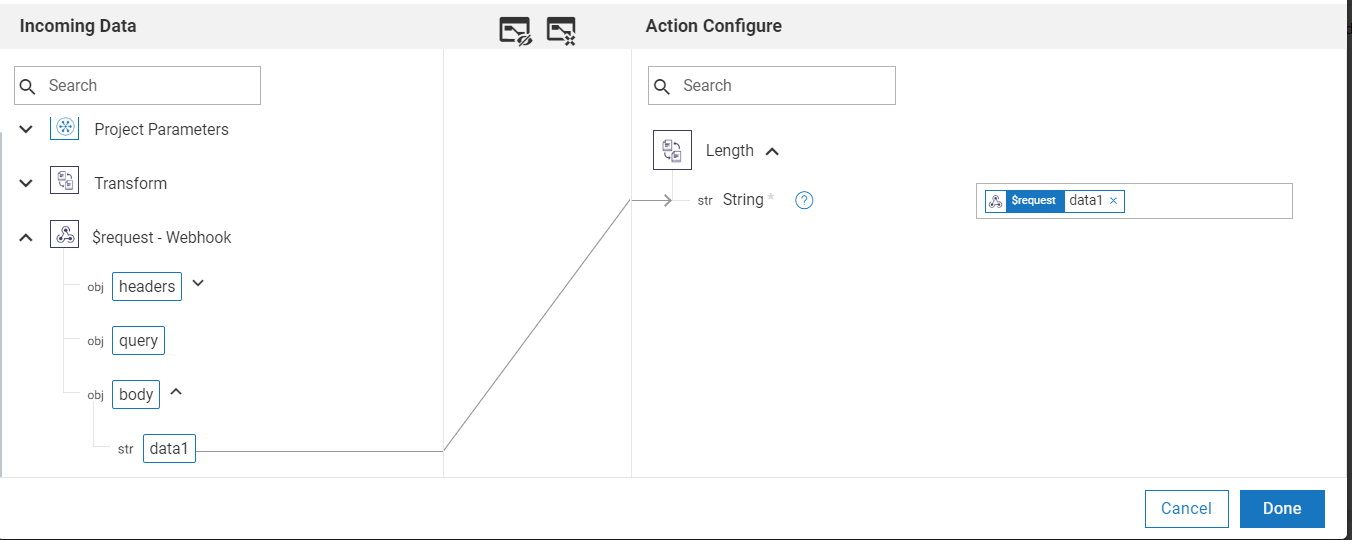
- Now click on
TestandDone.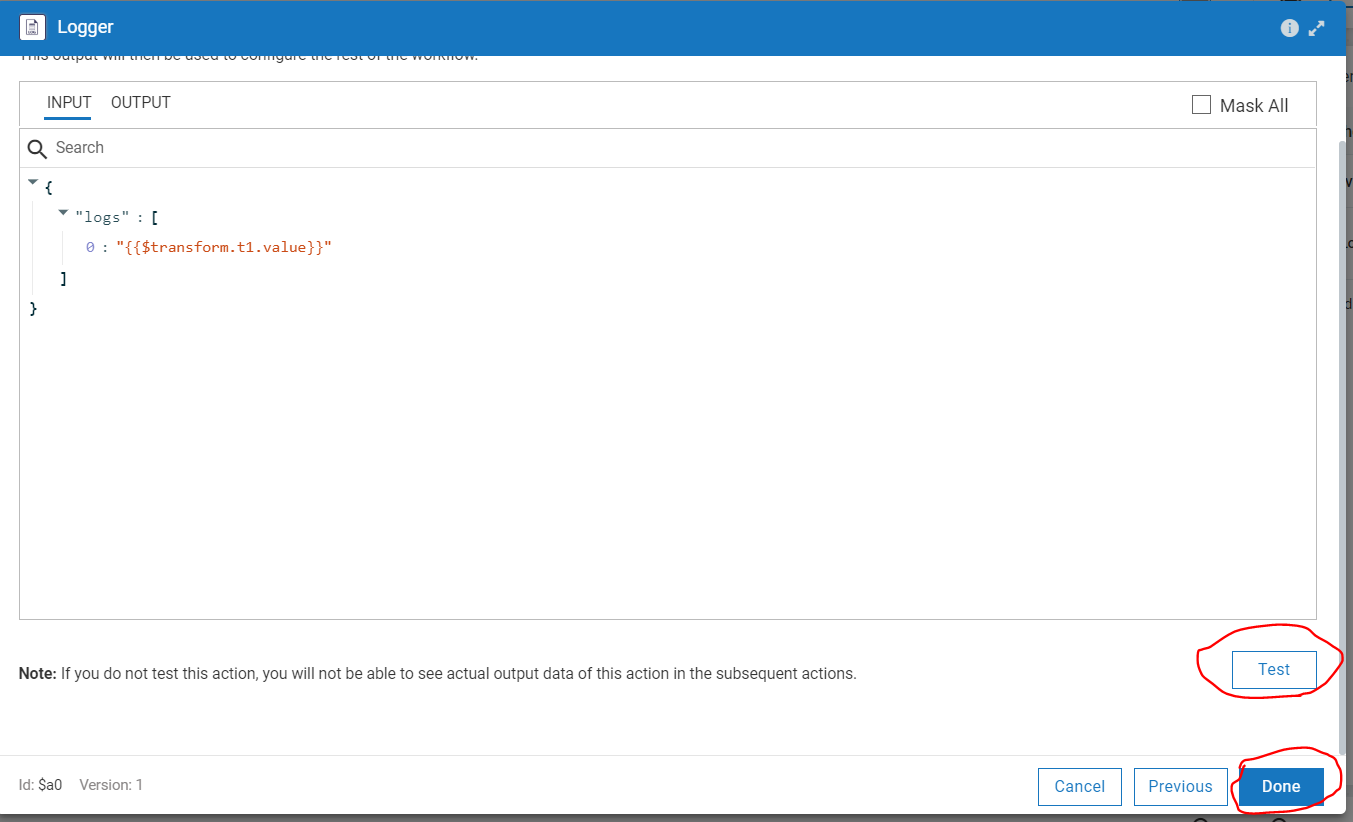
- Now
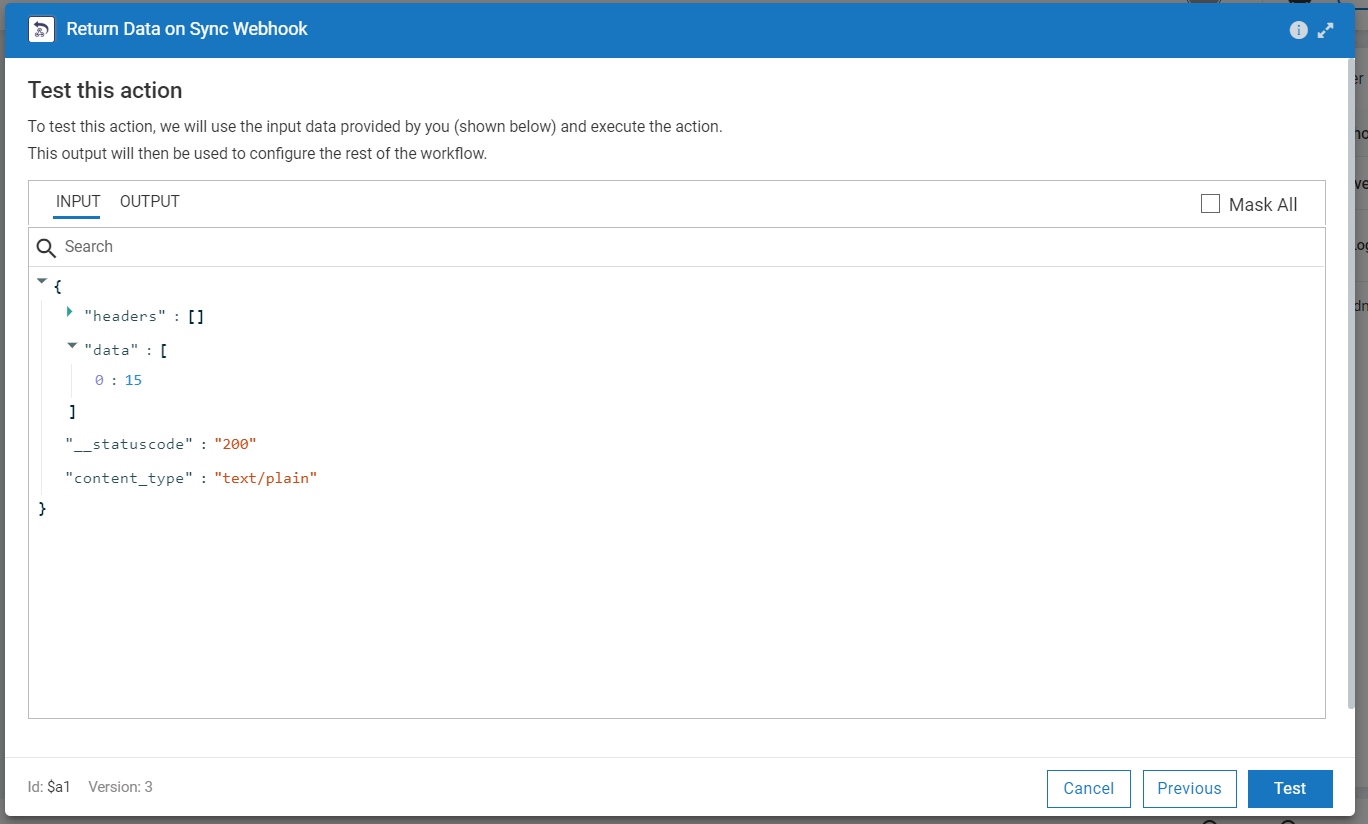
double clickonreturn data on sync webhookconnector and map the logger output data toresponse data. ClickNext.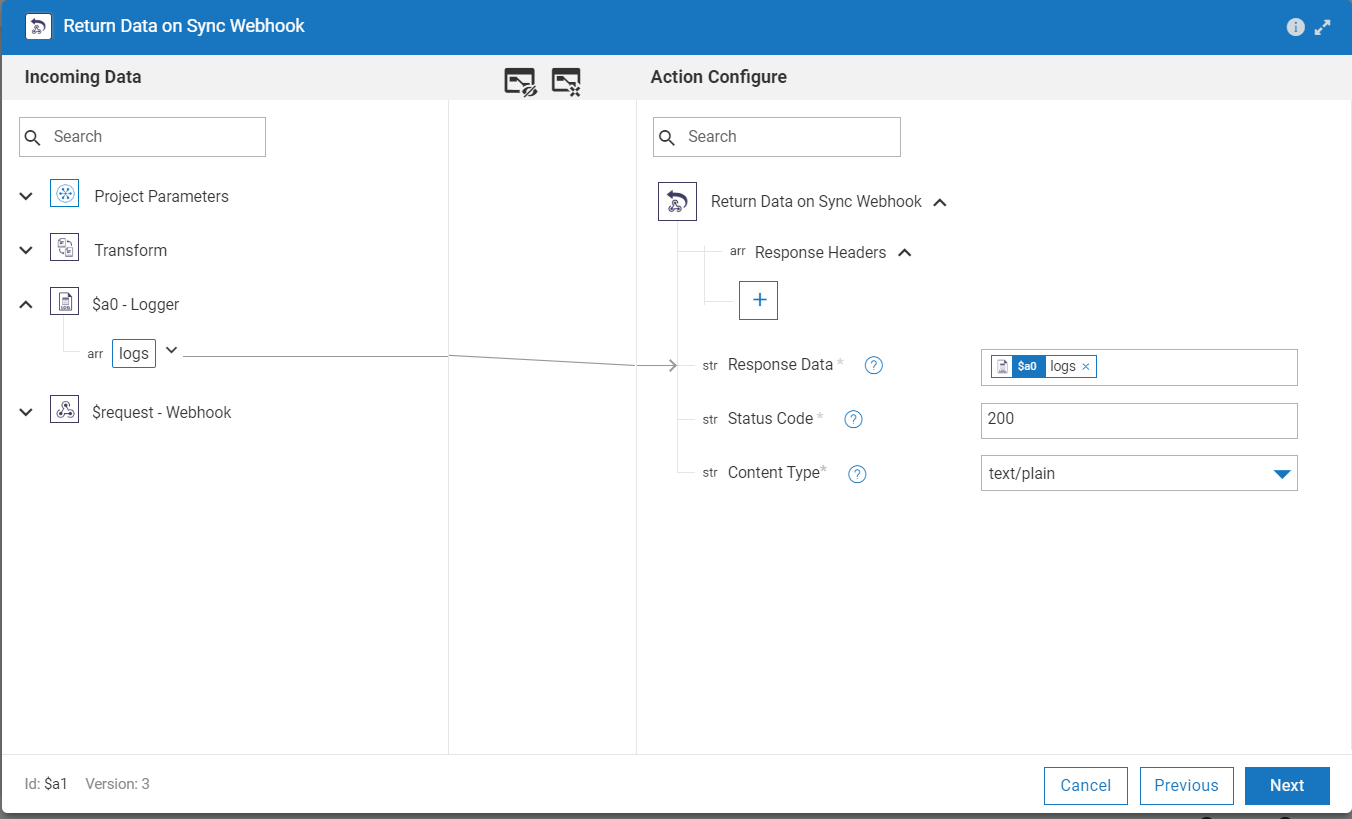
- Now hover over the weebhook and click on settings icon and coppy the link.
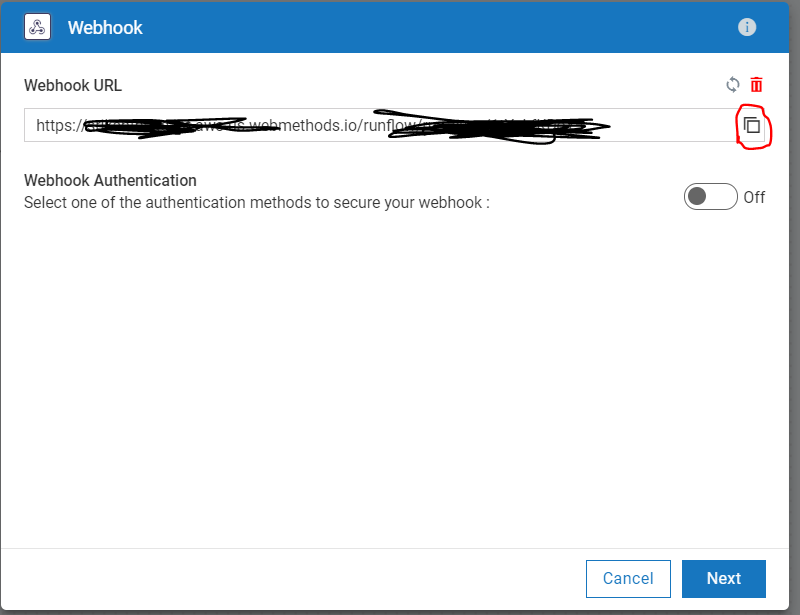
- Go to the postman and replace this link with the previous one.
Sendwe will going to get the output as response.
For more details please click here.
These tools are provided as-is and without warranty or support. They do not constitute part of the Software AG product suite. Users are free to use, fork and modify them, subject to the license agreement. While Software AG welcomes contributions, we cannot guarantee to include every contribution in the master project.
Contact us at TECHcommunity if you have any questions.
