![]()
3D Slicer Module
Developed by HML & SKA Auditory Medical Biophysics Lab at Western University, London, ON, CA
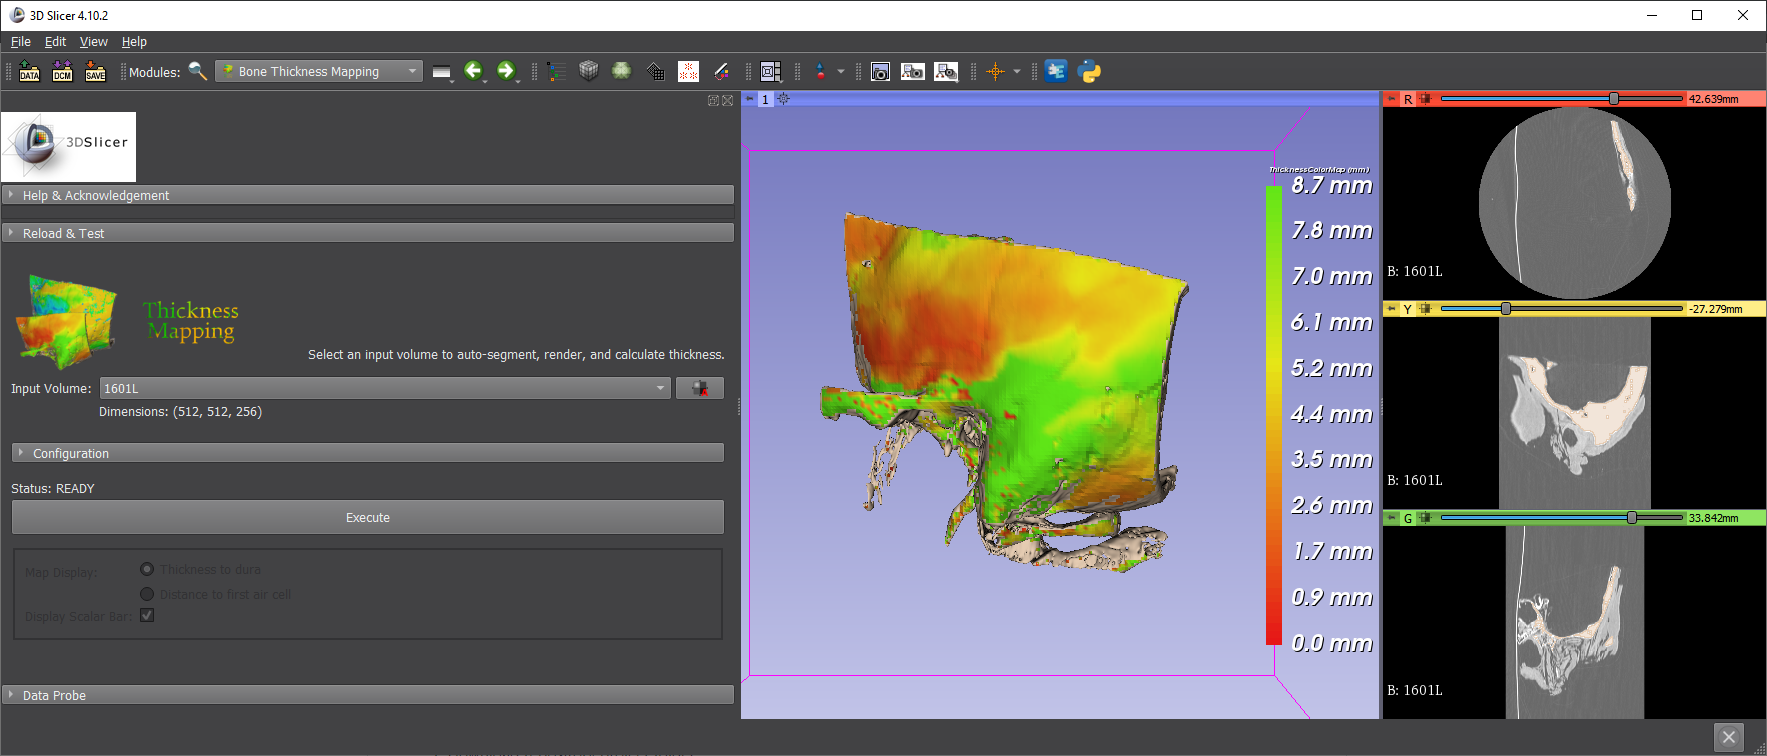
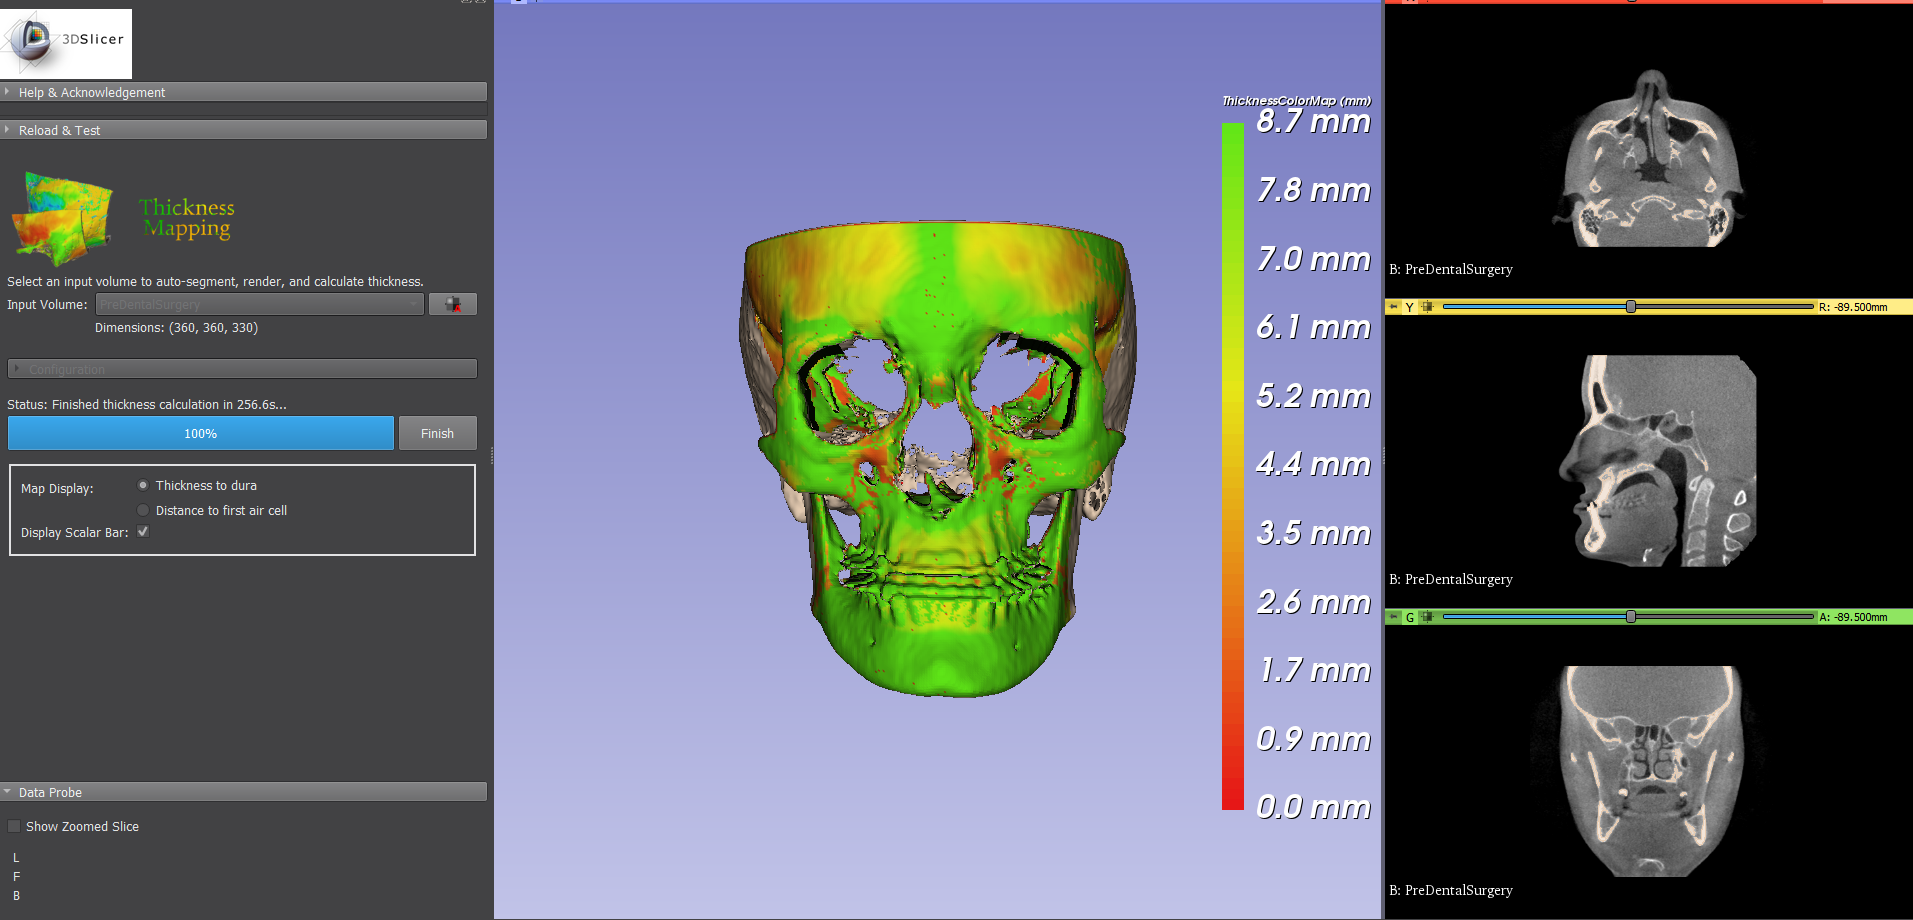
A 3D Slicer extension capable of rendering a clinical bone scan in 3D with an overlayed gradient colour map depicting the bone-thickness. Available within 3D Slicer from the Extension Manager module.
- Convert input volume to Slicer segmentation
- Threshold, smooth, and apply island-removal on segmentation
- Cast a grid of rays in one direction to collect the points representing the surface of the bone
- Iterate through the retrieved surface mesh, casting a ray through the bone segmentation perpendicular to the bone surface
- Calculate thickness using bone intersection points
- Render thickness map with a gradient map on the surface of the bone model
- Download repository project folder
- Open 3D Slicer and navigate to the module 'Extension Wizard' (Modules>Developer Tools>Extension Wizard)
- Click 'Select Extension'
- Navigate to the repository project folder
- The module will now be accessible via Modules>Shape Analysis>Thickness Mapping
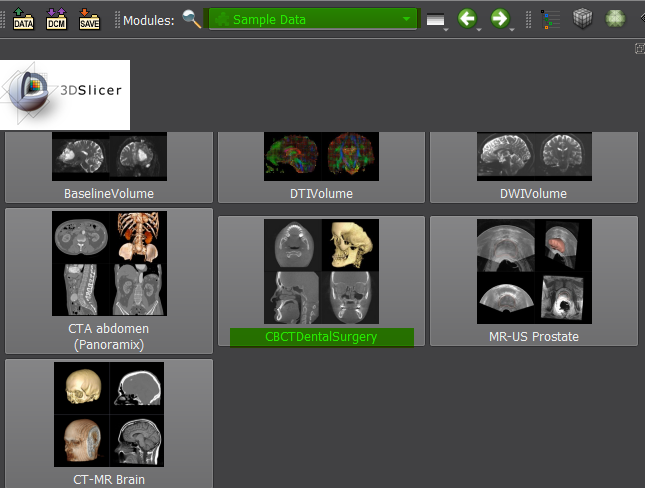
- In 3D-Slicer, navigate to the Sample Data module
- Select the "CBCTDentalSurgery" data set (Slicer will then download and import this set)

- Open the Bone Thickness Mapping module via Modules>Shape Analysis>Thickness Mapping

- Using the input volume selector, select either the PreDentalSurgery or PostDentalSurgery volume

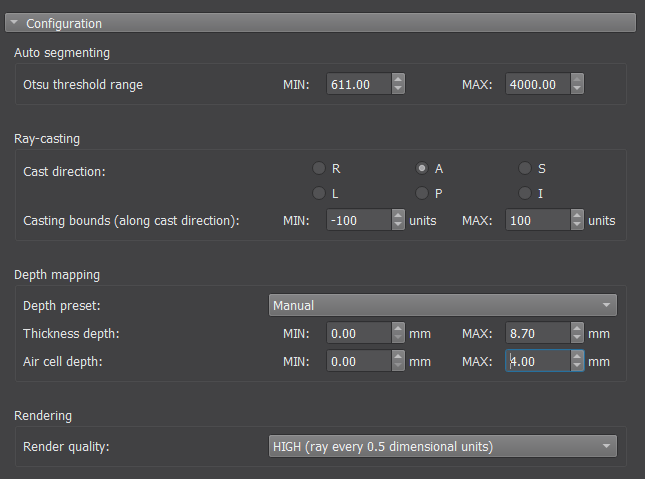
- Expand the configuration panel and input the following:

Otsu threshold range: MIN of 611.0, MAX of 4000.0
Cast direction: 'A'
(optional) Render quality: 'High
Note: A valid otsu threshold range is required for accurate depth mapping. Sufficient ranges can be found using the 3D Slicer Segmentation Editor's thresholding tool.

